
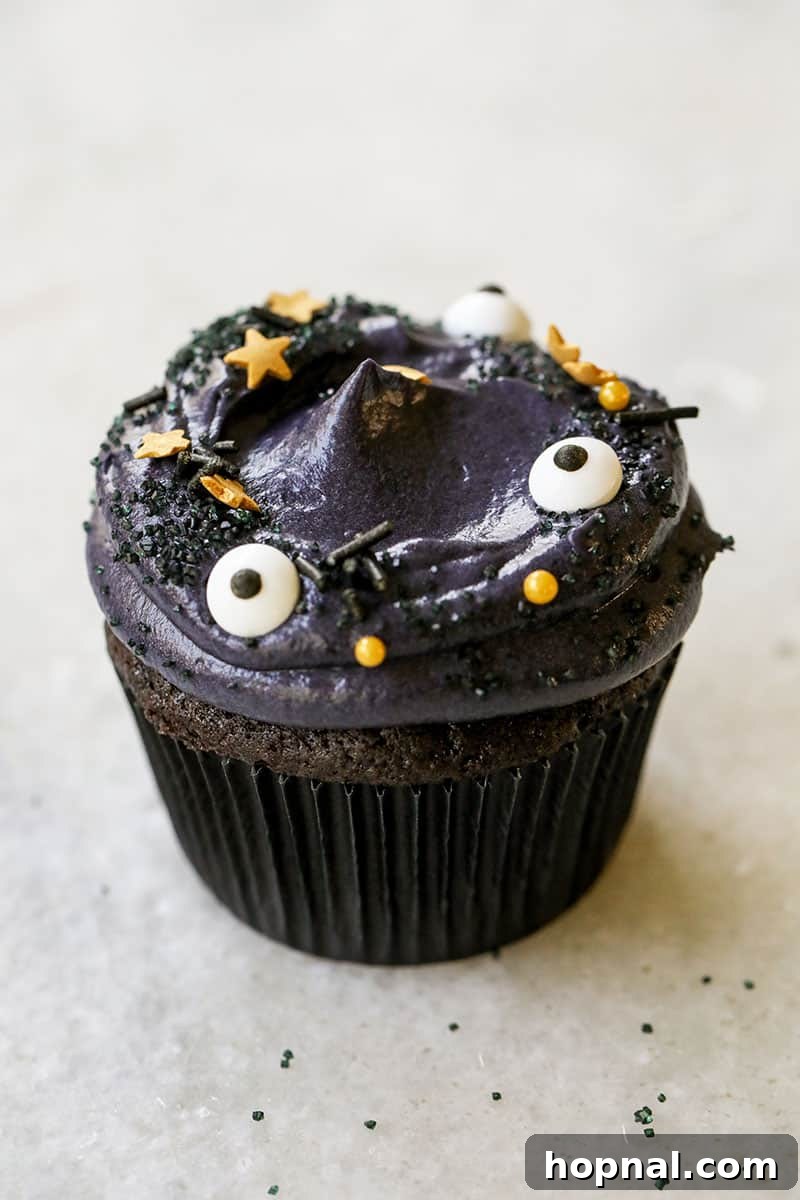
Spooky & Delicious: The Ultimate Black Velvet Cupcakes Recipe for Halloween
Searching for a show-stopping dessert for your upcoming Halloween party? Look no further than this incredible black velvet cupcake recipe! These cupcakes offer a charmingly spooky twist on the beloved classic red velvet, boasting a deep, mysterious hue and an irresistible flavor. They are simple to prepare, utterly delicious, and perfectly embody the spirit of the holiday.
Black velvet cupcakes are a delightful spin on our favorite red velvet cake. We’ve even experimented with a pink velvet cake, which is equally delightful! But for Halloween, black takes center stage, delivering a dramatic visual impact without compromising on taste.
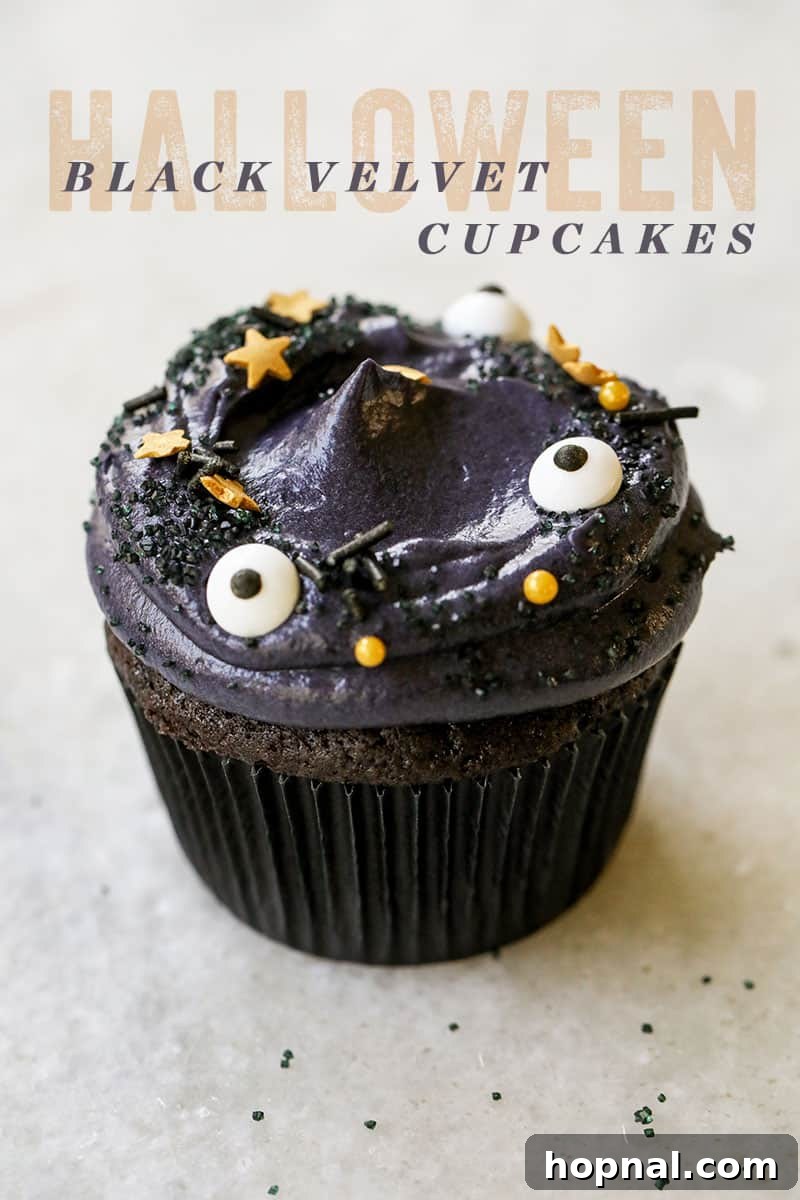
We are thrilled to share this recipe for black velvet cupcakes, designed to be the ultimate Halloween dessert. They follow the tried-and-true velvet cake recipe structure but incorporate black food dye instead of red, transforming them into wickedly elegant treats.
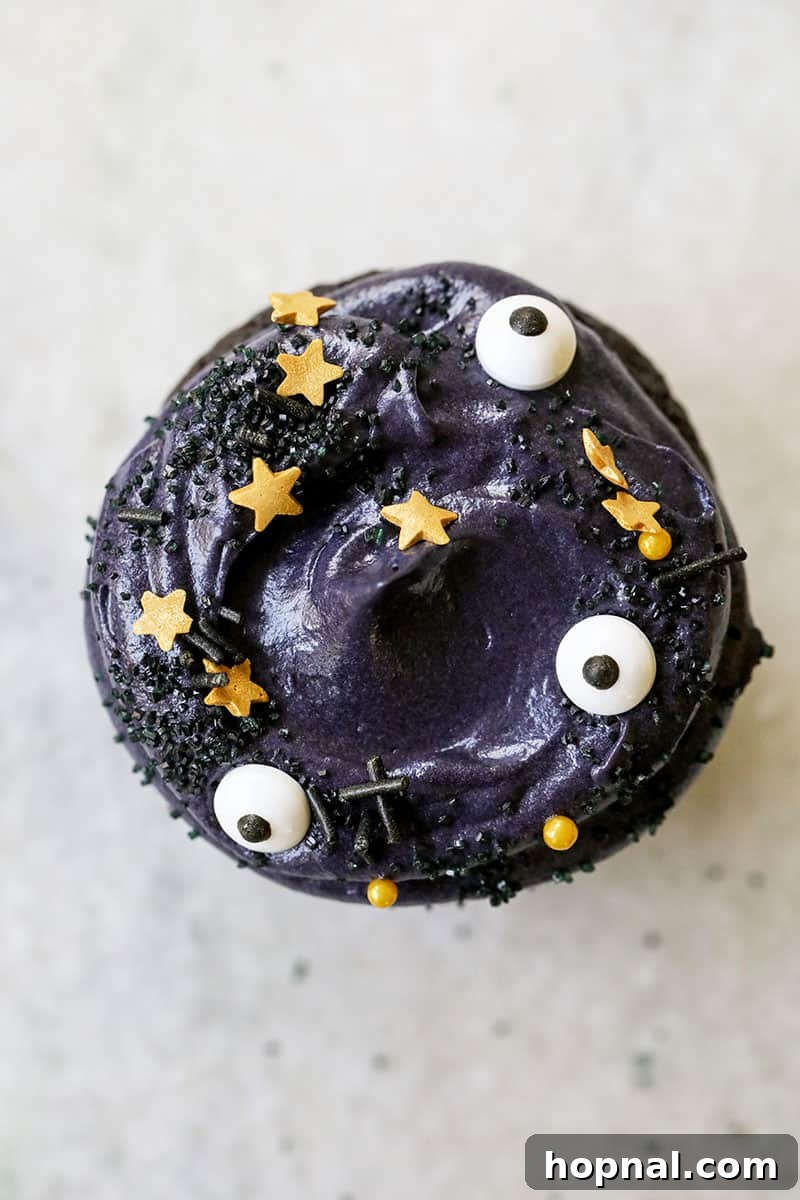
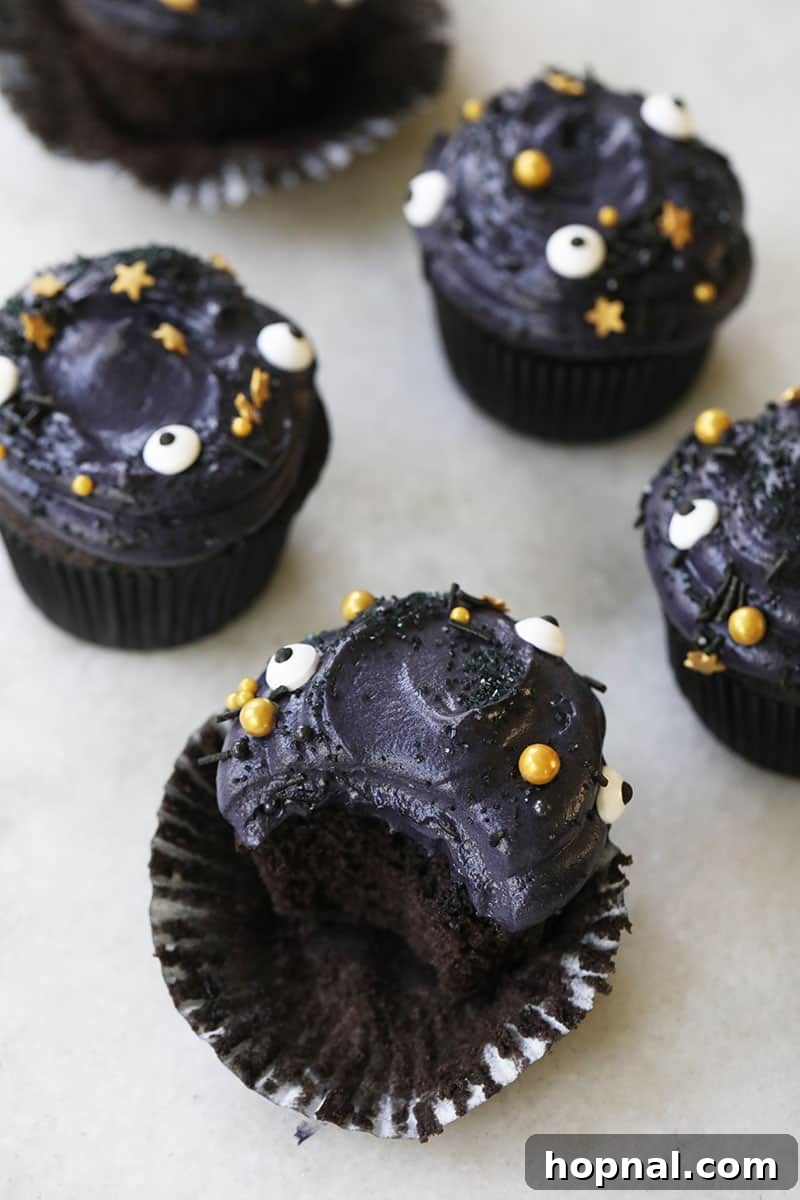
If you’re seeking the perfect Halloween cupcakes, our black velvet creations are more than just visually striking; they are incredibly flavorful! Each cupcake is homemade and crowned with a luscious, whipped cream cheese frosting, just like a classic red velvet cake, but with a dramatic ebony finish. We specifically add black food coloring to achieve this intensely deep and captivating shade.
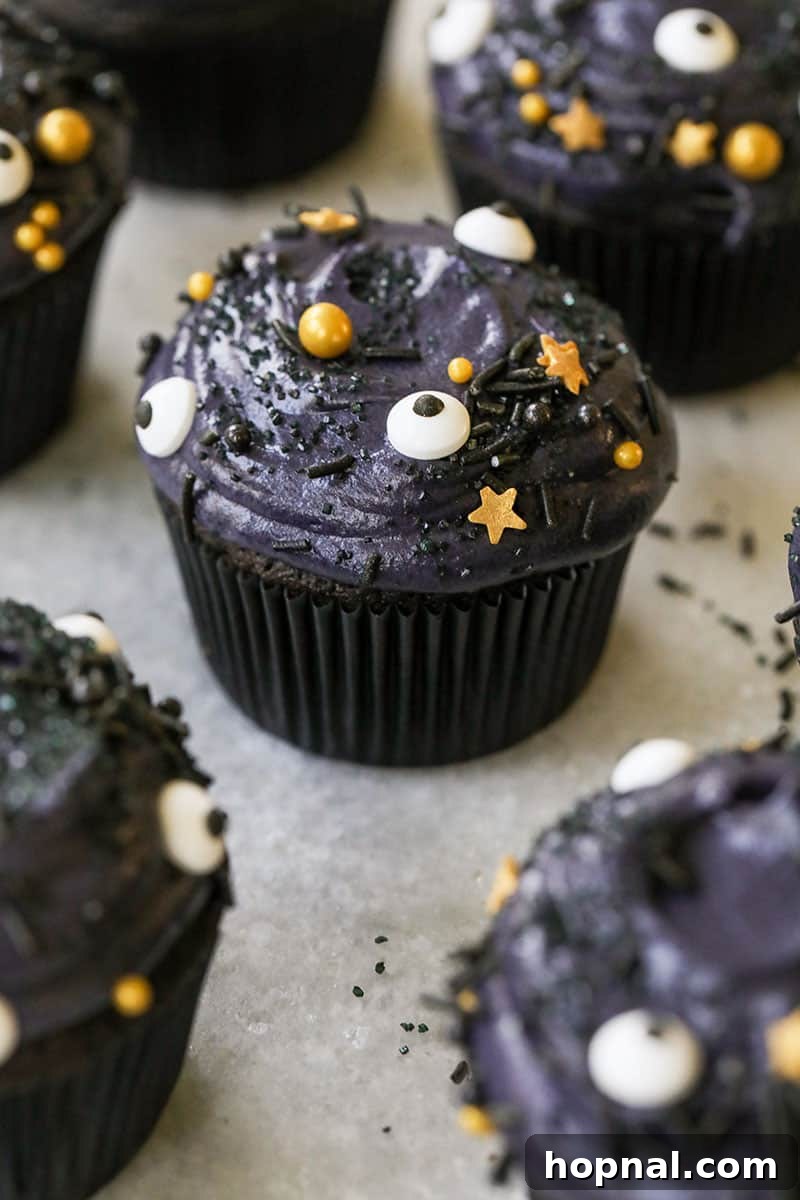
Yes, your mouth might momentarily turn black, but that’s all part of the playful Halloween fun! These cupcakes are suitable for both kids’ Halloween parties and adult gatherings. We’ve served them at our popular Trick or Treat Halloween Bar, and they are consistently a huge hit. There’s just something magical about Halloween parties, and these cupcakes elevate the experience!
The Allure of Black Velvet: Beyond the Spooky Shade
The “velvet” in red velvet cake refers to its fine, soft crumb and rich flavor, often achieved through the reaction of cocoa powder with acidic ingredients like buttermilk and vinegar. Our black velvet interpretation takes this concept and intensifies it visually. While the color is the most striking feature, the taste profile remains true to its heritage: a perfectly balanced combination of subtle chocolate, a gentle tang, and incredible moisture. Using black food coloring (and sometimes black cocoa powder for an even deeper shade) creates a dramatic effect that’s perfect for Halloween themes, from gothic elegance to playful spookiness.
Crafting Your Own Ghoulishly Good Black Velvet Cupcakes
Essential Supplies for Spooky Baking
Having the right tools makes all the difference in baking. Here’s what you’ll need to create these stunning black velvet cupcakes:
- Cupcake Tin: A standard 12-cup muffin pan is ideal. Make sure it’s clean and ready for liners.
- Black Cupcake Wrappers: These enhance the dark aesthetic and prevent sticking. You can find many themed options for Halloween.
- Mixing Bowls: At least two – one for wet ingredients and one for dry, plus another for the frosting.
- Stand Mixer or Electric Hand Mixer: Essential for creaming butter and sugar, and for achieving a light, fluffy frosting. A stand mixer offers convenience, but a powerful hand mixer works perfectly too.
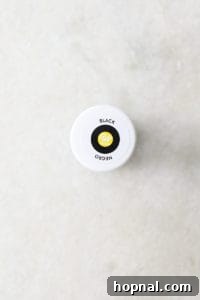
- Black Food Coloring (Gel): Gel food coloring provides a more intense color with less liquid, crucial for achieving a deep black without altering batter consistency.
- Piping Bag: For neatly frosting your cupcakes. Disposable bags are convenient for easy cleanup.
- Eye Sprinkles: Add a fun, spooky touch that’s perfect for Halloween.
- Halloween Sprinkles: Beyond eyeballs, consider bat, ghost, pumpkin, or classic orange and black sprinkle mixes.
- Cupcake / Cookie Scooper: This is key for uniform cupcake sizes, ensuring even baking and a professional appearance.
The Magic Behind the Mix: Key Ingredients Explained
Each ingredient plays a vital role in achieving the perfect texture, flavor, and color of these black velvet cupcakes. Understanding their purpose can help you troubleshoot and even adapt recipes in the future.
- Cake Flour: This low-protein flour is finely milled, resulting in a much lighter and more tender crumb compared to all-purpose flour. It’s essential for that signature “velvet” texture.
- Unsweetened Cocoa Powder: Provides the chocolate flavor. For an even deeper black, consider using Dutch-processed black cocoa powder, which is less acidic and has a darker color naturally.
- Granulated Sugar: Acts as a primary sweetener, but also contributes to the cake’s moisture, tenderness, and structure.
- Baking Powder & Baking Soda: These are your leavening agents. Baking soda reacts with acidic ingredients (like buttermilk and vinegar) to produce carbon dioxide, creating lift and a tender texture. Baking powder provides additional lift, ensuring your cupcakes rise beautifully.
- Salt: A crucial flavor enhancer, salt balances the sweetness of the sugar and brings out the depth of the cocoa, preventing the cupcakes from tasting flat.
- Buttermilk: Its acidity reacts with the baking soda, contributing to the cake’s rise and tender crumb. Buttermilk also adds a distinctive subtle tang and significant moisture to the batter.
- Eggs: Provide structure and richness, help emulsify the batter, and add moisture, ensuring a stable and well-textured cupcake.
- Vegetable Oil: Contributes significant moisture and tenderness to the cupcakes. Unlike butter, which can make cakes denser, oil keeps them wonderfully soft and moist for longer.
- Vinegar (White Distilled): Works with buttermilk and baking soda to create the “velvet” texture and aids in rising. It also subtly balances the richness of the other ingredients.
- Vanilla Extract: A classic flavor enhancer that complements the chocolate and adds depth to the overall taste.
- Black Food Coloring (Gel): The key to the dramatic black color. Gel coloring is concentrated, so you’ll need less of it than liquid food coloring, which helps maintain the batter’s consistency.
- Cream Cheese: The star of the frosting! It provides a delightful tang, creamy texture, and rich flavor that perfectly complements the cupcakes. Ensure it’s softened for a smooth frosting.
- Unsalted Butter (for frosting): Gives richness, structure, and a smooth, spreadable consistency to the cream cheese frosting. Like cream cheese, it must be at room temperature and soft.
- Powdered Sugar (Confectioners’ Sugar): This super-fine sugar dissolves easily, creating a smooth, lump-free frosting. Sifting it can help achieve an even silkier texture.
Step-by-Step Directions to Black Velvet Perfection
Follow these instructions carefully to bake the most enchanting black velvet cupcakes:
- Preparation is Key: Always preheat your oven to 350°F (175°C) before you start mixing. This ensures the leavening agents activate immediately when the batter hits the heat, resulting in a proper rise. Line your cupcake tin with black cupcake wrappers.
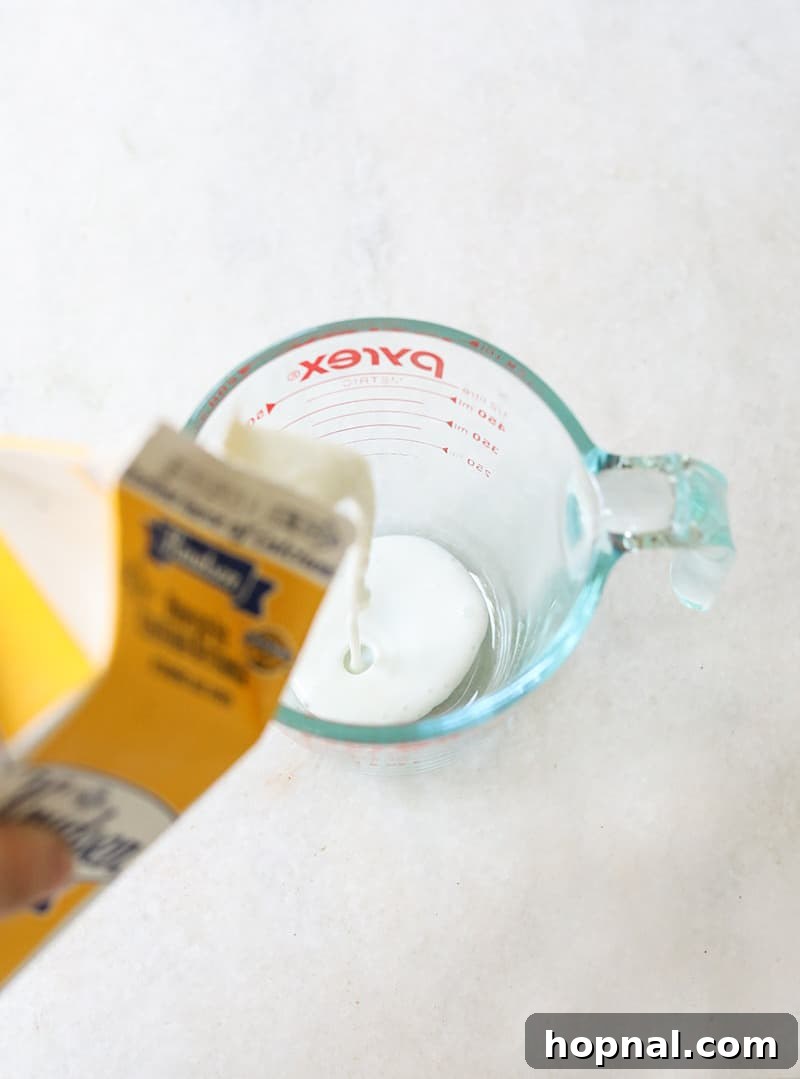
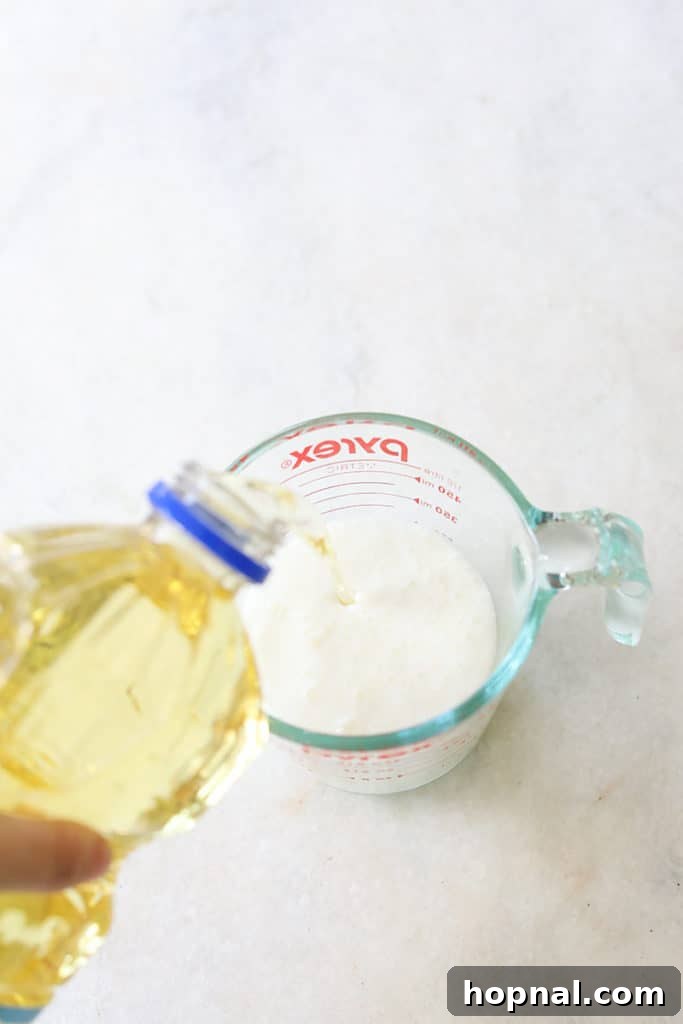
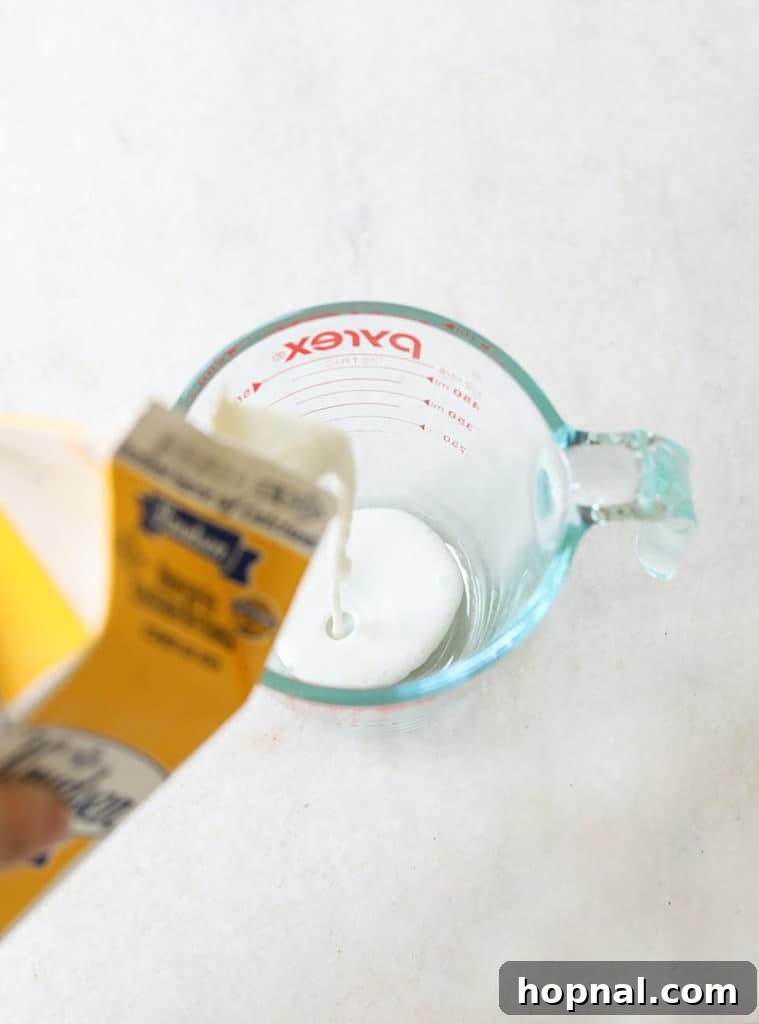
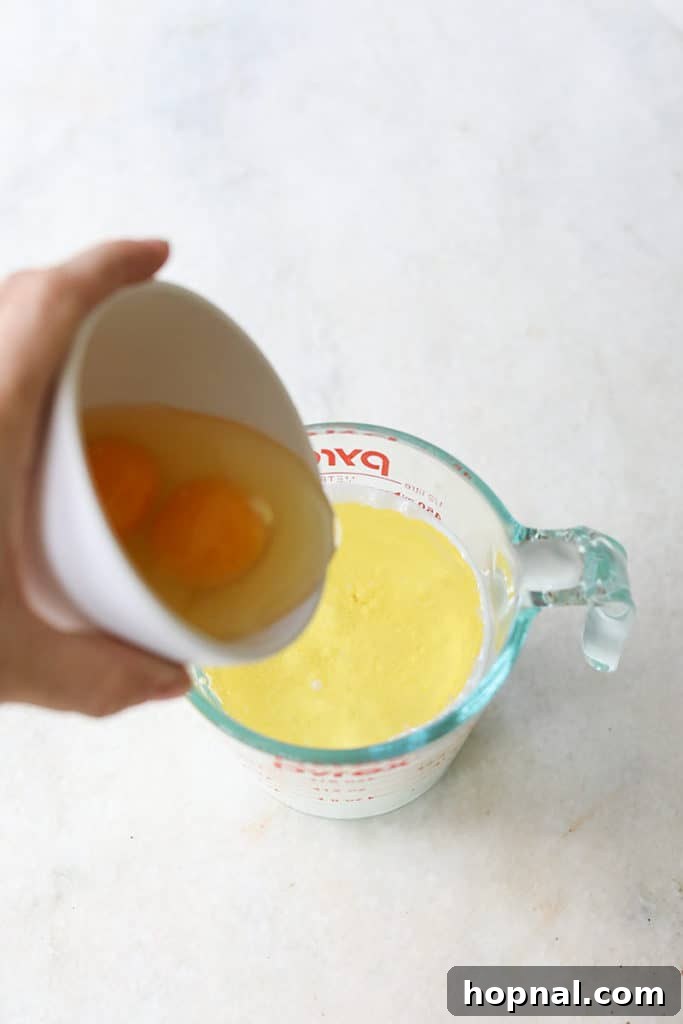
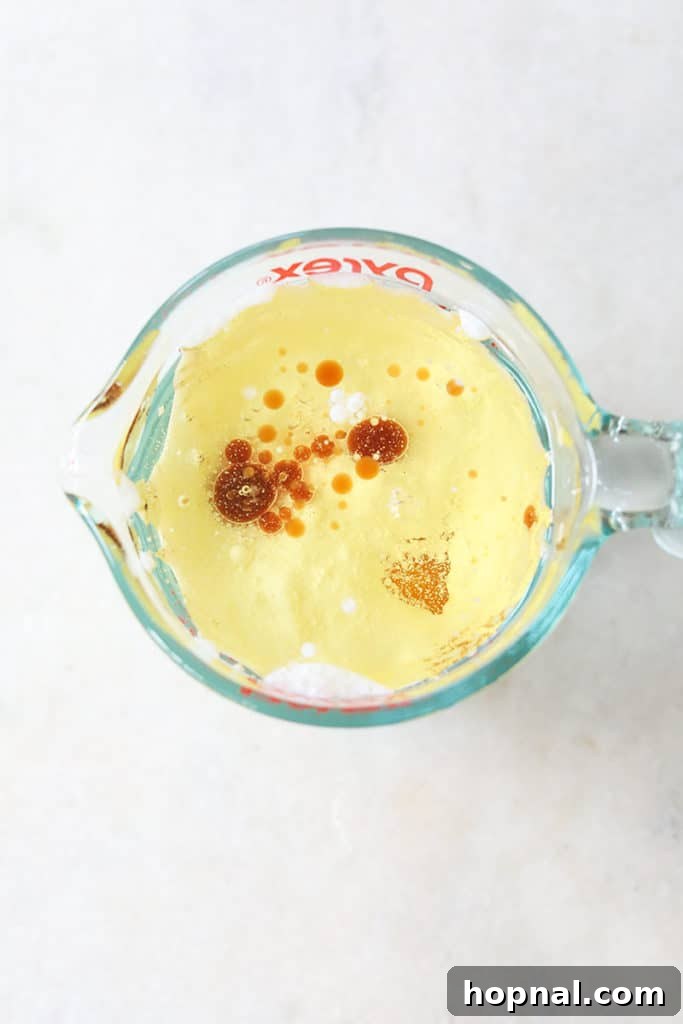
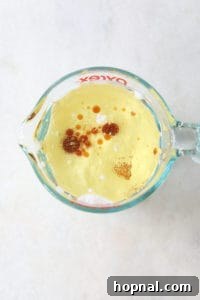
- Combine Wet Ingredients: In a tall liquid measuring cup or a medium bowl, whisk together the buttermilk, eggs, vegetable oil, white distilled vinegar, and vanilla extract until well combined. Set this aside.
-

Images: Visual representation of combining wet ingredients.
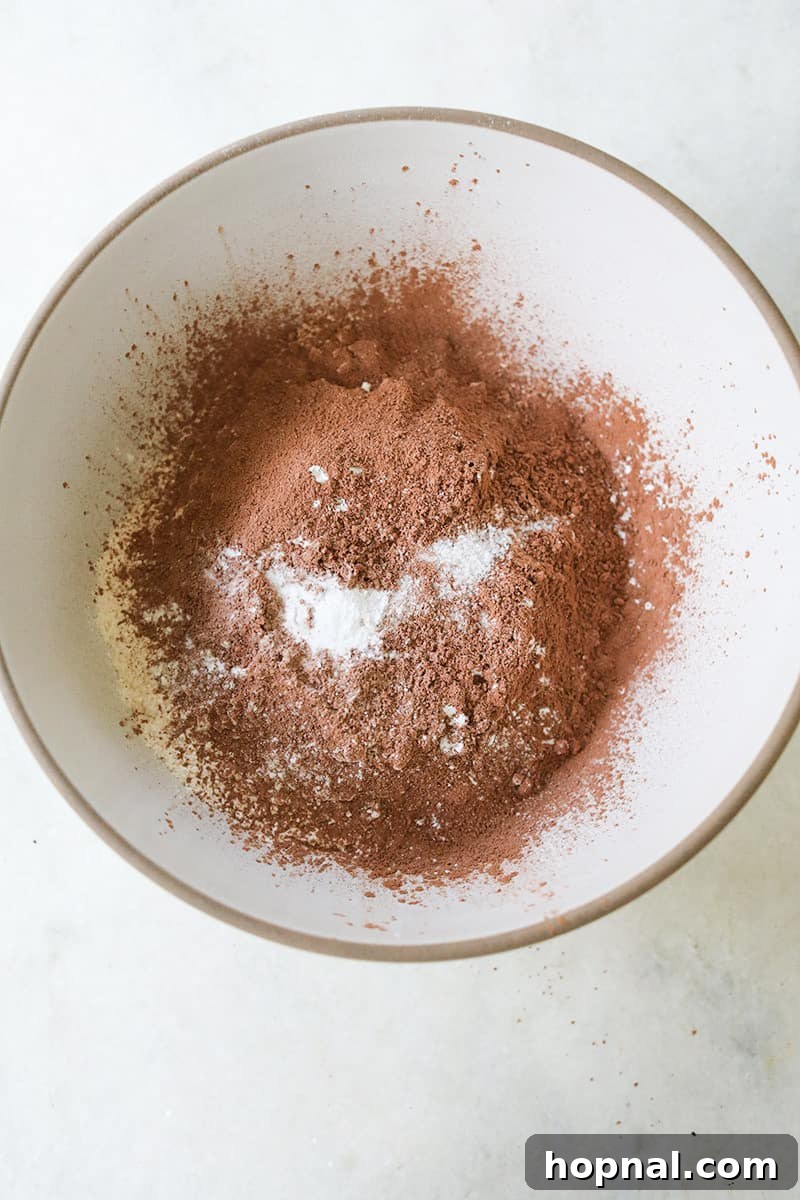
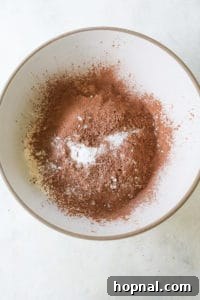
- Mix Dry Ingredients: In a separate large bowl, combine the cake flour, unsweetened cocoa powder, baking powder, baking soda, and salt. Whisk them together thoroughly to ensure even distribution of the leavening agents and cocoa. Set this aside.
- Cream Butter and Sugar: In the bowl of an electric mixer fitted with the paddle attachment, beat the room-temperature, softened butter and granulated sugar together on medium-high speed. Continue until the mixture is light, fluffy, and pale, about 3-5 minutes. Ensure your butter is truly soft (but not melted) for the best results.
- Alternate Wet and Dry Additions: Reduce the mixer speed to low. Gradually add 1/3 of the wet buttermilk mixture to the butter-sugar mixture, mixing until just combined. Next, add 1/3 of the dry flour mixture, mixing until just incorporated. Continue alternating in this manner, ending with the dry ingredients. The pattern should be: Liquid, Dry, Liquid, Dry, Liquid, Dry. This method helps prevent overmixing the flour, which can lead to tough cupcakes.
- Scrape the Bowl: Periodically stop the mixer and use a rubber spatula to scrape down the sides and bottom of the bowl. This ensures all ingredients are fully incorporated and prevents streaks of unmixed batter.
-
Image: Dry ingredients ready for mixing.
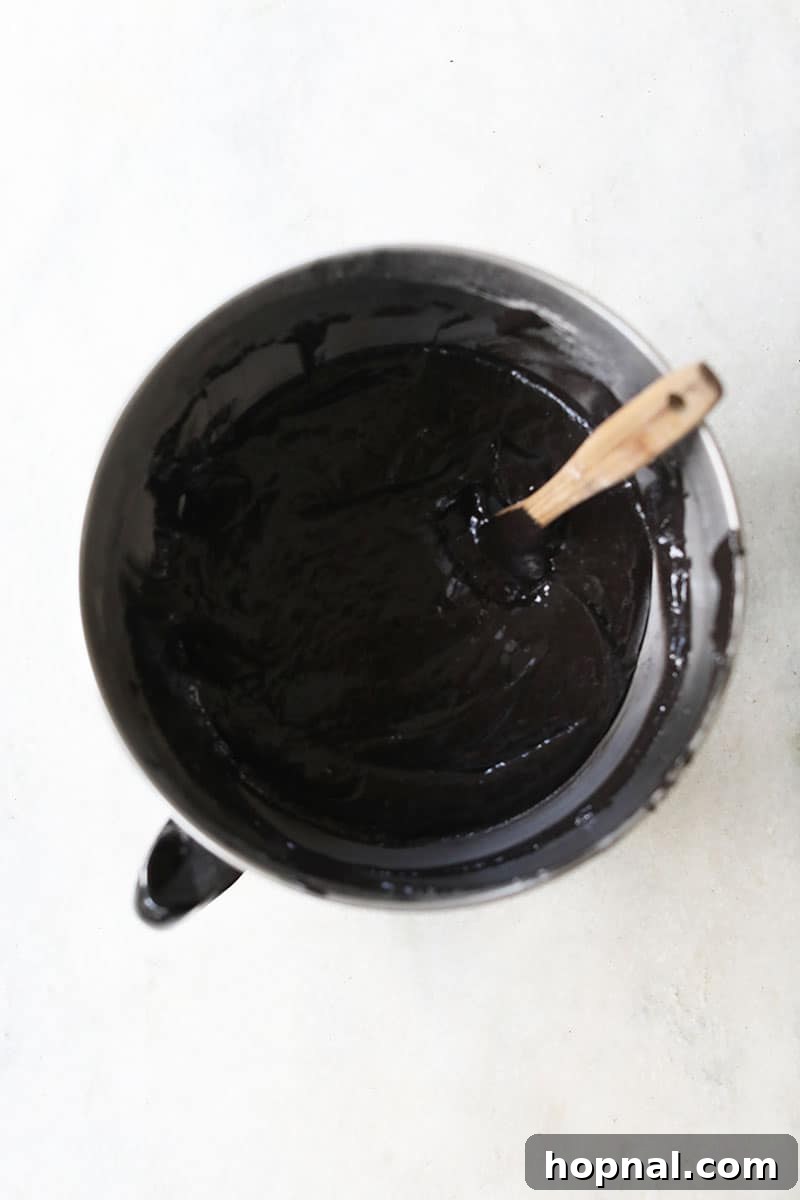
- Add Black Food Coloring: Once the batter is mostly combined, add the black gel food coloring. Start with the recommended amount (2 tbsp) and mix on low speed until the color is uniformly deep black. Add more food coloring, a teaspoon at a time, if you desire an even darker shade.
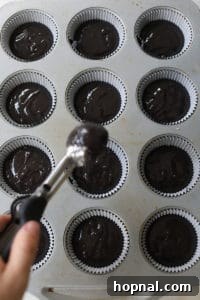
- Fill Cupcake Liners: Using a cupcake or cookie scooper, neatly fill each prepared cupcake liner 2/3 of the way full. This leaves enough room for the cupcakes to rise without overflowing. Tap the cupcake tin gently on your countertop a couple of times to release any air bubbles and settle the batter.
-
Image: Black velvet batter in a mixing bowl.
- Bake: Bake in the preheated 350°F (175°C) oven for approximately 15 to 20 minutes. Baking times can vary based on your oven and even your altitude, so start checking at 15 minutes.
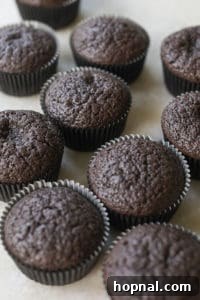
- Check for Doneness: Insert a toothpick into the center of a cupcake; if it comes out with a few moist crumbs attached (not wet batter), the cupcakes are done. They should also feel springy to the touch and the middle shouldn’t be jiggly. Avoid overbaking, as this will result in dry cupcakes.
- Cool Completely: Once baked, remove the cupcake tin from the oven and let the cupcakes cool in the tin for a few minutes before transferring them to a wire rack to cool completely. This step is crucial; frosting warm cupcakes will cause the frosting to melt and slide off.
Achieving Perfectly Baked Cupcakes
The Secret to Uniform Cupcakes
For bakery-quality cupcakes that are consistent in size and perfectly domed, a few simple tricks make all the difference:
- Use a Cookie Dough Scooper: This is your best friend for portioning! A medium-sized scooper (typically 2-3 tablespoons) helps you scoop in exactly the right amount of batter every time.
- Fill 2/3 Full: No more, no less. Filling the liners 2/3 of the way ensures they have ample room to rise beautifully without overflowing or creating flat tops.
- Keep it Clean: Try your best not to drip batter onto the pan or over the edges of the cupcake liners. Batter that bakes onto the tin or liners can burn and affect the overall presentation.
- Tap the Tin: Before baking, gently tap the cupcake tin two times on your counter. This helps to release any trapped air bubbles in the batter, leading to a smoother, more even crumb.
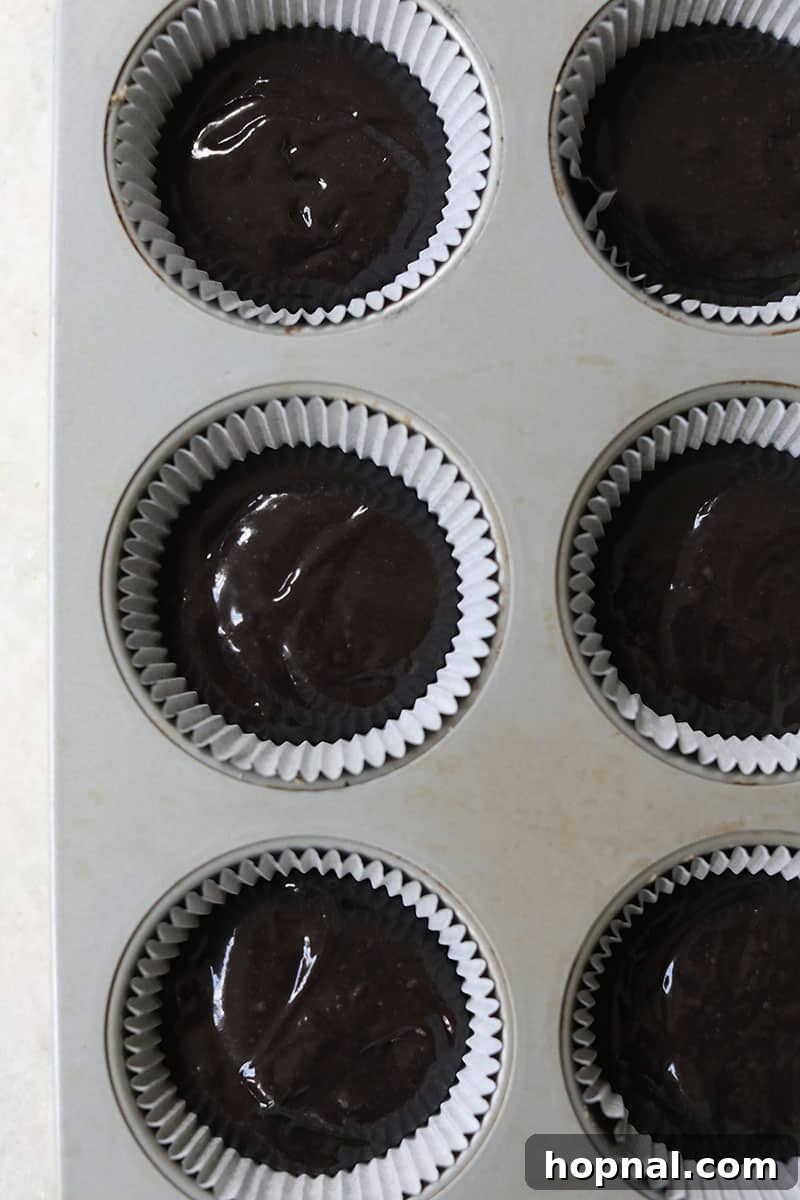
Optimal Baking Temperature and Time
Baking cupcakes at 350°F (175°C) is a standard practice, but the exact time can vary. Generally, it takes about 15 to 20 minutes to bake a dozen standard-sized cupcakes. This duration is influenced by several factors:
- Your Oven’s Calibration: Ovens can run hot or cold. It’s often helpful to use an oven thermometer to verify the actual temperature.
- Altitude: High-altitude baking requires adjustments to recipes, often involving slightly higher temperatures or different ingredient ratios.
- Cupcake Size: Smaller or larger cupcakes will naturally require different baking times.
- Doneness Test: Set a timer for 15 minutes. Once the timer goes off, gently touch the tops of the cupcakes – they should spring back. You can also insert a toothpick into the center of a cupcake. If it comes out with moist crumbs (not wet batter), they are ready. A completely clean toothpick can sometimes indicate overbaking, leading to drier cupcakes.
- Add Time Gradually: If they’re not quite done, add more time in 2-3 minute increments until they reach perfection. Remember, you can always add more baking time, but you can’t undo overbaking!
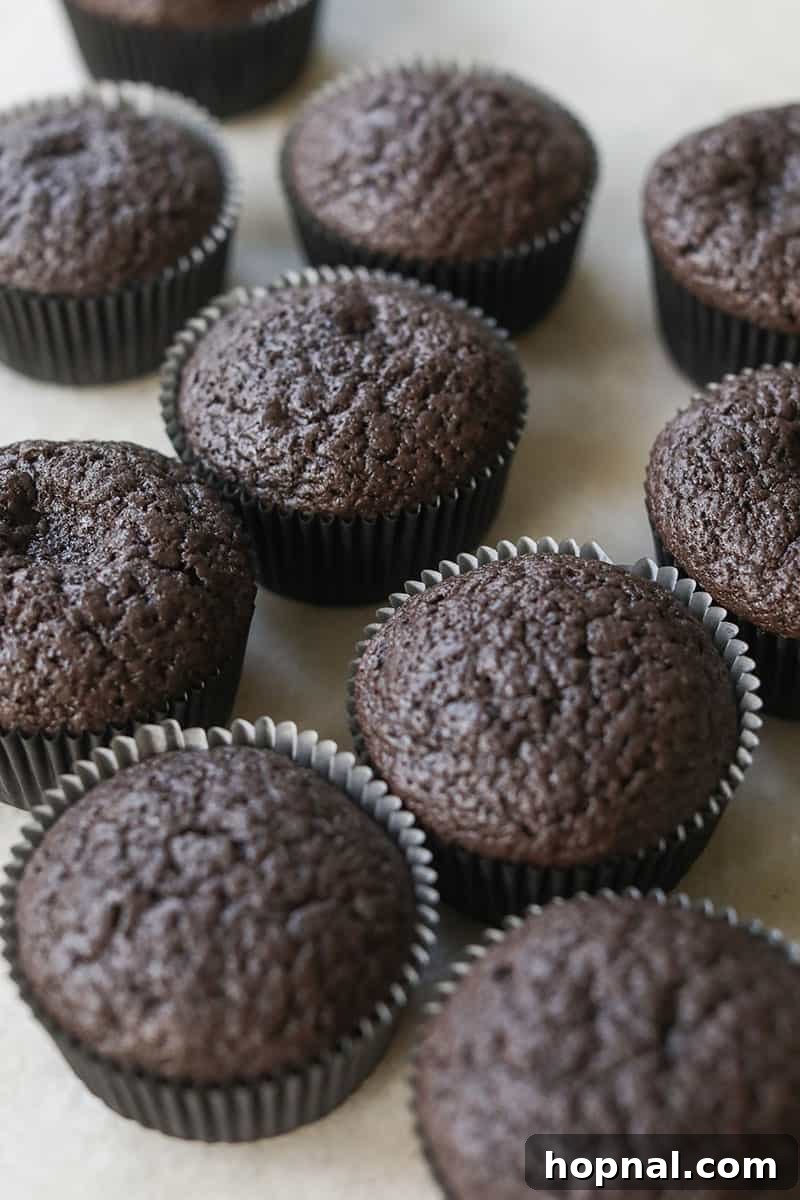
Decadent Black Cream Cheese Frosting
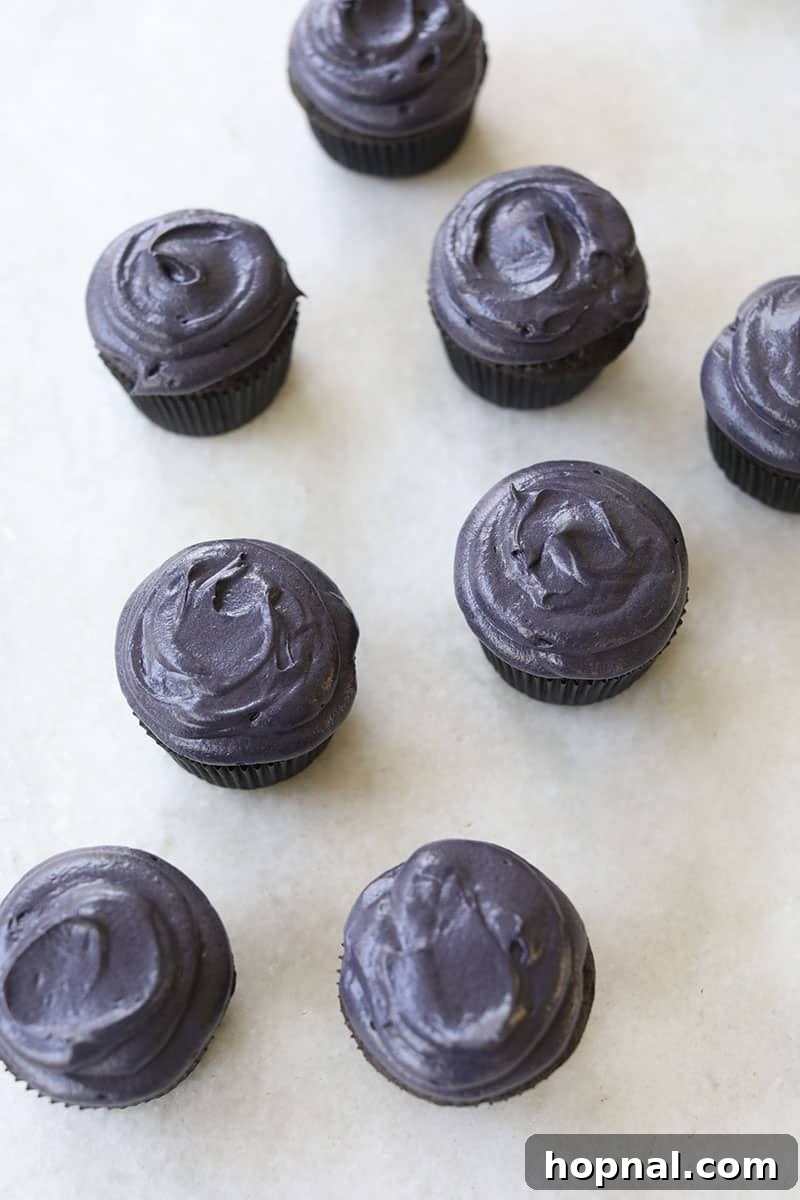
These black velvet cupcakes wouldn’t be complete without a generous swirl of classic cream cheese frosting, dyed black to match! It’s the perfect complement, offering a sweet, tangy, and incredibly smooth contrast to the rich, moist cupcake. This particular recipe yields a wonderfully whipped cream cheese frosting that pipes beautifully and holds its shape.
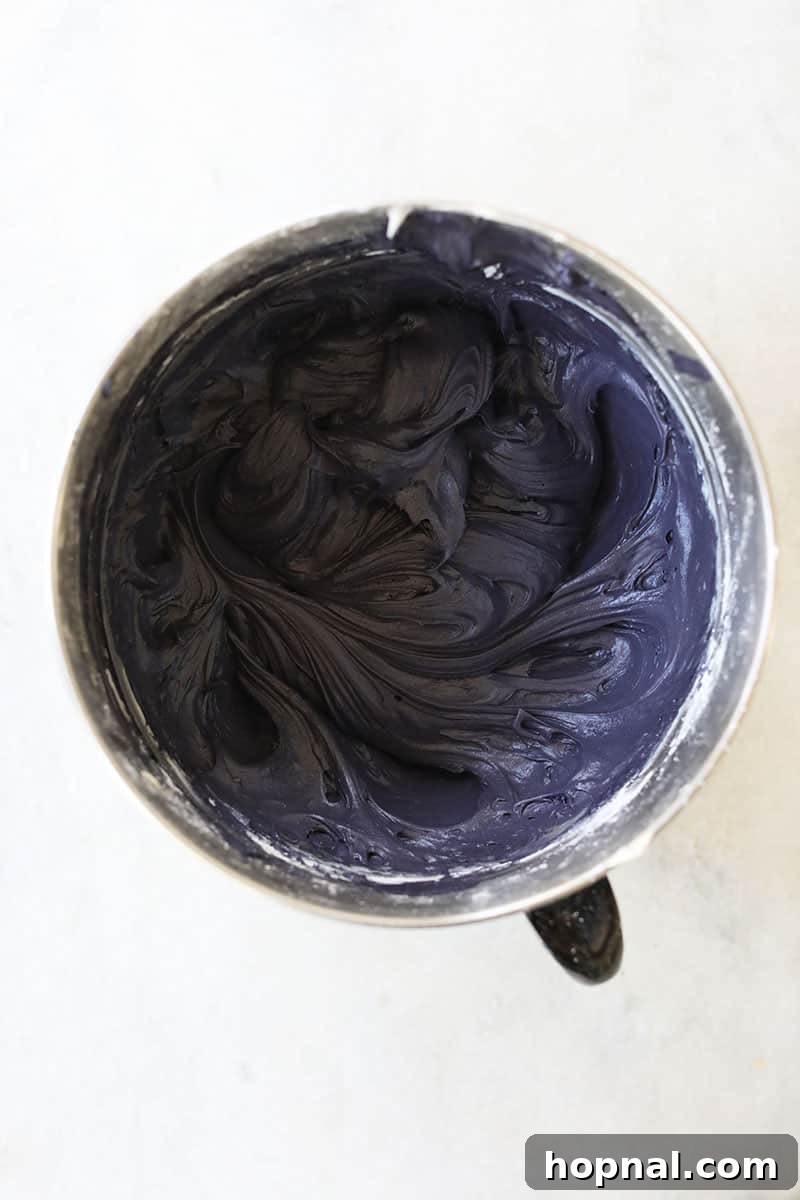
Mastering the Art of Frosting with a Piping Bag
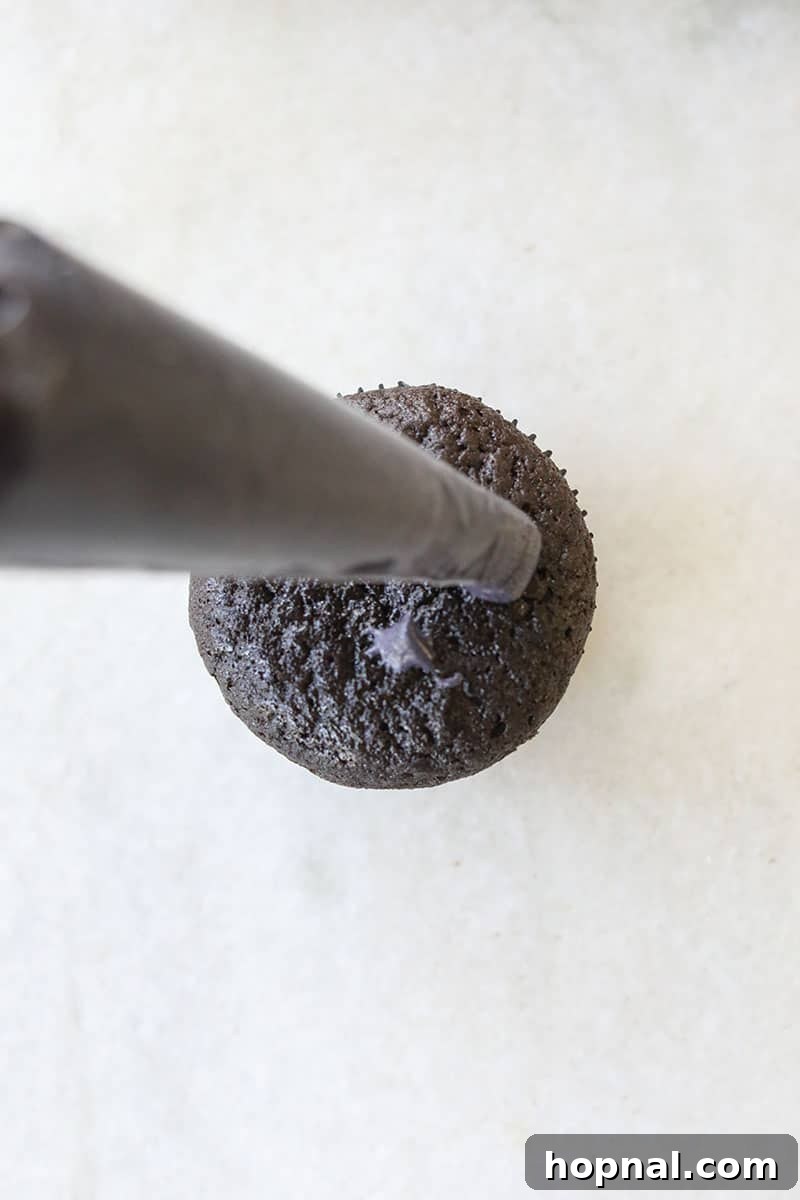
You don’t need fancy pastry tips to create beautifully frosted cupcakes. For these black velvet beauties, a simple cut at the end of the piping bag is all you need, especially since we’re not aiming for intricate designs like flowers. Let’s keep it easy and elegant!
- Prepare Your Piping Bag: Spoon all of your prepared black cream cheese frosting into a large piping bag. Twist the top of the bag closed to prevent frosting from oozing out the top while you pipe.
- Cut the Tip: Using kitchen scissors, cut off about 1/2 inch to 1 inch from the very end of the piping bag. The size of the hole will determine the thickness of your frosting swirl. For a generous dollop, a 1-inch cut is great.
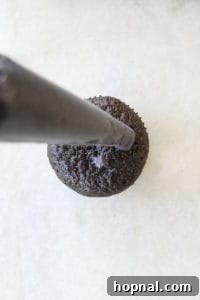
- Pipe with Ease: Hold the twisted top of the bag firmly with one hand and gently squeeze the frosting down towards the opening with the other. Starting from the outer edge of the cooled cupcake, apply even pressure and pipe the frosting in a spiral motion, working your way towards the center. Release pressure when you reach the desired height.
-
Image: Frosting a cupcake with a piping bag.
- Firming Up Frosting: If your cream cheese frosting feels too soft or runny (which can happen if your kitchen is warm or your butter/cream cheese was extra soft), place the filled piping bag in the refrigerator for 10-15 minutes. This will help it firm up slightly, making it easier to pipe.
- The “Swoop” Effect (Optional): For a rustic and charming look, after piping, gently use the back of a spoon to create a subtle swoop or peak in the frosting.
Effortless Halloween Cupcake Decorations
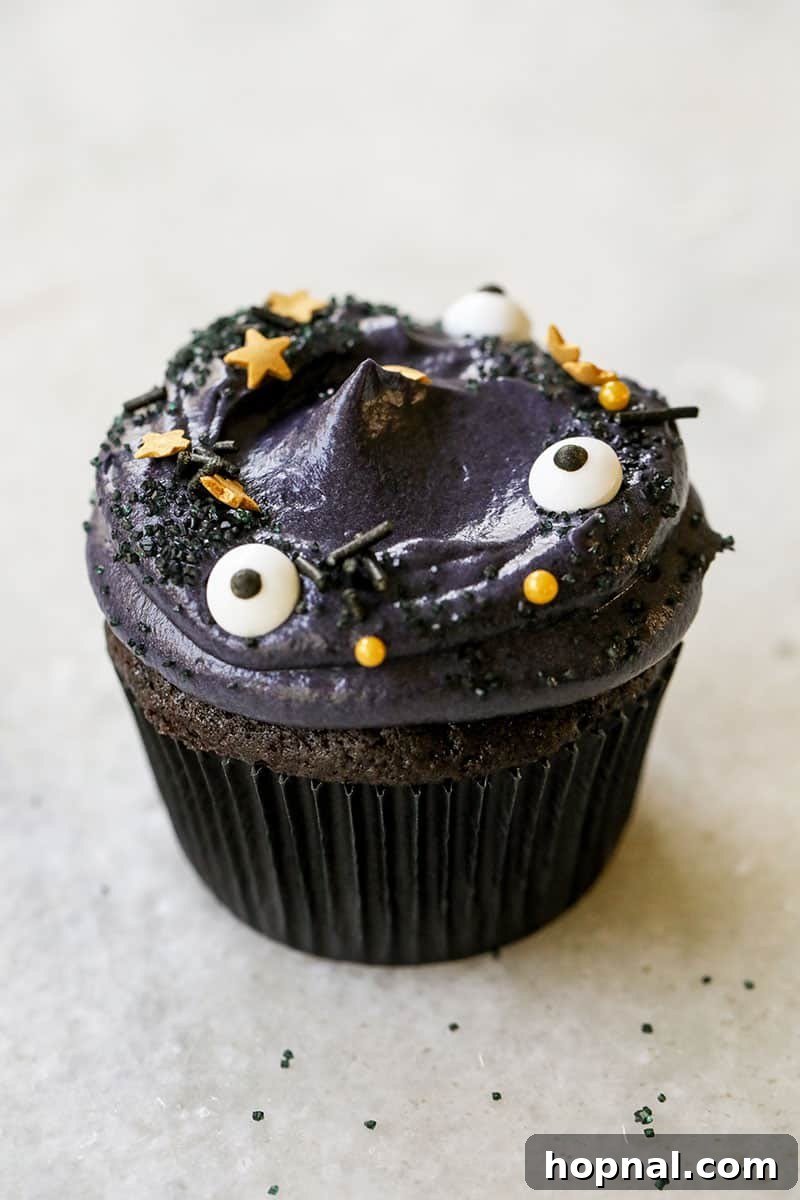
Decorating these black velvet cupcakes for Halloween is where the real fun begins, and it doesn’t have to be complicated to be impressive!
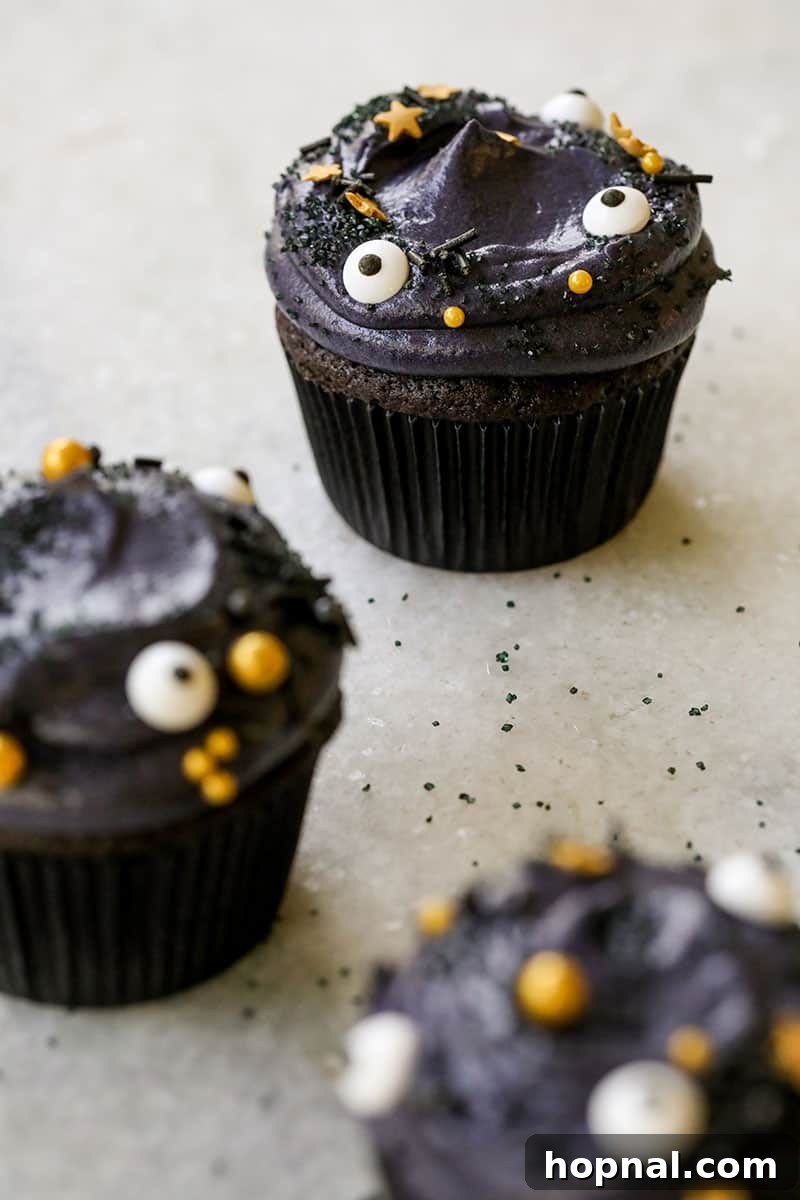
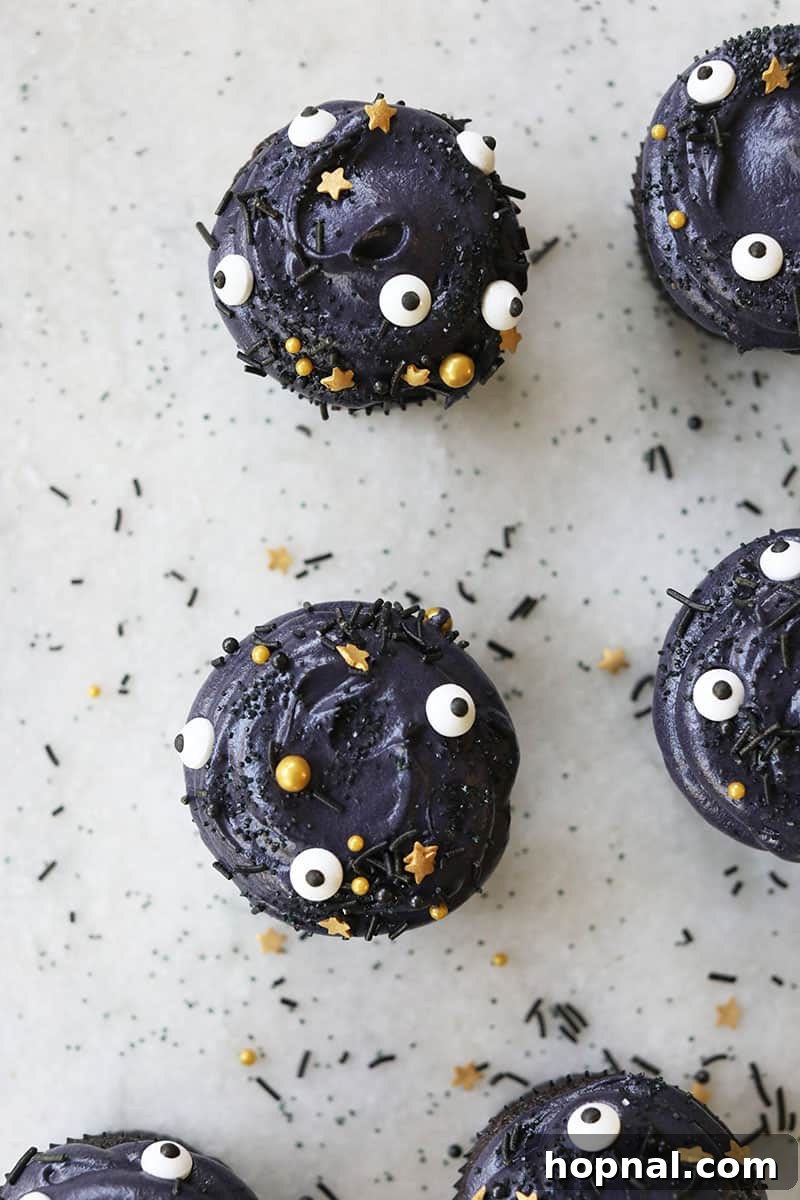
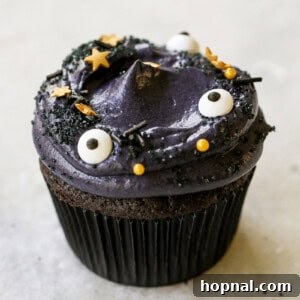
- Sprinkle Magic: The easiest and most effective way to decorate is with sprinkles. Eye sprinkles immediately give a playful, spooky vibe. Gold stars add a touch of mysterious elegance against the dark frosting. Don’t limit yourself – green sprinkles, bone-shaped sprinkles, or even mixed Halloween-themed sprinkles with pumpkins and ghosts can be fantastic.
- Edible Glitters & Dusts: A dusting of edible silver or gold glitter can make your cupcakes shimmer like a moonlit night, adding a magical touch.
- Candy Accents: Small candy corn, gummy worms, or even tiny chocolate bats can be placed on top of the frosting for an extra treat.
- Mini Cookie Toppers: Cut out small bat, ghost, or cat shapes from store-bought sugar cookies using mini cookie cutters, then place them on the frosting.
Essential Tips for Baking Success
Even experienced bakers can benefit from a few tried-and-true tips. Keep these in mind to ensure your black velvet cupcakes turn out perfectly every time:
- Do Not Over-mix: This is perhaps the most crucial rule for tender cupcakes. Once you add the flour, mix only until the ingredients are just combined. Overmixing develops gluten, which leads to tough, chewy cupcakes. Use a high speed for creaming butter and sugar, but then switch to low for all subsequent mixing steps.
- Scrape Down the Bowl: Always stop the mixer and scrape down the sides and bottom of your mixing bowl with a spatula. This ensures all ingredients are fully incorporated, preventing pockets of unmixed flour or butter.
- Adjust Food Dye as Needed: The amount of black food coloring can vary depending on the brand and desired intensity. Don’t be afraid to add a little more if your batter or frosting isn’t as dark as you’d like. Gel food coloring is best for this as it won’t thin your mixtures.
- Use a Cookie Scooper: For perfectly uniform cupcakes that bake evenly and look professional, a cookie or ice cream scooper is invaluable. Fill liners approximately two-thirds full.
- Always Preheat the Oven: A properly preheated oven ensures that the leavening agents (baking soda and baking powder) activate quickly and effectively, giving your cupcakes a good rise and even texture.
- Set the Timer Wisely: When baking, always set your timer for the shorter end of the recommended baking range (e.g., 15 minutes if the range is 15-20 minutes). You can always add more time, but you cannot fix overcooked cupcakes. Baking times are highly variable due to oven temperature differences, brand variations, and even your geographic location (altitude).
- How to Check for Doneness: A cupcake is fully baked when it has risen, feels springy to the touch, and the center is no longer jiggly. When a toothpick inserted into the center comes out with a few moist crumbs (but no wet batter), they are perfect. A completely clean toothpick might mean they are slightly overbaked, which can result in a drier crumb.
Storing Your Spooky Treats
To keep your black velvet Halloween cupcakes fresh and delicious, proper storage is essential, especially since they feature cream cheese frosting.
- Airtight Container: The best way to store frosted cupcakes is in an airtight container. This prevents them from drying out and absorbs any strong odors from your refrigerator.
- Refrigeration is Key: Because cream cheese frosting contains dairy, these cupcakes must be stored in the refrigerator. They will stay fresh for up to 3-4 days when properly stored.
- Bringing to Room Temperature: For the best flavor and texture, remove the cupcakes from the refrigerator about 30 minutes to an hour before serving to allow them to come to room temperature.
- Freezing (Unfrosted): You can bake the cupcakes ahead of time and freeze them unfrosted. Wrap completely cooled cupcakes individually in plastic wrap, then place them in a freezer-safe bag or container for up to 2-3 months. Thaw them in the refrigerator overnight before frosting.
- Cupcake Carriers: Specialized cupcake carriers are excellent for both storage and transport, keeping your decorated treats safe and secure. For more detailed information, check out our guide on how to store cupcakes!
More Halloween Dessert Inspiration
Looking for more spooky treats to complete your Halloween spread? Here are some other fun and delicious ideas:
- Easy Mummy Halloween Cupcakes
- Dragon Fruit Chocolate Cupcakes
- Brown Butter Mummy Rice Krispie Treats
- Halloween Dirt Cups
Share Your Creations!
We absolutely love seeing your culinary creations! If you make these fun black velvet Halloween cupcakes, please let us know. Leave a comment and a review below to share your experience and tips. You can also tag @sugarandcharm on all our social channels so we can see your spooky masterpieces!
You can also FOLLOW US on FACEBOOK, INSTAGRAM, and PINTEREST to discover more delicious recipes, inspiring cocktails, delightful desserts, and creative party ideas!
Rated 4.79 out of 5 stars by 14 users
Black Velvet Cupcakes
Eden
A dramatic twist on the classic red velvet cake, these cupcakes are infused with black food coloring, topped with a velvety whipped cream cheese frosting, and perfectly decorated for a hauntingly delightful Halloween!
25 mins
15 mins
18 cupcakes
Rate Recipe
Print Recipe
Equipment
- Electric Mixer (Stand or Handheld)
- Cupcake Tin
- Cupcake Wrappers
- Sprinkles
- Mixing Bowls
- Piping Bag
- Cupcake / Cookie Scooper
Ingredients
Black Velvet Cupcakes
- 8 tbsp butter, room temperature and soft
- 1 1/2 cups granulated sugar
- 2 1/4 cup cake flour, (this is different from all-purpose flour so make sure you use cake flour)
- 1 tsp baking powder
- 1 tsp baking soda
- 1 tsp salt
- 1/4 cup unsweetened cocoa powder
- 1/2 cup vegetable oil
- 1 cup buttermilk
- 2 large eggs
- 1 tsp white distilled vinegar
- 1 tsp vanilla extract
- 2 tbsp black food coloring (or more!)
Cream Cheese Frosting
- 16 tbsp unsalted butter, softened and cut into chunks. (MUST be soft.)
- 4 cups powdered sugar
- 1 pound cream cheese, softened (MUST be soft)
- 1 1/2 teaspoon vanilla extract
- 3 tbsp black food coloring (more if needed)
Instructions
Black Velvet Cupcakes
-
Preheat the oven to 350°F (175°C). Line a 12-cup muffin tin with black cupcake liners.
-
Whisk together buttermilk, eggs, vegetable oil, vinegar, and vanilla in a tall liquid measuring cup. Set aside.
-
In another bowl, combine the cake flour, unsweetened cocoa powder, salt, baking soda, and baking powder. Whisk well to combine. Set aside.
-
With an electric mixer (stand mixer with paddle attachment or electric hand mixer), beat the softened butter and granulated sugar on medium-high speed until light and fluffy, about 3-5 minutes.
-
Reduce the mixer speed to low. Gradually add 1/3 of the buttermilk mixture to the butter-sugar mixture, mixing until just combined. Then add 1/3 of the flour mixture, mixing until just incorporated. Continue alternating these additions, ending with the dry ingredients (Liquid, Dry, Liquid, Dry, Liquid, Dry). Scrape down the sides and bottom of the bowl between additions.
-
Add the black food coloring (start with 2 tbsp). Beat on low speed until the color is uniformly incorporated and a deep black. Add more food coloring if a darker shade is desired.
-
Using a cupcake or cookie scooper, neatly scoop the batter into the prepared cupcake liners, filling each about 2/3 of the way full. Gently tap the cupcake tin on the counter a couple of times to remove any air bubbles.
-
Bake for 15 to 20 minutes, or until a toothpick inserted into the center comes out with a few moist crumbs. Start checking at 15 minutes and add more time as needed.
-
Let the cupcakes cool in the tin for 5 minutes before transferring them to a wire rack to cool completely before frosting.
Black Velvet Whipped Cream Cheese Frosting
-
With an electric mixer (stand or handheld), beat the softened unsalted butter on medium speed until creamy and whipped, about 2 minutes.
-
Gradually add the powdered sugar, one cup at a time, beating until smooth after each addition.
-
Add the softened cream cheese and beat on high speed until light and fluffy. Scrape the sides and bottom of the bowl to ensure everything is well combined.
-
Add the vanilla extract and beat until incorporated.
-
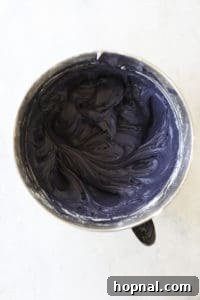
Add the black food coloring (start with 3 tbsp), one tablespoon at a time, and continue beating until you achieve a deep, uniform black color.
-
Transfer the frosting to a piping bag (with or without a tip, as described above). Frost the top of each completely cooled cupcake. Decorate with sprinkles as desired!
Nutrition
Calories:
429kcal
,
Carbohydrates:
57g
,
Protein:
5g
,
Fat:
21g
,
Saturated Fat:
14g
,
Cholesterol:
63mg
,
Sodium:
349mg
,
Potassium:
122mg
,
Fiber:
1g
,
Sugar:
44g
,
Vitamin A:
548IU
,
Calcium:
61mg
,
Iron:
1mg
Nutrition information is automatically calculated, so should only be used as an approximation.