
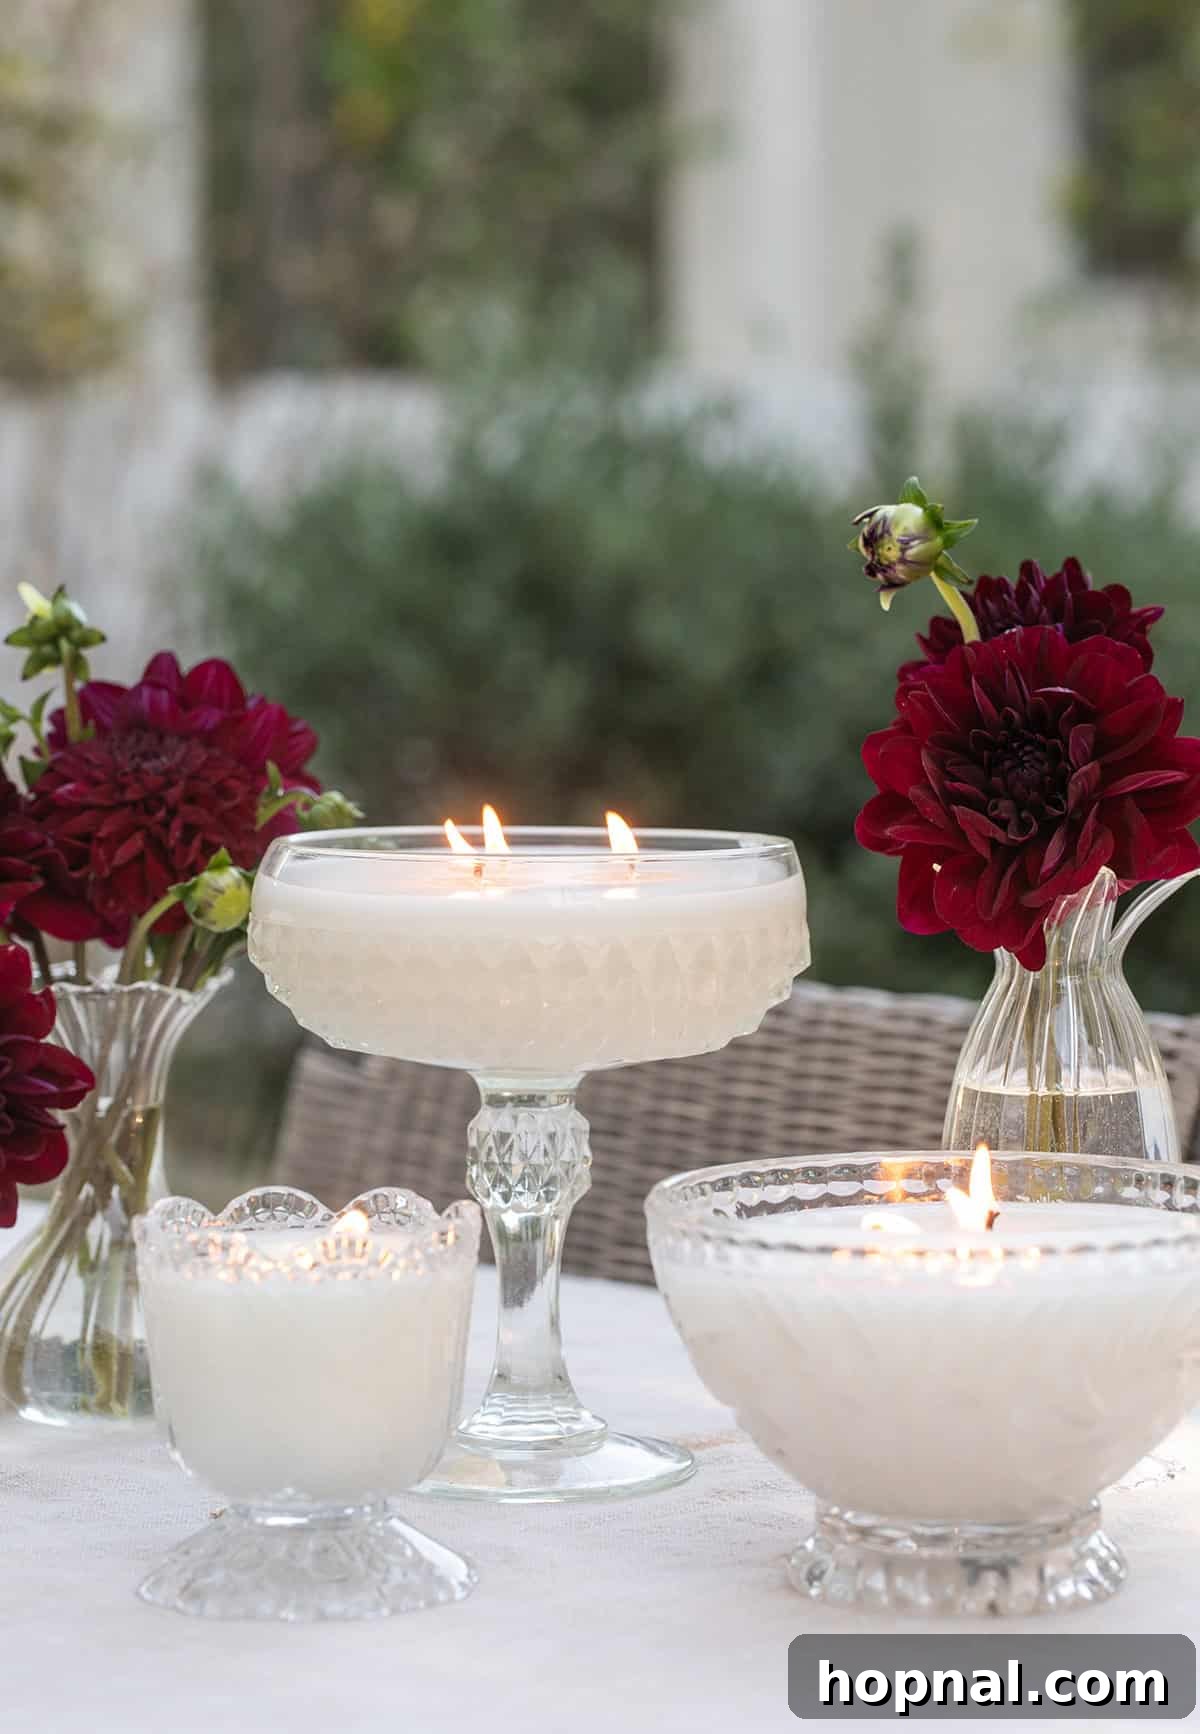
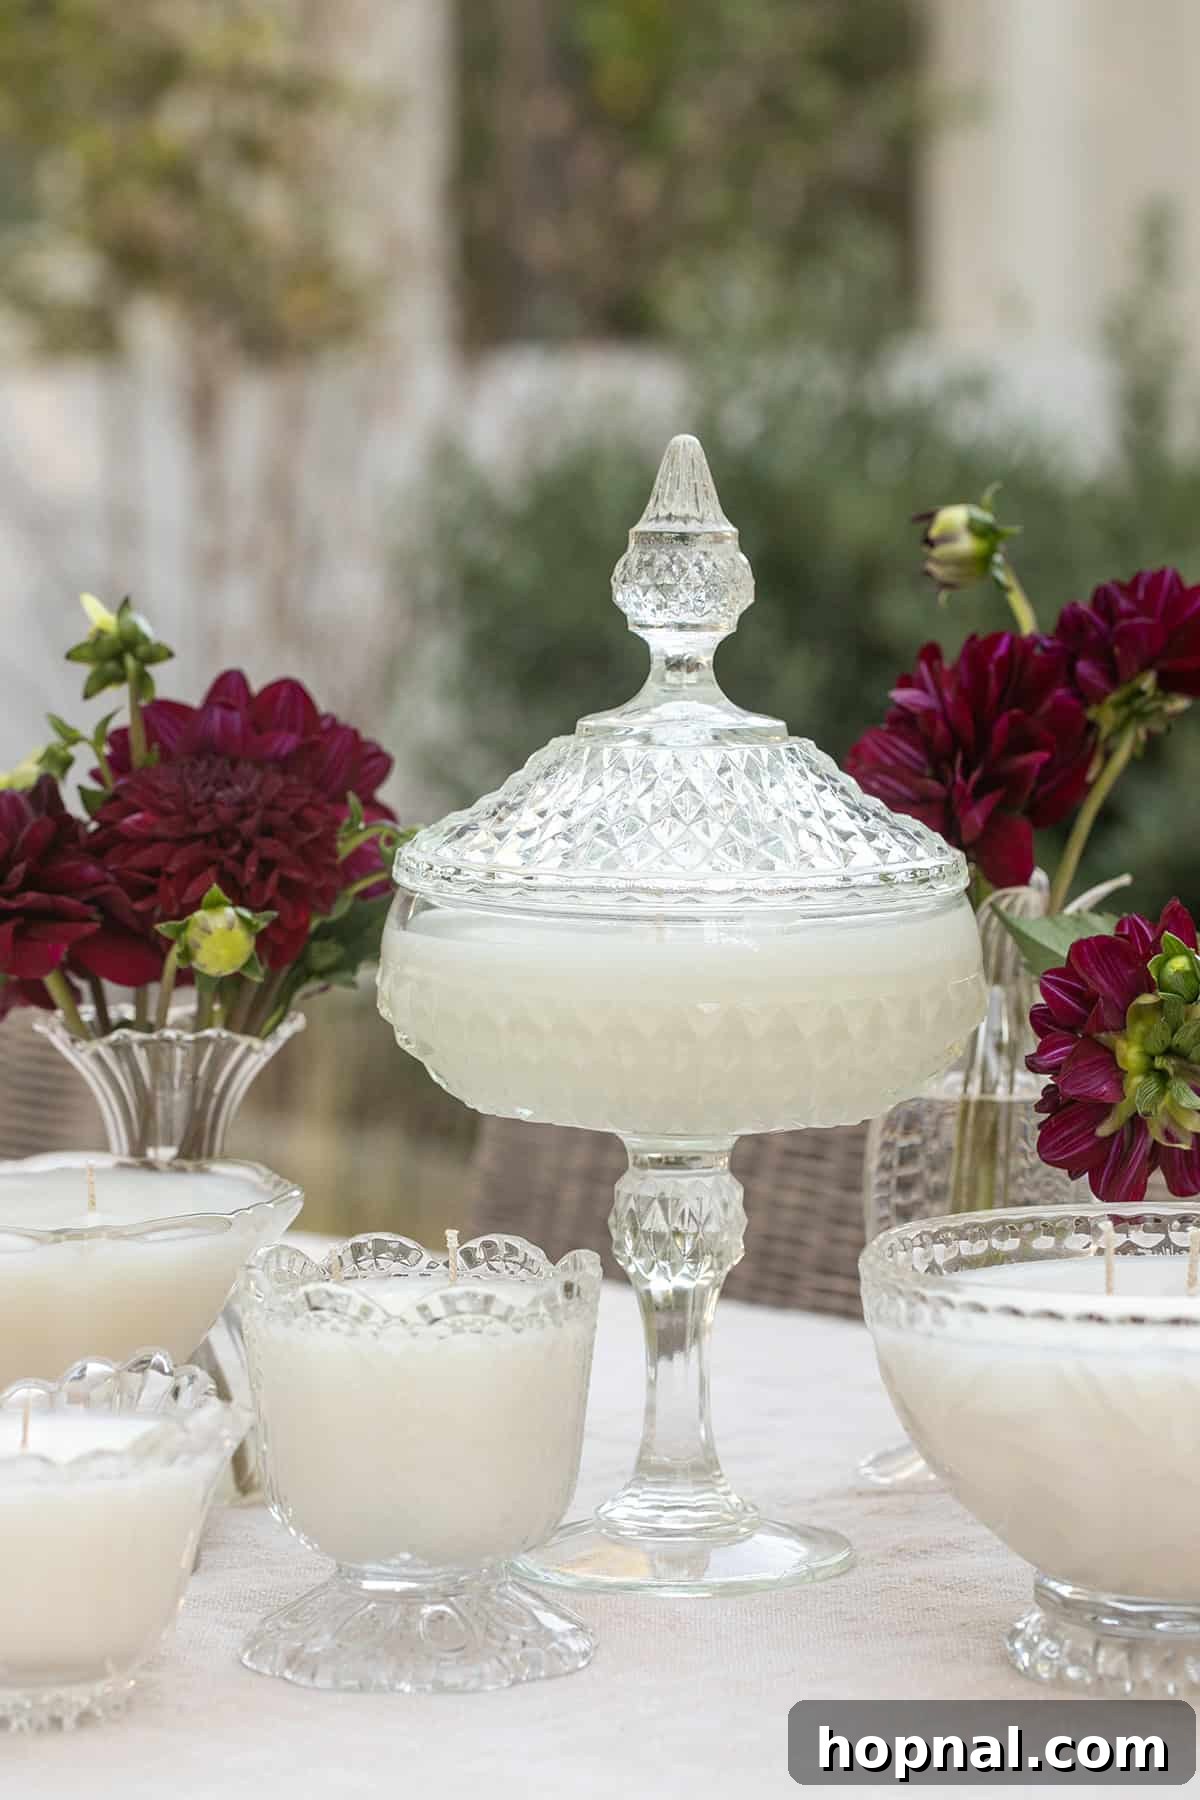
I started making candles in vintage glassware because I had collected an assortment of glass dishes for parties and never used most of them. I burn candles every day, so repurposing these beautiful thrifted pieces into candles felt obvious. They’re plentiful at thrift stores and antique malls—each one a little waiting to be turned into something special.
Using vintage glass gives each candle instant charm. A well-chosen vessel elevates a homemade candle so it looks more expensive than store-bought versions.
This idea follows the same philosophy as my oil candles and terracotta votives: the container contributes a lot to the overall appeal.
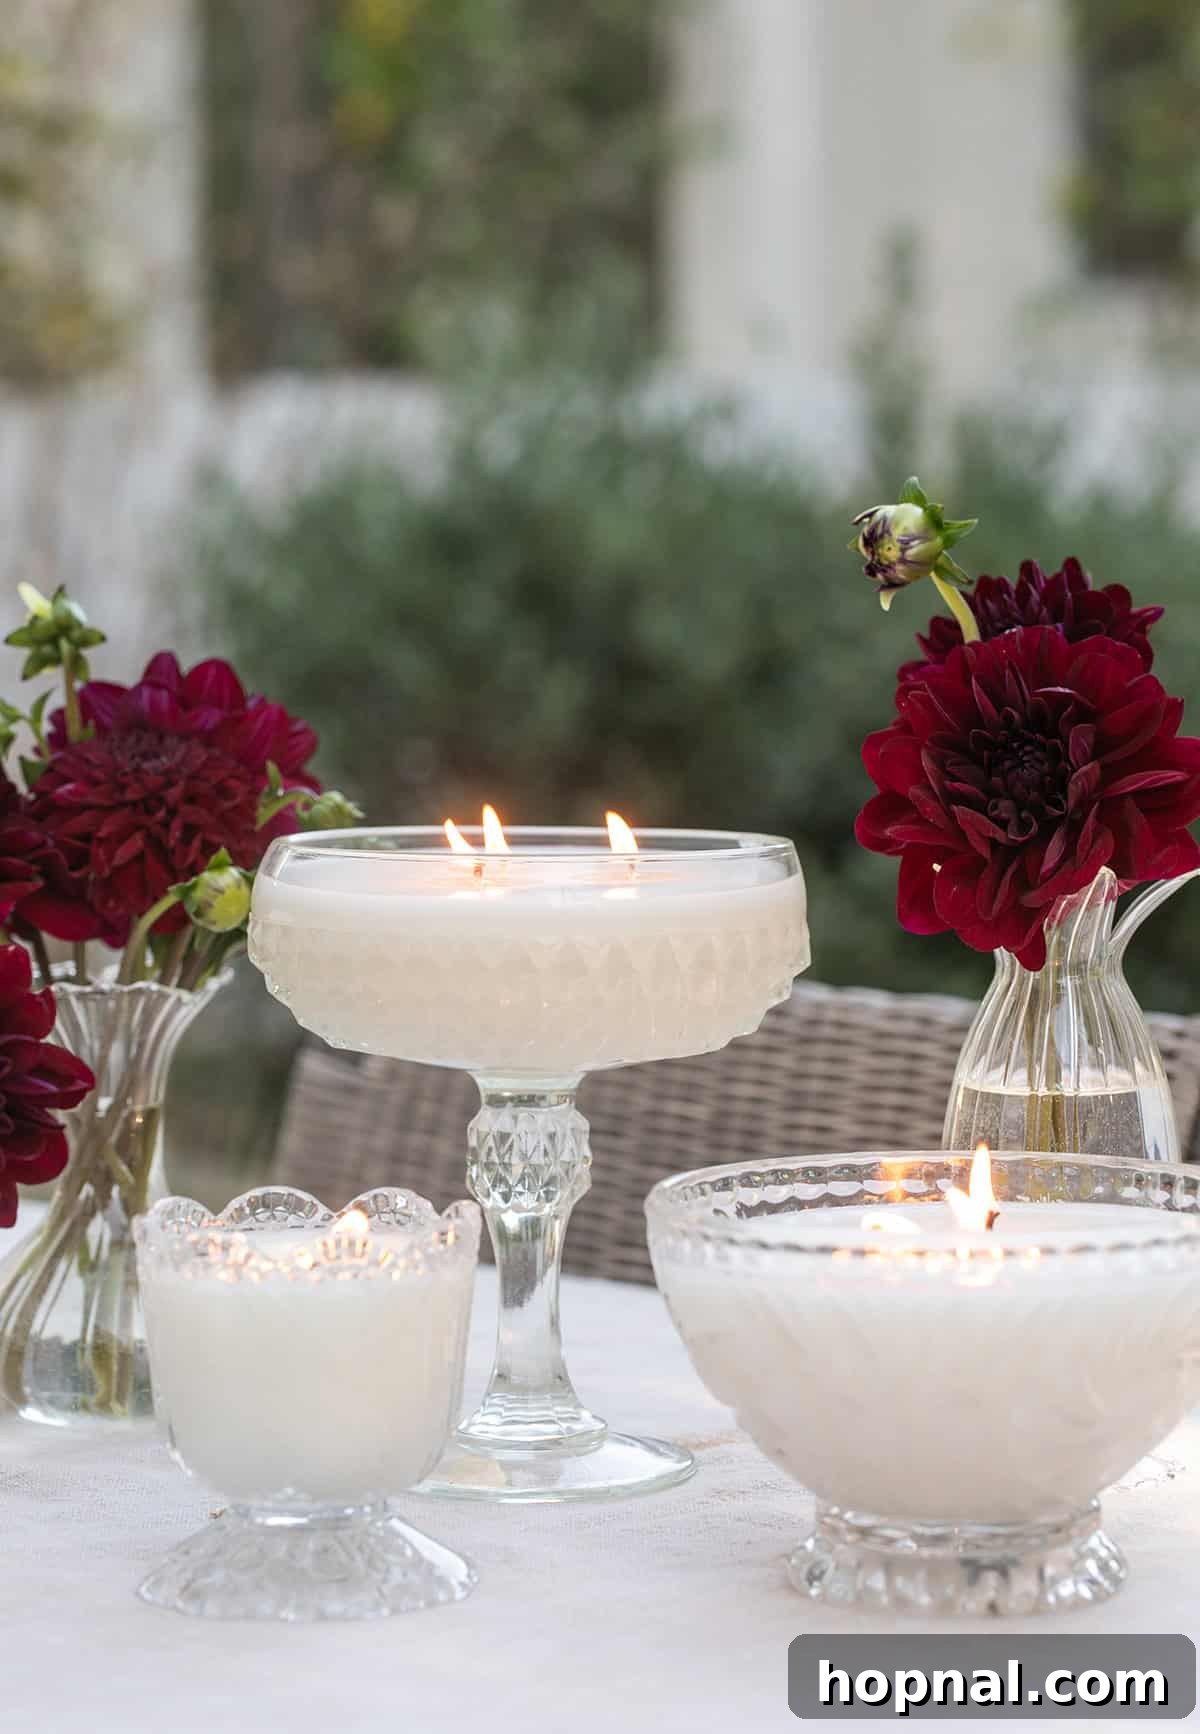
Here’s What You Need to Know
Not every pretty dish can safely hold a candle, but there’s a simple ten-minute test you can use. Look for thick, heavy glass and avoid crystal. A coconut apricot wax blend is an excellent choice for home candle making—it burns smoothly and rarely smells waxy.
Use fragrance oils rather than essential oils if you want a scent that fills the room. Blending your own fragrances is one of the most enjoyable parts of this project.
The actual work takes about thirty minutes, then you’ll wait a few days for the candle to cure before burning.
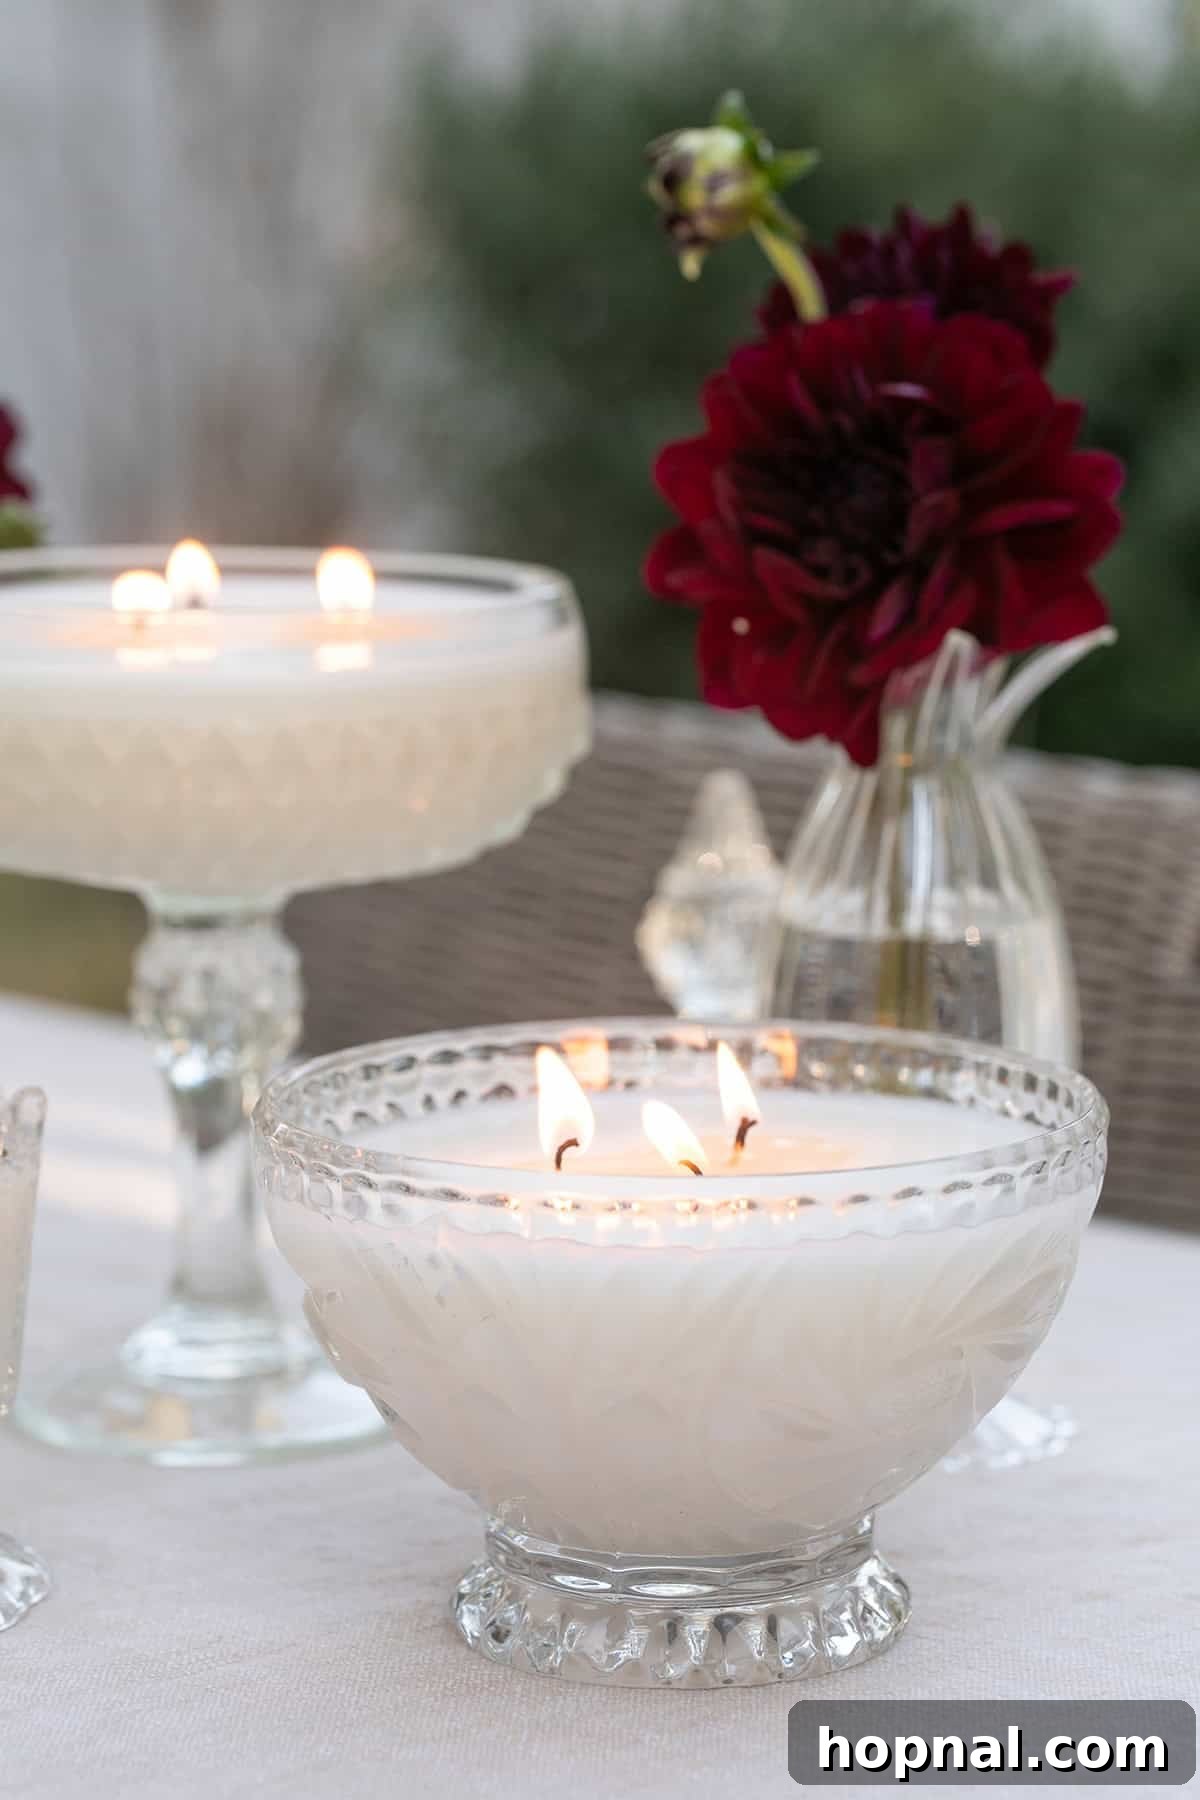
Finding the Right Vintage Glass
Choose sturdy pieces such as sugar bowls, candy dishes, heavy pressed glass compotes, and lidded containers—lids look beautiful with candles. Always pick up a piece before buying: it should feel substantial and heavy rather than delicate.
Look for shapes that open at the top rather than narrowing, and aim for at least a couple of inches of depth. Examine the glass in good light and turn it to check for chips and hairline cracks.
Avoid crystal and lead crystal, thin blown glass, any piece with interior paint or gilding, and anything precious or irreplaceable you’d regret breaking. If a vessel can’t handle heat, it isn’t worth the risk.
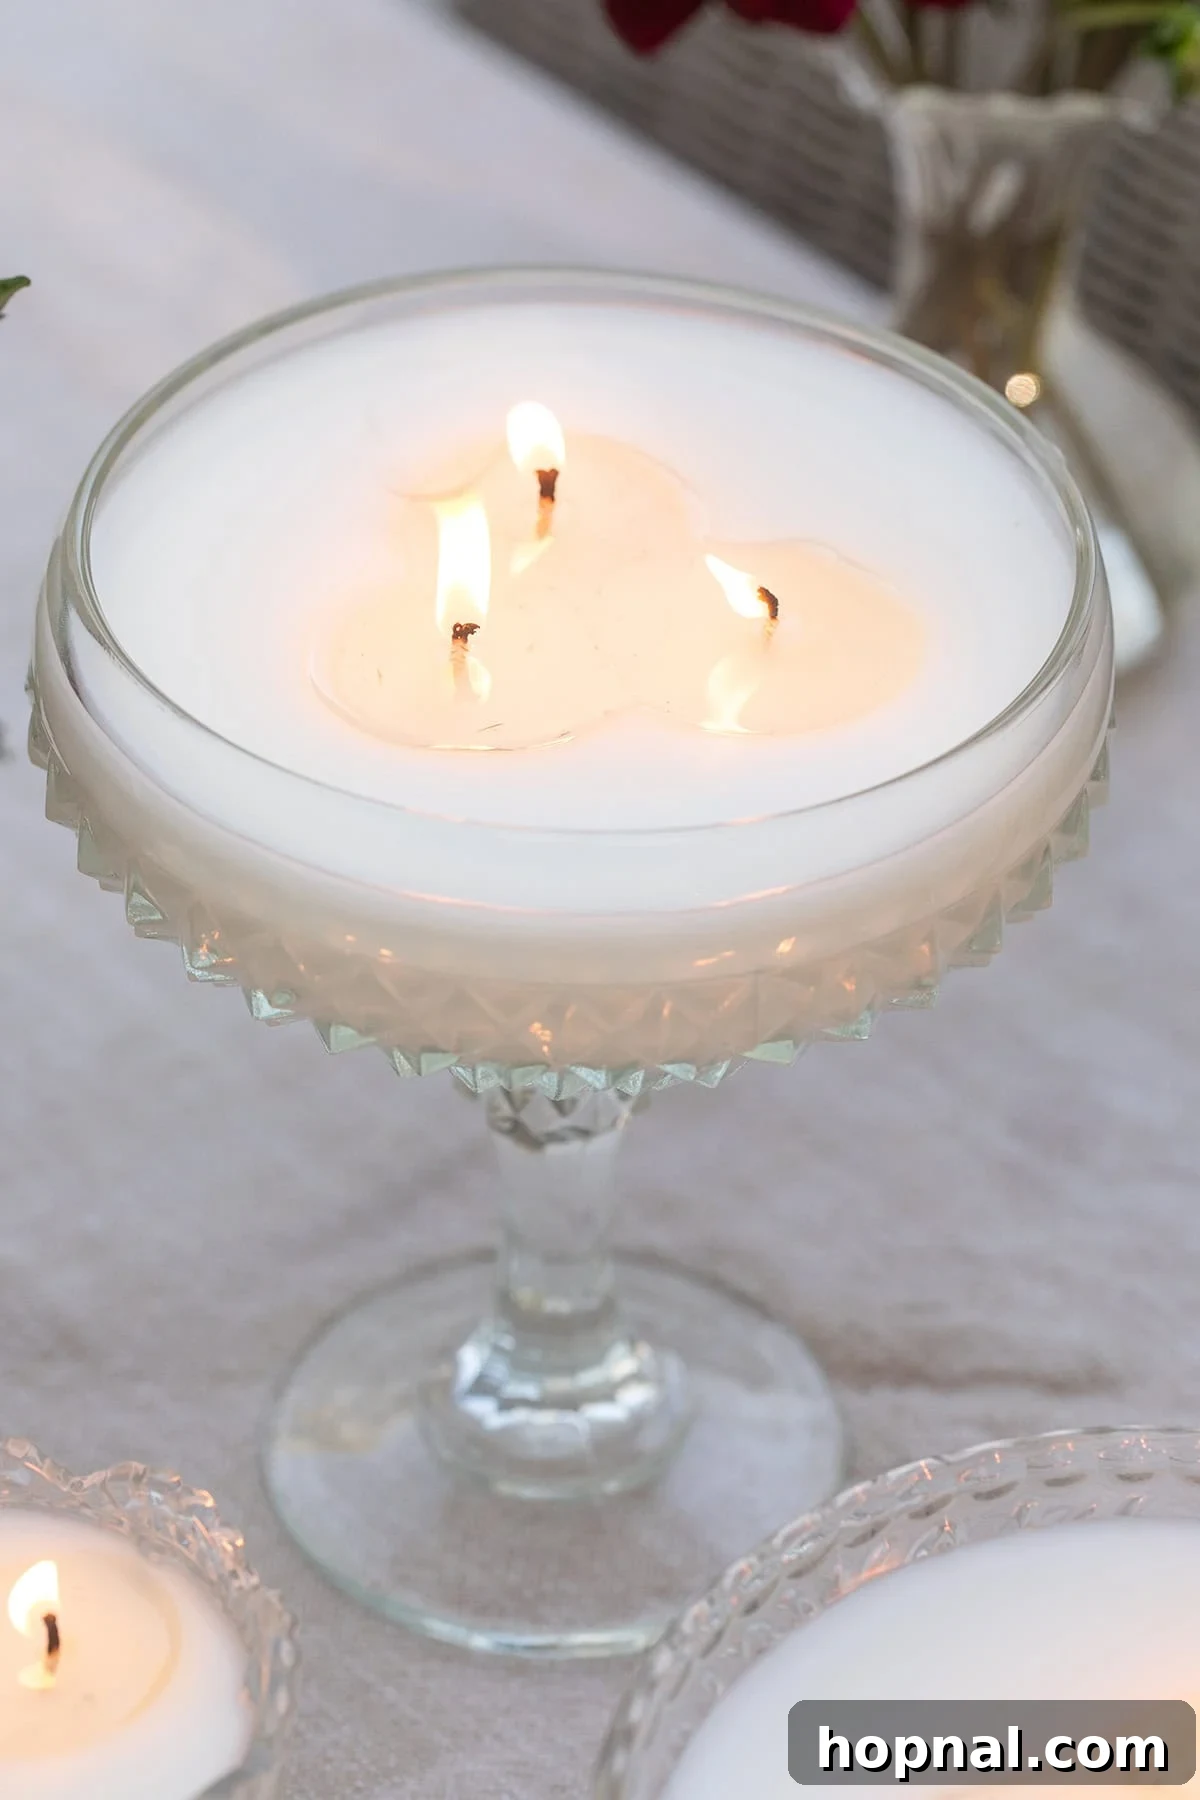
The Heat Test
This is a crucial step many people skip. Glass can crack from sudden or sustained heat, so I always do what I call a “heat shock” test before pouring wax.
Do this in the sink so any breakage happens in a contained place. Set the clean, dry, room-temperature vessel in the sink and fill it with near-boiling water. Let it sit for five to ten minutes, then drain and immediately run cold water over it to shock the glass. Inspect it carefully in good light—no cracks, no hairlines, and no dull or uneven sounds when you tap it.
If the glass cracks during this test, you’ve avoided a messy and potentially dangerous failure while saving money and time.
Remember: home tests reduce risk but don’t guarantee safety. Burn candles on a heat-safe surface, never leave a burning candle unattended, and stop burning when about half an inch of wax remains.
What You’ll Need
Essentials for this project:
- Vintage glass that has passed the heat test
- Coconut apricot wax blend
- Cotton wicks sized to your vessel
- Wick stickers and a wick bar or holder
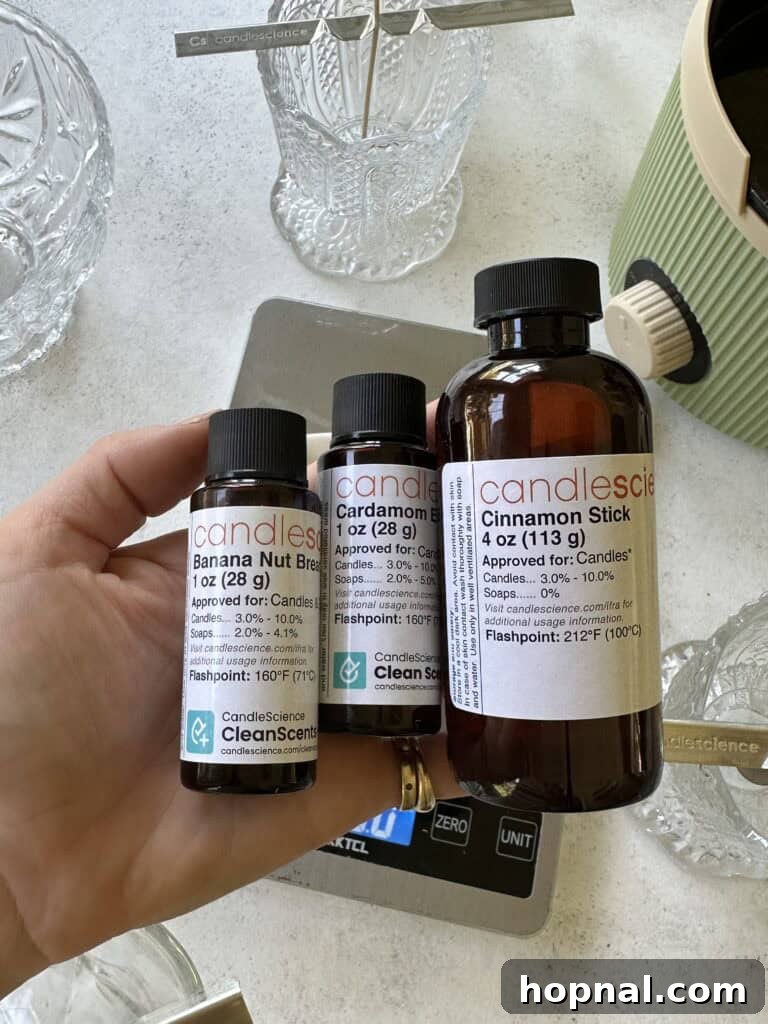
- Fragrance oils
- Fragrance testing sticks
- Small disposable cups for mixing
- A pouring pitcher, thermometer, and kitchen scale
Coconut apricot wax burns evenly, holds fragrance well, and avoids the heavy waxy scent some soy blends have. Wick stickers and holders make anchoring and centering the wick quick and reliable. Fragrance testing sticks let you sample blends without wasting wax, and disposable cups keep scents from cross-contaminating.
Choose wicks based on the vessel’s diameter: vessels two and a half to three inches across typically need one wick; over three and a half inches usually need two. Fragrance oils give a stronger throw than essential oils; if you prefer natural scents, essential oil candles are softer and more about ambiance, though citronella is an exception because it carries well outdoors.
How to Make Vintage Glassware Candles
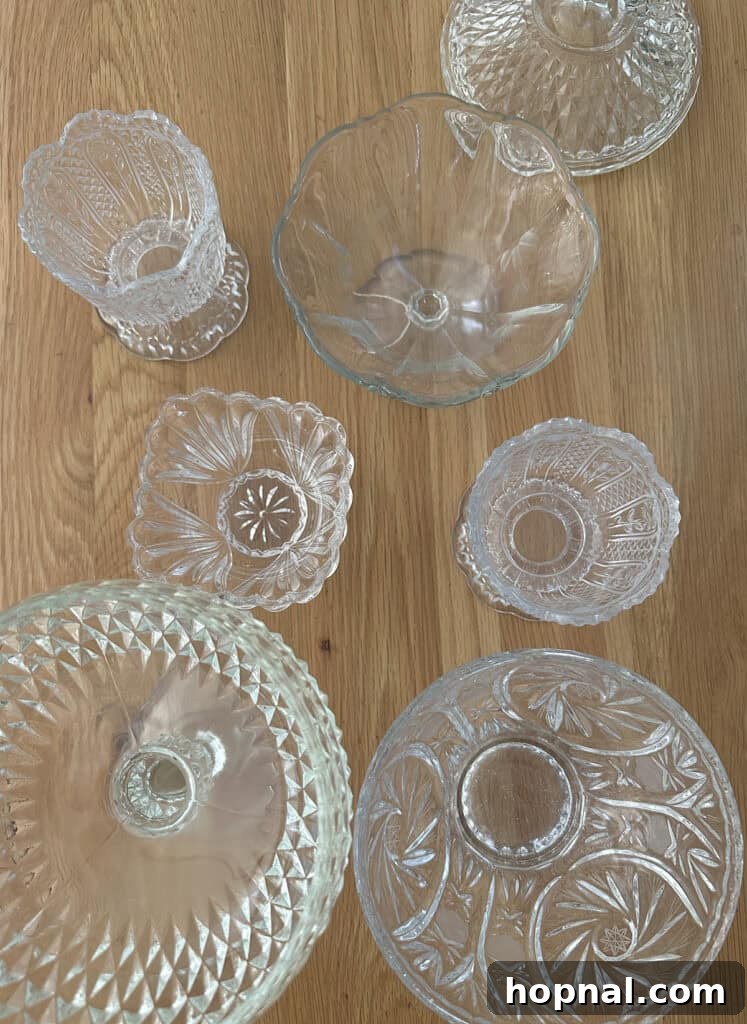
1. Wash and dry the glass completely. Old vessels trap dust and moisture; any leftover water will create wet spots in the set wax.
2. Run the heat test. Perform the sink heat shock described above. Allow the glass to return to room temperature and dry fully before proceeding.
3. Measure your wax. Place the empty vessel on a scale and zero it. Fill with water to about half an inch below the rim and note the ounces—this tells you how much wax to melt. Have a little extra on hand to avoid running short while pouring.
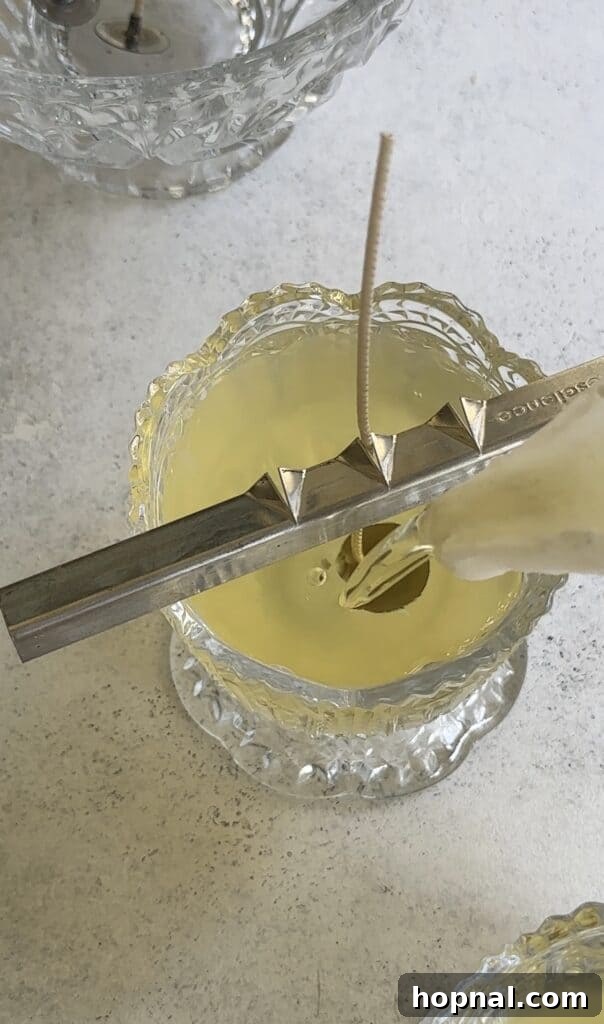
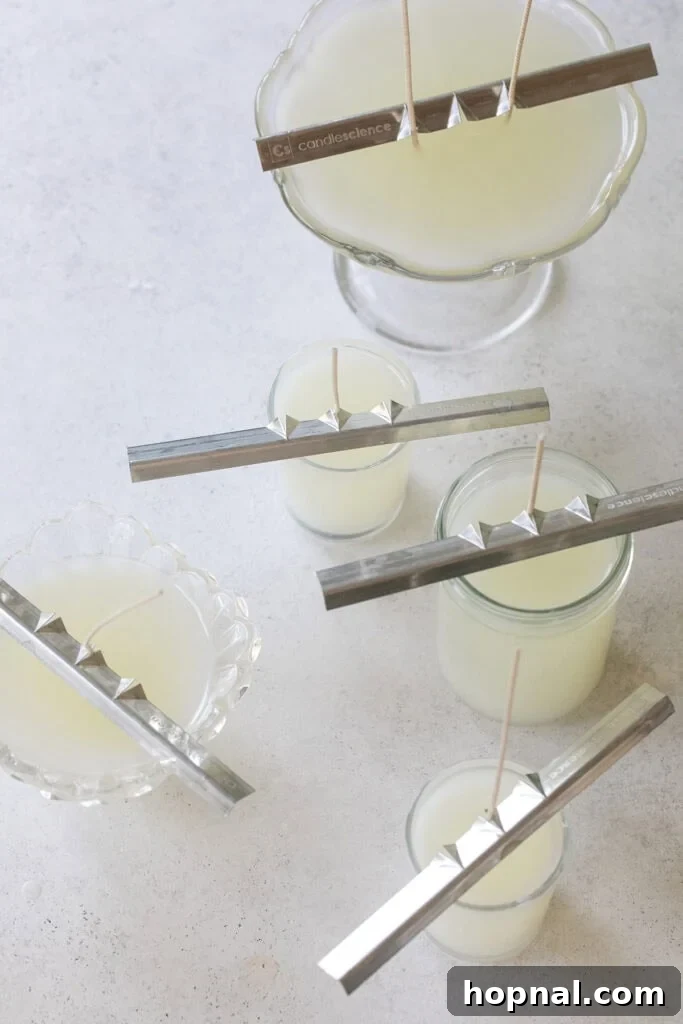
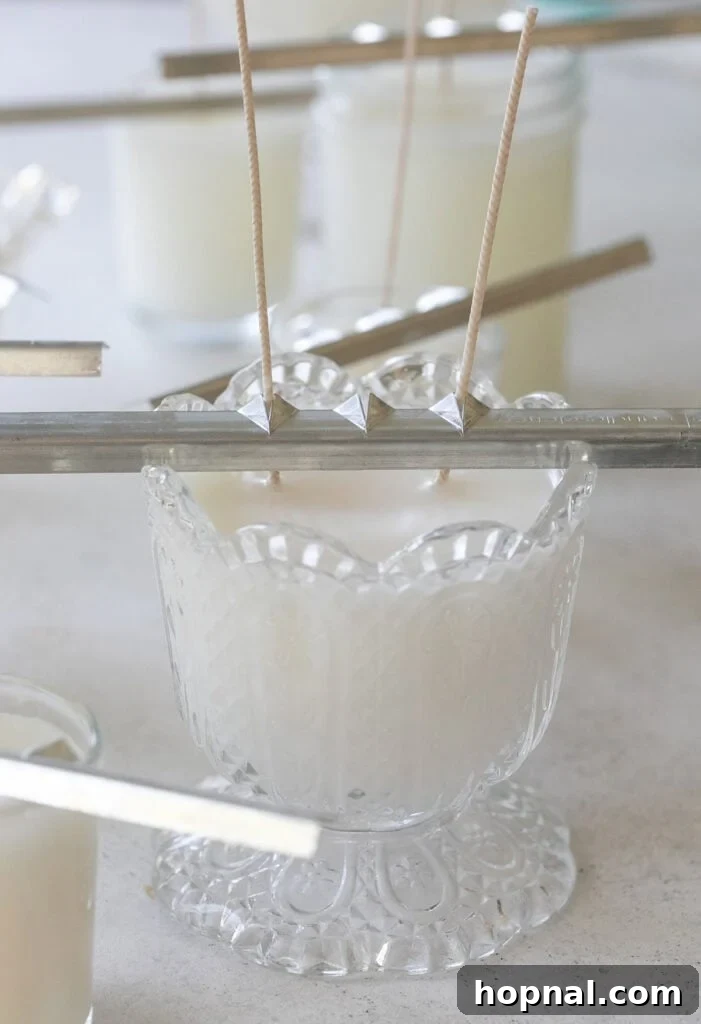
4. Set the wick. Use a wick sticker to anchor the wick tab at the center of the base, then position a wick bar across the top to keep it straight. A centered wick prevents tunneling.
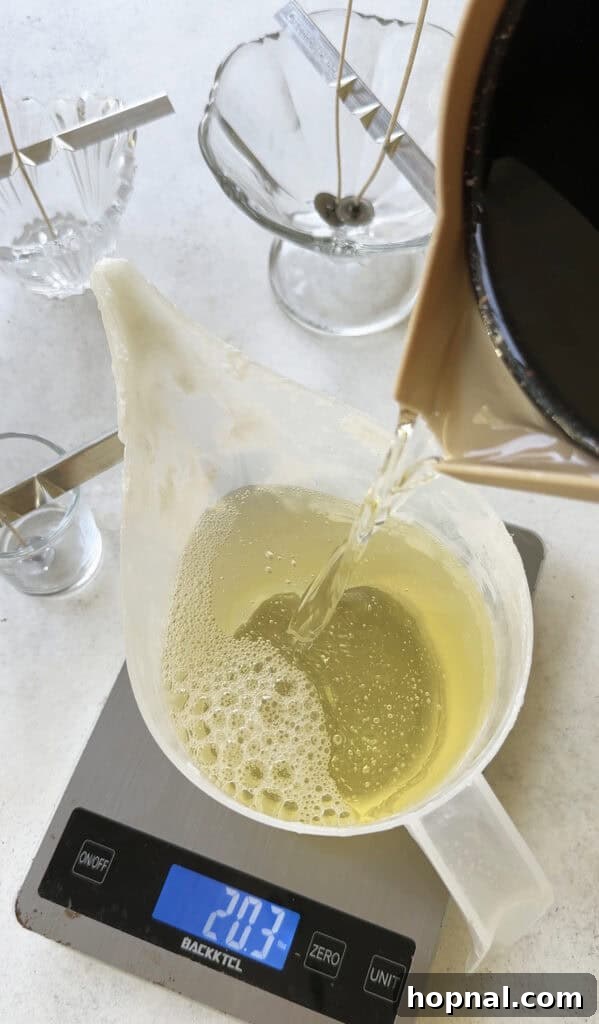
5. Melt the wax. Use a double boiler and heat gently to the temperature recommended for your wax—many blends call for around 185°F to add fragrance, but check your specific product. If you’re pouring by hand, watch for the correct pour temperature for your blend.
6. Add the fragrance. Off the heat, add fragrance by weight: a common ratio is about 1.5 ounces of fragrance per 12 ounces of wax. Stir slowly and consistently for two full minutes to ensure the scent binds to the wax.
7. Pour. Pour at the recommended temperature—around 170°F for many coconut blends—slowly and steadily, leaving about half an inch at the rim. Pouring too cool can cause sinkholes and wet spots.
8. Let them set. Place the candles on a flat, draft-free surface and leave them undisturbed for 24 hours. Do not move or chill them.
9. Trim the wick. Once fully set, trim the wick to about a quarter inch.
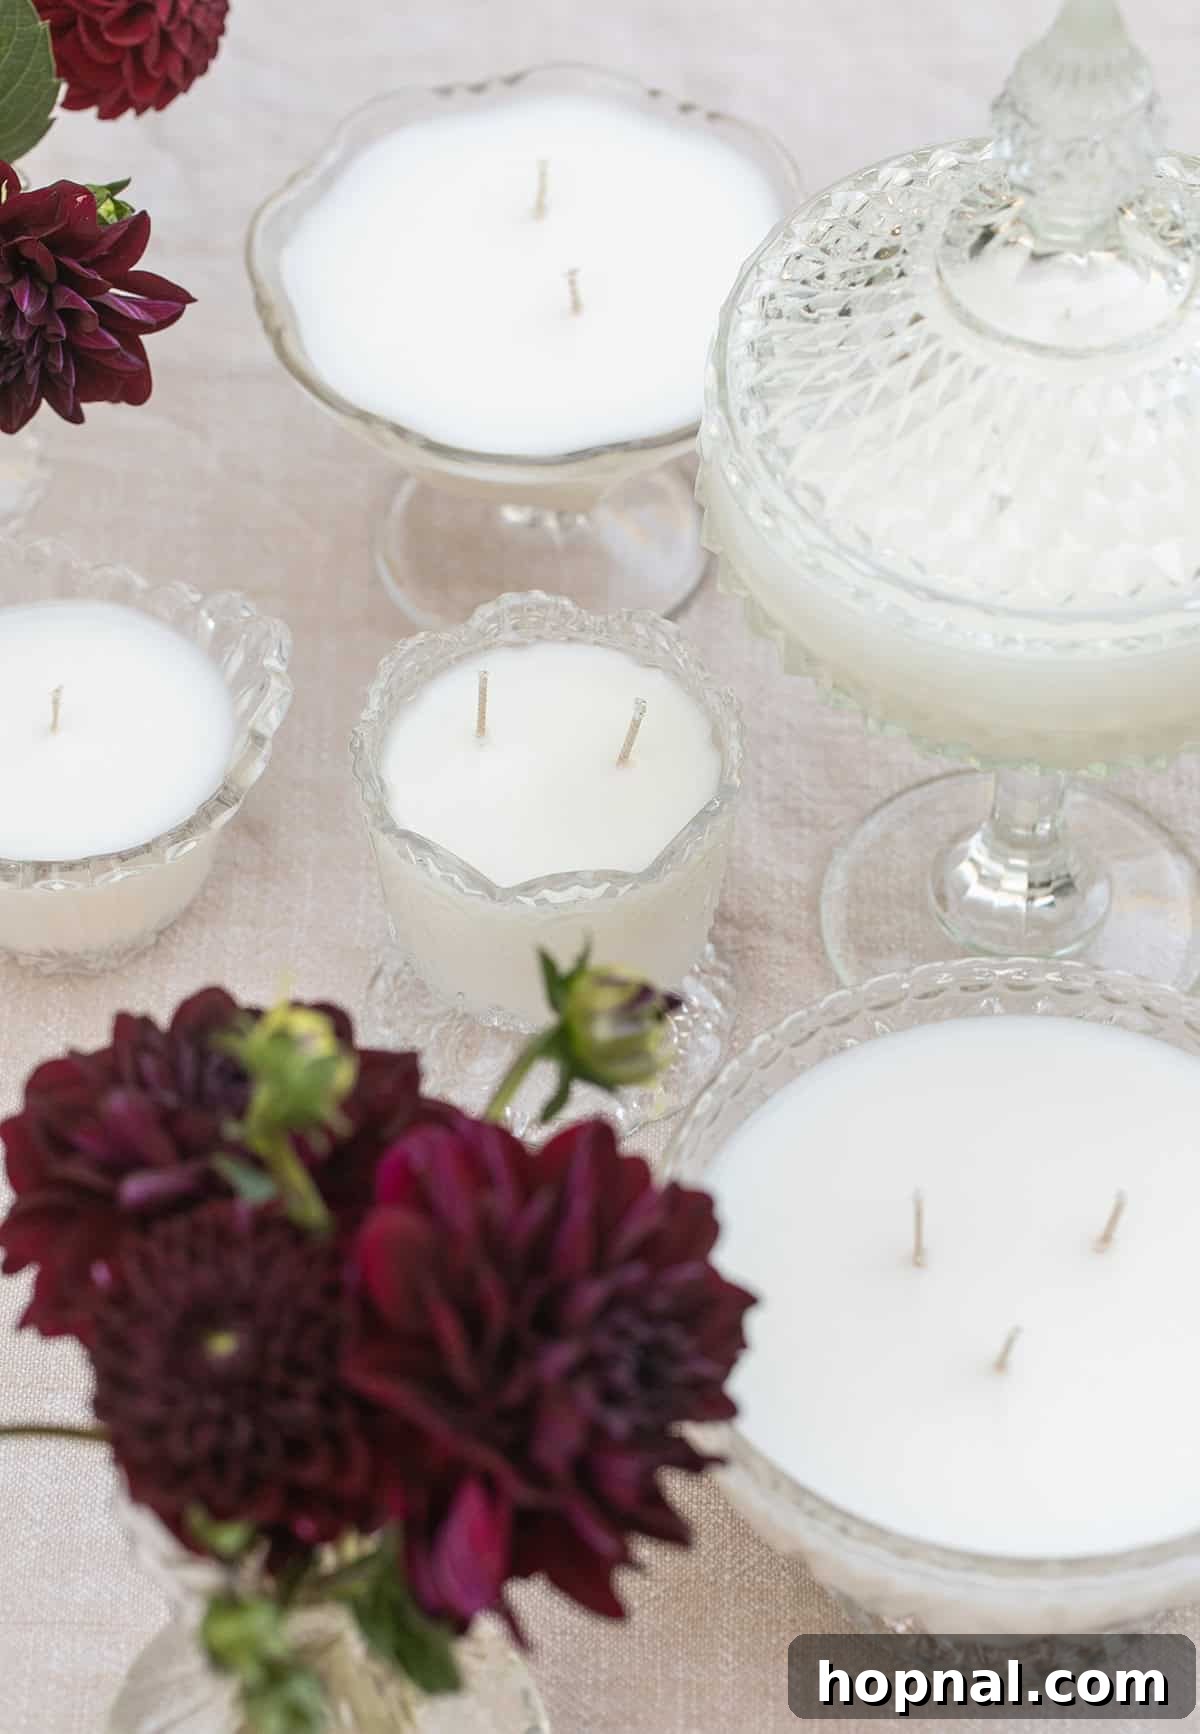
10. Cure before burning. Allow the candle a few days to cure so the fragrance fully develops in the wax. Patience here makes a big difference in scent throw.
A Few Favorite Blends
Blending two or three fragrances creates unique scents. Some combinations I enjoy: a spruce and fir pairing for a fresh forest scent; mint with rosemary, sage, and a touch of orange blossom or jasmine for a garden-like green blend; and a banana nut bread base with cardamom and cinnamon for a warm, spiced aroma. Experimentation with small test sticks helps you refine each combination before committing a full batch of wax.
Eden’s Tips
Always do the heat test in the sink before pouring wax. Test fragrance blends on sticks so you don’t waste wax. Weigh your fragrance rather than estimating—a small scale makes a big difference. Allow candles to cure for a few days before burning.
For the first burn, let the melted wax pool to the edges—usually two to three hours—to avoid tunneling. Trim the wick to a quarter inch before every burn to reduce soot and flicker. When a candle is finished, pour boiling water into the vessel to melt and remove the remaining wax, then wash and repour if desired.
Vintage Glassware Candle FAQs
I don’t recommend it. Crystal is typically thinner and more brittle than pressed glass, and vintage lead crystal introduces potential safety concerns. There are many heavy pressed pieces that work beautifully and cost just a few dollars.
Yes, but essential oils usually produce a softer scent that won’t throw as far as fragrance oils. They’re perfect for ambiance, while fragrance oils are better for a strong room scent. Citronella is a notable essential oil that performs well outdoors.
Yes—if it’s thick porcelain with no cracks and it passes the heat test. Teacups are made for hot liquids and often hold up well. Avoid cups with metallic paint or gilding.
Most often it’s due to too little fragrance by weight, insufficient stirring when adding the scent, or not allowing enough cure time. Addressing these three factors usually improves scent throw dramatically.
A sinkhole usually means the wax was poured too cool or cooled too quickly. Gently warming the top with a hairdryer will often smooth it out.
Pour temperatures vary by wax. As a general guide: soy often pours around 135–145°F, coconut around 150–170°F, beeswax around 145–155°F, and paraffin around 150–160°F. Always check the manufacturer’s recommendation for your specific wax blend.
I prefer a coconut apricot blend. It’s creamy, dries to a pretty off-white, burns smoothly, and lacks the waxy scent found in some other blends—important if you burn candles often.
More DIY Projects
Outdoors & Garden
Homemade Fire Starters
Entertaining
Repurposing Candle Jars
Entertaining
DIY Citronella Candle Jars to Keep Bugs Away
Party DIY
How to Make Beautiful Oil Candles
You can explore other simple candle projects and repurposing ideas to expand your skills and try new techniques.
- DIY Terracotta Votives
- DIY Citronella Candle Jars
- Recycled DIY Citronella Candles
- DIY Essential Oil Candles
- Repurposing Candle Jars
- Dried Orange Slices
- How to Make Mulling Spices
- Peppermint Simmer Pot