
The Ultimate Guide to Making Perfect Chocolate Covered Strawberries
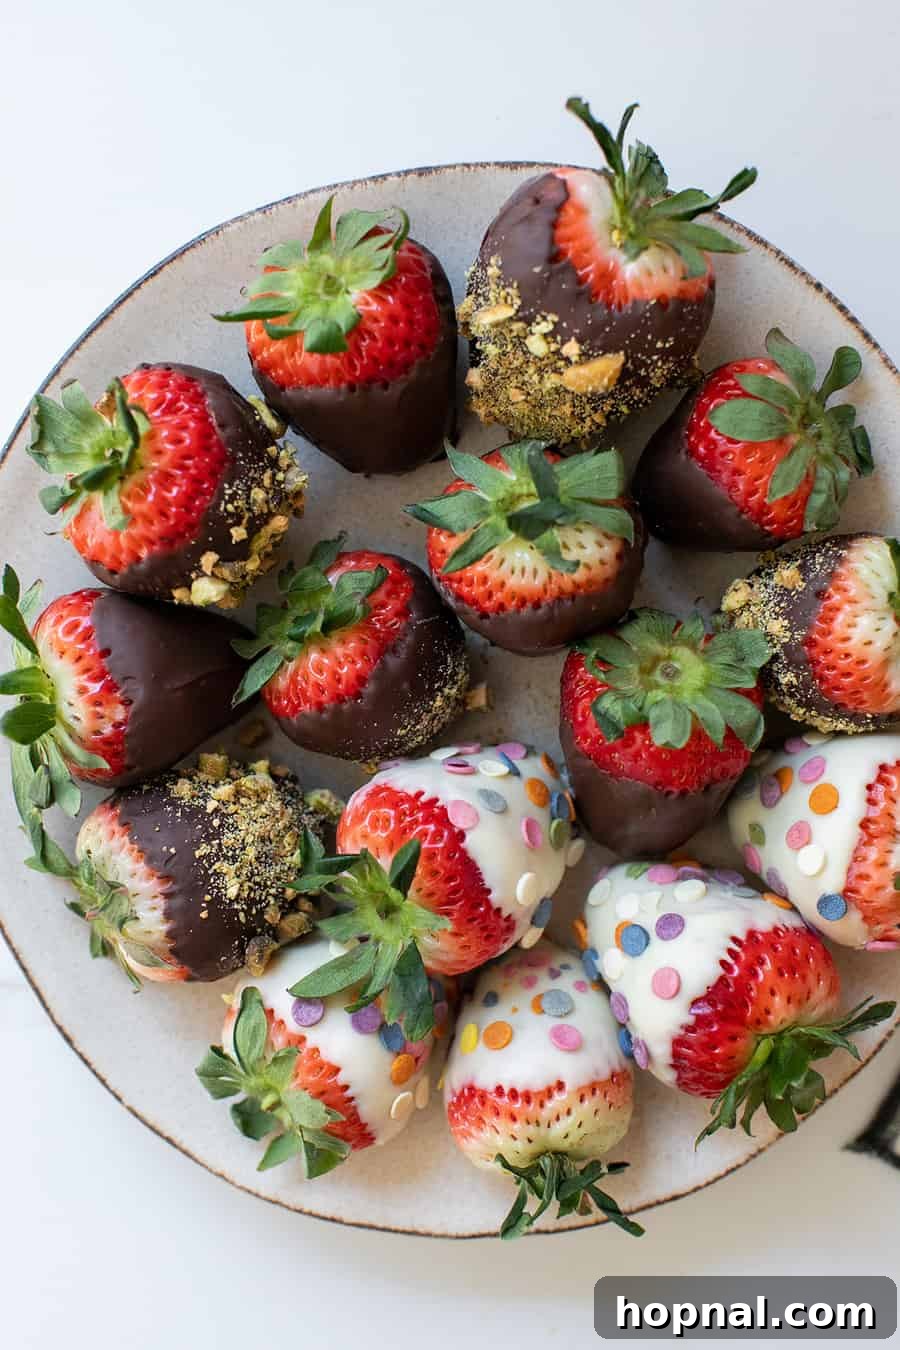
Indulge in the simple luxury of chocolate-covered strawberries, a truly underrated dessert that combines the natural sweetness of ripe fruit with the rich decadence of chocolate. There’s something undeniably enchanting about these elegant treats, especially when the berries are at their peak—perfectly ripe, juicy, and bursting with flavor. Far from being a complicated confection, they are surprisingly easy to master at home, requiring just a few key ingredients and minimal effort.
Whether you’re looking for a charming dessert for a party, a thoughtful gift, a romantic gesture, or simply a delightful treat to brighten your day, homemade chocolate-covered strawberries are always a fantastic choice. Their effortless elegance makes them suitable for any occasion, from casual gatherings to sophisticated celebrations.
If you have a fondness for delightful dipped treats, be sure to explore my recipe for chocolate-covered pretzel rods for another easy and satisfying snack. For more ways to enjoy the vibrant goodness of strawberries, check out my unique deviled strawberries and a curated collection of my favorite strawberry dessert recipes!
Why You’ll Fall in Love with These Homemade Chocolate-Covered Strawberries
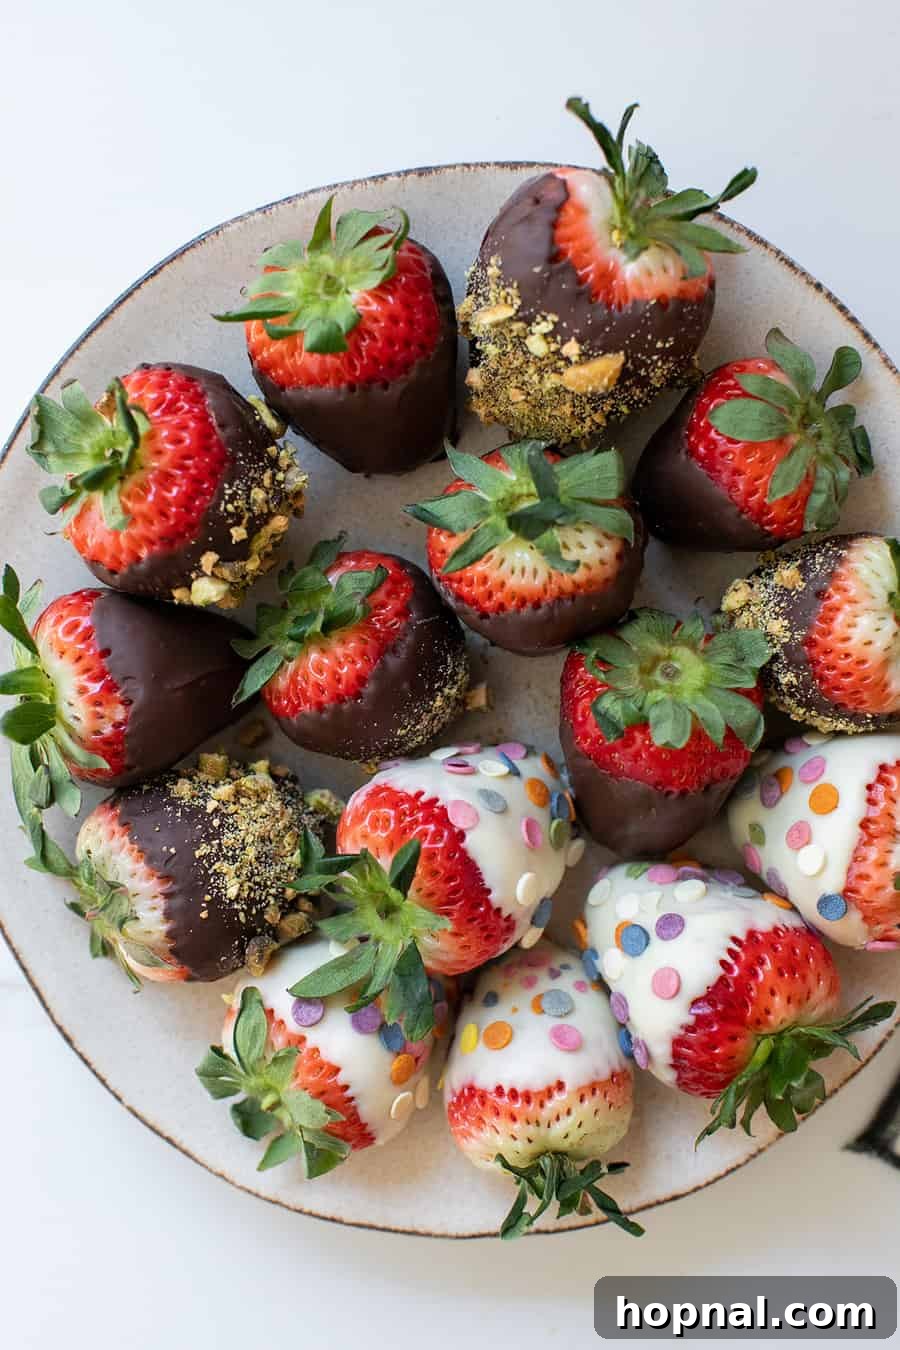
There are countless reasons why these chocolate-covered strawberries will become your go-to dessert for any occasion. They offer a unique blend of simplicity and sophistication that is hard to resist.
- Effortlessly Impressive: Despite their elegant appearance, these treats are incredibly simple to make, taking just minutes of active preparation. They are perfect for impressing guests at parties, creating a memorable gift, or indulging in a well-deserved treat-yourself moment without spending hours in the kitchen.
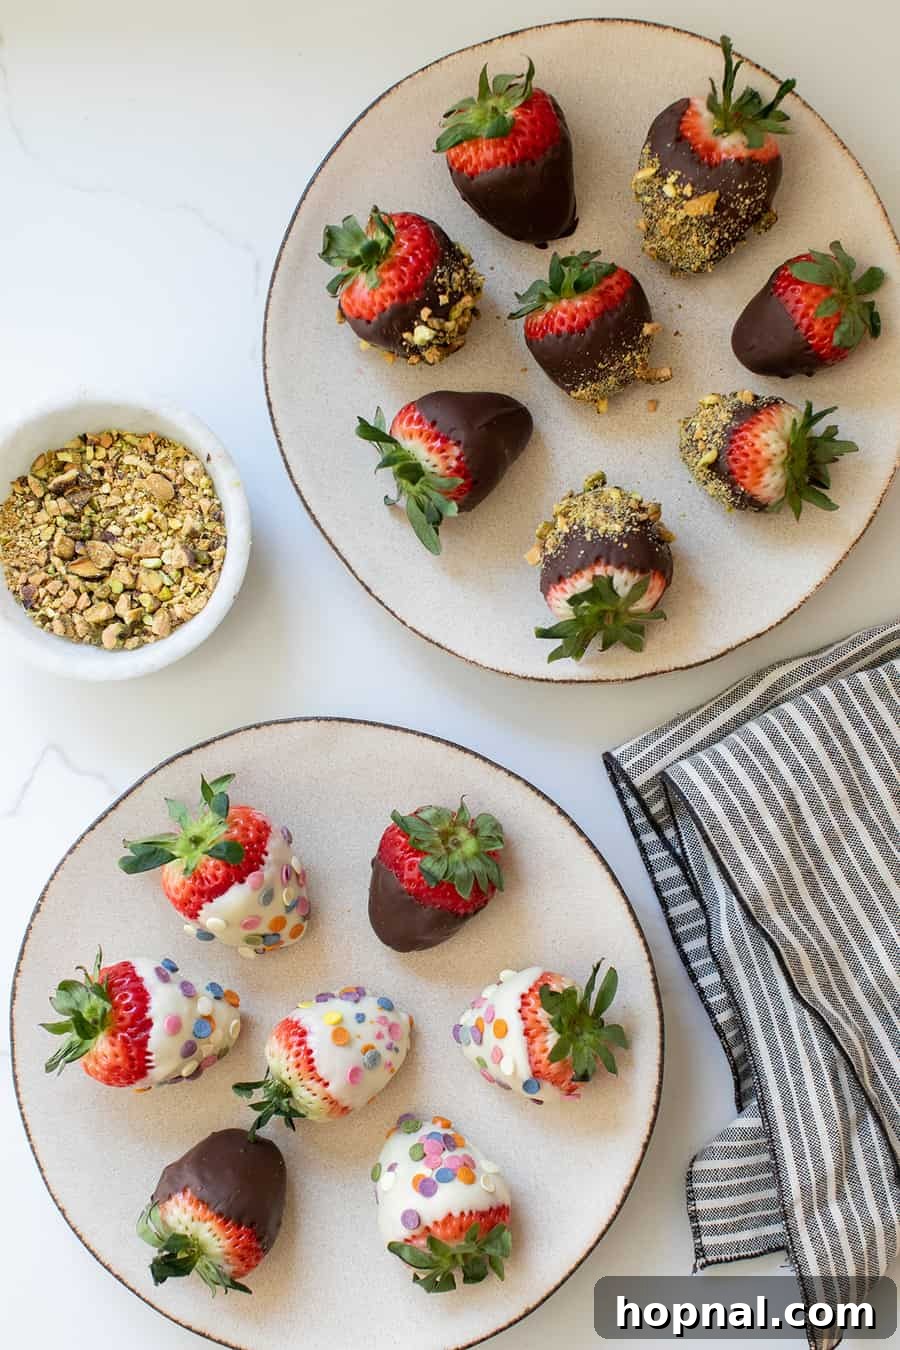
- Endless Customization Options: The beauty of homemade chocolate-covered strawberries lies in their versatility. You have complete freedom to choose your favorite type of chocolate—whether it’s rich dark chocolate, creamy milk chocolate, smooth white chocolate, or even colorful candy melts. Beyond the chocolate, the possibilities for toppings are limitless. Add sprinkles for a festive touch, crushed nuts for a satisfying crunch, toasted coconut for tropical flair, or even a drizzle of contrasting chocolate for a gourmet finish.
- The Pinnacle of Sweet and Juicy Perfection: The magic truly happens when perfectly ripe, juicy strawberries meet luscious, melty chocolate. The contrast of the fresh, slightly tart berry with the sweet, smooth chocolate creates an exquisite flavor and texture combination that is nothing short of pure dessert magic. Each bite offers a delightful burst of fruity goodness enveloped in a rich, velvety coating.
- Budget-Friendly Indulgence: Making chocolate-covered strawberries at home is significantly more cost-effective than purchasing them from a specialty store. You get to enjoy premium quality ingredients without the premium price tag.
- A Thoughtful and Personalized Gift: Homemade treats always carry a special touch. These strawberries make a fantastic personalized gift for birthdays, anniversaries, Valentine’s Day, or Mother’s Day, showing genuine effort and affection.
Essential Ingredients for Irresistible Chocolate Covered Strawberries
Crafting the perfect chocolate-covered strawberry starts with selecting the right ingredients. Quality truly makes a difference in the final taste and presentation.
Fresh Strawberries
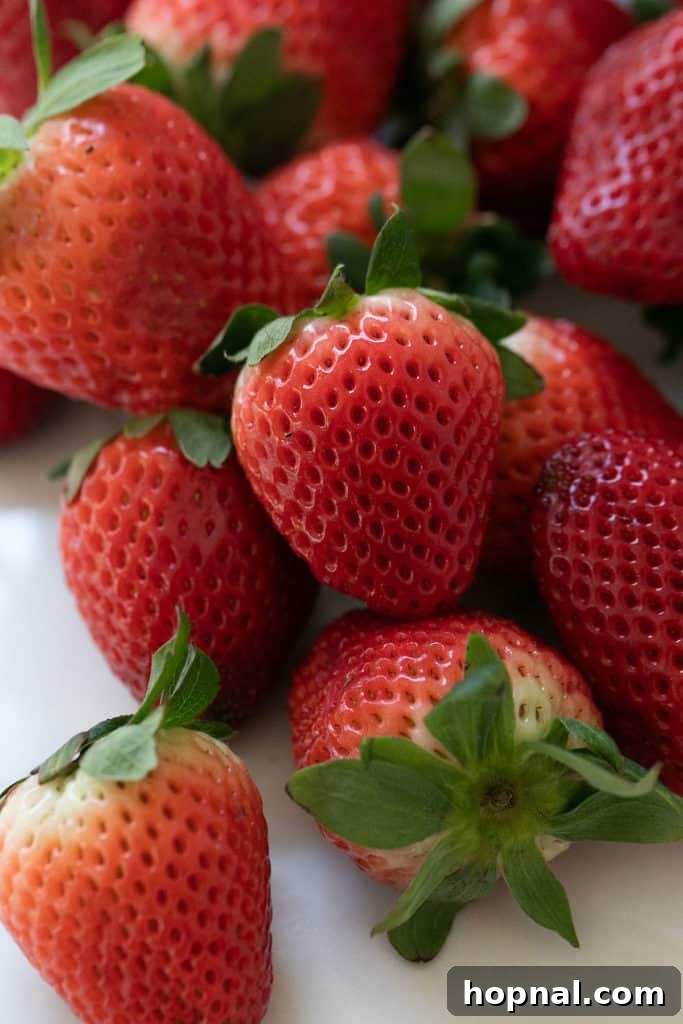
The star of this dessert, fresh strawberries are abundant during the summer months and widely available year-round. Look for berries that are bright red, plump, and firm, with vibrant green caps. Their natural sweetness, delightful texture, and vibrant color are key to this treat’s appeal. Avoid any berries that are bruised, soft, or have mold. Size matters too; larger strawberries provide a more substantial bite and are easier to dip.
Quality Chocolate Chips or Melts
The type of chocolate you choose will significantly impact the flavor profile of your finished strawberries. Any of these options will work beautifully:
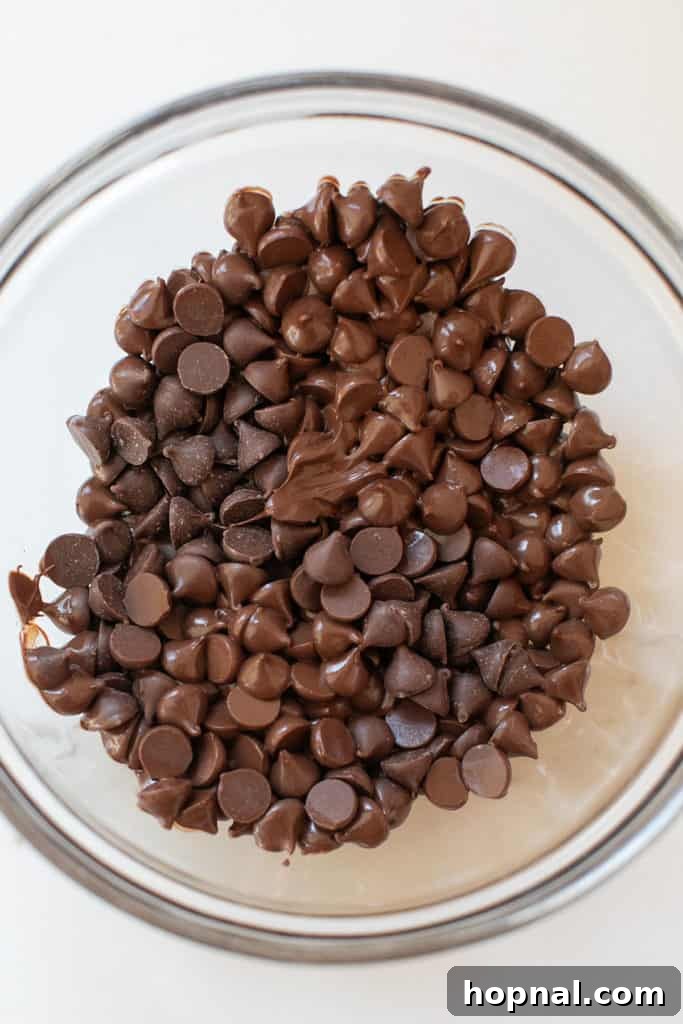
- Semisweet Chocolate Chips: A classic choice, offering a balanced sweetness that complements the strawberries without being overly rich.
- Milk Chocolate Chips: For those who prefer a creamier, sweeter, and milder chocolate flavor. This is often a crowd-pleaser, especially with younger audiences.
- Dark Chocolate Chips: Provides a deeper, more intense chocolate flavor with hints of bitterness that beautifully contrasts the sweetness of the strawberries. Dark chocolate also offers potential health benefits due to its antioxidants.
- White Chocolate Chips or Candy Melts: Offers a sweet, vanilla-like flavor and a creamy texture. White chocolate is also excellent for creating decorative drizzles or colorful designs if you use candy melts.
For best results, choose high-quality chocolate chips or baking bars. Compound chocolate or “candy melts” are designed to melt smoothly and set quickly without tempering, making them a great option for beginners. If using actual chocolate (couverture), you might consider tempering it for a shiny, snap-able finish and to prevent bloom, although it’s not strictly necessary for a delicious result.
Mastering the Art: How to Make Chocolate Covered Strawberries Step-by-Step
Creating these delightful treats is a straightforward process. Follow these simple steps for perfect results every time.
Step 1: Wash & Thoroughly Dry the Strawberries
The most crucial step for perfect chocolate-covered strawberries is ensuring your berries are absolutely dry. Start by gently washing the strawberries under cool running water. Do not remove the green caps or stems at this stage, as they provide a natural handle for dipping. After washing, arrange the strawberries in a single layer on a clean kitchen towel or paper towels. Pat them very gently to remove as much moisture as possible. Then, let them air dry completely for at least 30 minutes, or even longer. Any residual water will cause the chocolate to seize and create an uneven, clumpy coating. While they air dry, you can prepare your desired toppings, such as finely chopped nuts, sprinkles, or shredded coconut.
Step 2: Prepare Your Dipping Station
Before you begin melting chocolate, set up an organized workspace. Line a baking sheet or tray with parchment paper or wax paper. This non-stick surface will prevent the chocolate from sticking as it sets. Have your chosen toppings ready in small bowls, easily accessible for immediate use after dipping. Organization is key for a smooth and efficient dipping process.
Step 3: Perfectly Melt Your Chocolate
Gentle heat is essential for melting chocolate smoothly. Overheating can cause the chocolate to burn or seize. Use one of these two easy and effective methods:
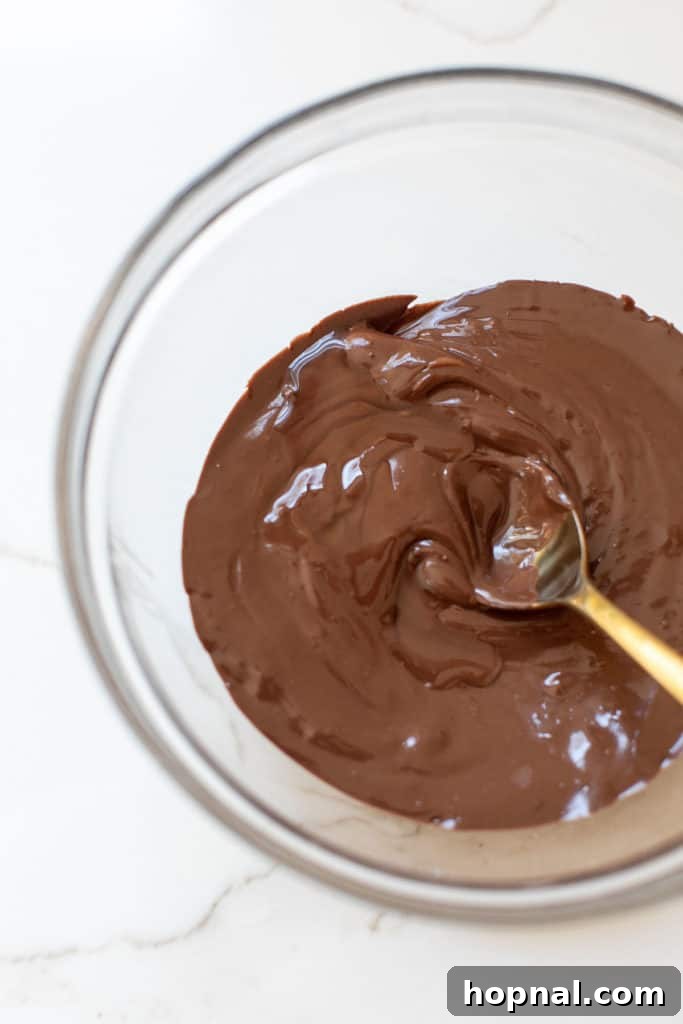
- Double Boiler Method: Place your chocolate chips or chopped chocolate in a heatproof bowl. Set this bowl over a saucepan filled with about an inch of simmering water. Ensure the bottom of the bowl does not touch the water. The steam from the simmering water will gently heat the bowl. Stir the chocolate continuously with a spatula until it is completely smooth and glossy, with no lumps remaining. Remove from heat immediately once melted.
- Microwave Method: Add chocolate to a microwave-safe bowl. Microwave in short bursts of 20-30 seconds, stirring thoroughly after each interval. This prevents scorching. Continue microwaving and stirring until the chocolate is fully melted and smooth. Be extremely careful not to overheat the chocolate, as it can burn quickly in the microwave. If it looks thick or clumpy, it might be overheated or have come into contact with moisture; adding a tiny bit of coconut oil or vegetable shortening (about ½ teaspoon per cup of chocolate) can sometimes help thin it out, but avoid water at all costs.
Step 4: Dip and Decorate the Strawberries
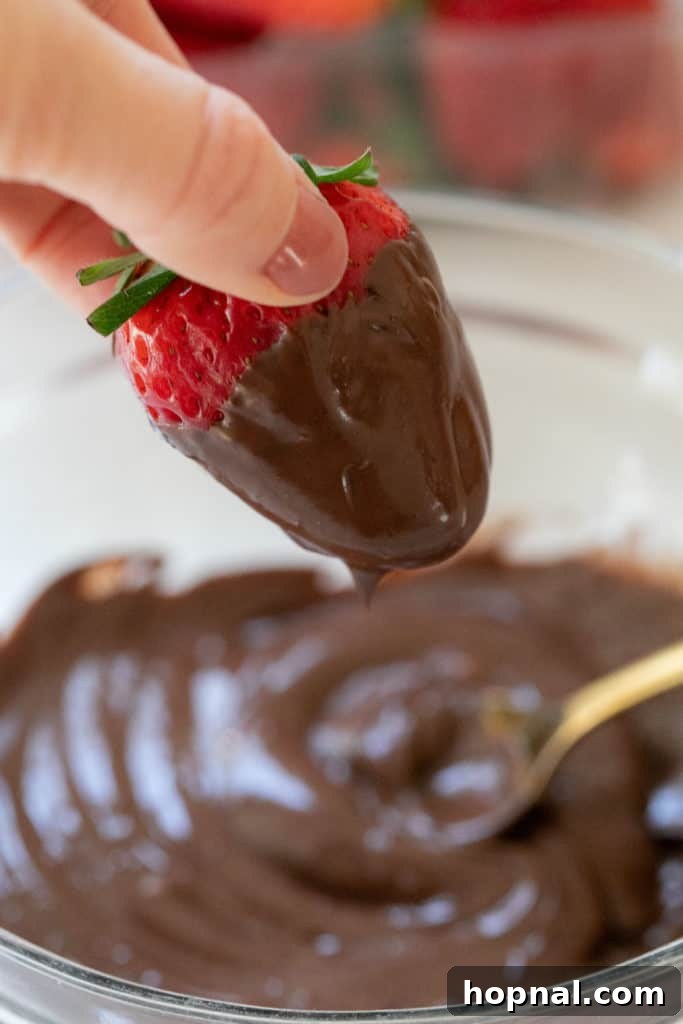
Holding a strawberry by its green cap, dip it into the melted chocolate. Rotate the strawberry to coat about two-thirds to three-quarters of the berry. Lift the strawberry out of the chocolate and gently rotate it to allow any excess chocolate to drip back into the bowl. For a cleaner finish, you can also gently scrape the bottom of the strawberry against the rim of the bowl. If you plan to add toppings, do so immediately while the chocolate is still wet and warm. Carefully sprinkle or roll the dipped portion of the strawberry into your chosen toppings.
Step 5: Allow the Chocolate to Set
Once dipped and decorated, carefully lay the chocolate-covered strawberries on your parchment-lined baking sheet. Ensure they are not touching each other to prevent sticking. Place the tray in the refrigerator for about 15-30 minutes, or until the chocolate is firm and fully set. You can also let them set at room temperature if your kitchen isn’t too warm, but refrigeration will speed up the process and provide a firmer coating, especially with untempered chocolate.
Expert Tips for Flawless Chocolate Covered Strawberries
Achieving perfect chocolate-covered strawberries is simple when you know a few tricks. Here are some expert tips to ensure your treats are nothing short of spectacular:
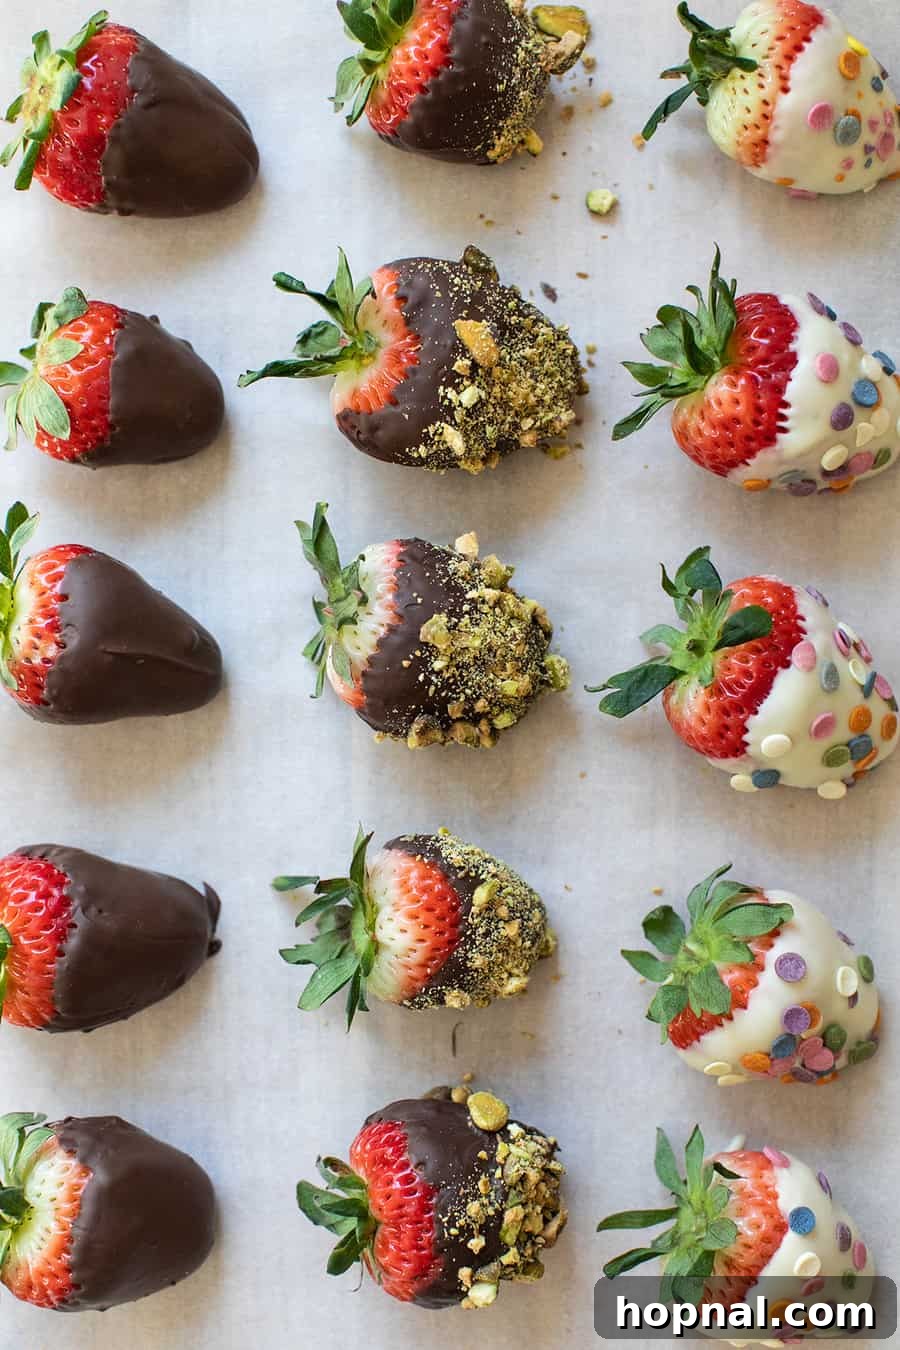
Experiment with Chocolate Varieties: Don’t limit yourself to one type of chocolate! Use white, dark, milk, or even colorful candy melts for different visual appeals and flavor profiles. A combination, like a dark chocolate base with a white chocolate drizzle, adds an extra layer of sophistication.
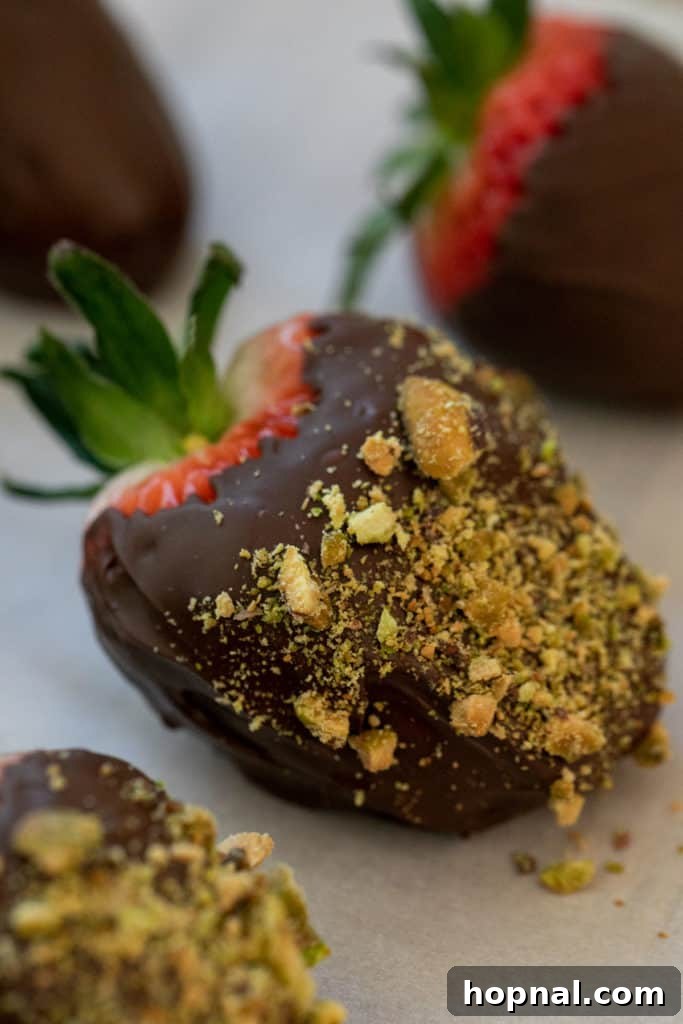
Unleash Your Creativity with Toppings: This is where you can truly personalize your strawberries. Go wild with toppings! Consider crushed nuts (pistachios, almonds, peanuts), mini marshmallows, festive sprinkles, toasted coconut flakes, crushed cookies (like Oreos or graham crackers), freeze-dried strawberry powder for an intense berry flavor, or even mini chocolate chips for double the chocolatey goodness.
Opt for Healthier Choices: If you’re looking to make these a slightly healthier indulgence, use no-sugar-added dark chocolate like Lily’s morsels. Combined with the natural goodness of fresh strawberries, this version allows you to enjoy a delicious treat with fewer guilt pangs.
Chill Your Strawberries Before Dipping: A secret weapon for a quicker and more even set. Cold strawberries help the chocolate adhere and firm up rapidly, preventing streaks or drips. Just be sure they are still thoroughly dry.
The Golden Rule: Dry Thoroughly: We cannot stress this enough—water and melted chocolate are sworn enemies. Even a tiny drop of moisture on your strawberries can cause the chocolate to seize, turning it into a thick, clumpy, unusable mess. Ensure your berries are completely dry before dipping for a smooth, glossy coating.
Set Up an Efficient Dipping Station: Preparation is key. Line a baking tray with parchment paper and have all your chosen toppings arranged in small bowls nearby. This allows you to dip a strawberry, coat it with toppings, and place it on the tray quickly while the chocolate is still warm and pliable.
Preventing Chocolate Seizing: Beyond keeping water away, avoid sudden temperature changes while melting. Melt chocolate gradually and stir constantly. If your chocolate does seize, sometimes stirring in a teaspoon of vegetable oil or shortening (not water!) can help bring it back, but it’s best to prevent it in the first place.
Achieving a Perfect Shine: For a truly professional, glossy finish and a satisfying “snap” when bitten, consider tempering your chocolate. This involves precisely heating and cooling chocolate to stabilize its crystals. While not strictly necessary for home cooks, it elevates the quality significantly. Candy melts are formulated to offer a similar finish without the tempering process.
Frequently Asked Questions About Chocolate Covered Strawberries
How Do You Get Chocolate to Stick to Strawberries?
The most common issue people encounter when making chocolate-covered strawberries is getting the chocolate to adhere properly to the fruit. The best and most critical method for ensuring the chocolate sticks flawlessly is to make sure your strawberries are 100% dry. Even the slightest bit of moisture on the surface of the strawberries will cause the chocolate to repel, seize, or create a greasy, non-stick coating. After washing, thoroughly pat the strawberries dry with paper towels and then let them air dry for at least 30 minutes before dipping. Chilling them slightly after drying can also help the chocolate set faster and stick better.
How Do You Store Chocolate-Covered Strawberries?
For optimal freshness and to prevent the strawberries from weeping (releasing moisture), the best way to store chocolate-covered strawberries is in an airtight container in the refrigerator. Arrange them in a single layer, or place a piece of wax paper or parchment paper between layers if stacking is necessary. This method helps maintain their quality and keeps the chocolate firm. Avoid storing them in direct contact with air, as this can cause condensation and affect the chocolate’s appearance.
How Long Do Chocolate Covered Strawberries Last?
Properly stored in an airtight container in the refrigerator, chocolate-covered strawberries are best enjoyed within 1 to 2 days. The strawberries themselves have a limited shelf life once dipped, as the chocolate coating can trap moisture and cause them to soften or “sweat.” While they are still safe to eat after two days, their texture and appearance might begin to degrade. For the freshest and most delicious experience, it’s always best to consume them within 24-48 hours of making them. If you plan to eat them all on the same day, they can be stored at cool room temperature (below 70°F/21°C) covered with plastic wrap or foil for a few hours.
Can I use frozen strawberries for chocolate-covered strawberries?
While technically possible, it is highly recommended to use fresh strawberries. Frozen strawberries, once thawed, release a significant amount of water, making it nearly impossible to get the chocolate to stick properly without seizing. The texture of thawed frozen strawberries also tends to be mushier and less appealing than fresh berries. For the best results, always opt for fresh, firm, and thoroughly dried strawberries.
What causes chocolate to seize and how can I prevent it?
Chocolate seizing occurs when it comes into contact with even a tiny amount of water or is exposed to sudden, excessive heat. This causes the cocoa solids to clump together, turning the smooth, melted chocolate into a thick, grainy, and unusable paste. To prevent this, ensure all your equipment (bowls, spatulas) is completely dry, melt chocolate gradually over low heat (especially in a microwave), and avoid any splashes of water. If chocolate seizes, sometimes adding a teaspoon of vegetable oil or melted shortening (not water!) can rescue it, but it’s not always effective.
More Delightful Strawberry Recipes to Enjoy
Drinks
Strawberry Tequila Sodas
Wine & Beer
Strawberry Frosé Recipe
Recipes
Strawberry Shortcake Recipe with Biscuits
Recipes
Strawberry Scones
Making chocolate-covered strawberries is more than just preparing a dessert; it’s a fun and easy activity that can be enjoyed with loved ones, bringing joy and delicious results. Plus, when you choose dark chocolate, you can revel in the fact that your decadent dessert offers a touch of goodness with its antioxidant properties.
We encourage you to try this recipe and experience the delight of homemade chocolate-covered strawberries for yourself. If you do make these, please consider leaving a review below! We’d absolutely love to hear your thoughts, tips, and how your beautiful creations turned out!

Chocolate Covered Strawberries Recipe
Eden
5 minutes
2 minutes
20 minutes
27 minutes
16
Strawberries
Ingredients
- 12 ounces semi-sweet chocolate morsels, milk chocolate, dark chocolate or white chocolate will work too.
- 16 Strawberries, fresh
Instructions
-
Wash & Dry – To make them, you want to wash and dry the strawberries thoroughly. This is crucial. You can then prepare your desired toppings.
-
Prepare – Set up a workspace for yourself by preparing a parchment-lined baking tray and having all your toppings ready.
-
Melt – Next, melt your chocolate in the microwave (in short bursts, stirring) or using a double boiler until smooth and glossy.
-
Dip – Hold a strawberry by its stem and dip it into the melted chocolate, coating about two-thirds of the berry. Let excess chocolate drip off. This is also the ideal time to coat them in toppings if desired.
-
Set – Carefully lay the chocolate-covered strawberries on your parchment-lined baking sheet. Place the sheet in the refrigerator and wait until the chocolate has fully set (about 15-30 minutes).
Notes
You can achieve different colors and vibrant results using candy melts.
Remember to add toppings like coconut flakes, crushed nuts, or colorful sprinkles immediately after dipping, before the chocolate hardens.
Nutrition
Calories:
127
kcal
,
Carbohydrates:
12
g
,
Protein:
1
g
,
Fat:
8
g
,
Saturated Fat:
5
g
,
Trans Fat:
1
g
,
Cholesterol:
1
mg
,
Sodium:
2
mg
,
Potassium:
139
mg
,
Fiber:
2
g
,
Sugar:
8
g
,
Vitamin A:
12
IU
,
Vitamin C:
7
mg
,
Calcium:
15
mg
,
Iron:
1
mg
Nutrition information is automatically calculated, so should only be used as an approximation.