

Welcome to the ultimate guide for dying Easter eggs! For decades, families and craft enthusiasts have cherished this vibrant tradition, transforming simple eggs into miniature works of art. Whether you’re a seasoned egg decorator or trying it for the first time, this comprehensive guide provides all the techniques, creative ideas, and essential tips you need for a successful and delightful egg-dyeing experience. I’m excited to share my favorite methods and creative secrets, ensuring your Easter eggs are nothing short of spectacular this year.
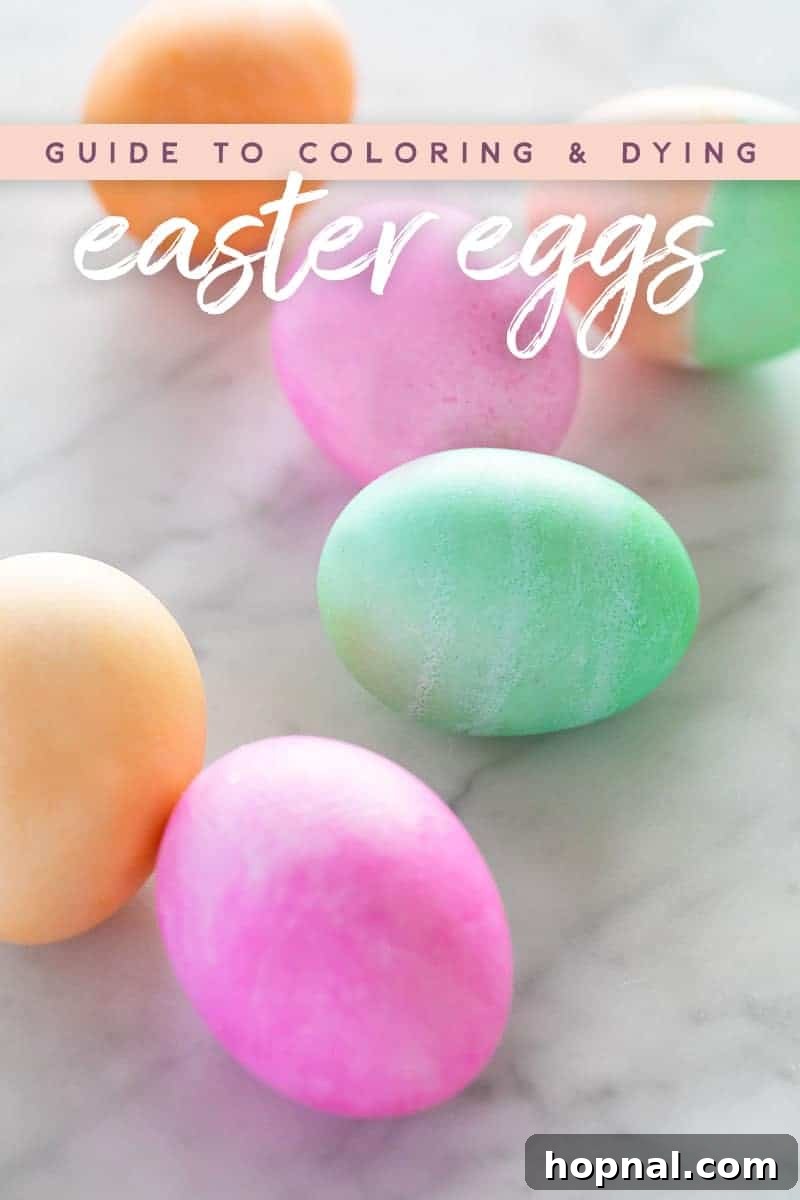
Dyeing Easter eggs is more than just a craft; it’s a cherished springtime activity that brings people together, bridging generations with shared laughter and creativity. As someone who deeply appreciates the beauty and joy that Easter brings, especially through its colorful traditions, I’ve spent countless hours perfecting the art of egg decoration. This guide is a culmination of my experience, packed with insights to help you create stunning eggs that will brighten any Easter brunch or become the highlight of an egg-dyeing party. Imagine adding these brightly colored masterpieces to your Easter baskets or scattering them for an exciting Easter egg hunt—they’re sure to bring smiles to everyone’s faces. Let’s dive into making this year’s Easter egg dyeing your most successful and creative yet!
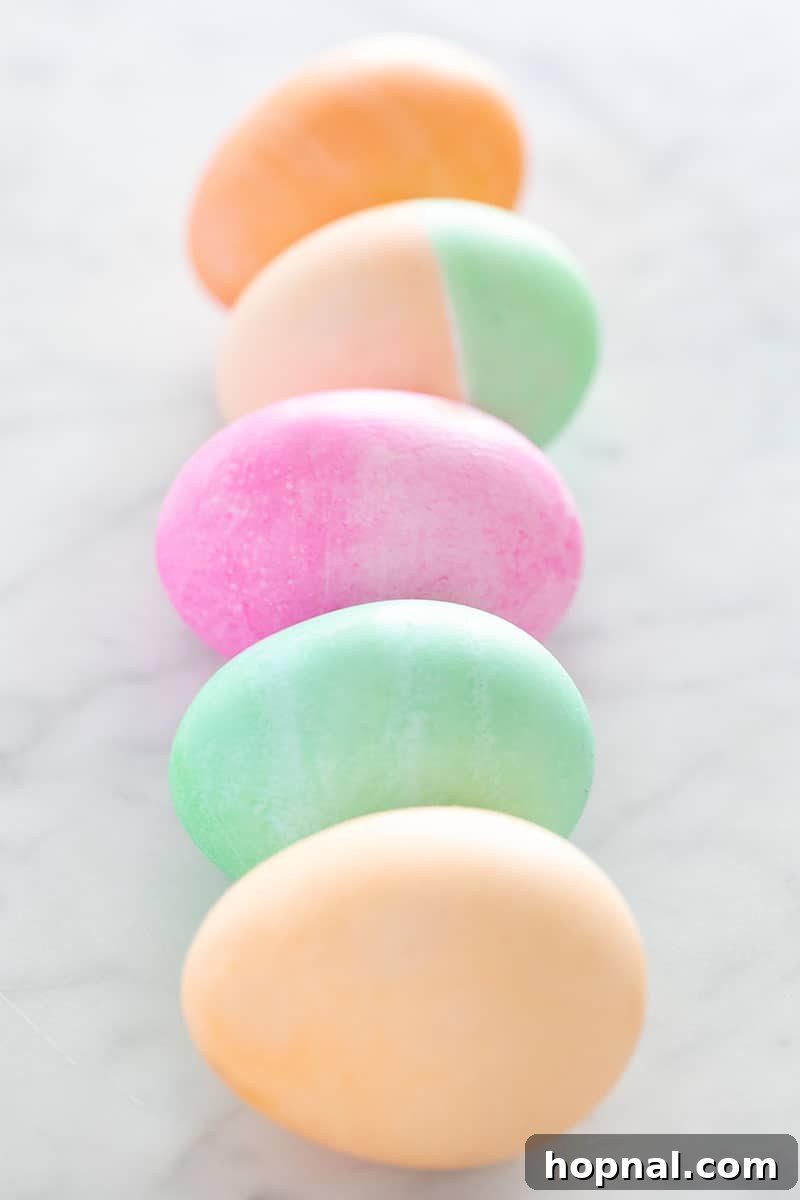
Crafting the Perfect Hard-Boiled Eggs for Dyeing
The foundation of beautifully dyed Easter eggs begins with perfectly hard-boiled eggs. A properly cooked egg not only provides a smooth, uncracked canvas for your designs but also ensures they are safe and pleasant to handle, whether for decorating or eating. Achieving that ideal firm white and vibrant yellow yolk, free from any greenish ring, is simpler than you might think. Here are my tried-and-true steps to guarantee perfectly boiled eggs every time, setting the stage for your colorful creations:
- Begin with Room-Temperature Eggs: This crucial first step helps prevent cracking during the boiling process. Cold eggs exposed to sudden heat can lead to shell fractures. Allow your eggs to sit at room temperature for at least 30 minutes before you plan to boil them. This gradual temperature adjustment promotes even cooking and reduces the risk of thermal shock.
- Strategic Pot Placement and Water Level: Gently place your eggs in a single layer at the bottom of a spacious pot. Avoid overcrowding, as this can lead to uneven cooking and more fragile shells. Pour enough cold water over the eggs to cover them by at least an inch. Starting with cold water allows the eggs to heat up gradually with the water, further minimizing cracking.
- The Boil-and-Rest Method: Bring the water to a rolling boil over high heat. The moment it reaches a vigorous boil, immediately turn off the heat. Do not remove the pot from the burner; simply cover it tightly with a lid. Let the eggs sit undisturbed in the hot water for exactly 12 minutes. This method uses residual heat to cook the eggs gently and thoroughly without overcooking, resulting in a perfect yolk and texture.
- The Ice Bath for Perfection: Once the 12 minutes are up, promptly remove the eggs from the hot water using a slotted spoon. Immediately transfer them into a bowl of ice water. An ice bath serves two vital purposes: it rapidly stops the cooking process, preventing the dreaded green ring around the yolk, and it makes the eggs easier to peel once they are cooled.
Pro Tip for Shell Integrity: To further safeguard against cracking during boiling, consider adding a splash of white vinegar to the cold water before heating. The vinegar helps to coagulate the egg whites more quickly if a crack does occur, sealing it and preventing excessive leakage. Once cooled in the ice bath, your eggs are ready to become vibrant works of art!
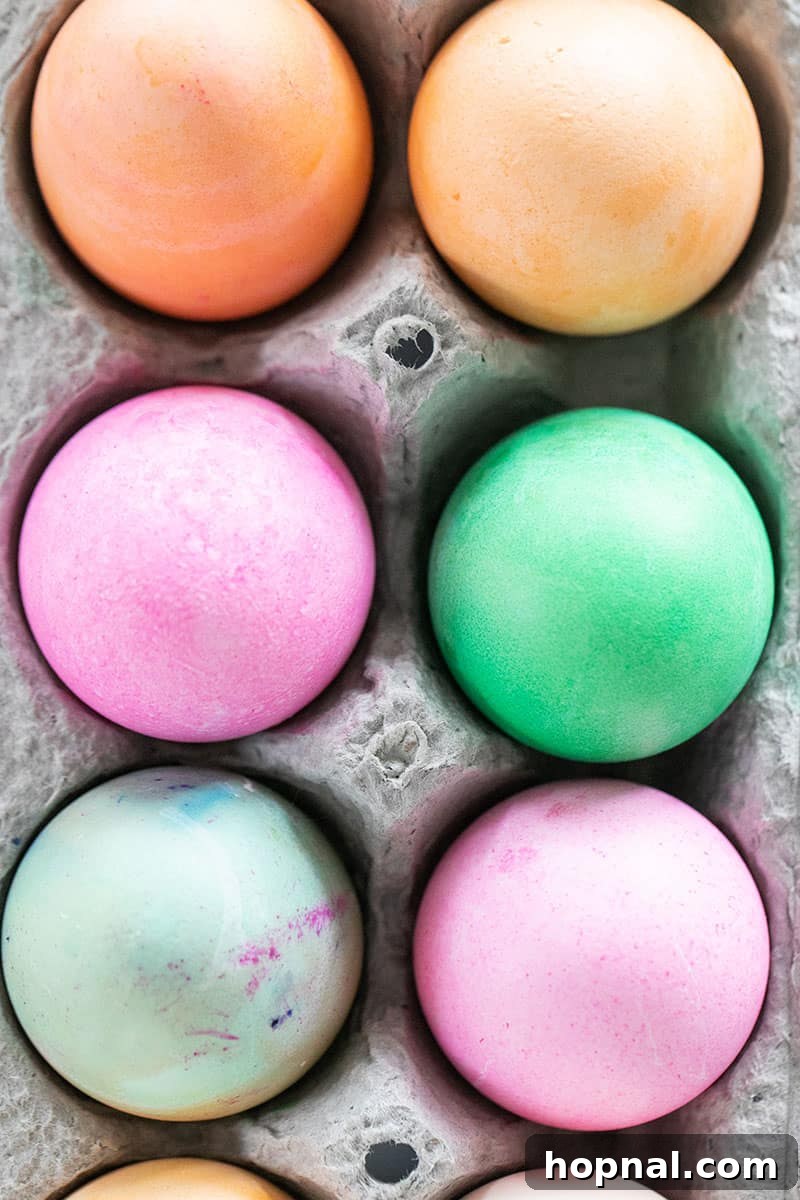
How to Dye Easter Eggs Perfectly: A 6-Step Guide
With your perfectly hard-boiled eggs ready, it’s time for the fun to begin! Dyeing Easter eggs is a rewarding activity that allows for endless creativity. Follow these steps for vibrant, beautifully colored eggs.
Essential Equipment for Egg Dyeing
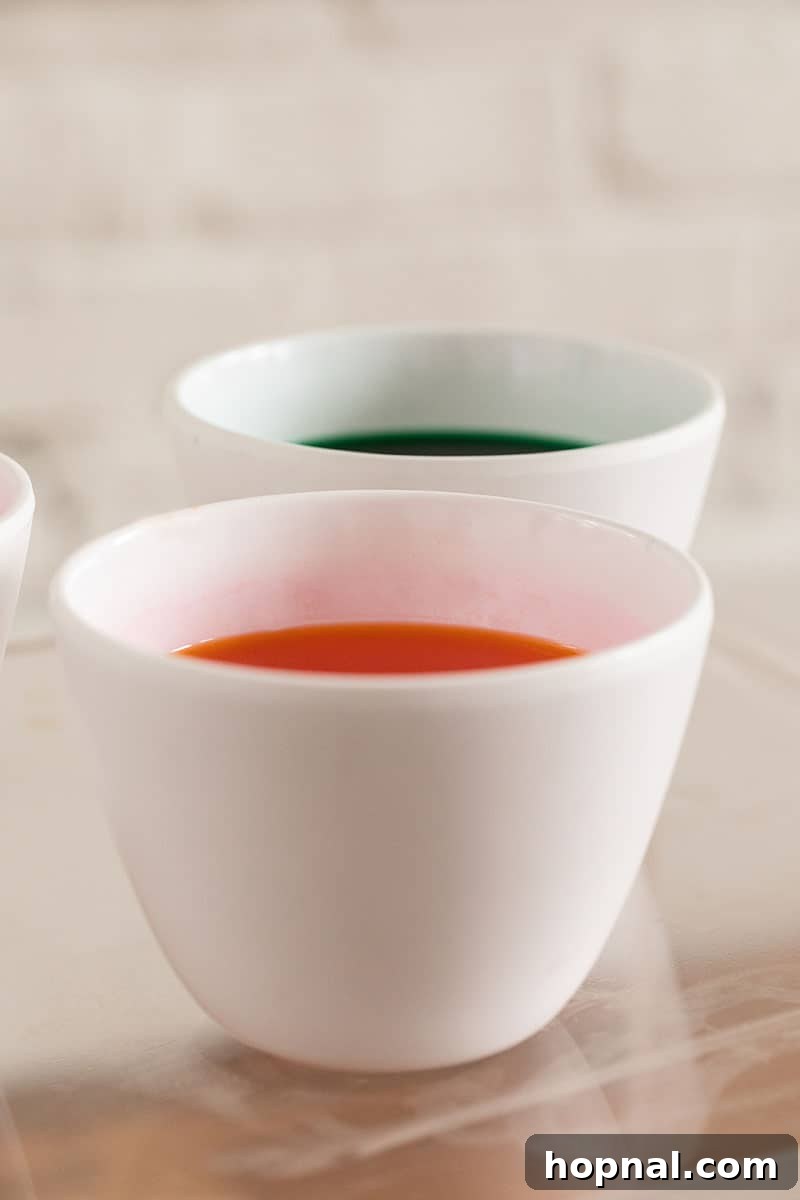
- Dye Containers: Large bowls, mugs, or disposable cups are perfect for submerging eggs. Consider using separate containers for each color to prevent mixing.
- Egg Dippers/Slotted Spoons: Essential for safely lowering and removing eggs from the dye baths without making a mess or smudging the color.
- Workspace Protection: Newspaper, old towels, or a plastic tablecloth are crucial for covering your work surface to prevent stains. Dye can be stubborn, so protect everything!
- Drying Rack: A wire cooling rack placed over paper towels or a baking sheet is ideal for drying eggs evenly and preventing flat spots or smudges.
- White Vinegar (Optional but Recommended): A small amount added to your dye solution significantly helps the colors adhere to the eggshells, resulting in richer, more vibrant hues.
- Paper Towels/Old Cloths: For quick clean-ups and blotting.
- Gloves (Optional): If you want to keep your hands stain-free.
Step 1: Prepare Your Workspace
- Before you begin, select a well-lit area, preferably with easy access to a sink. Lay down a protective barrier like several layers of newspaper, paper towels, or an old plastic tablecloth. This barrier will catch any spills or drips and make cleanup a breeze, ensuring your tables and countertops remain stain-free.
Step 2: Prepare Your Hard-Boiled Eggs
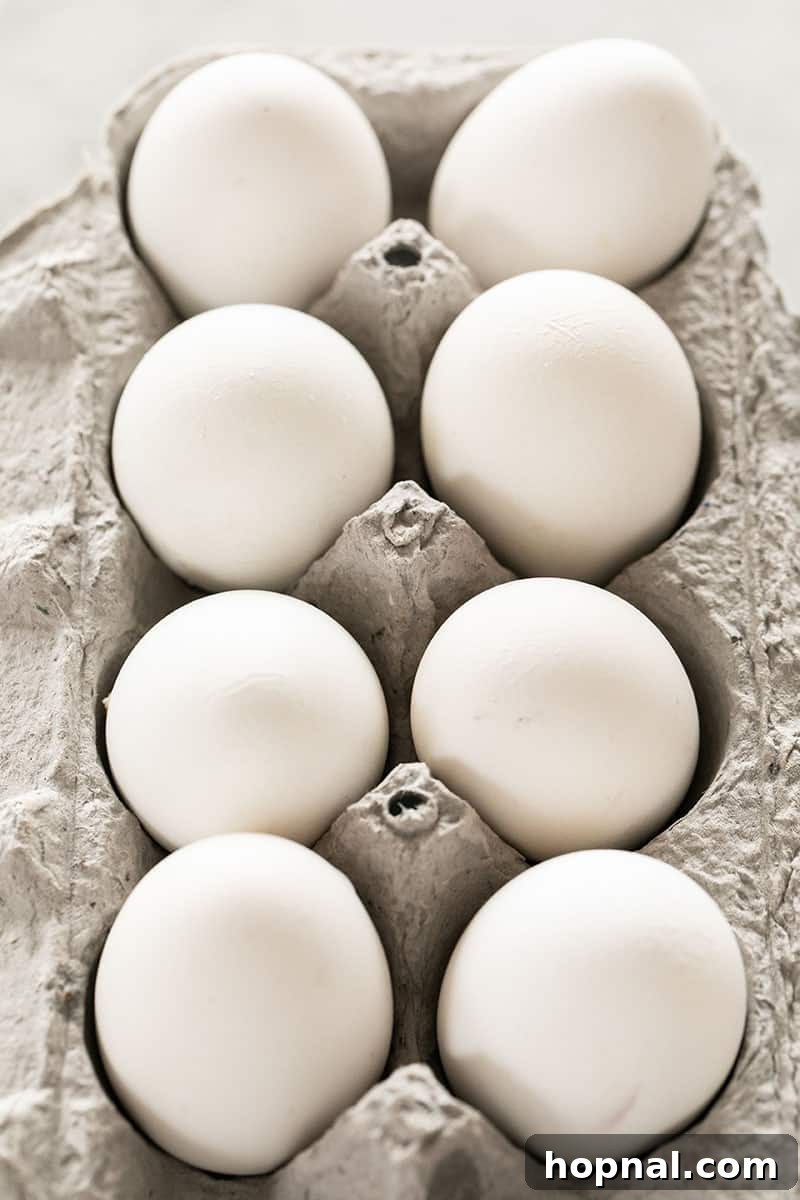
- Ensure your hard-boiled eggs are cool to the touch and completely dry. While fresh eggs are ideal for boiling, white eggs tend to absorb dye colors best, resulting in brighter, more true-to-color results. If you need a refresher on perfect hard-boiled eggs, refer to our section above, “Crafting the Perfect Hard-Boiled Eggs for Dyeing.”
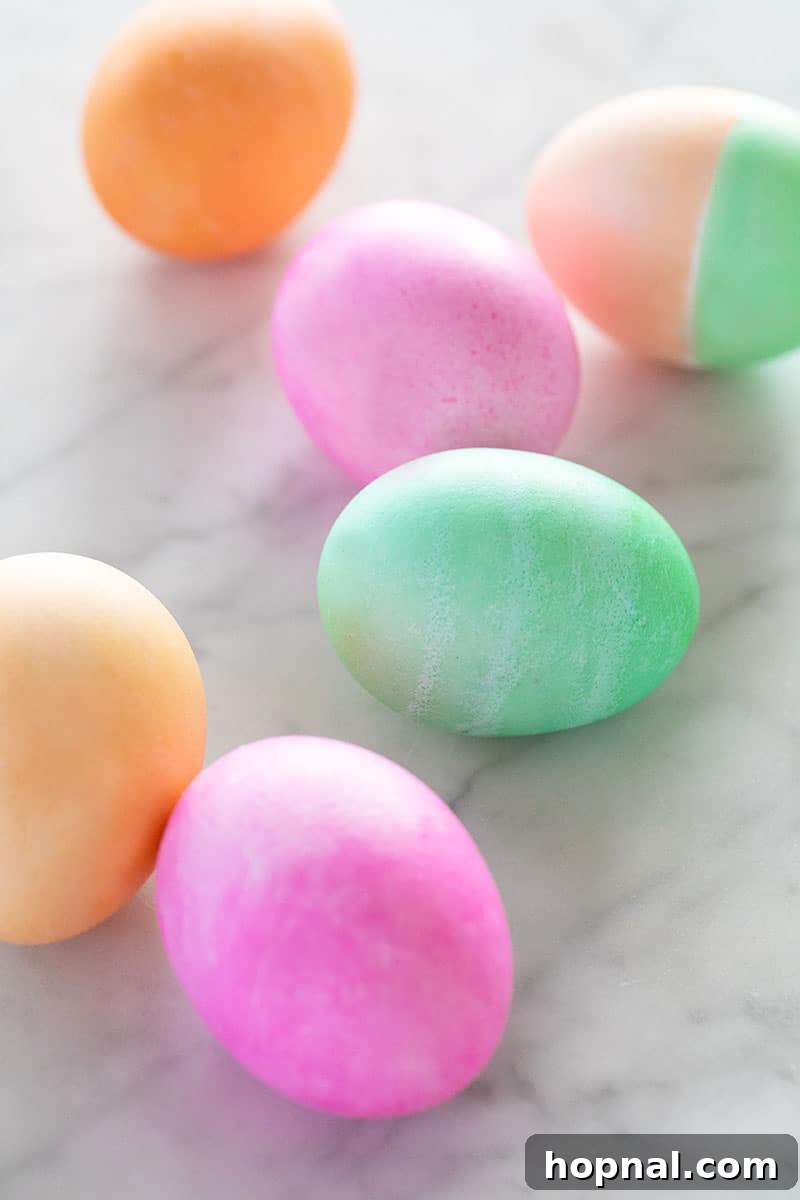
Step 3: Prepare the Dye Baths
- Using Store-Bought Dye Kits: Follow the instructions provided with your chosen dye kit. These typically involve dissolving dye tablets in water and adding vinegar.
- Using Food Coloring: For vibrant, customizable colors, fill individual containers with enough warm water to fully submerge an egg (approximately 1/2 to 1 cup per color). Add 1 teaspoon of white distilled vinegar to each container. Then, add 10-20 drops of liquid food coloring. Start with fewer drops for pastel shades and add more for deeper, more intense colors. Stir each solution well to ensure the color is evenly distributed.
- Using Natural Dyes: If you’re opting for natural dyes, ensure they are cooled to a manageable temperature and strained to remove any food particles. (More on this method below!)
Step 4: Dip and Soak the Eggs
- Carefully lower one egg at a time into your prepared dye bath using a spoon or egg dipper. Ensure the egg is fully submerged in the liquid.
- The soaking time determines the intensity of the color. For pastel shades, a soak of 2-5 minutes might suffice. For more vibrant and deeper colors, you can leave the eggs in the dye for 10-30 minutes, or even longer for natural dyes. Periodically check the egg’s color by carefully lifting it with the spoon.
Step 5: Remove and Dry the Eggs
- Once your eggs have reached the desired shade, gently remove them from the dye bath using a slotted spoon or egg dipper. Allow any excess dye to drip back into the container.
- Carefully place the dyed eggs on a wire cooling rack or a stack of paper towels to air dry completely. Avoid handling the eggs too much while they are wet, as this can smudge the color or remove any intricate designs you might have created before dyeing. Patience is key for a flawless finish!
Step 6: Enhance Colors and Add Designs
- For More Vibrant Hues: If you desire even deeper or more saturated colors, simply let your eggs dry completely after the first dip, then submerge them into the dye solution for a second round of coloring.
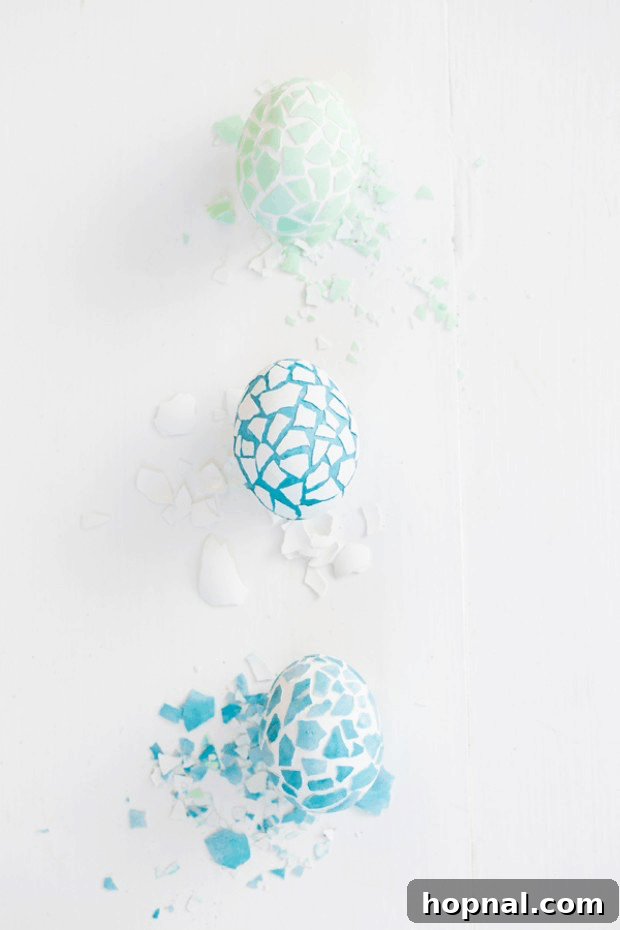
- Creative Patterns and Designs: Before dipping your eggs, unleash your creativity! Use wax crayons to draw patterns or messages, as the wax will resist the dye, creating a unique effect. Apply rubber bands around the eggs for striped patterns, or use stickers (remove after dyeing) to create contrasting shapes. For a cracked shell design, gently tap the hard-boiled egg against a hard surface to create tiny cracks, then dye it. The dye will seep into the cracks, creating a beautiful mosaic-like pattern once the shell is peeled.
- Polishing for Shine: Once your eggs are completely dry, you can lightly rub them with a tiny drop of vegetable oil on a paper towel. This will give them a beautiful, subtle sheen.
How to Dye Easter Eggs Without a Kit: DIY Solutions
You don’t need a store-bought kit to create stunning Easter eggs. Dyeing eggs without a kit is not only surprisingly simple but also offers a fantastic opportunity to experiment with a wider range of colors and truly personalize your creations. It’s also a wonderful way to use ingredients you likely already have in your pantry, making it a budget-friendly and eco-conscious choice. Whether you opt for vivid food coloring or beautiful natural dyes, the process allows for immense creativity and unique results. Let’s explore how to add spectacular color to your Easter eggs using common household items.
Materials Needed for Kit-Free Dyeing
- Food Coloring or Natural Dye Sources: Such as liquid food coloring, turmeric, red cabbage, beet juice, onion skins, etc.
- White Distilled Vinegar: Crucial for helping the dye adhere to the eggshells, resulting in brighter, more saturated colors.
- Large Pot: For boiling water and potentially for simmering natural dye ingredients.
- Heat-Resistant Containers: Mugs, small bowls, or glass jars work perfectly for individual dye baths.
- Spoon or Egg Dippers: For safely handling eggs in and out of the dye.
- Perfectly Hard-Boiled Eggs: Cooled and ready for coloring.
- Protective Surface Cover: Newspaper, plastic tablecloth, or old towels.
- Wire Rack or Paper Towels: For drying the dyed eggs.
The Food Coloring Method: Bright and Easy Easter Eggs
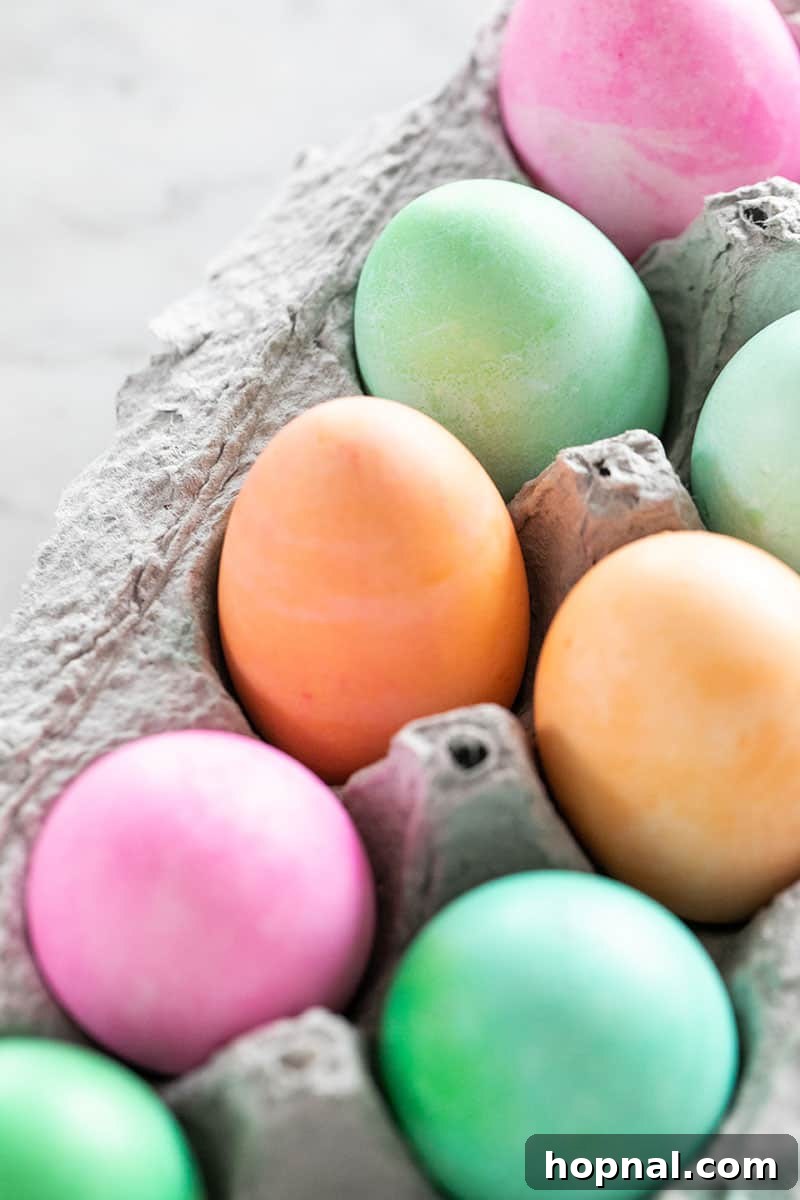
Using liquid food coloring is perhaps the easiest and most versatile way to dye Easter eggs without a specialized kit. It offers a broad spectrum of colors, allows for precise shade control, and yields consistent, vibrant results. This method is fantastic for both beginners and experienced decorators looking for quick, reliable color.
Preparing Your Food Coloring Dye Solution
- Warm Water: For each color you wish to create, measure out 1/2 to 1 cup of warm tap water into a heat-resistant container (like a mug or small bowl). Warm water helps the food coloring dissolve more efficiently and slightly opens the eggshell’s pores for better color absorption.
- White Vinegar: Add 1 teaspoon of white distilled vinegar to each container of warm water. The acidity in the vinegar acts as a mordant, helping the dye molecules bind more effectively to the calcium carbonate in the eggshell, resulting in significantly brighter and more lasting colors. Without vinegar, colors tend to be lighter and less vibrant.
- Liquid Food Coloring: This is where the magic happens! Start with 10-20 drops of liquid food coloring per container. For lighter, pastel shades, begin with fewer drops (e.g., 5-8). For deeper, more intense colors, you can increase the drops to 20-40, or even more for very dark hues. Stir each solution thoroughly with a spoon to ensure the food coloring is fully mixed. Remember, you can always add more drops to deepen a color, but you can’t easily lighten it once added!
Dye the Eggs with Food Coloring
- Submerge: Gently lower a hard-boiled egg into the prepared dye solution using a spoon or egg dipper, ensuring it is completely submerged.
- Soak for Desired Shade: The amount of time your egg soaks in the dye bath will directly impact the final color intensity.
- For delicate pastels, start checking after just 2-5 minutes.
- For moderately vibrant colors, aim for 5-15 minutes.
- For rich, deep, and saturated hues, you might need to leave the egg in for 20-30 minutes or even longer.
- Periodically lift the egg with your spoon to check its progress. Once the desired color is achieved, carefully remove the egg, allow excess dye to drip off, and place it on a wire rack or paper towels to dry completely.
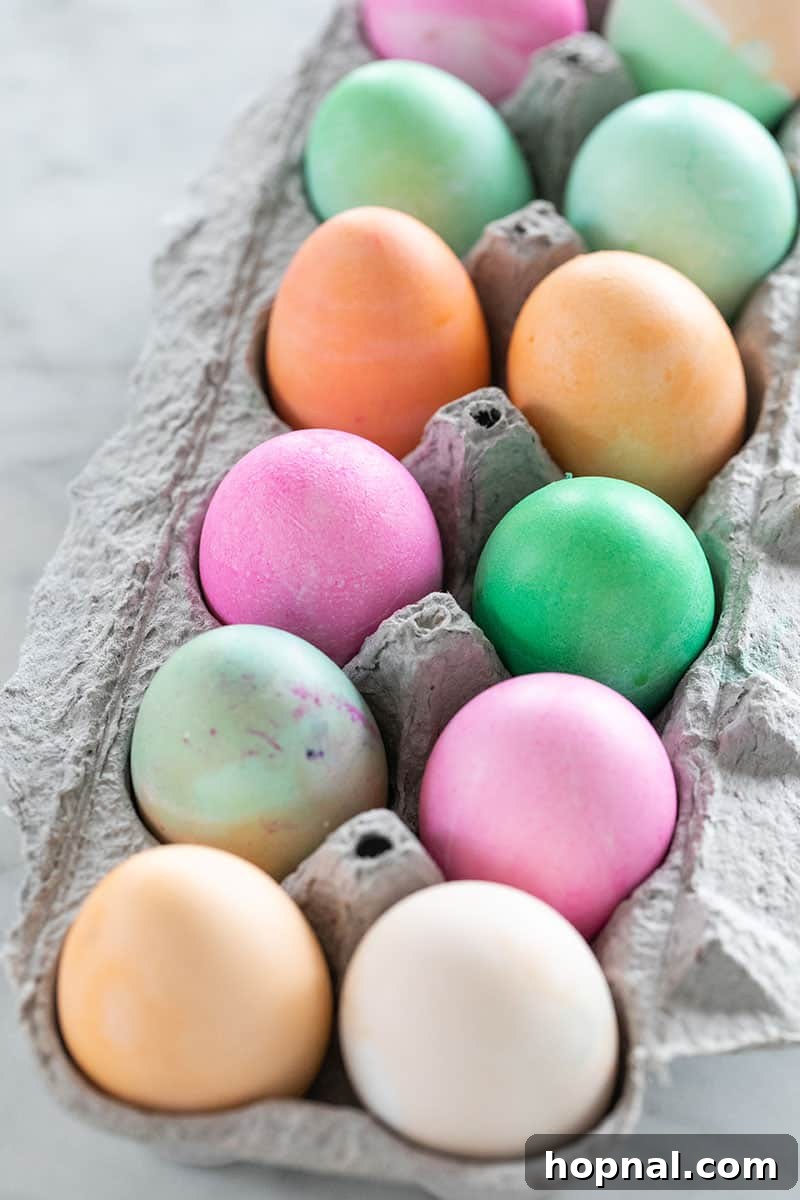
Feel free to experiment with mixing different food colorings to create custom shades! For example, a few drops of blue and yellow can yield various greens, or red and blue can create stunning purples. The possibilities are endless!
Natural Dye Method: Earthy and Eco-Friendly Easter Eggs
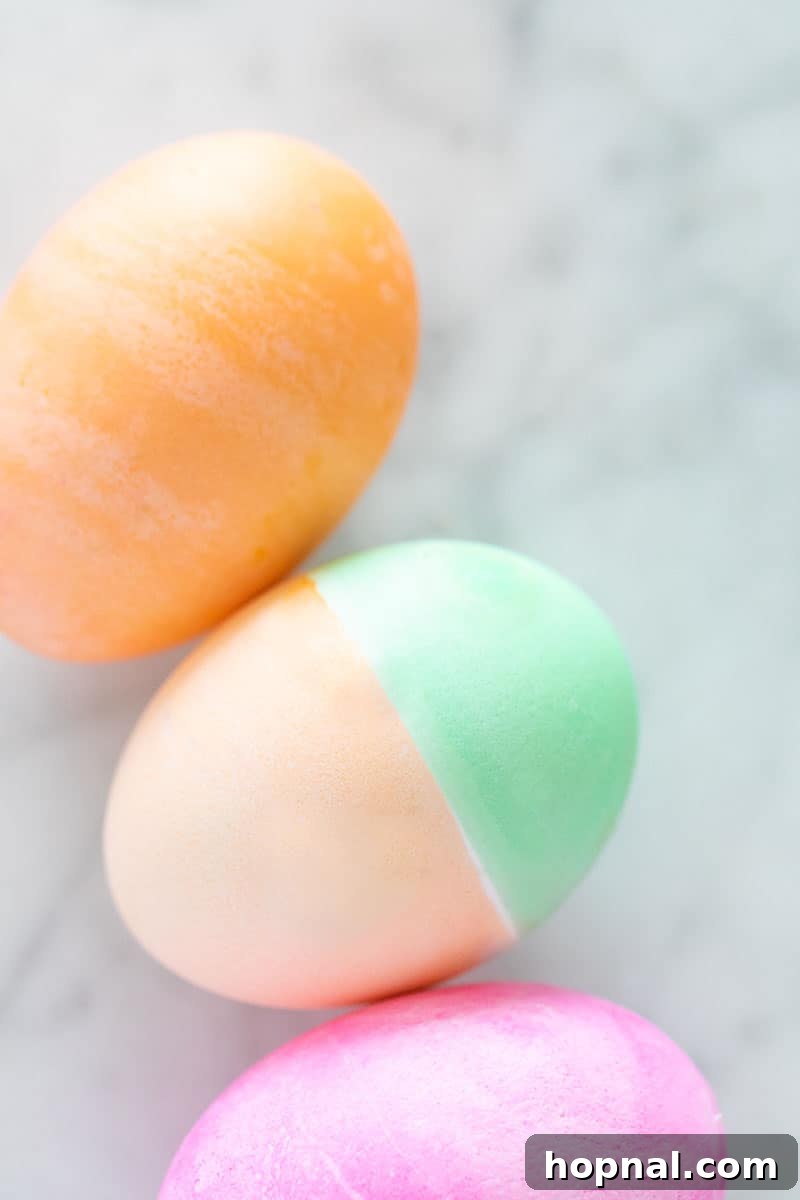
For an eco-friendly approach that yields uniquely beautiful, often more muted and earthy tones, consider making natural Easter egg dyes from ingredients found right in your kitchen or garden. This method connects you to traditional dyeing techniques and offers a delightful sensory experience. While natural dyes may require longer soaking times, the resulting colors are incredibly satisfying and chemical-free.
How to Create Natural Dyes
The basic process for creating natural dyes involves simmering a dye-producing ingredient in water to extract its color. Here’s a general guide:
- Gather Ingredients: Choose your desired natural dye source (see list below for ideas).
- Simmer: In a non-reactive pot (stainless steel is best), combine the dye ingredient with about 2-4 cups of water. Bring to a boil, then reduce heat and simmer for 15-30 minutes, or until the water has absorbed a significant amount of color. The longer you simmer, the more concentrated the dye will be.
- Strain: Carefully strain the liquid through a fine-mesh sieve or cheesecloth into a heat-resistant container to remove all solid particles. This will leave you with a clear dye bath.
- Add Vinegar: Once the dye liquid has cooled to room temperature (or at least warm, not boiling), add 1 tablespoon of white distilled vinegar for every cup of dye liquid. As with food coloring, vinegar helps the color adhere to the eggshells.
- Soak: Submerge your hard-boiled eggs in the cooled natural dye bath. Natural dyes often require a much longer soaking time compared to food coloring to achieve vibrant results, sometimes several hours or even overnight in the refrigerator. Check periodically until you reach your desired shade.
Popular Natural Food Ingredients for Dyeing Eggs
- Turmeric: Produces a spectrum from bright yellow to deep golden orange. Use 3-4 tablespoons of turmeric powder per cup of water.
- Red Cabbage: Surprisingly, yields beautiful shades of blue, ranging from sky blue to deep indigo, depending on concentration and soak time. Chop 1/4 head of red cabbage per 4 cups of water.
- Beets: For lovely pinks and reds. Use 2-3 chopped beets per 4 cups of water.
- Onion Skins (Yellow/Brown Onions): Creates warm orange, rust, or deep brown tones. Use skins from 4-6 onions per 2 cups of water.
- Spinach Leaves: Can produce very subtle green hues. Use a large handful per 2 cups of water.
- Blueberries: Yields deep blues and purples. Crush 1-2 cups of frozen blueberries per 2 cups of water.
- Paprika or Chili Powder: For soft oranges and brick reds. Use 2-3 tablespoons per cup of water.
- Blackberries: Creates lovely shades of lavender to deep purple. Crush 1 cup per 2 cups of water.
- Hibiscus Tea: Brew 4-6 tea bags in 2 cups of water for beautiful dark pink to reddish-purple shades.
- Cranberries (Fresh or Frozen): Can result in light pinks. Use 1 cup per 2 cups of water.
- Red Onion Skins: Similar to red cabbage, these can also produce lovely blue or purplish tones. Use skins from 4-6 red onions.
- Saffron Threads: For a luxurious, vibrant yellow-orange (though can be costly). A pinch per cup of water is sufficient.
Embrace the slight unpredictability of natural dyes; each egg will be uniquely beautiful!
Unleash Your Creativity: Easter Egg Design Ideas
Once your eggs are dyed, they become a perfect canvas for further artistic expression. Basic dyeing creates a fantastic foundation, but you can elevate them with countless design techniques. From elegant accents to whimsical patterns, there’s a design idea for every style and skill level. Here are some of my favorite methods to decorate Easter eggs, ensuring your display is truly unique:
Simple Yet Stunning Egg Decorations
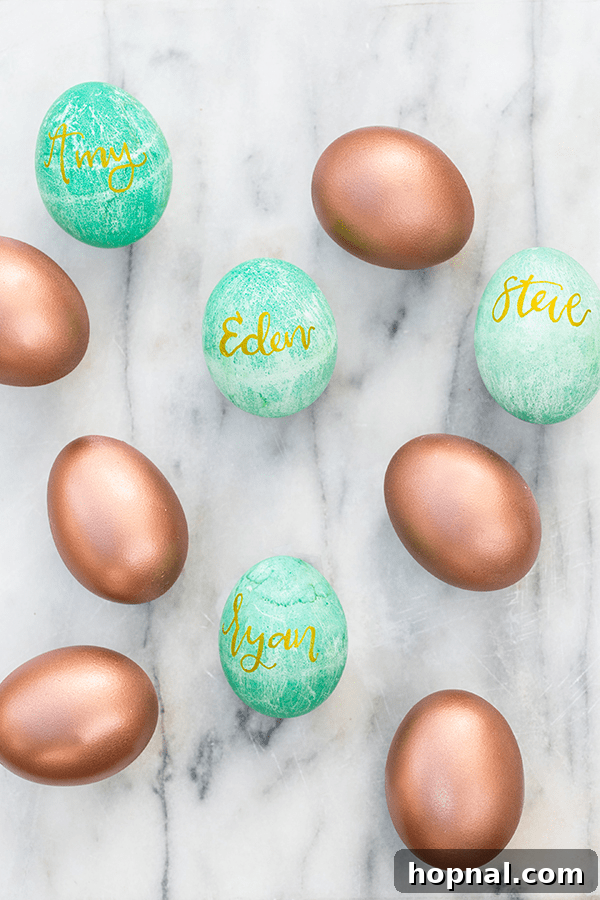
- Colorful Calligraphy: For a personalized and elegant touch, use a fine-tip permanent marker or a paint pen to add names, sweet springtime messages, or intricate patterns onto your dyed eggs. Sugar & Charm offers great inspiration for this artistic method.
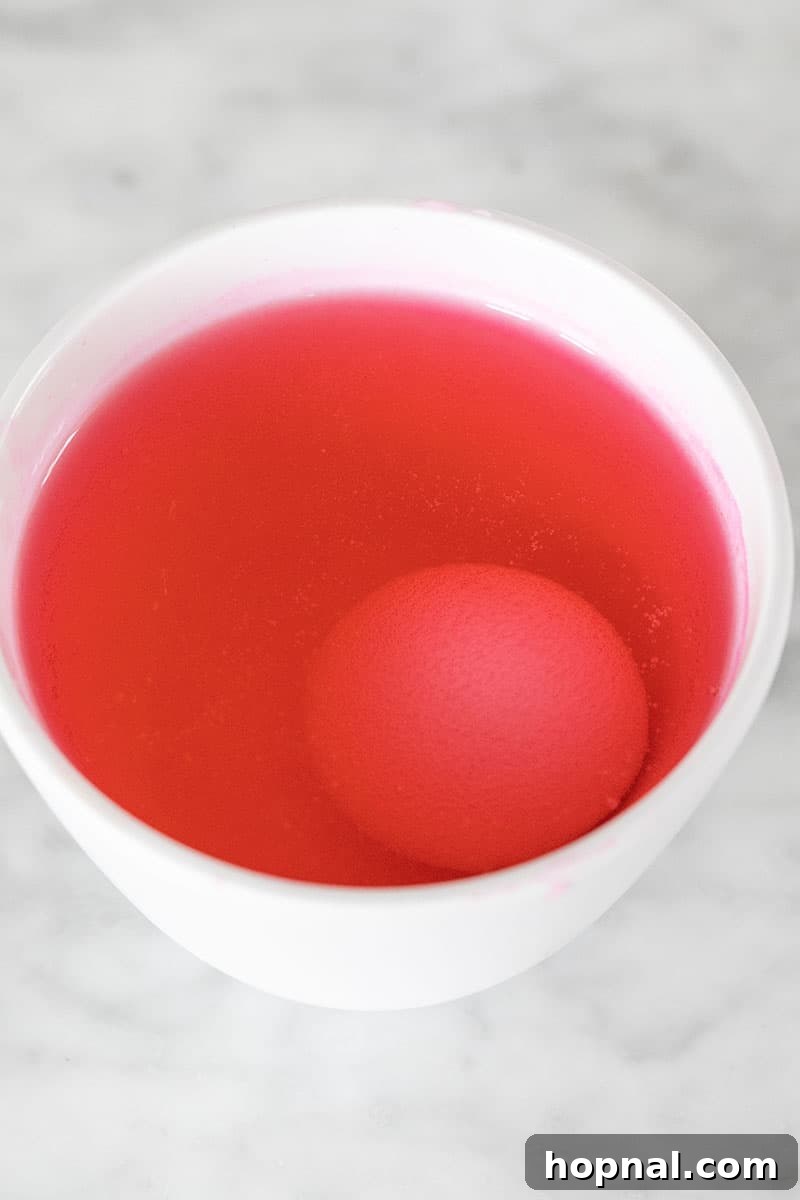
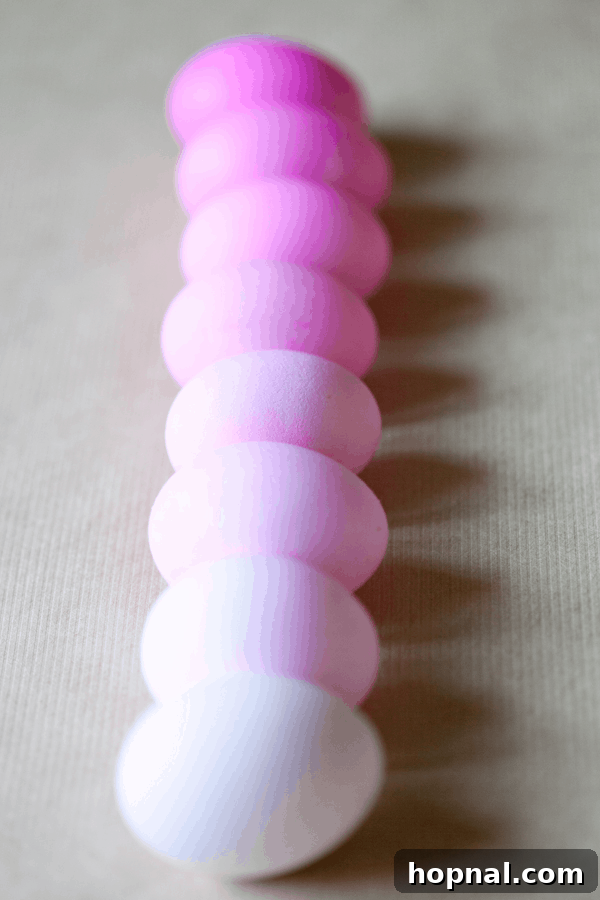
- Ombre Elegance: Achieve a sophisticated gradient effect by dipping eggs incrementally into a dye bath. Start with a full dip for a light shade, then gradually submerge less of the egg for longer periods, creating beautiful graduating colors. This DIY guide makes it straightforward to master.
- Temporary Tattoo Designs: This incredibly easy and effective method adds intricate, store-bought designs to your eggs. Simply cut out your favorite temporary tattoos, place them onto your dried dyed eggs, and press with a damp cloth or sponge until they adhere. Peel off the backing paper to reveal a perfectly transferred design!
- Botanical Prints: For a lovely, rustic, and natural vibe, gather small leaves, ferns, or flowers. Press them onto eggs (you can secure them with a piece of old pantyhose or gauze tied tightly) before dyeing. The areas covered by the botanicals will resist the dye, creating beautiful silhouette patterns. Check out nature-inspired blogs like Terrain for tips on achieving this with natural dyes.
Advanced and Textured Egg Techniques
- Mosaic Magic: Create stunning mosaic Easter eggs by gently cracking the shells of already dyed eggs (do not peel!). Then, carefully peel off small pieces and re-adhere them to a contrasting solid-colored egg with a thin layer of craft glue or egg white. The result is a beautiful, textured, and truly unique design. Sugar & Charm’s feature shows just how captivating this can be.
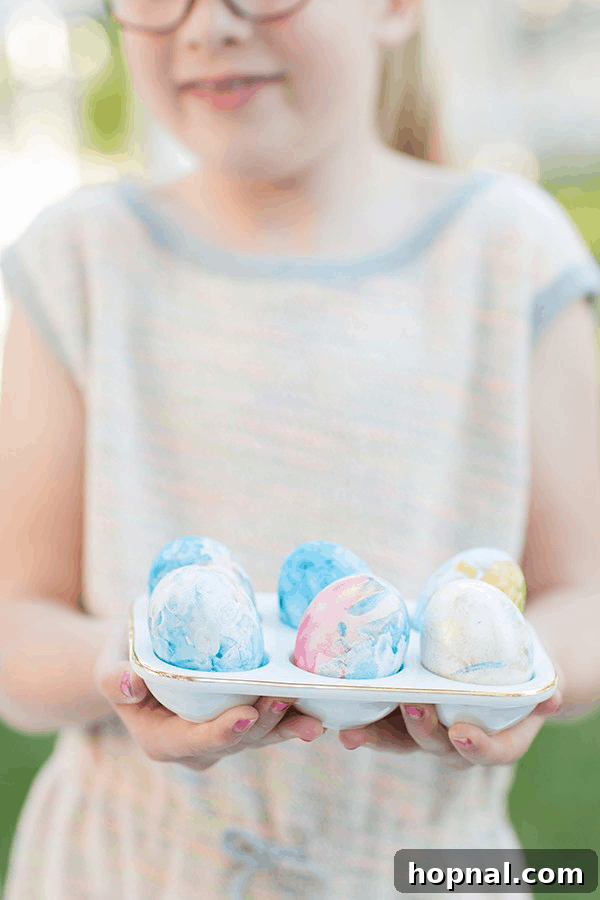
- Shaving Cream Marbling: Achieve whimsical, swirly, dreamlike patterns using shaving cream and food coloring. Spread shaving cream onto a baking sheet, drop dots of food coloring onto it, swirl gently with a toothpick, then roll your eggs through the colorful cream. Let them sit for a few minutes, then wipe clean to reveal unique marbled patterns. Good Housekeeping videos often demonstrate this fun technique.
- Decoupage Eggs: This elegant technique involves pasting layers of decorative paper (like tissue paper, napkins, or thin printed designs) onto an egg with a special adhesive that dries clear, sealing and protecting the design. Follow a step-by-step approach to ensure each egg turns out beautifully and uniquely embellished with your chosen patterns.
Sparkle and Shine: Embossed and Glittered Eggs
For those who love a bit of sparkle and sophisticated texture, embossing and glittering eggs are fantastic ways to add a touch of glamour to your Easter display.
- Embossing Powder: To add detailed, raised patterns, use embossing ink to stamp or draw a design onto a dried egg. Immediately sprinkle embossing powder over the wet ink, tap off the excess, and then carefully heat the design with a heat gun (or even a toaster oven on low heat, watching *very* carefully). The powder will melt and raise, creating a beautiful textured pattern.
- Glitter Application: Glitter transforms a simple dyed egg into a dazzling masterpiece. After your dyed eggs are completely dry, apply a thin layer of craft glue (PVA glue works well) to the areas where you want glitter. Sprinkle fine or chunky glitter over the glue, then gently tap off the excess. For a precise finish, use a fine paintbrush to control the glitter placement.
- Monogram Designs with Glitter: Personalize your eggs by drawing initials or simple shapes with glue, then applying glitter directly onto the glue. This creates a unique, sparkling monogram that stands out beautifully.
- Surface Sparkle: For an all-over shimmer, you can roll a glue-coated egg in glitter, or use a glitter spray for a more subtle, even sparkle. A sprinkle of glitter can significantly enhance the overall presentation of your Easter eggs, making them truly eye-catching.
Gold Leaf Easter Eggs: A Touch of Opulence
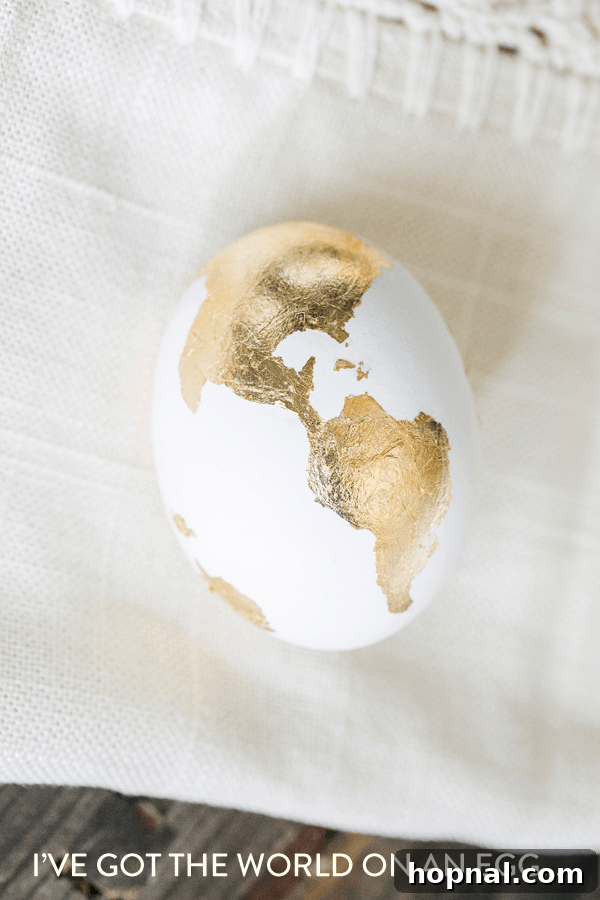
When I want to create Easter eggs that exude elegance and a touch of antique charm, I often turn to the technique of applying delicate gold leaf. This method adds a luxurious, radiant finish that makes each egg feel like a precious jewel. Here’s a simple method I use to transform ordinary eggs into stunning golden decorations:
Materials for Gold Leaf Eggs
- Gold Leaf Sheets: Available in craft stores, often in small booklets. Choose genuine gold leaf for a true metallic finish or imitation gold leaf for a more budget-friendly option.
- Gold Leaf Adhesive (Sizing): A special glue designed to become tacky but not fully dry, allowing the gold leaf to adhere securely.
- Small, Soft Paintbrush: For applying the adhesive and gently smoothing the gold leaf.
- Clean, Dry Cloth or Cotton Swabs: For buffing and removing excess gold leaf.
- Hard-Boiled Eggs: Preferably already dyed a solid color, as this provides a beautiful backdrop if the gold leaf doesn’t completely cover the surface.
Step-by-Step Gold Leaf Application
- Prepare the Surface: Ensure your dyed hard-boiled eggs are completely dry and clean.
- Apply Adhesive (Sizing): Using the small paintbrush, carefully coat the specific areas of the egg where you want the gold leaf to stick. You can create stripes, dots, or cover the entire egg. Follow the adhesive manufacturer’s instructions for drying time; it typically needs to become tacky, not fully dry (this is crucial for proper adhesion).
- Lay the Gold Leaf: Once the adhesive reaches the tacky stage, gently pick up a sheet of gold leaf. Gold leaf is incredibly delicate and thin, so handle it with care. Lightly press the gold leaf onto the areas coated with adhesive. It’s delicate, so patience is vital to avoid tearing.
- Smooth and Reveal: After laying the gold leaf, use a clean, dry, soft paintbrush or a cotton swab to gently smooth it onto the egg surface, lightly brushing away any excess flakes. The gold leaf will only adhere to the tacky areas, creating crisp lines. You can buff the gold gently with a clean cloth to achieve a shiny finish.
This technique creates truly exquisite Easter eggs that catch the light beautifully and add a touch of timeless sophistication to your holiday decor. Consider pairing them with solid-colored eggs for a striking contrast.
Frequently Asked Questions About Dyeing Easter Eggs
While the temperature of the eggs doesn’t significantly impact the dyeing process, it’s generally recommended that hard-boiled eggs are cool or at room temperature when you dye them. This makes them much easier and safer to handle, especially for children, reducing any risk of burns and allowing for more comfortable decorating.
Yes, it’s ideal for hard-boiled eggs to be cool enough to handle comfortably. After boiling, an ice bath rapidly cools them. Once removed from the ice bath, allowing them to sit for about 15-30 minutes at room temperature should suffice. This ensures they are not too hot to touch but also not so cold that they might create condensation, which could affect dye adherence.
Absolutely! Many people prefer to use refrigerated hard-boiled eggs for dyeing. Cold eggs are perfectly fine for dyeing and often easier to manage since they are firm and have no lingering heat. Just make sure they are thoroughly dry before dipping them into the dye solutions to ensure even color application.
While technically possible to dye uncooked eggs, it is generally not recommended or practical. Uncooked eggs are much more fragile and prone to cracking during handling, especially when being submerged and removed from dye baths. Furthermore, if you plan to use the eggs for an Easter egg hunt or as edible decorations, hard-boiled eggs are the only safe and sensible option.
Vinegar is highly recommended, though not strictly mandatory, especially when using food coloring or commercial dye tablets. Its acidity helps the dye adhere much better to the eggshell, resulting in significantly brighter, more saturated, and longer-lasting colors. If you don’t have vinegar, lemon juice can serve as an acidic substitute, though it might yield slightly different results.
Yes, absolutely! Food coloring is an excellent and highly popular choice for dyeing Easter eggs, essentially forming the basis of many commercial dye kits. Starting with about 10-20 drops of liquid food coloring in warm water with a teaspoon of white vinegar will produce vibrant hues, and you can easily adjust the quantity for your desired color intensity. For a personalized touch, try using stencils for patterns, or mix colors to create unique shades beyond what’s available in standard dye kits. You can achieve virtually any conceivable hue, from fiery scarlet to serene aqua, just by adjusting your food coloring ratios.
After coloring your eggs, proper drying is crucial for a smudge-free and perfectly finished creation. Here’s how I ensure my eggs dry properly:
- Air Drying Method: The most common and effective method is to carefully place the dyed eggs on a wire cooling rack. This allows air to circulate around the entire surface of the shell, promoting even drying and preventing dye from pooling. Place the rack over a sheet of newspaper or paper towels to catch any drips.
- Original Carton Method: Alternatively, you can gently place the eggs back into their original cardboard egg carton. While this is convenient, it may create small undyed spots where the egg touches the carton, so rotate them if possible.
- Towel Dabbing Technique (Use with Caution): If you’re in a hurry, you can very gently dab the eggs with a paper towel to absorb excess dye. It’s important to be extremely gentle, *not to rub*, as rubbing can easily smudge the color or even remove parts of the dye, especially if the egg is not completely dry. Air drying is always the preferred method for the best results.
Hard-boiled and dyed Easter eggs, if refrigerated, can typically last for about one week, just like undyed hard-boiled eggs. It’s important to keep them chilled if you plan to eat them. If they’ve been left out at room temperature for more than two hours (for example, during an Easter egg hunt), it’s best to discard them for food safety reasons.
Yes, when properly prepared, natural dyes made from fruits, vegetables, and spices are generally considered food-safe. Since these dyes are made from edible ingredients, they won’t contaminate the eggs if any seeps through a crack. However, always ensure your ingredients are fresh and safe for consumption.
For the brightest and most vibrant colors, white-shelled eggs are highly recommended. Their lighter surface allows the dye colors to show up more true-to-tone and intense. Brown eggs can also be dyed, but the natural brown hue of the shell will influence the final color, often resulting in deeper, more muted shades.
More Easter Ideas for a Memorable Celebration
I hope this ultimate guide has inspired you to create a basketful of beautifully dyed Easter eggs this season! The joy of crafting these colorful decorations is truly a highlight of the spring holidays. To continue your Easter preparations, explore some of my other favorite ideas:
- Delightful Easter Coloring Pages: Perfect for keeping little ones entertained.
- Irresistible Dessert Ideas for Easter: Sweet treats to complete your holiday feast.
- Charming Easter Sugar Cookies: A delicious and fun baking project.
- A Festive Candy Tray for Easter: Easy and delightful for any gathering.
I absolutely adore seeing your creative egg-dyeing projects! Please tag me @sugarandcharm on social media to share your stunning creations with our community. You can also FOLLOW ME on FACEBOOK, INSTAGRAM, and PINTEREST to discover even more delicious recipes, refreshing cocktails, decadent desserts, and inspiring party ideas!