
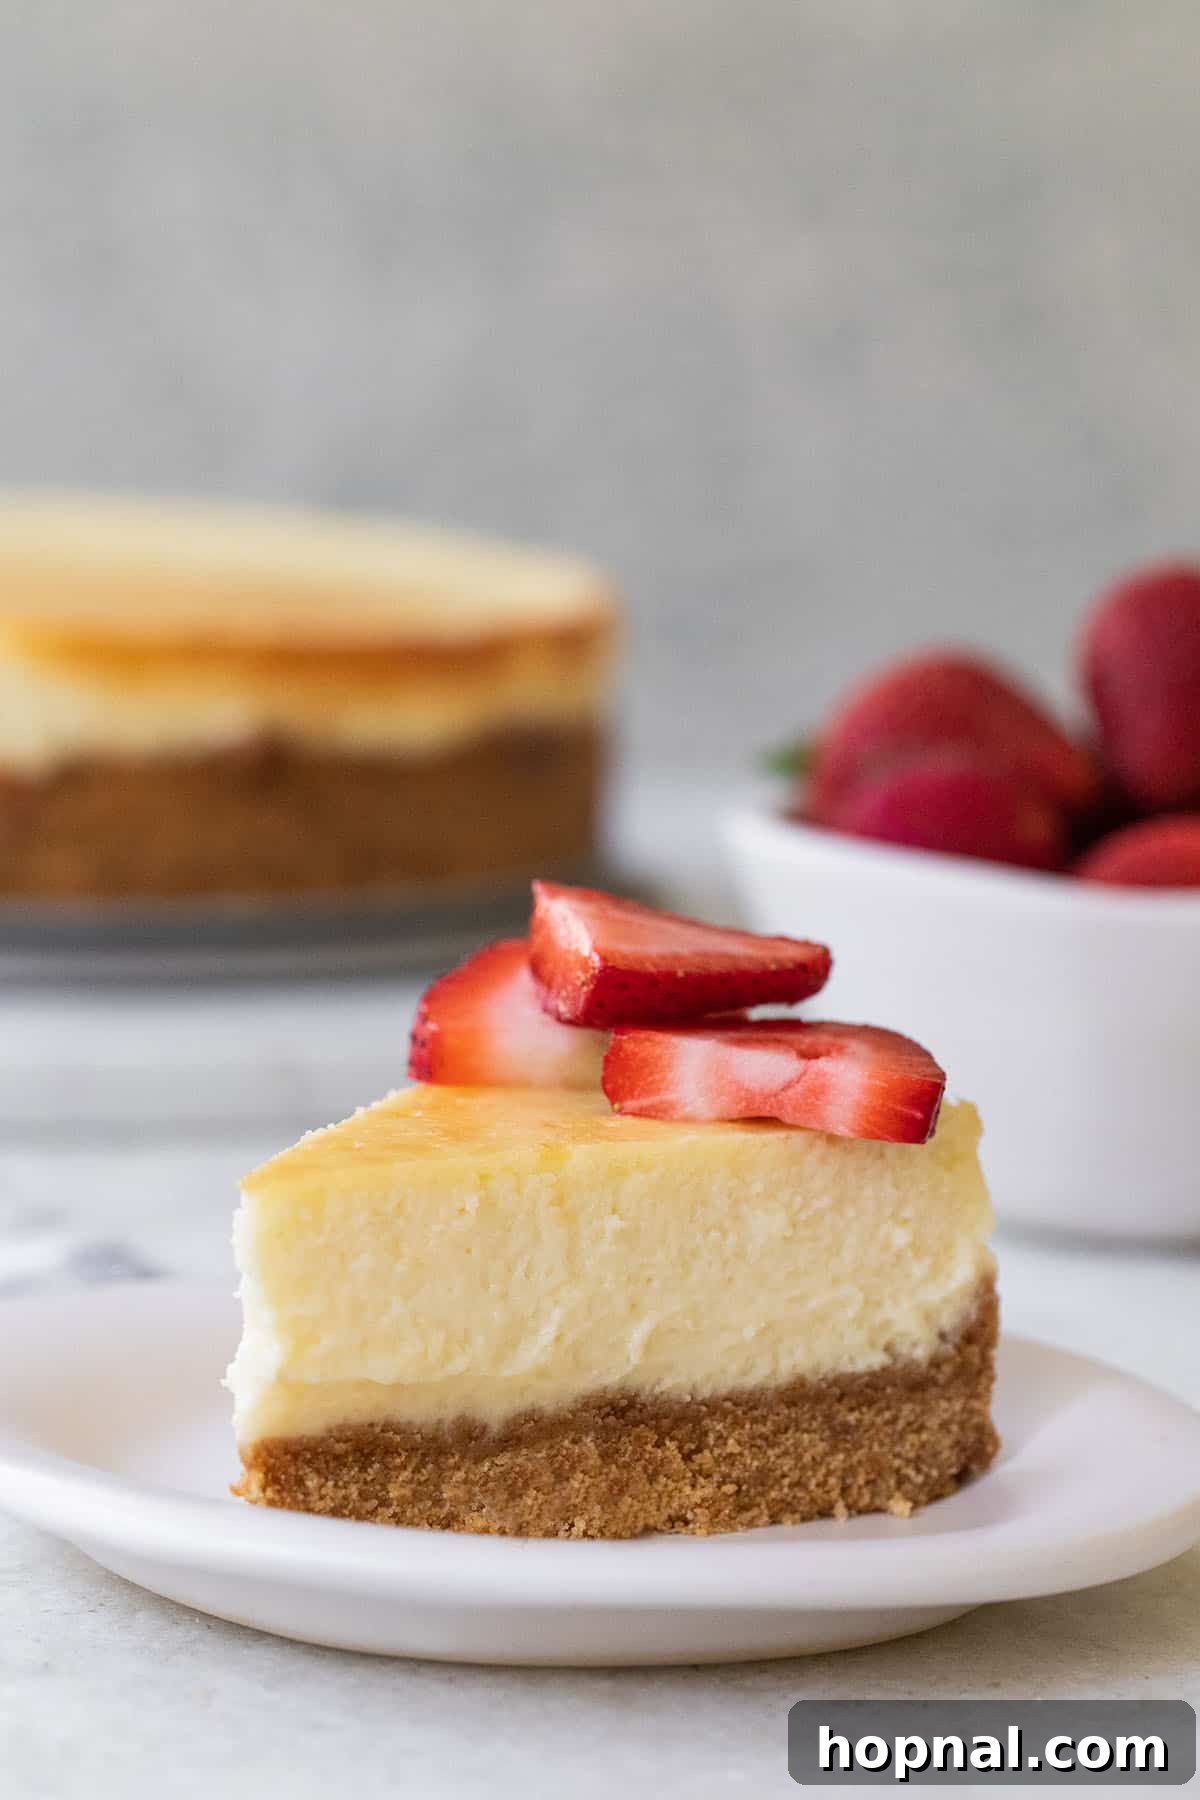
Embark on a delightful baking journey with what we proudly present as the ultimate homemade cheesecake recipe. For over 15 years, this cherished recipe has been our steadfast companion in the kitchen, consistently delivering a dessert that is nothing short of perfection. Imagine a cheesecake that is incredibly creamy, impeccably sweet, and effortlessly crafted with just 6 simple, readily available ingredients. One decadent bite, and you’ll understand why this recipe earns its top-tier reputation and why you’ll never need another.
If your passion for cheesecake runs deep, we invite you to explore more delightful variations. Try our refreshing no-bake birthday cheesecake, the delicately flavored ricotta cheesecake, a vibrant strawberry cheesecake recipe, our unique cheesecake recipe with goat cheese, or a seasonal favorite like our pumpkin cheesecake recipe!
⭐⭐⭐⭐⭐
“This recipe is absolutely foolproof! I’ve made it countless times, and the results are consistently spectacular. As a major cheesecake crust enthusiast, I can confidently say the thick, buttery crust on this one is my all-time favorite!”
— Jess
Why This is The Only Homemade Cheesecake Recipe You’ll Ever Need
When it comes to baking a truly exceptional cheesecake, many recipes promise perfection, but few deliver with the consistent reliability and sublime flavor profile of this one. Our homemade cheesecake recipe isn’t just another dessert; it’s a culinary legacy, meticulously refined over a decade and a half to ensure every slice is a masterpiece. Here’s why this recipe stands head and shoulders above the rest:
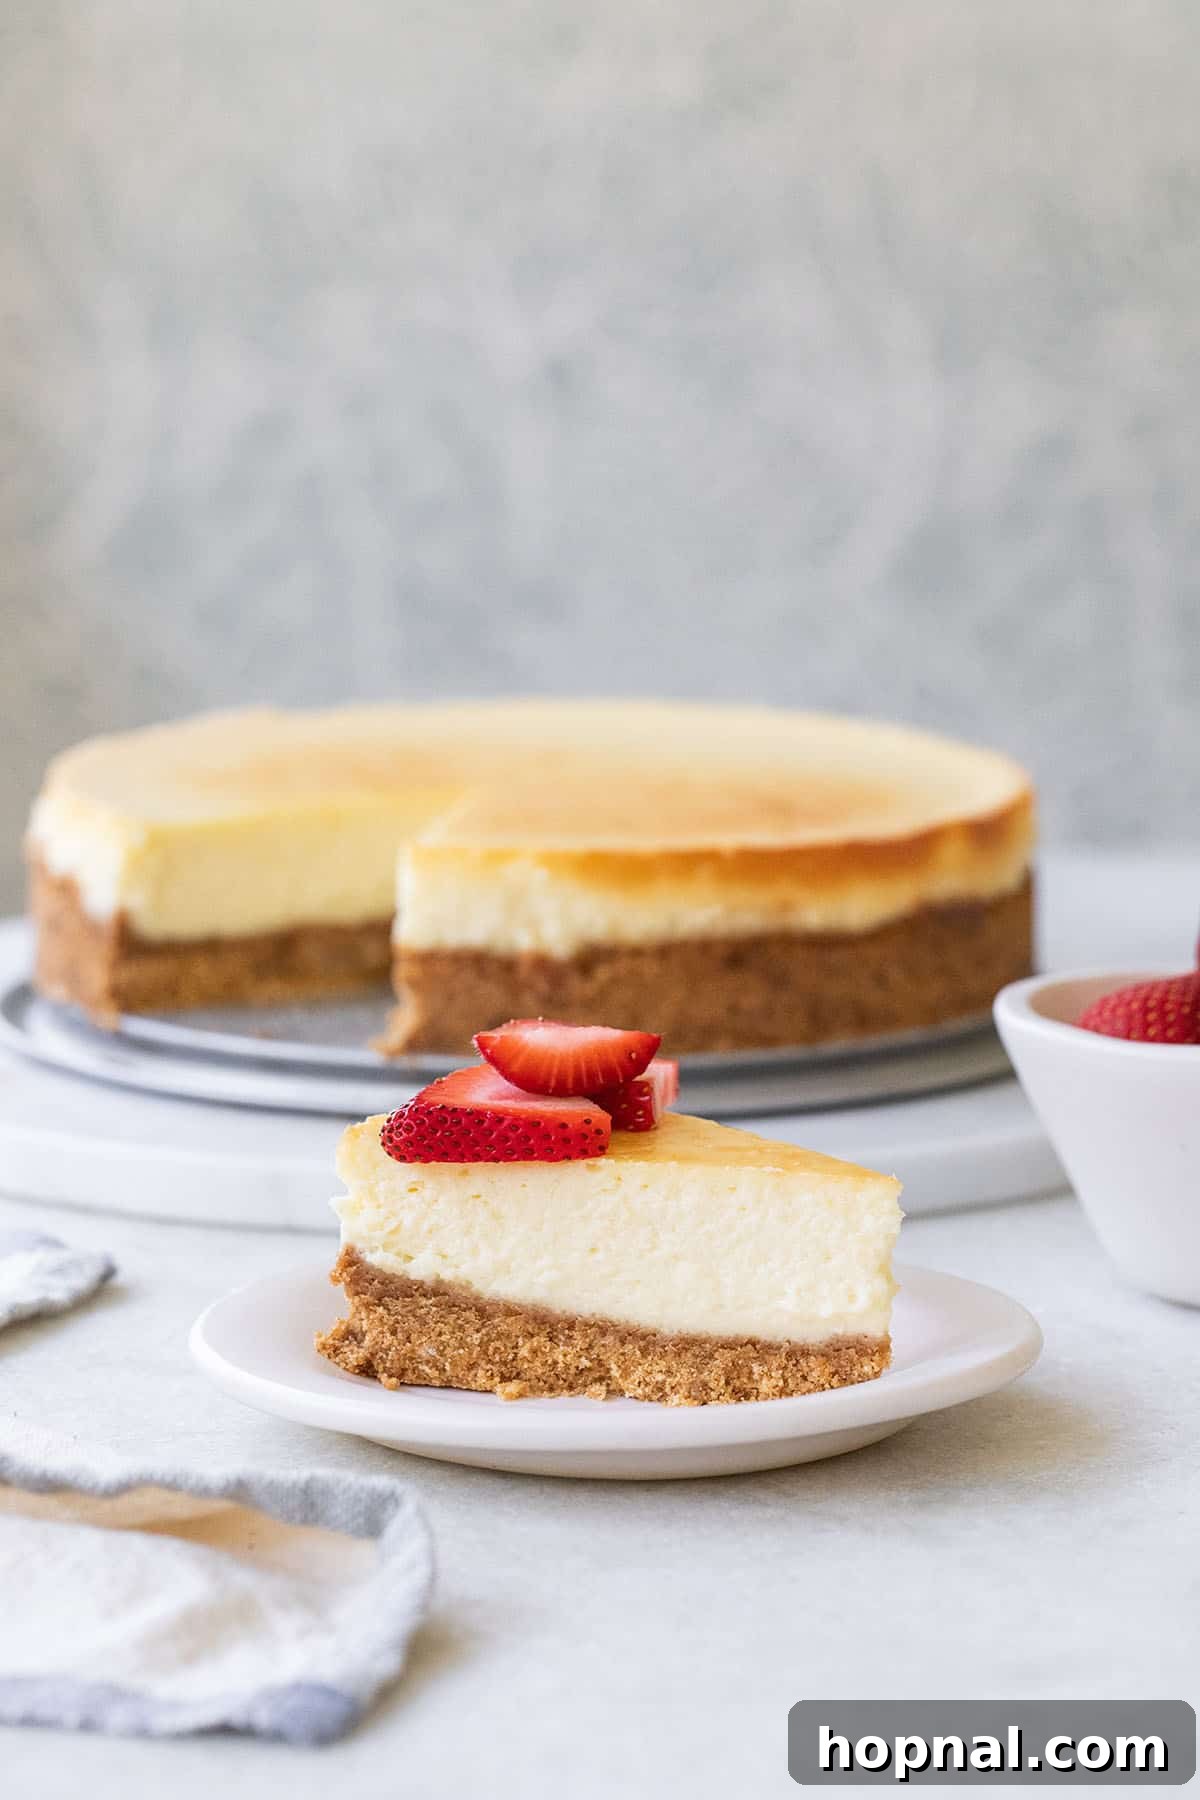
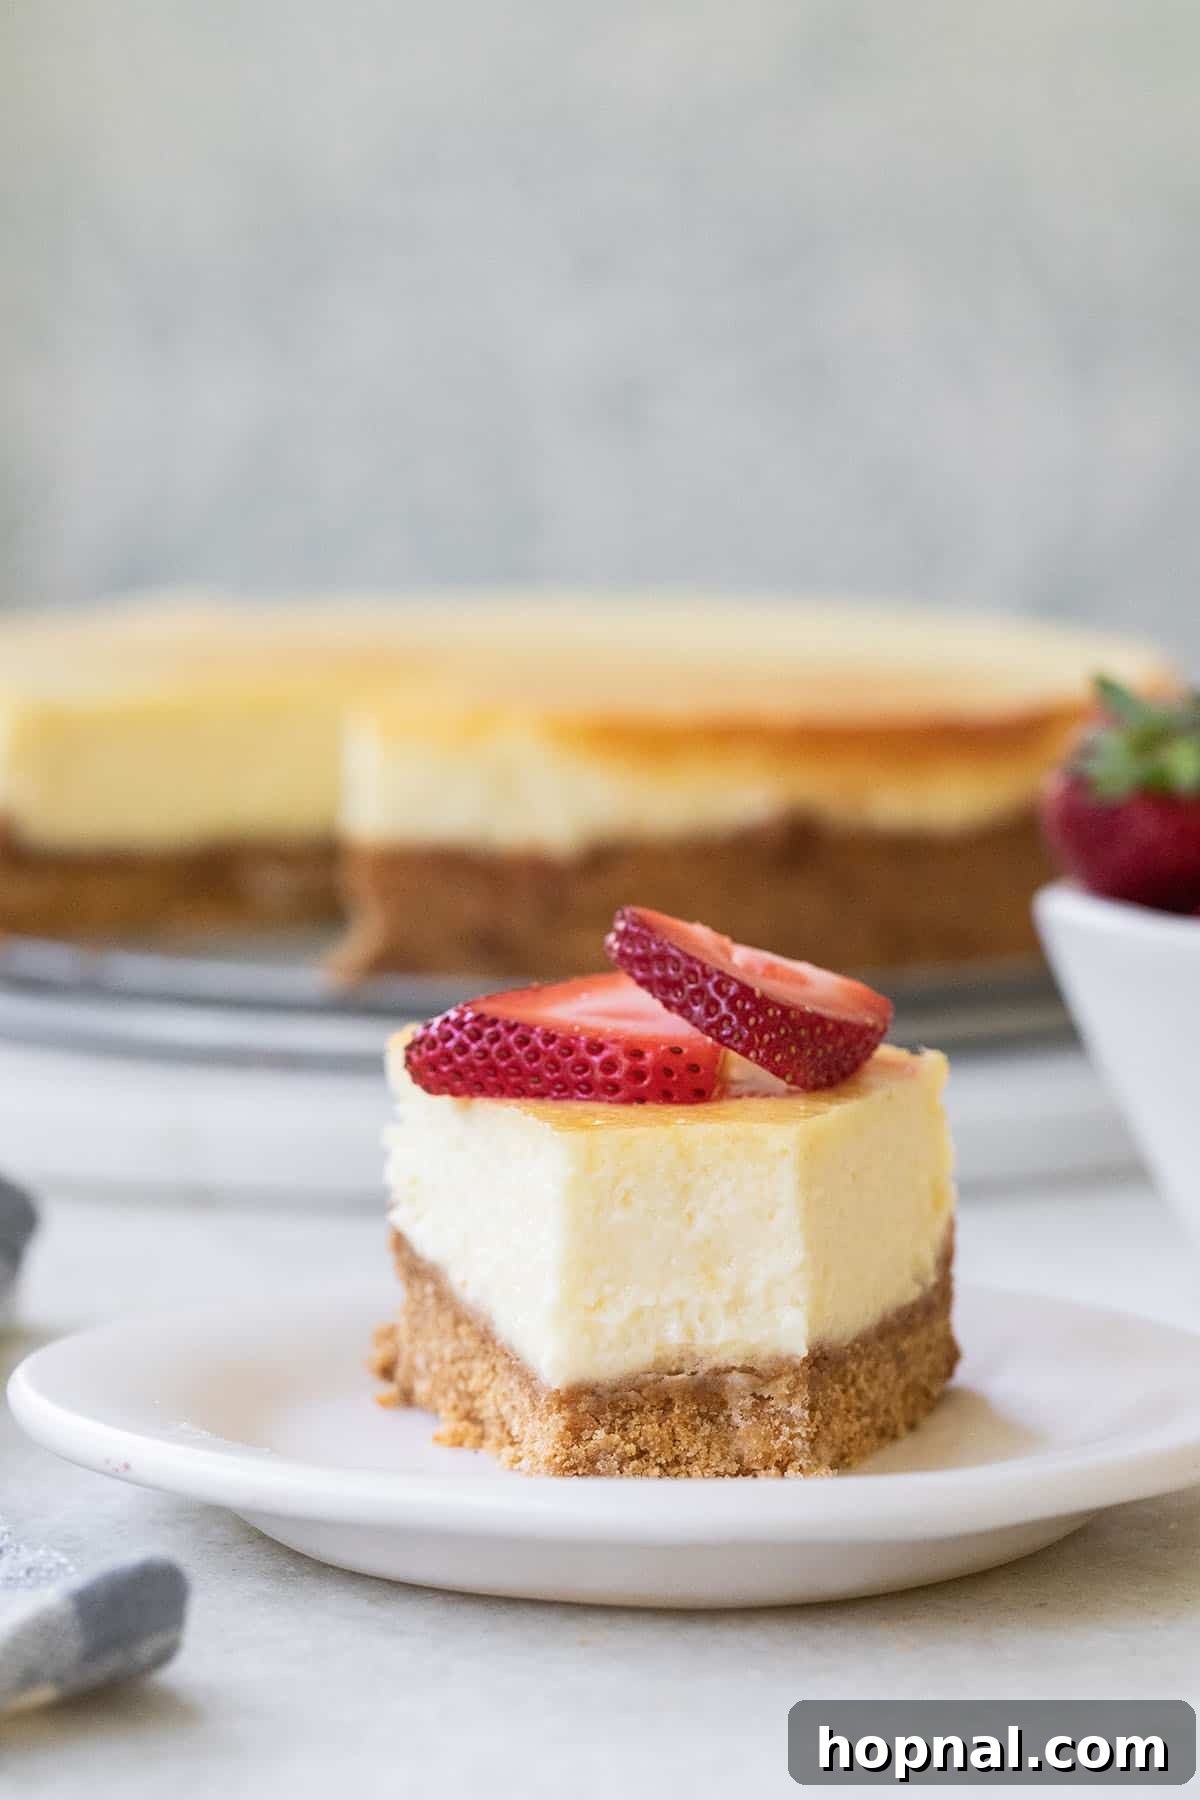
- Effortlessly Elegant Presentation: This cheesecake doesn’t just taste divine; it looks absolutely stunning. With its smooth, golden-brown top and sturdy, golden crust, it has that desirable bakery-worthy appearance. When adorned with a vibrant array of fresh fruit, a luscious drizzle of homemade caramel sauce, or a cloud of freshly whipped cream, it transforms into an unforgettable centerpiece for any special occasion or a sophisticated treat for an everyday indulgence.
- A Testament to Time-Tested Perfection: Trust is paramount in baking, and this recipe has earned ours through years of consistent success. Having personally baked this cheesecake for over 15 years, I can attest to its unwavering reliability. It’s a tried-and-true formula that has never failed to produce a spectacular result, making it a dependable choice for both novice bakers and seasoned pros alike.
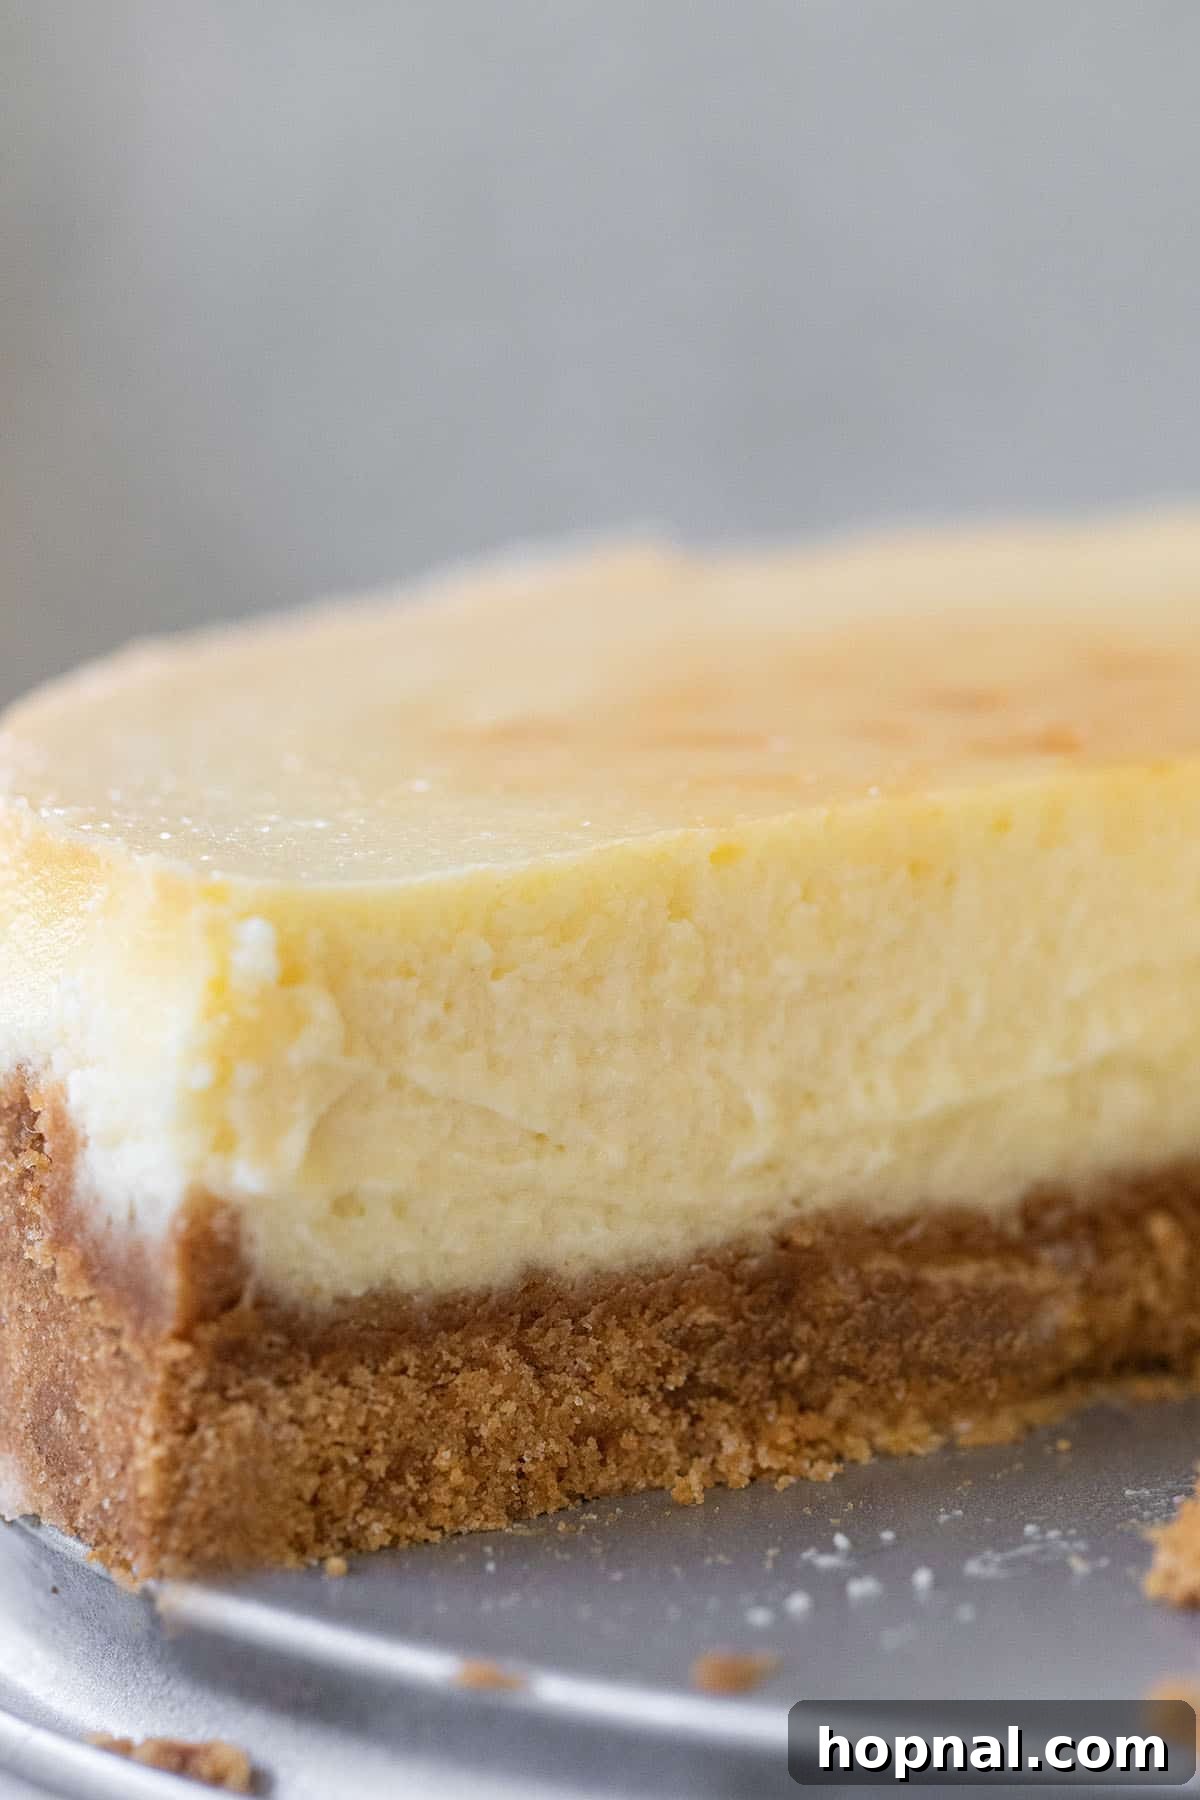
- Unrivaled Creamy Perfection: Prepare for a sensory experience that defines true indulgence. This cheesecake boasts a rich, velvety-smooth texture that melts in your mouth, capturing the very essence of a classic New York-style cheesecake. The secret lies in the careful balance of ingredients and precise baking method, resulting in an ultra-smooth consistency without a hint of graininess.
- Remarkably Simple Ingredients, Extraordinary Flavor: You don’t need an exotic pantry to create this luxurious dessert. This recipe relies on just 6 core, easy-to-find ingredients. It’s a beautiful demonstration of how high-quality, simple components, when combined with the right technique, can yield a dessert of unparalleled flavor and elegance. Each ingredient plays a vital role in building the complex, yet harmonious, taste of this classic dessert.
- A Versatile Foundation for Culinary Creativity: Beyond its classic charm, this recipe serves as an incredibly versatile base, inviting endless opportunities for customization and innovation. I’ve personally used this very foundation to craft a wide array of delightful variations, from cheesecakes featuring intricate swirls of homemade caramel to unique interpretations like a lighter ricotta cheesecake and even my distinctly tangy goat cheese cheesecake. This versatility ensures that you can always adapt it to suit your mood, season, or culinary whim.
Homemade Cheesecake Ingredient Notes: The Secret to Success
Achieving a truly sublime cheesecake begins with understanding the role each ingredient plays. While this recipe calls for only 6 simple items, their quality and preparation are crucial. Here’s a deeper look into what you’ll need to create your masterpiece:
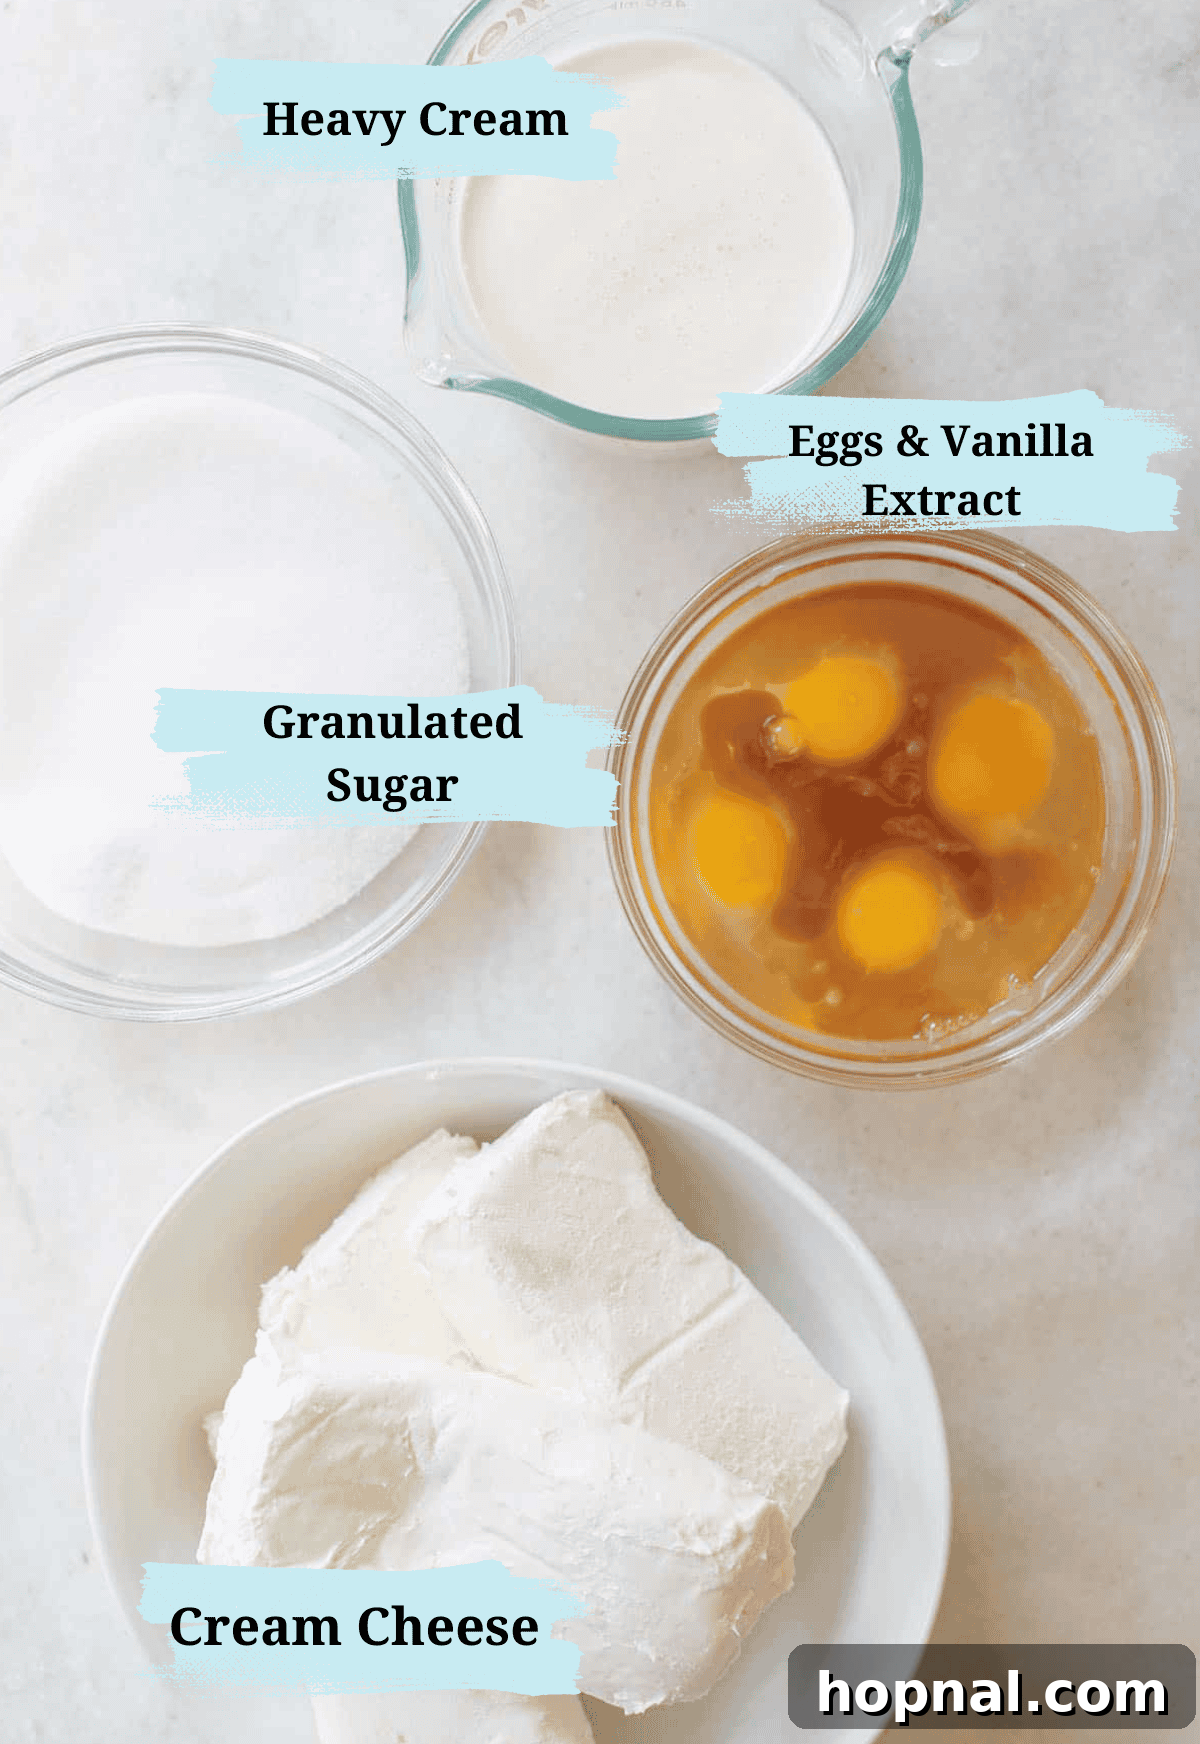
Graham Crackers – The foundation of any great classic cheesecake is its crust. For this recipe, we highly recommend using Honey Maid graham crackers. Their consistent texture and flavor create the perfect buttery base. While you can certainly buy pre-made graham cracker crumbs, making your own in a food processor or blender ensures freshness and a finer, more uniform texture. This helps the crust bind together perfectly and prevents it from being too crumbly.
Granulated Sugar – This essential sweetener plays a dual role: it provides the perfect amount of sweetness to both the crunchy graham cracker crust and the rich, creamy cheesecake filling. It also contributes to the beautiful caramelization on the cheesecake’s surface during baking.
Unsalted Butter – Melted unsalted butter is the magical binder that transforms graham cracker crumbs into a cohesive, flavorful crust. Using unsalted butter allows you to control the overall saltiness of the dish, ensuring a balanced flavor profile. The butter also adds a rich, complementary flavor that makes the crust irresistible.
Cream Cheese, room temperature. This is arguably the most critical ingredient. For a truly authentic and superior cheesecake, we exclusively use classic Philadelphia cream cheese. Its consistent quality, rich flavor, and smooth texture are unmatched. The “room temperature” part is non-negotiable – cold cream cheese will result in a lumpy batter, making it impossible to achieve that signature silky-smooth consistency. Make sure to set it out several hours in advance, or use our quick softening tip later in the article.
Vanilla Extract – A touch of high-quality vanilla extract elevates the flavor of this classic cheesecake, adding warmth, depth, and a subtle aromatic sweetness that complements the tang of the cream cheese. Don’t skimp on good vanilla; it makes a noticeable difference.
Eggs – Eggs are vital for both structure and richness in our cheesecake. They act as a binding agent, helping the filling set beautifully, and contribute to the overall smooth and luxurious texture. Just like cream cheese, eggs must be at room temperature to ensure they emulsify properly with the other ingredients, preventing lumps and promoting even baking. Using organic eggs, when possible, can also enhance the flavor and quality.
Heavy Cream – This ingredient is the secret to achieving that ultimate creamy, melt-in-your-mouth texture that defines this recipe. Heavy cream adds a luscious richness and helps to create a silky, smooth batter. We simply cannot imagine this recipe without it, as it significantly contributes to the cheesecake’s decadent mouthfeel and overall superior quality.
Mastering the Steps to Make a Truly Creamy Cheesecake
Creating a perfect homemade cheesecake might seem daunting, but by following these detailed steps, you’ll achieve a dessert that rivals any professional bakery. Precision and patience are your best friends here!
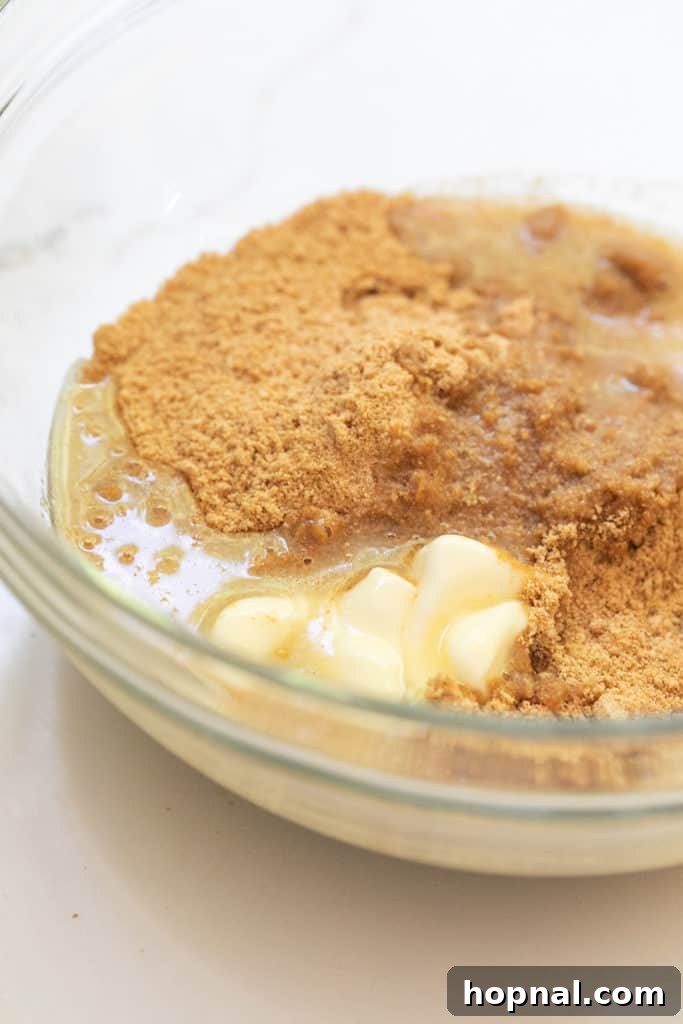
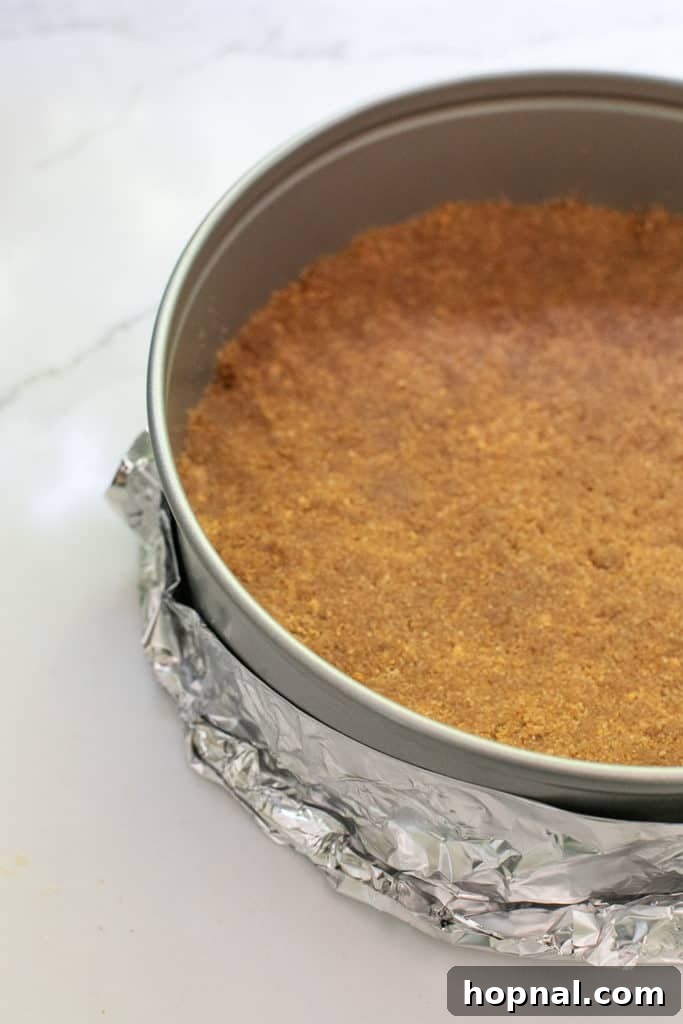
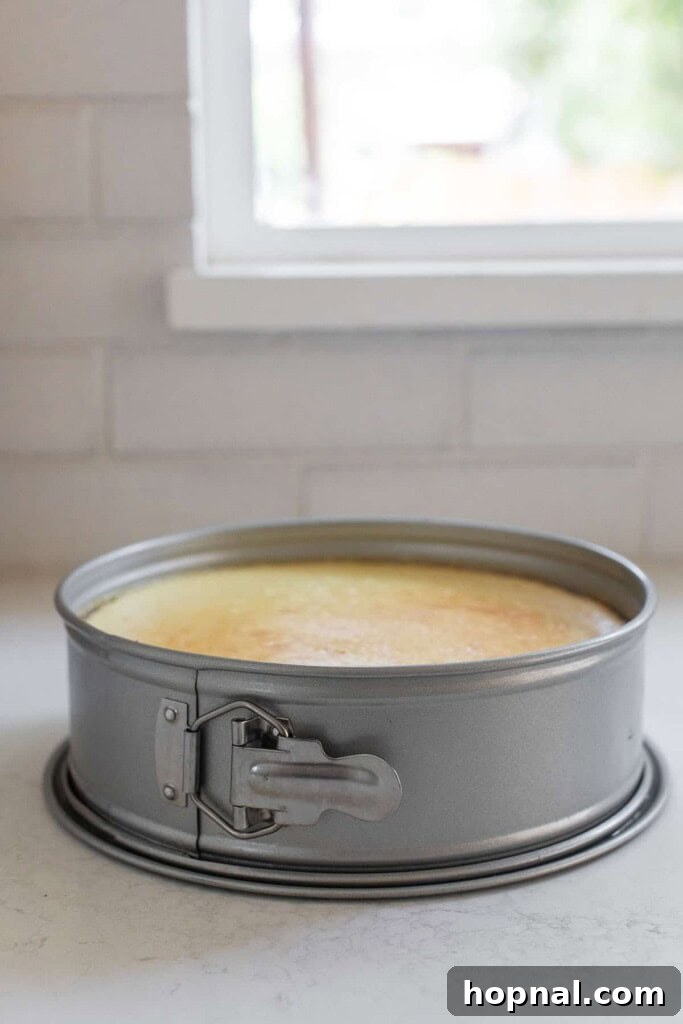
1. Pre-Baking Preparation – Begin by preheating your oven to 325°F (160°C). Simultaneously, bring a kettle of water to a boil; this will be used for the crucial water bath later. Now, prepare your graham cracker crust according to the instructions below, pressing it firmly into a 9-inch springform pan. Once the crust is in place, carefully wrap the entire exterior bottom of the springform pan tightly with several layers of heavy-duty aluminum foil. This prevents water from seeping into the crust during the water bath.
2. Crafting the Creamy Base – In a large mixing bowl, or the bowl of a stand mixer fitted with the paddle attachment, beat your room-temperature cream cheese on medium speed for about 4 minutes. It should transform into a light, airy, and fluffy consistency. Make sure to stop and scrape down the sides and bottom of the bowl frequently to ensure there are no lumps of unmixed cheese. With the mixer still running, gradually add the granulated sugar and a pinch of salt. Continue to beat for another 4 minutes until the mixture is incredibly smooth and well-combined, again scraping the bowl thoroughly.
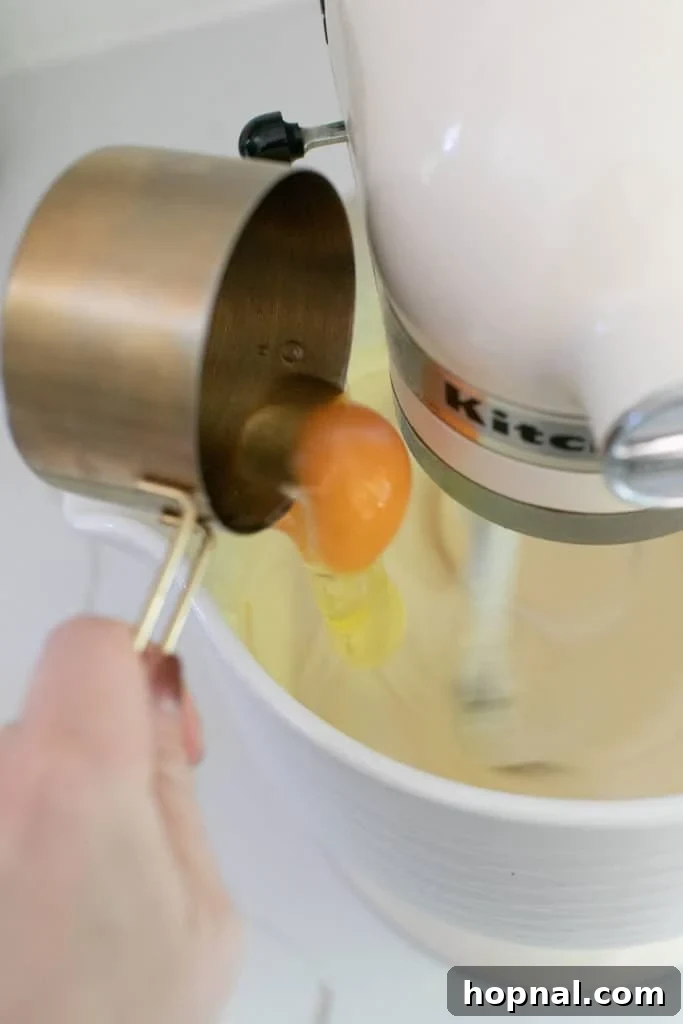
3. Incorporating Eggs and Heavy Cream – Reduce the mixer speed to low. Beat in the vanilla extract until just combined. Then, add the eggs, one at a time, beating only until each egg is fully incorporated before adding the next. Overmixing at this stage can introduce too much air, leading to cracks. Finally, with the mixer still on low speed, slowly pour in the heavy cream. Mix just until everything is combined and the batter is silky smooth, being careful not to overmix.
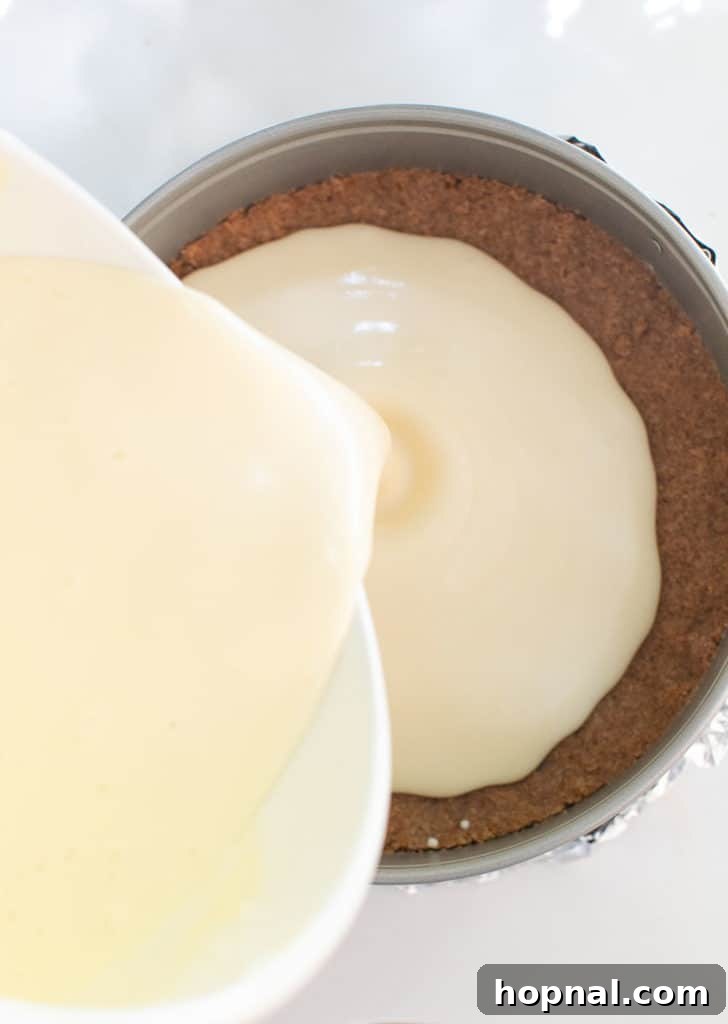
4. Filling the Crust – Gently pour the prepared cheesecake batter over your pre-baked graham cracker crust in the springform pan. Leave a slight margin at the top of the pan, as the cheesecake will rise a little during baking. You might have a small amount of batter left over, which can be discarded.
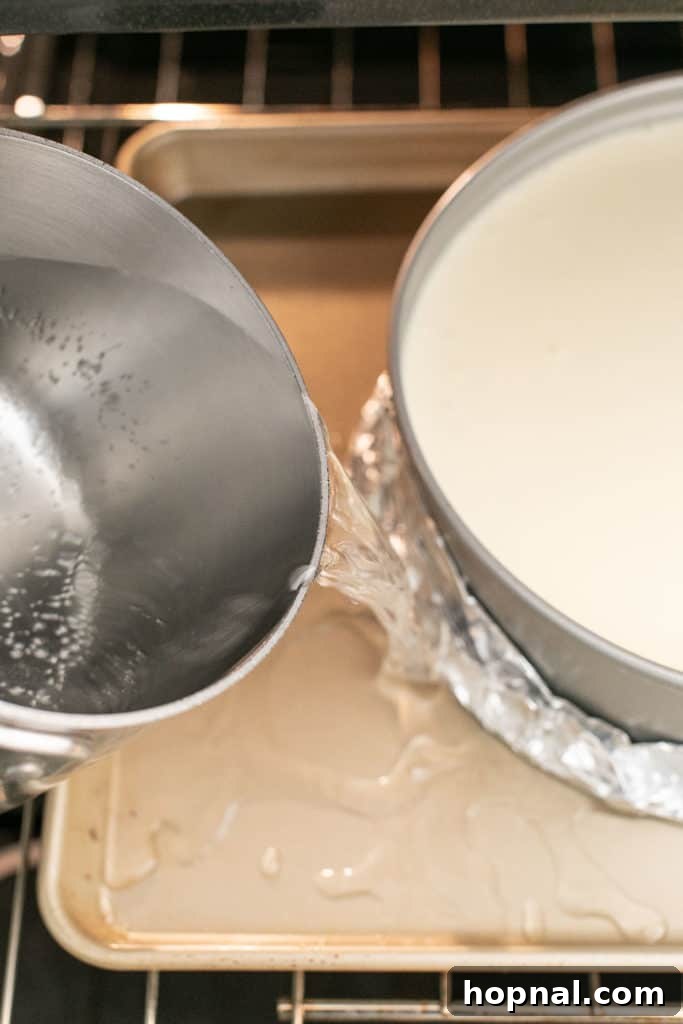
5. The Essential Water Bath – This step is key for a crack-free, evenly baked, and supremely creamy cheesecake. Place your foil-wrapped springform pan into a larger roasting pan. Carefully pour the boiling water around the edges of the springform pan, ensuring it comes halfway up the sides of the cheesecake pan. This creates a moist, consistent baking environment, much like what is done for delicate soufflés, preventing the cheesecake from drying out and cracking.
6. Bake, Rest, and Perfect – Carefully transfer the roasting pan with the water bath and cheesecake into your preheated oven. Bake for precisely 1 hour. During this time, the top of your homemade cheesecake should develop a very light, golden-brown hue, and the edges will appear set while the center remains slightly wobbly (like firm jello). After 1 hour, turn off the oven completely. Prop the oven door open slightly with a wooden spoon and let the cheesecake sit inside for another full hour. This gradual cooling prevents drastic temperature changes that can cause cracks.
7. The Final Cooling Phase – After its hour in the turned-off oven, carefully remove the cheesecake from the water bath and the roasting pan. Let it cool completely at room temperature on a wire rack for at least 3 hours. Once it has reached room temperature, cover it loosely with plastic wrap and transfer it to the refrigerator. Allow it to chill for a minimum of 4 hours, or ideally, overnight. This crucial chilling period allows the cheesecake to fully set, firm up, and develop its signature dense, creamy texture and rich flavor. Patience is truly a virtue when making cheesecake!
Crafting the Perfect Graham Cracker Crust
A phenomenal cheesecake demands an equally phenomenal crust. This graham cracker crust is buttery, perfectly sweet, and provides the ideal counterpoint to the rich, creamy filling. Here’s how to ensure yours is absolutely perfect:
- For an even more in-depth understanding and additional troubleshooting tips, make sure to check out our full graham cracker crust guide!
- Preparation is Key: Begin by pulsing your graham crackers in a blender or food processor until they are finely ground into uniform crumbs. This ensures a consistent texture that binds well.
- The Golden Blend: In a medium bowl, combine the finely ground graham cracker crumbs with the granulated sugar and a pinch of salt. Pour in the melted unsalted butter and mix thoroughly until all the crumbs are evenly moistened and resemble wet sand.
- Pressing to Perfection: Transfer the mixture into a buttered 9-inch springform pan. Using the bottom of a flat glass or your clean hands, firmly and evenly press the crumb mixture across the bottom and slightly up the sides of the pan. A well-pressed crust is crucial for structural integrity.
- Protect and Bake: To prevent any water from reaching the crust during the water bath, wrap the entire outside bottom of the springform pan with several layers of heavy-duty aluminum foil, extending it up the sides. Bake this prepared crust at 350°F (175°C) for 10 minutes. This pre-baking step helps set the crust and prevents it from becoming soggy.
- The Springform Advantage: Utilizing a springform pan is absolutely essential for cheesecake. Its removable sides allow for a clean, effortless release of your beautiful cheesecake, preserving its perfect shape without any struggle.
Eden’s Essential Cheesecake Making Tips for Success
Mastering cheesecake is all about paying attention to a few crucial details. Here are my top tips, honed over years of baking, to help you achieve a flawless, crack-free, and incredibly creamy cheesecake every single time:
Embrace Room Temperature Ingredients: This is perhaps the most vital tip. Ensure all your dairy ingredients, especially the cream cheese and eggs, are at true room temperature. Cold ingredients are difficult to incorporate evenly, leading to a lumpy batter and a less-than-smooth final texture. Quick tip: If you’re short on time, unwrap your blocks of cream cheese and microwave them on a low setting (e.g., 50% power) for 30-60 seconds, or until just softened, not melted. For eggs, place them in a bowl of warm water for 10-15 minutes.
The Non-Negotiable Water Bath: Do not, under any circumstances, skip the water bath (bain-marie). This technique provides a moist, gentle, and even heat environment that is critical for cheesecake. It helps the cheesecake bake slowly and uniformly, preventing the edges from over-baking and the center from cracking. It’s the ultimate secret to that perfect, silky texture and a pristine surface.
Invest in a Quality Springform Pan: A good quality 9-inch springform pan is indispensable for cheesecake success. Its design, with removable sides, allows you to effortlessly un-mold your delicate cheesecake without disturbing its perfect form. Trying to extract a cheesecake from a standard cake pan is a recipe for disaster!
Slow and Steady Cooling Wins the Race: After baking, resist the urge to immediately pull your cheesecake out of the oven. Abrupt temperature changes are a common culprit for cracks. Instead, turn off the oven, prop the door open slightly with a wooden spoon, and let the cheesecake cool slowly within the oven for an hour. This gradual acclimatization to room temperature helps prevent the sudden contraction that causes unsightly cracks.
Prioritize Quality Ingredients: With a recipe relying on just 6 core ingredients, the quality of each component truly shines through. Opt for the best cream cheese (like Philadelphia), fresh organic eggs if possible, and a pure vanilla extract. These superior ingredients will impart a richer, more nuanced flavor and contribute significantly to the overall luxuriousness of your homemade cheesecake.
Frequently Asked Questions About Homemade Cheesecake
Baking cheesecake often comes with common questions and concerns. Here, we address some of the most frequently asked questions to ensure your cheesecake journey is as smooth and successful as possible.
It is absolutely crucial to allow your cheesecake to cool at room temperature for at least 3 hours while it’s still in the springform pan. This extended, gradual cooling period is vital. Rushing this step by putting a warm cheesecake directly into the fridge can lead to drastic temperature changes that compromise its delicate texture, potentially resulting in a soggy, dense, or cracked cheesecake. So, let it “chill out” (literally!) on the counter before moving it to the colder environment of the refrigerator.
No, it is generally not recommended to leave cheesecake out overnight. Due to its main ingredients—cream cheese and eggs—cheesecake is highly perishable and requires refrigeration for food safety. It should be refrigerated within a maximum of 6 hours after baking and cooling to room temperature. Leaving it out longer can promote bacterial growth and make it unsafe to eat.
For the absolute best flavor and texture, take your chilled cheesecake out of the refrigerator and let it sit at room temperature for about 30 minutes before slicing and serving. This brief warming period allows the cheesecake to soften slightly, enhancing its creamy consistency and bringing out its full, rich flavor. It’s a small step that makes a significant difference in the overall eating experience.
Cheesecake cracks are a common frustration but are usually preventable. The most frequent culprits are overbaking or skipping the vital water bath. When a cheesecake bakes too long or too hot, the edges set and dry out faster than the center, causing it to pull apart. To avoid this, pull your cheesecake from the oven when its center still has a slight wobble, like firm Jell-O. Additionally, always ensure your ingredients are at room temperature, avoid opening the oven door too frequently during baking, and run a thin knife around the edges of the pan as soon as it comes out of the oven (before cooling) to prevent it from sticking to the sides as it contracts.
While it is technically possible to bake a cheesecake without a water bath, it comes with significantly higher risks of cracking, an uneven texture, and a drier consistency. A water bath provides a gentle, humid, and consistent baking environment, crucial for achieving that signature silky-smooth, moist, and crack-free cheesecake. It’s an extra step that is unequivocally worth the effort for superior results, especially if you’re aiming for that classic New York-style creaminess. Recipes like our goat cheese cheesecake or ricotta cheesecake also benefit immensely from this technique.
Explore More Cheesecake Creations
Recipes
Blood Orange Cheesecake Recipe
Recipes
Ricotta Cheesecake Recipe
Thanksgiving
Pumpkin Cheesecake Truffles
Cakes & Cupcakes
No-Bake Cheesecake Recipe
There you have it – the ultimate guide to creating a truly spectacular homemade cheesecake. This recipe is more than just instructions; it’s a time-tested tradition, guaranteed to impress with its rich flavor and incredibly creamy texture. We’ve shared all our secrets, from the importance of room temperature ingredients to the magic of a water bath, ensuring your baking journey is filled with success and delicious rewards. So, gather your ingredients, follow these steps with care, and prepare to indulge in a slice of pure dessert heaven.
If you embark on making this delightful recipe, we’d absolutely love to see your gorgeous creation! Please tag us @sugarandcharm on Instagram so we can admire your work. And don’t forget to leave a review below – your feedback means the world to us and helps fellow dessert lovers discover this truly amazing recipe!
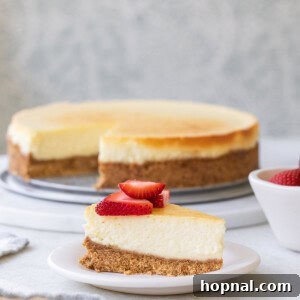
Classic Homemade Cheesecake Recipe
Eden
25 mins
1 hr
6 hrs 25 mins
12 people
Equipment
-
9-inch Springform Pan
-
Electric Mixer (stand or hand mixer)
-
Large Roasting Pan (for water bath)
-
Heavy-Duty Aluminum Foil
Ingredients
For the Graham Cracker Crust
- 3 cups graham cracker crumbs (about 2 sleeves of Honey Maid)
- 6 tbsp unsalted butter, melted
- 6 tbsp granulated sugar
- 1 tsp salt
For the Cheesecake Filling
- 32 ounces cream cheese, full-fat, softened to room temperature (e.g., Philadelphia brand)
- 1 1/3 cups granulated sugar
- 1/2 tsp salt
- 4 large eggs, at room temperature
- 2 tsp pure vanilla extract
- 1 1/3 cups heavy cream
Instructions
Graham Cracker Crust Preparation
-
In a medium bowl, combine the graham cracker crumbs, granulated sugar, and salt. Stir well to mix all dry ingredients. Pour in the melted unsalted butter and mix thoroughly until the crumbs are completely moistened and resemble wet sand.
-
Lightly butter a 9-inch round springform pan (this is essential for easy release). Press the graham cracker mixture evenly and firmly into the bottom of the pan, extending slightly up the sides. Use the bottom of a flat glass or your clean hands to create a compact, even layer.
-
Wrap the entire outside bottom of the springform pan securely with several layers of heavy-duty aluminum foil, extending it up the sides. This will protect the crust from water during the baking process.
-
Bake the prepared crust in a preheated 350°F (175°C) oven for 10 minutes. This pre-baking step helps set the crust and ensures it stays crisp. Remove from oven and set aside.
Cheesecake Filling and Baking
-
Reduce oven temperature to 325°F (160°C). Begin boiling water in a kettle for the water bath.
-
In a large bowl or stand mixer with the paddle attachment, beat the softened room-temperature cream cheese on medium speed for about 4 minutes until it is light, fluffy, and completely smooth. Stop frequently to scrape down the sides and bottom of the bowl to eliminate any lumps.
-
With the mixer still running on medium-low, gradually add the granulated sugar and 1/2 tsp of salt. Continue to beat for another 4 minutes, ensuring the mixture is perfectly smooth and fully incorporated, scraping the bowl as needed.
-
Beat in the vanilla extract until just combined. Then, add the room-temperature eggs one at a time, beating on low speed only until each egg is fully incorporated before adding the next. Avoid overmixing at this stage to prevent cracks.
-
Finally, reduce the mixer speed to low and slowly pour in the heavy cream. Mix just until the cream is fully integrated and the batter is silky smooth. Again, be careful not to overmix.
-
Pour the creamy cheesecake batter carefully over the pre-baked graham cracker crust in the foil-wrapped springform pan. Leave a small amount of space at the top of the pan to allow for slight rising during baking.
-
Place the foil-wrapped springform pan containing the cheesecake into a larger roasting pan. Carefully pour the boiling water into the roasting pan, around the springform pan, until the water comes about halfway up the sides of the springform pan.
-
Carefully transfer the roasting pan with the water bath and cheesecake to the preheated 325°F (160°C) oven. Bake for 1 hour, or until the top of the cheesecake is very light golden brown and the edges are set, but the center still has a slight jiggle. Once baked, turn off the oven completely. Prop the oven door open with a wooden spoon and let the cheesecake sit inside for another 1 hour to cool gradually.
-
After the resting period in the oven, carefully remove the cheesecake from the water bath and roasting pan. Let it cool completely on a wire rack at room temperature for at least 3 hours. Once fully cooled, cover the cheesecake loosely with plastic wrap and refrigerate for a minimum of 4 hours, or ideally, overnight, to allow it to firm up and fully set. Serve chilled and enjoy!
Recipe Notes for a Flawless Cheesecake
Springform Pan Essential: A 9-inch springform pan is non-negotiable for cheesecake. Its unique design with removable sides allows you to easily unmold and serve your beautiful cake without damaging its delicate structure.
The Magic of a Water Bath: Baking your cheesecake in a water bath (bain-marie) is paramount for achieving a moist, creamy, and crack-free dessert. To make this process easier and safer, place the foil-wrapped springform pan directly into a larger roasting pan *before* you put it into the oven. Then, carefully pour the boiling water into the roasting pan around the cheesecake. This method prevents you from having to move a heavy pan filled with hot water.
Patient Cooling Process: Cheesecake requires patience! It will bake for 1 hour, then rest for an additional hour in the turned-off oven with the door ajar. Following this, it needs to cool to room temperature for several hours before finally being refrigerated for at least 4 hours, or ideally overnight, to fully set and develop its perfect texture. Don’t rush these cooling steps!
Nutrition Information (per serving)
Carbohydrates: 48g,
Protein: 9g,
Fat: 45g,
Saturated Fat: 25g,
Polyunsaturated Fat: 2g,
Monounsaturated Fat: 12g,
Trans Fat: 1g,
Cholesterol: 196mg,
Sodium: 707mg,
Potassium: 188mg,
Fiber: 1g,
Sugar: 36g,
Vitamin A: 1669IU,
Vitamin C: 1mg,
Calcium: 119mg,
Iron: 1mg
Nutrition information is automatically calculated, so should only be used as an approximation.
Like this? Leave a comment below!