

The Ultimate Kitchen Sink Cookies: Sweet & Salty Perfection
Prepare to fall in love with these extraordinary Kitchen Sink Cookies! Aptly named “everything but the kitchen sink” cookies, they are a delightful medley of textures and flavors. Imagine chewy centers, crisp edges, and a harmonious blend of sweet chocolate chips, buttery toffee, tender coconut, and hearty oats. But the magic doesn’t stop there – these cookies are your canvas for culinary creativity, inviting you to add whatever intriguing bits you have in your pantry, from crunchy potato chips to salty pretzels. It’s a truly unique cookie experience that satisfies every craving.
If you’re a fan of diverse cookie delights, explore our collection of favorite cookie recipes. For classic comfort, you might enjoy our Oatmeal Chocolate Chip Cookies or the rich indulgence of Walnut Chocolate Chip Cookies.

What Are Kitchen Sink Cookies?
The whimsical phrase “everything but the kitchen sink” dates back to the early 1900s, gaining significant popularity during World War II, when it was used to describe throwing every possible item at the enemy. Today, this idiom broadly refers to including almost everything imaginable, which perfectly describes these remarkable cookies. Our Kitchen Sink Cookies embody this spirit by bringing together an array of ingredients to create a perfect symphony of salty and sweet. Each bite offers a satisfying crunch followed by a soft, chewy texture that makes them utterly irresistible.
Our featured recipe showcases a truly irresistible combination: decadent toffee chips, creamy white chocolate, and fragrant coconut shreds. The secret to their incredible moistness and signature chewy texture lies in the addition of a touch of oil, ensuring every cookie is perfectly tender and rich in flavor. This unique blend makes them stand out, promising a buttery, chewy delight with pronounced toffee and white chocolate notes. They are, quite simply, divine, especially when enjoyed warm, fresh from the oven.
Why You’ll Adore This Kitchen Sink Cookie Recipe
These aren’t just any cookies; they’re a celebration of flavor, texture, and creativity. Here’s why our Kitchen Sink Cookies will quickly become your new favorite:
1. Unforgettable Crowd-Pleasing Flavor: Prepare for rave reviews! The harmonious balance of sweet toffee, creamy white chocolate, exotic coconut, and wholesome oats creates a complex flavor profile that appeals to everyone. It’s the ultimate salty-sweet indulgence that keeps you coming back for more.
2. Effortless Customization for Endless Fun: This recipe is a baker’s dream for personalization. Got a half-eaten bag of potato chips? A few leftover pretzels? Some candy from a holiday? Throw them in! You can easily adapt these cookies to whatever ingredients you have on hand, making each batch uniquely yours and preventing food waste. It’s an adventure in every bake!
3. Simple to Master, Delightfully Chewy Results: Don’t let the gourmet taste intimidate you. With straightforward instructions and readily available ingredients, you’ll be baking batches of chewy, flavorful cookies in no time. Whether you’re a novice baker or a seasoned pro, success is guaranteed.
4. Perfect for Any Occasion: From casual weeknight desserts to impressive party treats, these cookies fit every bill. Their unique character makes them a conversation starter, while their comforting taste ensures they’re always a welcome addition.
5. Satisfying Textural Contrast: Beyond the flavors, the interplay of textures is key. The crunch from toasted nuts or pretzels, the chewiness of oats and dough, and the melt-in-your-mouth experience of chocolate and toffee create a sensory delight that elevates these cookies above the ordinary.
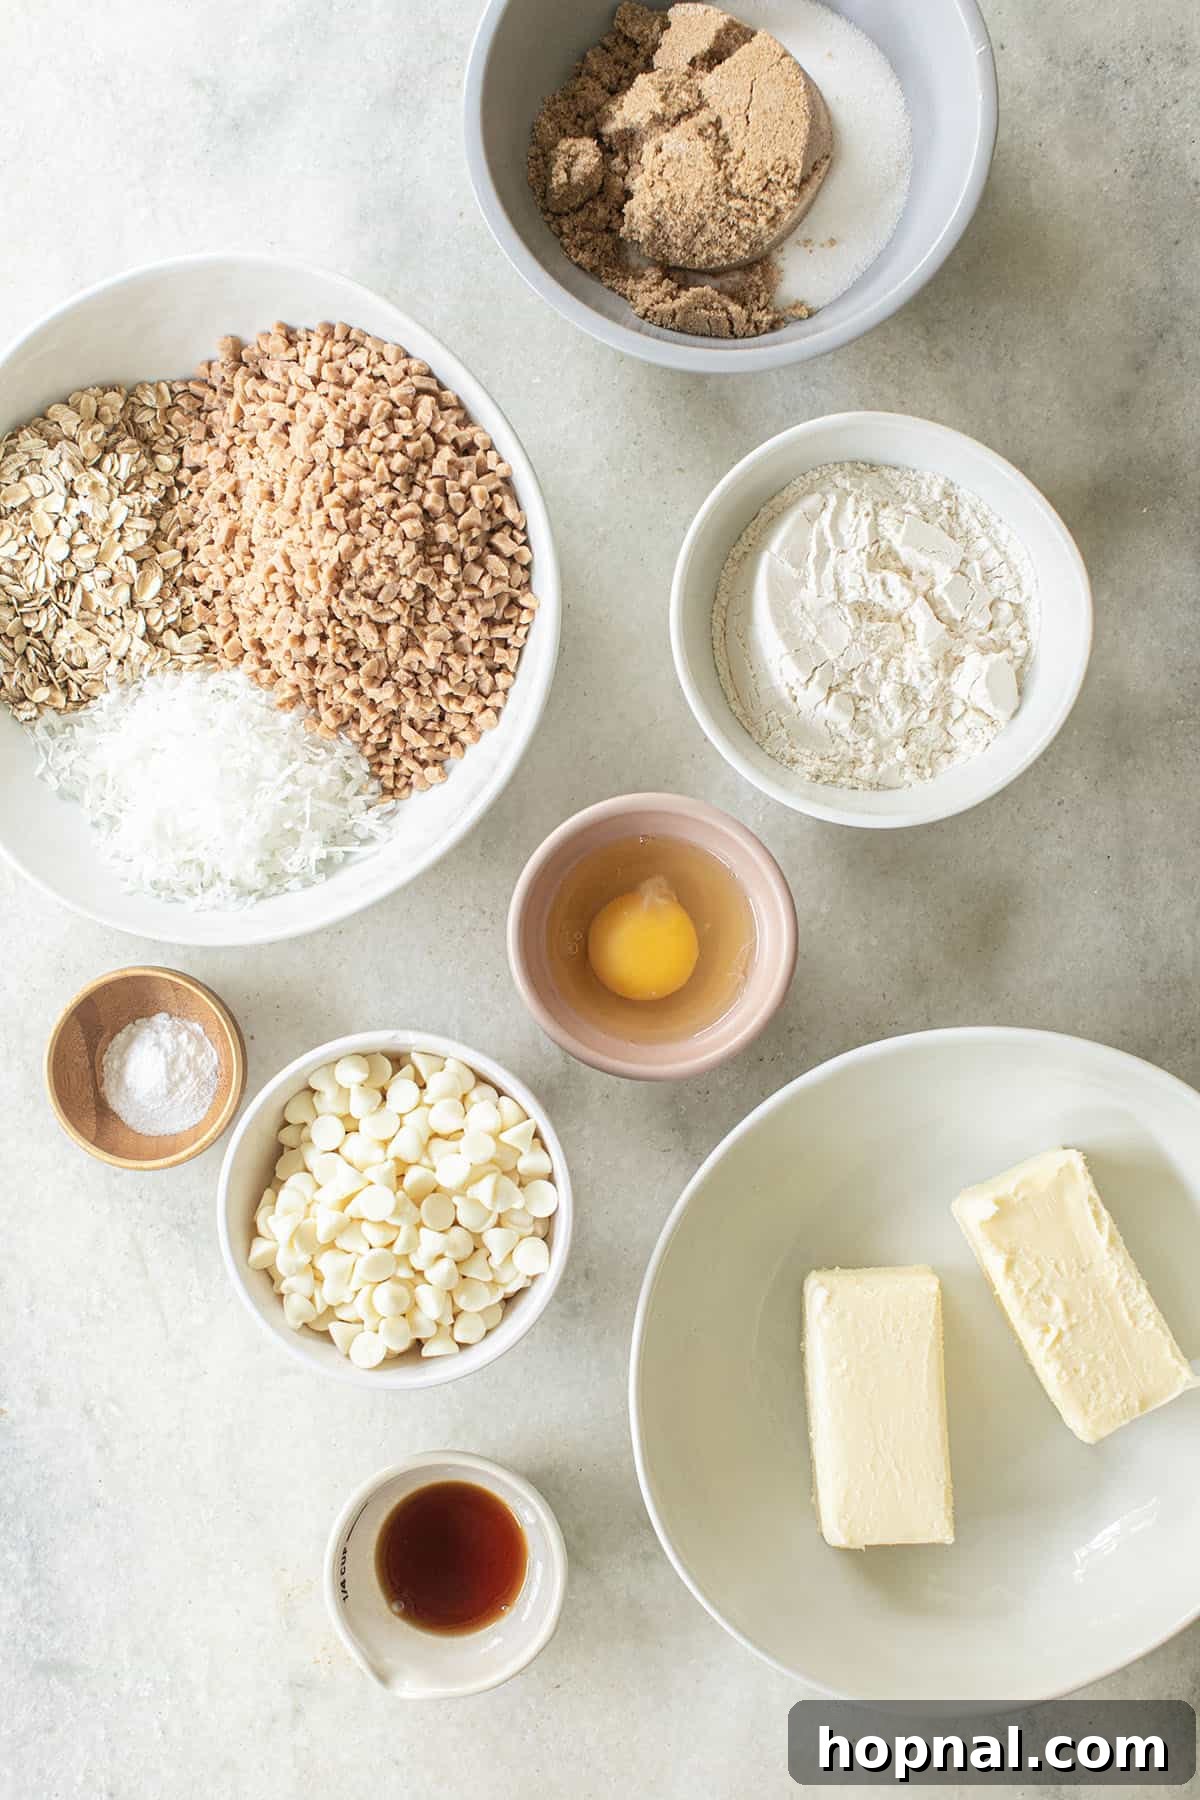
Essential Kitchen Sink Cookies Ingredients
Crafting the perfect Kitchen Sink Cookie begins with quality ingredients. Here’s what you’ll need, along with a few tips for the best results:
- All-Purpose Flour: We recommend using high-quality all-purpose flour, such as King Arthur, for consistent results and a tender crumb.
- Baking Soda: This leavening agent helps your cookies rise and spread beautifully, contributing to that desirable chewy texture.
- Cream of Tartar: Often paired with baking soda, cream of tartar acts as an acid to activate the soda, resulting in a slightly tangy flavor and a softer, chewier cookie. It also stabilizes the dough.
- Salt: A crucial flavor enhancer, salt balances the sweetness and brings out the depth in all the other ingredients, especially important in a sweet and salty cookie!
- Unsalted Butter: Always use softened unsalted butter. It provides rich flavor, tenderness, and contributes to the perfect cookie structure. Softened butter creams better with sugar.
- Granulated Sugar: White sugar sweetens the cookies and helps create those delightfully crisp edges.
- Brown Sugar: The addition of brown sugar not only adds a deeper, molasses-rich flavor but also helps retain moisture, ensuring a wonderfully chewy cookie.
- Oil (Vegetable or Canola): A key ingredient for chewiness! Oil helps create an incredibly moist and pliable dough, resulting in cookies that stay soft for days.
- Large Egg: The egg acts as a binder, providing structure and moisture while emulsifying the ingredients for a smooth, cohesive dough.
- Vanilla Extract: Use pure vanilla extract for the best flavor. It enhances all the other ingredients and adds a warm, aromatic note.
- White Chocolate Chips: We adore the creamy sweetness of white chocolate with toffee, but feel free to substitute with semisweet, milk, or even dark chocolate chips based on your preference.
- Toffee Bits: These are a game-changer! Toffee bits melt slightly into the dough, infusing every bite with a rich, buttery, caramelized flavor that’s simply amazing.
- Sweet Shredded Coconut: Adds a wonderful chewiness and a delicate tropical flavor that complements the other mix-ins perfectly.
- Rolled Oats: Contributes a wholesome texture and a satisfying chew, making the cookies feel more substantial and comforting.
- Anything But the Kitchen Sink Extras (Optional): This is where the fun truly begins! Consider adding about 1/2 cup of your favorite crunchy or sweet additions. Crushed potato chips or pretzels are fantastic for an extra salty crunch, but the possibilities are endless.
Step-by-Step Guide: How to Make Kitchen Sink Cookies
Making these decadent Kitchen Sink Cookies is a straightforward process. Follow these detailed steps for perfect results every time:
- Prepare Your Dry Ingredients: In a medium-sized mixing bowl, whisk together the all-purpose flour, baking soda, cream of tartar, and salt. Ensure these are thoroughly combined to distribute the leavening agents evenly. Set aside.
- Combine Wet Essentials: In a separate small bowl or liquid measuring cup, combine the vegetable (or canola) oil, vanilla extract, and the large egg. Whisk lightly until just blended.
- Cream Butter and Sugars: In a large mixing bowl, using an electric mixer (either hand-held or stand mixer with paddle attachment), beat the softened unsalted butter with both the granulated sugar and brown sugar on medium speed. Continue mixing until the mixture is light, fluffy, and pale in color, typically 2-3 minutes. This process incorporates air, contributing to the cookies’ texture.
- Integrate Liquid Ingredients: Gradually add the oil, vanilla, and egg mixture to the creamed butter and sugars. Continue beating on medium-low speed until all ingredients are fully incorporated and the mixture is smooth.
- Add Dry Ingredients to Wet: Reduce the mixer speed to low. Slowly add the dry ingredient mixture (flour, baking soda, cream of tartar, salt) to the wet ingredients. Mix just until the flour streaks disappear and the dough comes together. Be careful not to over-mix, as this can lead to tough cookies. Scrape down the bottom and sides of the bowl with a spatula to ensure everything is evenly blended.
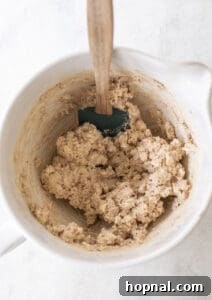
- Fold in the Mix-ins: Gently fold in the rolled oats, white chocolate chips (or your preferred chocolate), toffee bits, and sweet shredded coconut. Mix on low speed, or by hand with a spatula, until the mix-ins are evenly distributed throughout the dough. Again, avoid over-mixing.
- Chill the Dough: This step is crucial for flavor development and preventing excessive spreading during baking. Cover the bowl with plastic wrap and chill the cookie dough in the refrigerator for at least 20 minutes. For an even richer flavor and chewier texture, you can chill the dough for up to 2 days.
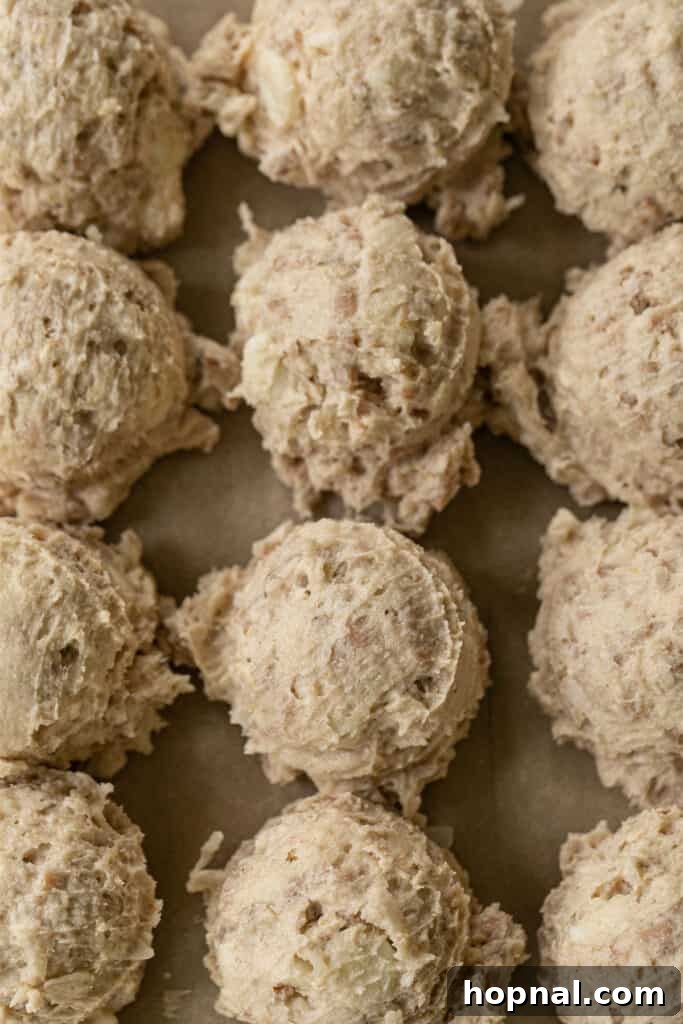
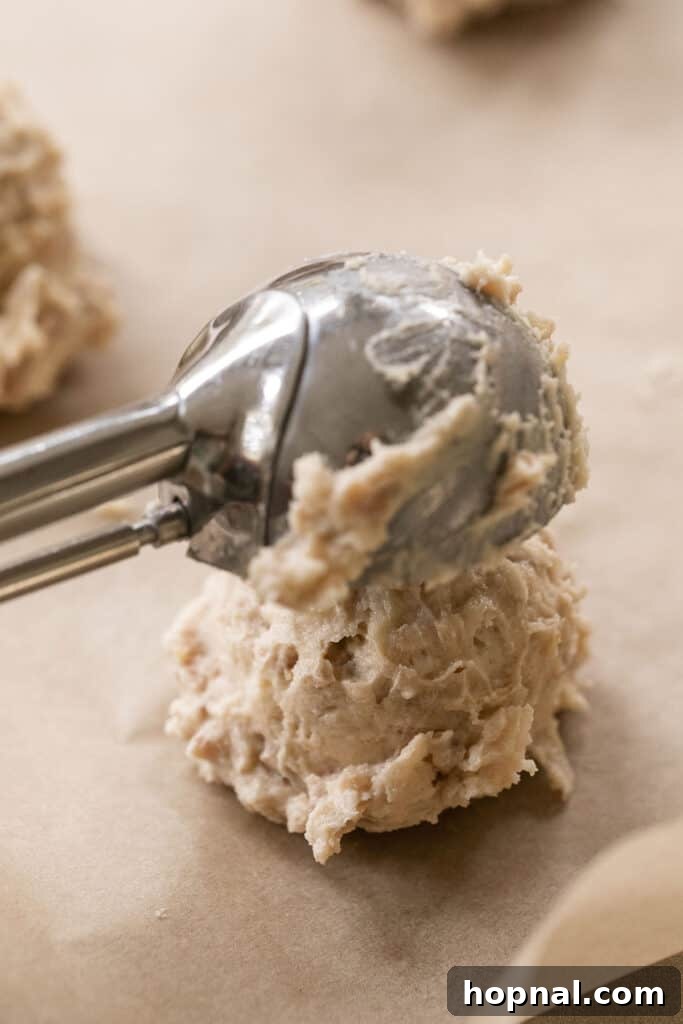
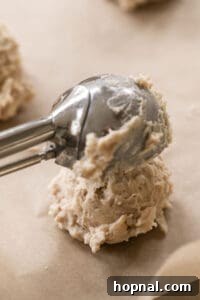
- Prepare for Baking: Preheat your oven to 350°F (175°C). Line a baking sheet with parchment paper or a silicone baking mat. Using a cookie scooper (a 1.5-inch or 2-tablespoon size works well), scoop uniform balls of dough onto the prepared baking sheet, leaving about 2 inches between each cookie.
- Bake to Perfection: Bake the cookies for approximately 10 minutes. It’s important not to overcrowd the pan; bake no more than 9 cookies at a time to ensure even heat distribution. The cookies are ready when the edges are lightly golden and set, but the centers still look slightly soft and underdone. They will continue to bake and set on the hot baking sheet once removed from the oven.
- Cool and Enjoy: Allow the cookies to cool on the baking sheet for 5-10 minutes before transferring them to a wire rack to cool completely. This helps them firm up and prevents them from breaking. Enjoy your perfectly crafted Kitchen Sink Cookies!

Storage Solutions for Your Kitchen Sink Cookies
Ensuring your delicious Kitchen Sink Cookies stay fresh and enjoyable for as long as possible is key. Here are the best ways to store both baked cookies and raw dough:
Storing at Room Temperature
Once your Kitchen Sink Cookies have cooled completely, transfer them to an airtight container. Stored at room temperature, away from direct sunlight and heat, your cookies will maintain their freshness, soft texture, and delightful flavor for up to 4 days. To keep them extra moist, you can even place a slice of bread in the container; the cookies will absorb moisture from the bread.
Freezing Baked Cookies
For longer storage, freezing is an excellent option. To lock in maximum moisture and flavor, wrap each cooled cookie individually in plastic wrap, then place them in a heavy-duty freezer bag or an airtight container. This method helps prevent freezer burn and keeps them tasting fresh. When you’re ready to enjoy them, simply take them straight from the freezer! They are surprisingly delicious when eaten frozen, offering a delightful chewiness. Alternatively, you can let them come to room temperature for about an hour, or pop them in the microwave for a few seconds to restore that warm, gooey, straight-out-of-the-oven feel.
How to Freeze Unbaked Cookie Dough
Freezing cookie dough is a fantastic way to enjoy freshly baked cookies anytime with minimal effort. Follow these simple steps for perfect frozen dough:
- Portion the Dough: Roll the prepared cookie dough into individual cookie-sized balls, just as you would before baking.
- Flash Freeze: Arrange the cookie dough balls in a single layer on a parchment-lined baking sheet. Place the baking sheet in the freezer for approximately 2-3 hours, or until the dough balls are solid. This step prevents them from sticking together when stored.
- Store Long-Term: Once frozen solid, transfer the dough balls to a freezer-safe container or a large resealable plastic bag. Ensure as much air as possible is removed from the bag to prevent freezer burn.
Properly stored, frozen Kitchen Sink Cookie dough can last in the freezer for up to 6 months. When you’re ready to bake, simply place the frozen dough balls on a baking sheet and add a couple of extra minutes to the baking time specified in the recipe. Some bakers prefer to store the dough without mix-ins and add them just before baking, but it’s entirely up to your preference.
Make-Ahead Advantage
The beauty of this recipe is its make-ahead potential. You can prepare the cookie dough a few days in advance and store it in the refrigerator (or freeze it for longer). This means whenever a cookie craving strikes or unexpected guests arrive, you’re just minutes away from warm, freshly baked Kitchen Sink Cookies!
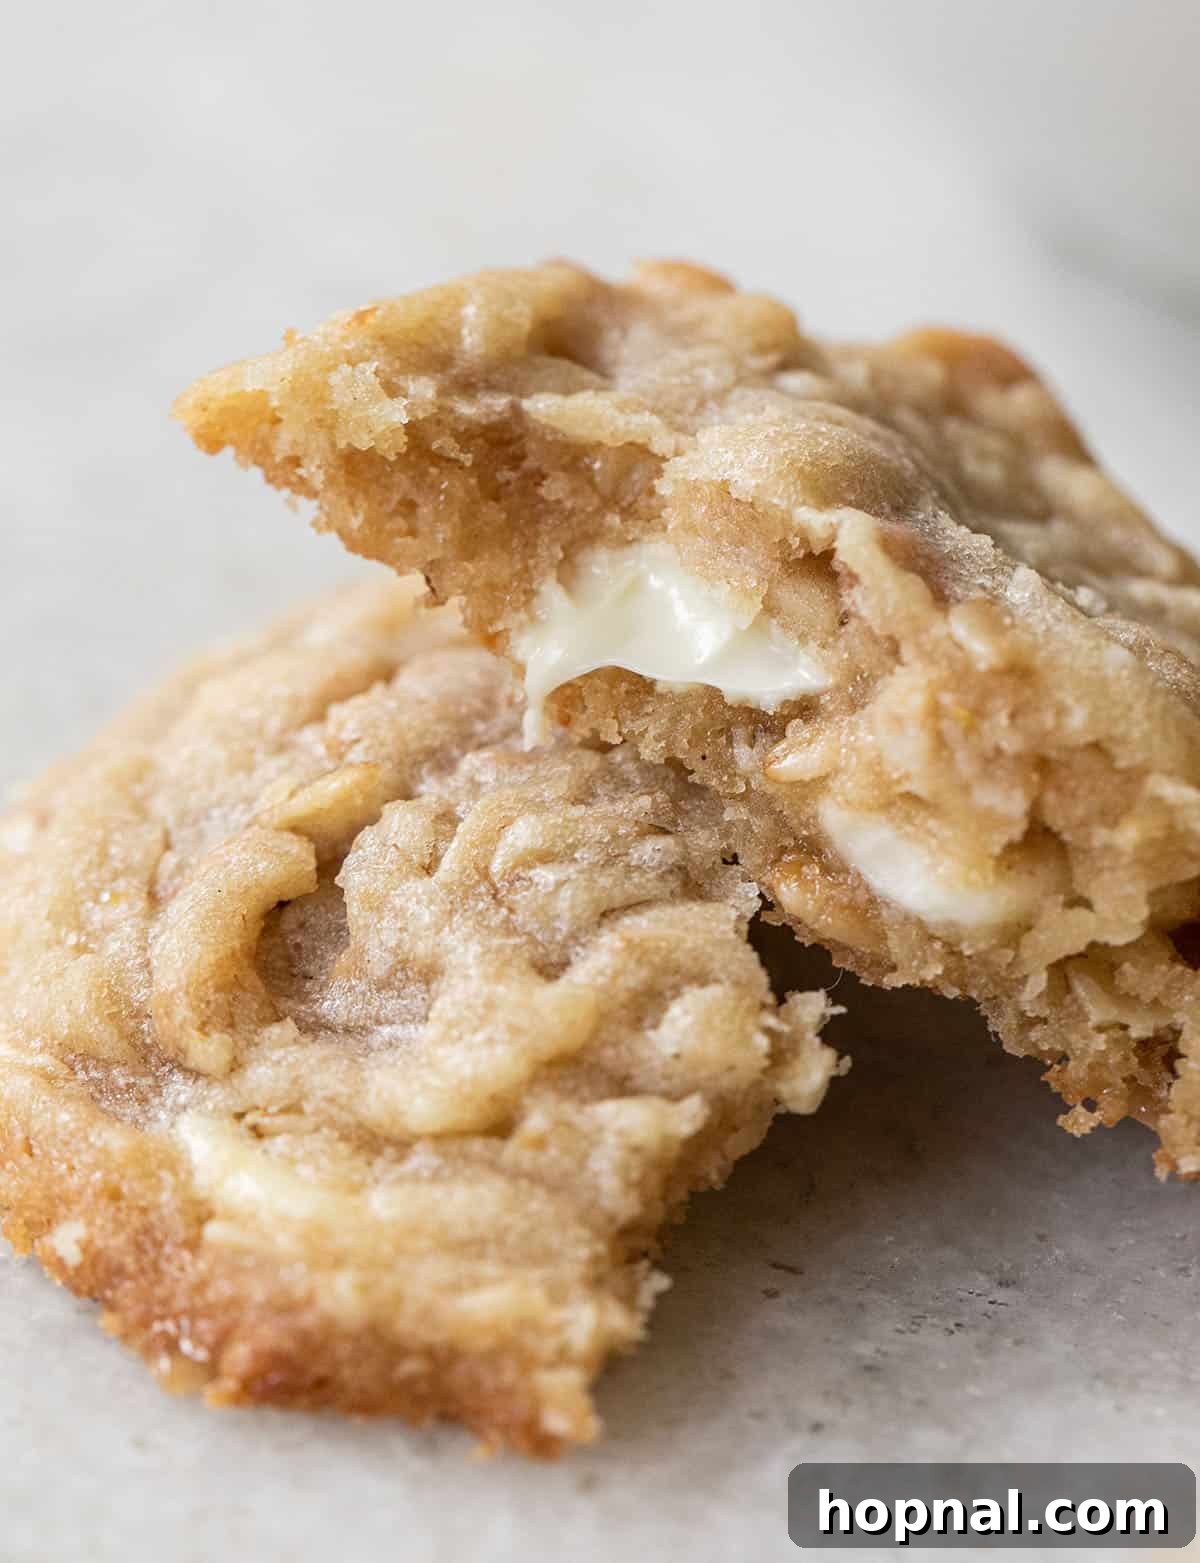
Unleash Your Creativity: Kitchen Sink Cookie Variations
One of the most exciting aspects of Kitchen Sink Cookies is their incredible adaptability. They truly live up to their name, welcoming almost any addition you can imagine. This is your chance to experiment and create your signature cookie! Remember the golden rule: for best results, don’t add more than 4 different extras at a time, and stick to about 1/2 cup of each mix-in to avoid overwhelming the dough.
Here are some fantastic ideas to inspire your next batch:
- Cereal Crunch: Add a unique texture with crushed Rice Krispies, cornflakes, or even a handful of granola.
- Candy Classics: Incorporate chopped malt balls, M&M’s, mini Snickers, or Reese’s Pieces for bursts of color and classic candy flavor.
- Chocolate Extravaganza: Beyond white chocolate chips, try dark chocolate chunks, milk chocolate morsels, or even a mix of several types for ultimate richness.
- Nutty Notes: Introduce toasted peanuts, almonds, pecans, walnuts, or macadamia nuts for a lovely crunch and earthy flavor. Ensure they are chopped if large.
- Caramel & Toffee Delights: Boost the caramel flavor with extra toffee chips, butterscotch chips, or soft chopped caramels.
- Salty Surprises: Enhance the sweet-and-salty dynamic with crushed pretzels or even your favorite crushed potato chips for a delightful savory contrast.
- Fruity Fun: Add dried cranberries, dried cherries, or chopped dried apricots for a chewy, tangy element.
- Unique Additions: Consider peanut butter chips for a nutty twist, mini marshmallows for pockets of gooeyness, or even a sprinkle of sea salt on top before baking for an extra gourmet touch.
The possibilities are genuinely endless, and experimenting with different combinations is what makes crafting these “everything but the kitchen sink” cookies such an enjoyable and rewarding baking adventure. Don’t be afraid to mix and match your favorites!
Eden’s Expert Baking Tips for Perfect Cookies
Achieving cookie perfection is all about the details. Follow these tried-and-true tips from Eden to ensure your Kitchen Sink Cookies turn out absolutely flawless every single time:
- Master the Art of Not Overbaking: This is perhaps the most critical tip for chewy cookies. Remove your cookies from the oven when their edges are just golden and set, but their centers still appear slightly soft, even a little underdone. Remember, cookies continue to bake on the hot baking sheet even after they’ve been removed from the oven. This residual heat, known as carry-over cooking, is what gives you that perfect balance of crisp edges and wonderfully soft, chewy centers that make these cookies so irresistible.
- Always Chill Your Dough: Patience is a virtue in baking! Refrigerate your cookie dough for at least 20 minutes before baking, or for superior flavor development and texture, chill it overnight (up to 2 days). Chilling allows the fats in the butter to solidify, preventing excessive spreading during baking. The result? Thicker, chewier cookies with a more concentrated, richer flavor.
- Room Temperature Ingredients are a Must: Plan ahead and let your butter and eggs sit out for about 30-60 minutes before you begin mixing. Room temperature ingredients emulsify much more smoothly, creating a homogeneous dough that bakes evenly. Cold ingredients can cause the batter to seize, leading to uneven mixing and potentially affecting the final texture of your cookies.
- Avoid Overcrowding Your Baking Pan: It might be tempting to fit as many cookies as possible, but resist the urge! For optimal results, limit your baking to no more than 9 cookies per standard baking sheet. Overcrowding inhibits proper air circulation around each cookie, leading to uneven baking and potentially cookies that stick together or are undercooked in the middle.
- Never Overwork Your Dough: Once you add the dry ingredients to the wet, mix just until they are combined and no dry streaks of flour remain. Overmixing develops the gluten in the flour, which can make your cookies tough and dense instead of tender and chewy. Gentleness is key when incorporating the final ingredients.
Ready, Set, Bake! Your New Favorite Cookie Awaits
These Kitchen Sink Cookies are more than just a dessert; they’re an experience. They effortlessly combine gourmet flavor with home-style comfort, proving that you don’t need extensive pastry knowledge to create something truly spectacular. Trust us, once you bite into the perfect harmony of sweet, salty, chewy, and crunchy, you might just find yourself proclaiming these to be the only cookies you’ll ever need.
We encourage you to try this incredibly versatile Kitchen Sink Cookie recipe. Don’t forget to share your creations and tell us what you think in the comments below. What unique mix-ins did you choose? We love hearing about your baking adventures!
No matter what combination of delightful extras you decide to toss in, we can guarantee one thing: stopping at just one cookie will be a challenge. So, preheat your ovens, gather your favorite ingredients, and get ready, get set, cookie!

More Delicious Recipes You’ll Love
If you enjoyed crafting these Kitchen Sink Cookies, be sure to explore more of our irresistible recipes. We’ve got something for every sweet craving:
- Toffee Chocolate Chip Peanut Butter Blondies
- Classic Peanut Butter Cookies
- The Best Thumbprint Cookies
- Chocolate Crinkle Cookies
- Butterless Chocolate Chip Cookies
- Brown Sugar Shortbread Cookies
- Irresistible Toffee Cupcakes
Stay connected with us for more delicious recipes, delightful cocktails, decadent desserts, and inspiring party ideas! You can FOLLOW US on FACEBOOK, INSTAGRAM, and PINTEREST.

The Best Kitchen Sink Cookies
Eden
5 mins
10 mins
15 hrs 15 mins
28 cookies
Print Recipe
Ingredients
- 2 1/2 cups all-purpose flour
- 1/2 tsp baking soda
- 1/2 tsp cream of tartar
- 1/2 tsp salt
- 1 cup unsalted butter, softened
- 1/2 cup granulated sugar
- 1/2 cup brown sugar
- 1/2 cup vegetable oil, or canola oil
- 1 large egg
- 1 tsp pure vanilla extract
- 1 cup rolled oats
- 1/2 cup toffee bits
- 1 cup white chocolate chips
- 1/2 cup sweet shredded coconut
- Optional: Up to 1/2 cup of additional mix-ins like crushed potato chips, pretzels, or other candy.
Instructions
-
In a large mixing bowl, whisk together the flour, baking soda, cream of tartar, and salt until well combined. Set aside.
-
In a separate small bowl, combine the vegetable oil, vanilla extract, and egg. Whisk briefly to combine.
-
Using an electric mixer, beat the softened unsalted butter with the granulated sugar and brown sugar on medium speed until the mixture is light, fluffy, and pale, about 2-3 minutes.
-
Add the oil, vanilla, and egg mixture to the butter-sugar mixture. Continue beating on medium-low speed until thoroughly combined and smooth.
-
Reduce mixer speed to low. Gradually add the dry ingredients to the wet mixture, mixing just until no streaks of flour remain and the dough comes together. Do not over-mix. Scrape down the sides and bottom of the bowl as needed to ensure even incorporation.
-
Gently fold in the rolled oats, chocolate chips, toffee bits, and coconut shreds (and any optional extras you choose). Mix on low speed or by hand until just incorporated. Be careful not to over-mix.
-
Chill the dough for at least 20 minutes in the refrigerator. For best results and flavor development, you can chill it for up to 2 days.

-
Preheat oven to 350°F (175°C). Line a baking sheet with parchment paper. Using a cookie scooper, scoop dough balls onto the prepared sheet, leaving adequate space between them.
-
Bake no more than 9 cookies at a time for 10-12 minutes, or until the edges are golden and set, but the centers still look slightly soft.
-
Allow cookies to cool on the baking sheet for 5 minutes before transferring to a wire rack to cool completely. Enjoy!

Notes
- Don’t Overbake Them: For soft, chewy centers, remove cookies when edges are set but centers are still slightly soft. They will continue to bake on the hot pan.
- Chill Your Dough: Chilling for at least 20 minutes (or up to 2 days) helps prevent spreading and enhances flavor.
- Bring Ingredients to Room Temperature: Softened butter and room temperature eggs ensure a smooth, well-blended dough.
- Don’t Overcrowd Your Pan: Bake a maximum of 9 cookies per sheet for even baking.
- Don’t Overwork Your Dough: Mix ingredients just until combined to keep cookies tender, not tough.
Nutrition Facts (Approximate Per Serving)
Calories: 243kcal
Carbohydrates: 25g
Protein: 2g
Fat: 15g
Saturated Fat: 10g
Polyunsaturated Fat: 1g
Monounsaturated Fat: 3g
Trans Fat: 1g
Cholesterol: 29mg
Sodium: 78mg
Potassium: 70mg
Fiber: 1g
Sugar: 14g
Vitamin A: 262IU
Vitamin C: 1mg
Calcium: 24mg
Iron: 1mg
Nutrition information is automatically calculated and should only be used as an approximation. Actual values may vary based on ingredients used and preparation methods.