
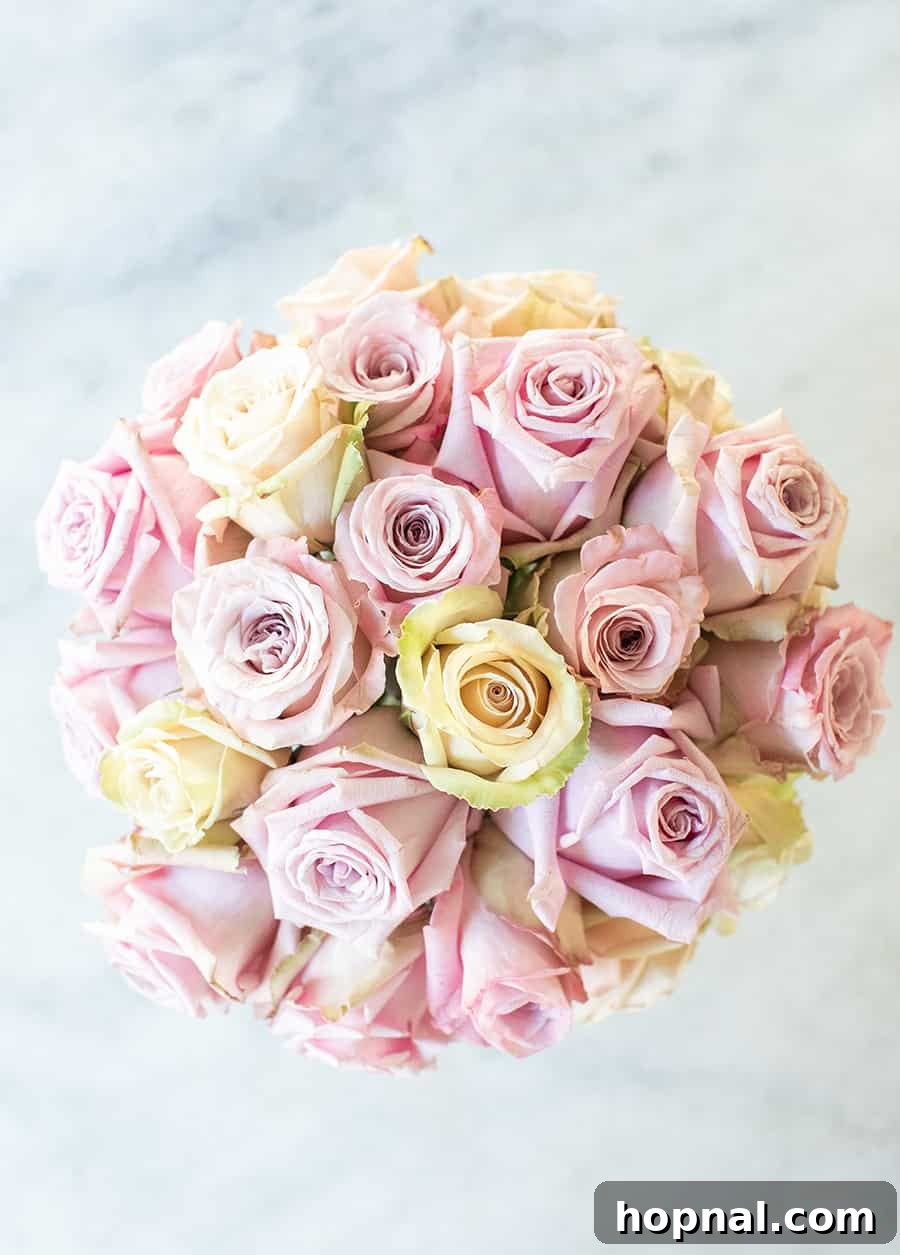
Roses are undeniably one of the most beloved and versatile flowers, effortlessly transforming any space with their timeless beauty and delicate fragrance. Whether you’re looking to create a striking centerpiece for a special event or simply brighten your home with a touch of natural elegance, mastering the art of arranging roses in a vase is a rewarding skill. In this comprehensive guide, we’ll delve into two distinct yet equally captivating methods shared by floral expert Erin from White Fig Designs, ensuring your rose arrangements are nothing short of spectacular.
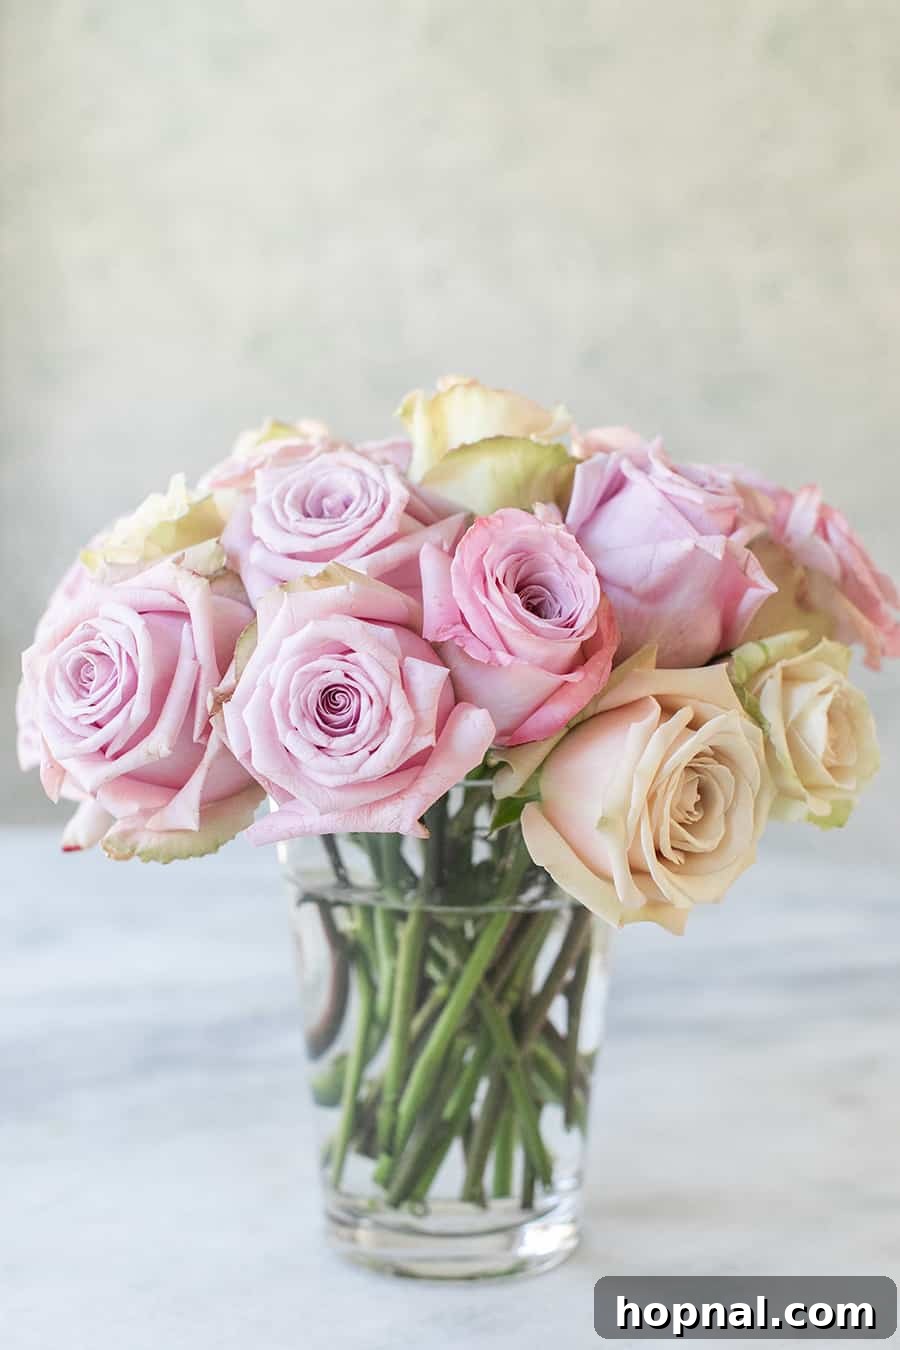
Erin’s expertise shines as she walks us through these two beautiful rose arrangements, offering invaluable tips that will elevate your floral design skills. If you’re a flower enthusiast, you might also be interested in learning how to arrange tulips in a vase to diversify your floral repertoire.
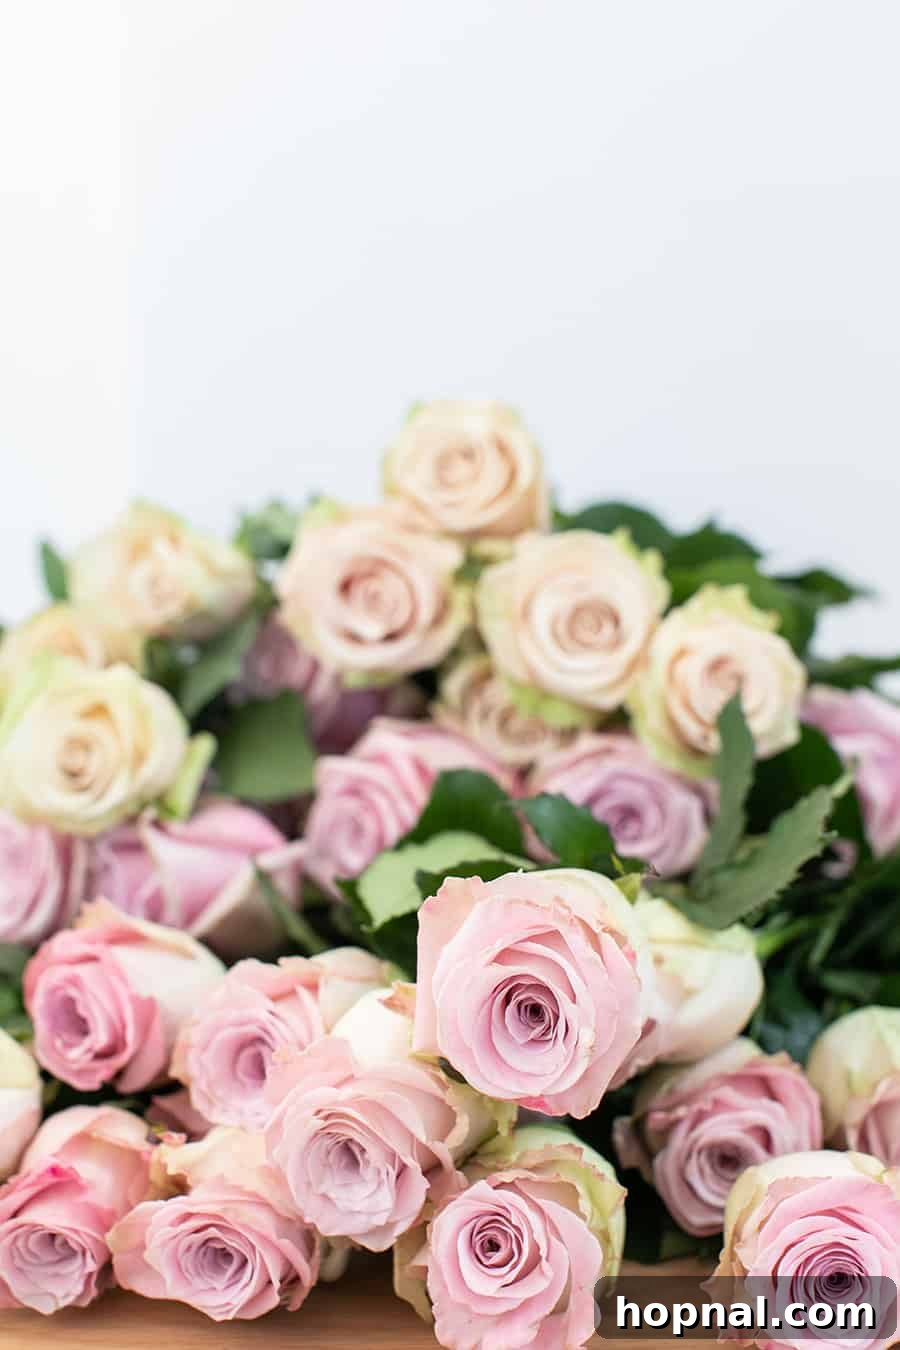
How To Create Exquisite Rose Arrangements – Step-by-Step Guide
Roses stand out as one of nature’s most adaptable and visually striking plants. Their incredible diversity in growth habits, shapes, and sizes, coupled with a vast spectrum of leaf and flower colors, provides an endless array of possibilities for their use in various arrangements and bouquets. From classic long-stemmed varieties to romantic garden roses, each bloom brings its unique character to a design. Their inherent elegance allows them to soften and complement taller, greener foliage, which in turn enhances their vibrant hues. Roses also blend harmoniously with a multitude of other flowers, ensuring season-long color and dynamic texture in any floral display.
Before diving into the techniques, understanding the basic principles of rose care and preparation is key to ensuring your arrangements not only look stunning but also last longer. We’ll cover everything from the initial conditioning of your roses to expert tips for encouraging them to open beautifully, ready for their moment in the spotlight.
The European Hand Tie Arrangement: A Classic Approach
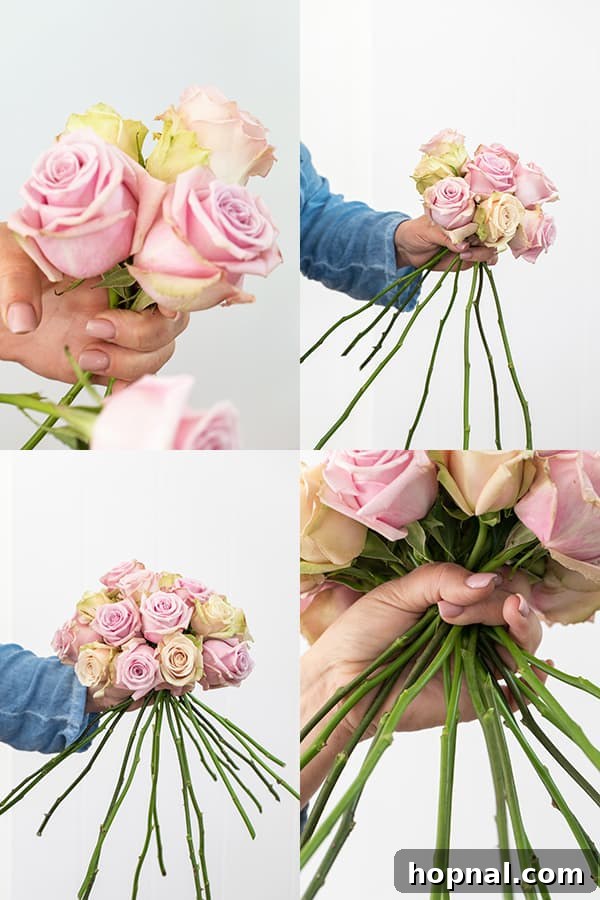
The European Hand Tie is a timeless technique celebrated for creating a lush, self-supporting, and naturally rounded bouquet. This method results in a beautiful, dense cluster of roses that looks abundant and sophisticated, requiring no additional greenery to achieve its stunning effect. It’s perfect for a dramatic centerpiece or a romantic gift.
Steps for Creating a Hand-Tied Rose Bouquet:
- **Preparation is Key:** Begin by laying out two dozen (or your desired quantity) of prepped roses. Ensure they have been properly hydrated and de-thorned and de-leafed from the bottom two-thirds of their stems, as detailed in our ‘Prepping Your Rose Arrangements’ section below.
- **Establishing the Center:** Select your most beautiful rose to serve as the focal point of your bouquet. Hold this rose firmly in your dominant hand.
- **Adding the First Layers:** Take a second rose and place it next to the center rose at an angle, allowing its stem to cross the first stem. The goal is to start creating a spiral pattern with the stems.
- **Building the Spiral:** Continue adding roses, one by one, in a circular motion around your existing cluster. Each new rose should be placed at an angle, opposite to the previous one, with its stem crossing diagonally. As you add more roses, you’ll notice the stems naturally beginning to splay out in a beautiful, organic spiral. This spiraling technique is what gives the bouquet its structural integrity and elegant shape.
- **Achieving Desired Fullness:** Keep rotating the bouquet as you add roses, ensuring an even distribution of blooms. Continue this process until you’ve reached your desired size and fullness, or until all your roses have been incorporated. Aim for a dense, domed shape with the rose heads forming a tight, harmonious cluster.
- **Securing the Bouquet:** Once satisfied with your bouquet’s form, firmly tie the stems together at their base, where they naturally cross. Use strong floral twine, raffia, or a rubber band for a secure hold. This critical step ensures the arrangement maintains its shape when placed in a vase.
- **Trimming for the Vase:** Hold your hand-tied bouquet up against the vase you intend to use. Measure carefully, ensuring the rose heads sit just above the top rim of the vase. Using sharp floral shears, cut all stems simultaneously at this measured length, making a clean, straight cut. This creates a uniform base and allows the bouquet to stand perfectly in your chosen vessel. The result will be a compact, tight cluster of roses that is utterly breathtaking on its own, needing no additional embellishments.
The Grid Arrangement: Structure and Freedom
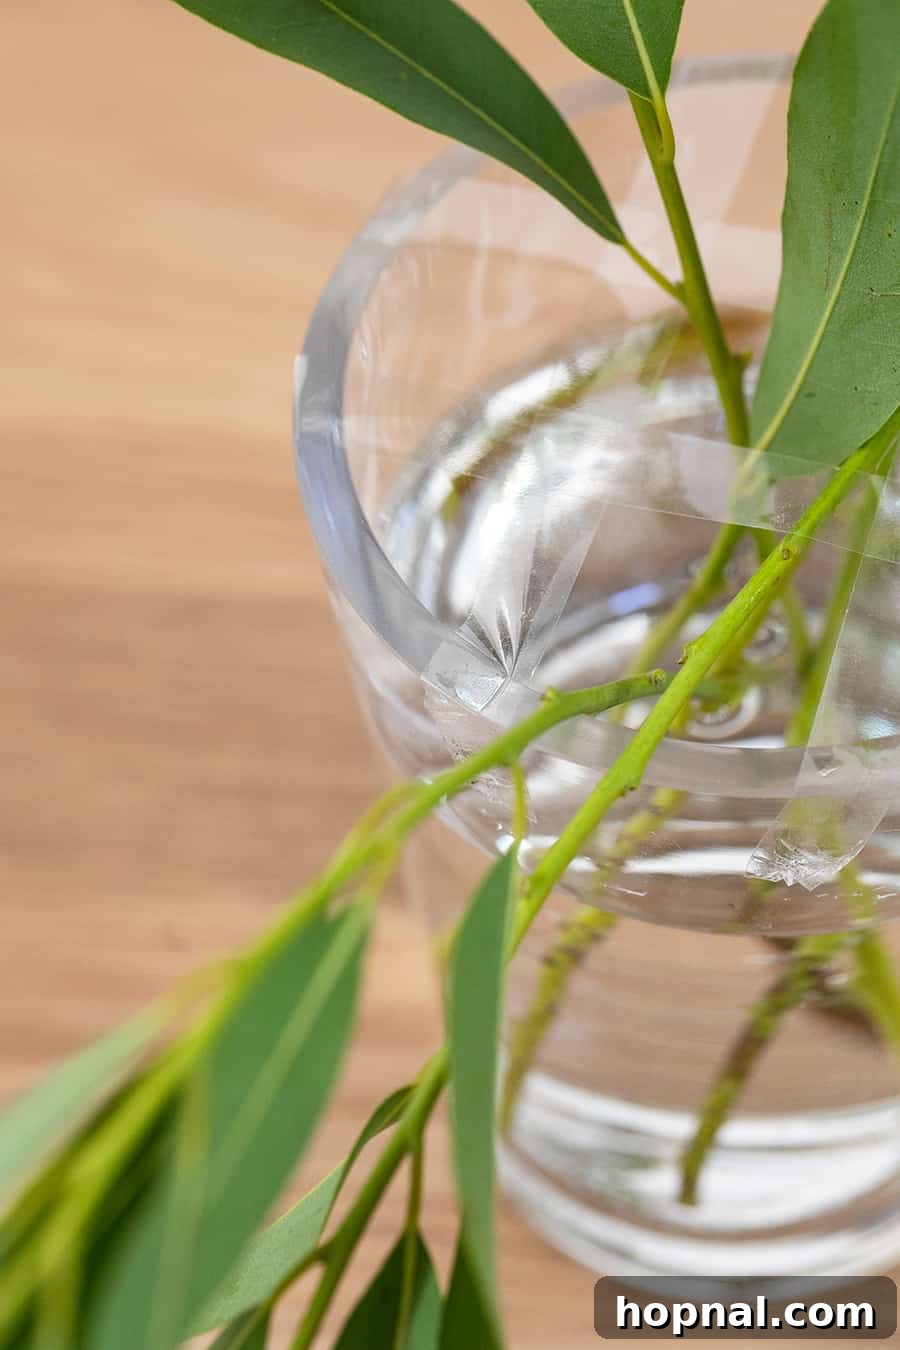
The Grid Arrangement is an ingenious and simple method that provides exceptional support and versatility for your floral designs. By creating a grid over the mouth of your vase, you gain the freedom to place flowers precisely where you want them, ensuring stability and a professional-looking display. This technique is particularly effective for arrangements that incorporate various types of flowers and greenery, offering a more airy and garden-like aesthetic.
Steps for Crafting a Grid Arrangement:
- **Prepare Your Vase and Grid:** Choose a clean vase. Using clear floral tape (which is waterproof and less visible) or even regular transparent tape, create a grid pattern across the top opening of your vase. Start by running strips of tape horizontally, then vertically, forming a series of squares. Ensure the tape adheres well to the rim of the vase. This grid will act as a scaffolding, holding your stems in place and allowing you to sculpt the arrangement with ease.
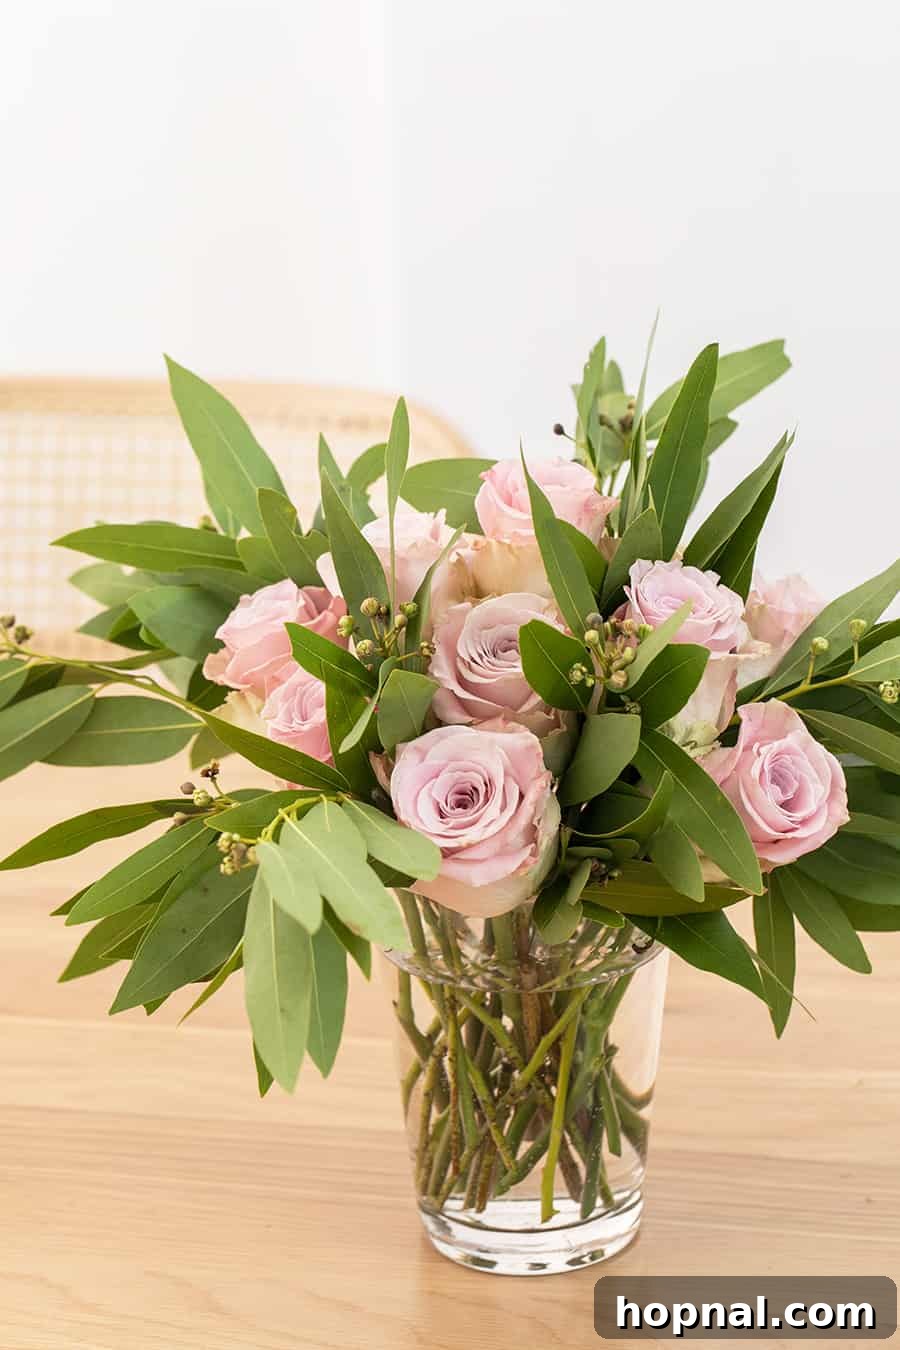
- **Incorporate Greenery for Foundation:** For this arrangement, adding greenery is essential as it provides a lush base and complements the roses beautifully. We recommend starting with sturdy greens like bay leaves, eucalyptus, or even ruscus. Begin by adding a few pieces of greenery, placing some stems facing one direction and others facing the opposite. This creates a natural, layered look and establishes the general shape and fullness of your arrangement.
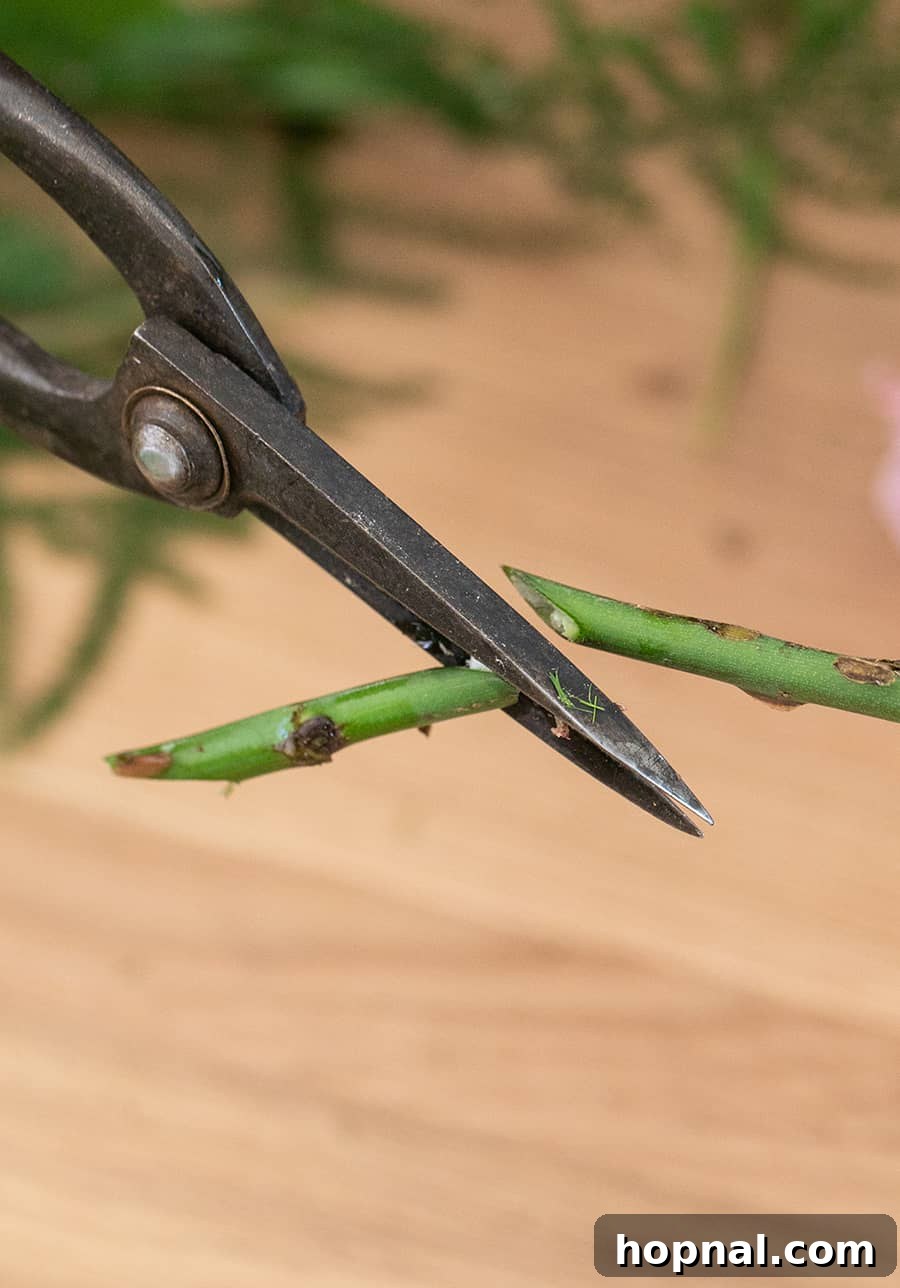
- **Prepping and Cutting Roses:** As with any arrangement, ensure your roses are prepped by de-thorning and de-leafing the lower stems. Before cutting, hold each rose against the vase to measure the desired length. For a balanced look, allow the rose heads to sit slightly above the greenery. Once measured, make a fresh 45-degree angle cut on the stem using sharp floral shears. This angled cut maximizes water absorption.
- **Strategic Placement of Roses:** Begin placing your trimmed roses into the grid, starting with the larger blooms or those you wish to be focal points. Utilize the grid openings to position each rose securely. Distribute them evenly throughout the arrangement, ensuring there are no obvious gaps. Rotate your vase as you work to achieve balance from all angles.
- **Layering and Refining:** After placing the initial layer of roses, add more greenery to fill in any sparse areas and enhance the overall texture. You can also incorporate smaller filler flowers if desired. Continue to adjust and add until you are completely happy with the finished result, stepping back frequently to assess the balance and aesthetic appeal of your arrangement.
Essential Prepping for Long-Lasting Rose Arrangements
The longevity and vibrancy of your rose arrangements depend significantly on proper preparation. This crucial step, often overlooked, ensures your roses hydrate effectively and remain fresh for as long as possible. Think of it as giving your flowers the best possible start.
Immediate Steps Upon Receiving Roses:
- **Initial Hydration (The “Drink” Phase):** The moment you bring your roses home from the florist or grocery store, do not unwrap them immediately. While still bundled, give the very bottom of their stems a quick, clean 45-degree angle trim. This fresh cut allows them to drink water more efficiently. Immediately place the wrapped stems into a bucket or deep vase filled with fresh, cool water, ensuring the water level is high enough to cover most of the stems. Let them soak for approximately 30 minutes to an hour. This initial soak is vital for rehydrating the roses after their journey.
- **De-wrapping and De-leafing:** After their initial drink, carefully remove the roses from their grocery store wrapping and water. Now, it’s time to meticulously remove all leaves and thorns that would fall below the waterline in your vase. Submerged foliage can decompose quickly, leading to bacterial growth that contaminates the water and shortens the life of your flowers. You can use a dedicated de-thorning tool, a sharp paring knife, or even nail clippers for thorn removal. Be gentle to avoid damaging the stems.
- **The Crucial Angle Cut (Again):** Before placing your roses into their final arrangement, make another fresh cut on each stem, again at a sharp 45-degree angle. This angled cut provides a larger surface area for water absorption compared to a straight cut, which can seal against the bottom of the vase. Always use sharp floral shears or a clean, sharp knife for this to prevent crushing the delicate water-conducting vessels in the stem.
- **Using Floral Food:** Dissolve a packet of floral food (often provided with cut flowers) in your vase water according to the package instructions. Floral food provides essential nutrients and contains a bactericide to keep the water clean. If you don’t have floral food, a tiny drop of bleach can act as a bactericide, and a pinch of sugar can provide some nutrients, though specific floral food is always best.
Expert Techniques for Opening Your Roses Beautifully
Sometimes roses arrive tightly closed, but with a little technique, you can encourage them to unfurl into their full, glorious bloom. This step adds drama and volume to your arrangements.
How to Gently Open Rose Blooms:
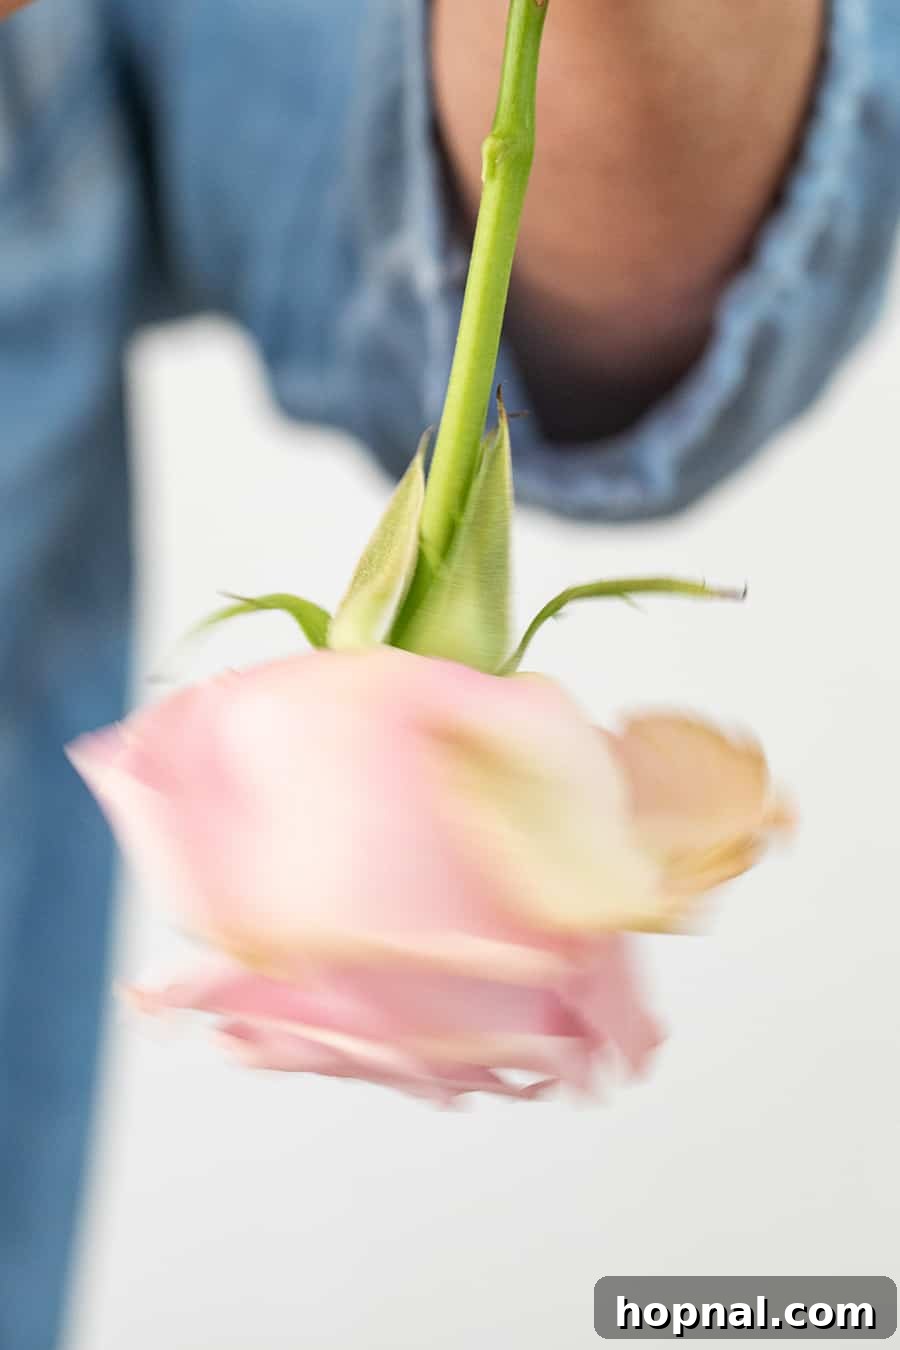
To encourage your roses to open beautifully, give them a little “spin”! Floral experts like Erin suggest gently tipping the rose upside down and twirling the stem between your palms. This gentle centrifugal motion helps to loosen the tightly packed petals, allowing air to flow through and encouraging the bloom to gradually open. Perform this action carefully to avoid damaging the delicate petals.
**Quick but Crucial Tip:** When handling rose heads, try your best to avoid touching the petals directly with your fingers. The natural oils and any moisture from your hands can transfer to the delicate petals, potentially leading to discoloration, bruising, or even mold development. This can significantly reduce the lifespan of your beautiful rose blooms. Handle them by their stems as much as possible.
Advanced Tips for Flawless Rose Arrangements
Beyond the fundamental steps, these additional tips will help you create truly professional-looking rose arrangements that impress and endure:
- **The Perfect Cut:** Always trim the bottom of your rose stems with a sharp 45-degree angle cut. This isn’t just a recommendation; it’s vital for maximizing the surface area exposed to water, allowing your roses to drink efficiently and stay hydrated longer. Dull tools can crush the stems, inhibiting water uptake.
- **Thorn Removal Tools:** While de-thorning by hand is possible, using a pairing knife or even nail clippers can make the process easier and safer. A dedicated rose de-thorner is an inexpensive tool that makes quick work of removing thorns and any lower leaves without damaging the stem.
- **Encourage Opening:** To open the roses, give them an upside-down spin! As mentioned, this gentle technique helps loosen petals for a fuller, more dramatic bloom. For very tight buds, a warm (not hot) water bath for 20-30 minutes can also encourage them to open, but always monitor closely.
- **Measure Before You Cut:** Always hold your rose up to the vase to measure the desired stem length *before* making your final cut. This ensures that the roses fit nicely and proportion is harmonious within your chosen vase. A good rule of thumb is that the arrangement should be one to one and a half times the height of the vase.
- **Vase Selection:** Choose a vase that complements the size and style of your arrangement. For hand-tied bouquets, a vase with a narrow neck can help hold the stems in place. For grid arrangements, wider-mouthed vases work well with the tape structure.
Achieving the Ideal Height: How Tall Should Roses Be in a Vase?
The ideal height of roses in a vase is largely a matter of personal preference and the overall aesthetic you wish to achieve. However, there are some guidelines that can help you create a balanced and pleasing arrangement. Generally, we find that the most aesthetically pleasing look is when the rose heads sit just above the top of the vase, allowing the blooms to be the star of the show without being overshadowed by overly long stems or appearing too short.
To ensure you get the perfect height, always hold the rose up against the vase before making your cut. This allows you to visualize the final look and adjust the stem length accordingly. For a more traditional and formal arrangement, you might aim for the bouquet to be one to one-and-a-half times the height of the vase. For a more modern, compact look, you might cut the stems shorter, so the roses sit closer to the rim, creating a dense, abundant display. Consider the setting where the arrangement will be placed; taller arrangements might be suitable for a floor display or a grand entryway, while shorter, more compact arrangements are perfect for dining tables where conversation should not be obstructed.
Perfect Occasions for Beautiful Rose Arrangements
Flowers are more than just decor; they are instant mood enhancers, adding vibrant color, rich texture, and a touch of sophistication to any space or event. Roses, in particular, are incredibly versatile and are perfect for table settings, decorating for parties, or celebrating special occasions. Here are some ideas for when to create an arrangement with roses, along with suggestions for making them truly shine:
- **Brunch:** A light and airy rose arrangement in pastel shades can set a delightful tone for a casual yet chic brunch gathering.
- **Pool Party:** Vibrant, cheerful roses in bright pinks, yellows, or oranges can add a festive and playful touch to your poolside decor.
- **Birthday Party:** Roses are always a thoughtful choice. Consider the birthday person’s favorite color. They’re also perfect for a last-minute birthday party to elevate the ambiance effortlessly!
- **Carnival Party:** Bold, multi-colored rose arrangements can bring a whimsical and exciting energy to a carnival-themed celebration.
- **Garden Party:** Naturally, roses are at home here. Choose soft, romantic garden roses and pair them with lush greenery for an authentic garden aesthetic.
- **Tropical Party:** While roses aren’t typically tropical, vibrant red or fuchsia roses can complement tropical foliage and flowers, adding a touch of elegance.
- **Kentucky Derby Party:** Red roses are iconic for the Derby. Create grand, lavish arrangements to capture the spirit of the “Run for the Roses.”
- **Cookies and Cocktail Party:** Elegant, understated rose arrangements in muted tones can add sophistication to your serving tables.
- **Wine and Cheese Night:** Simple yet refined rose arrangements can enhance the cozy and intimate atmosphere, perhaps in deep reds or burgundies.
- **Baby Shower and Bridal Shower:** Soft pinks, blues, or whites for baby showers, and classic whites or blush roses for bridal showers, create a sweet and celebratory mood.
- **Weddings:** From bridal bouquets to reception centerpieces, roses are a quintessential wedding flower, symbolizing love and beauty.
- **Valentine’s Day Party:** Red roses are a must for Valentine’s Day, symbolizing passion and deep affection.
- **Everyday Home Decor:** You don’t need a special occasion! A simple vase of fresh roses can instantly elevate your living space and bring joy.
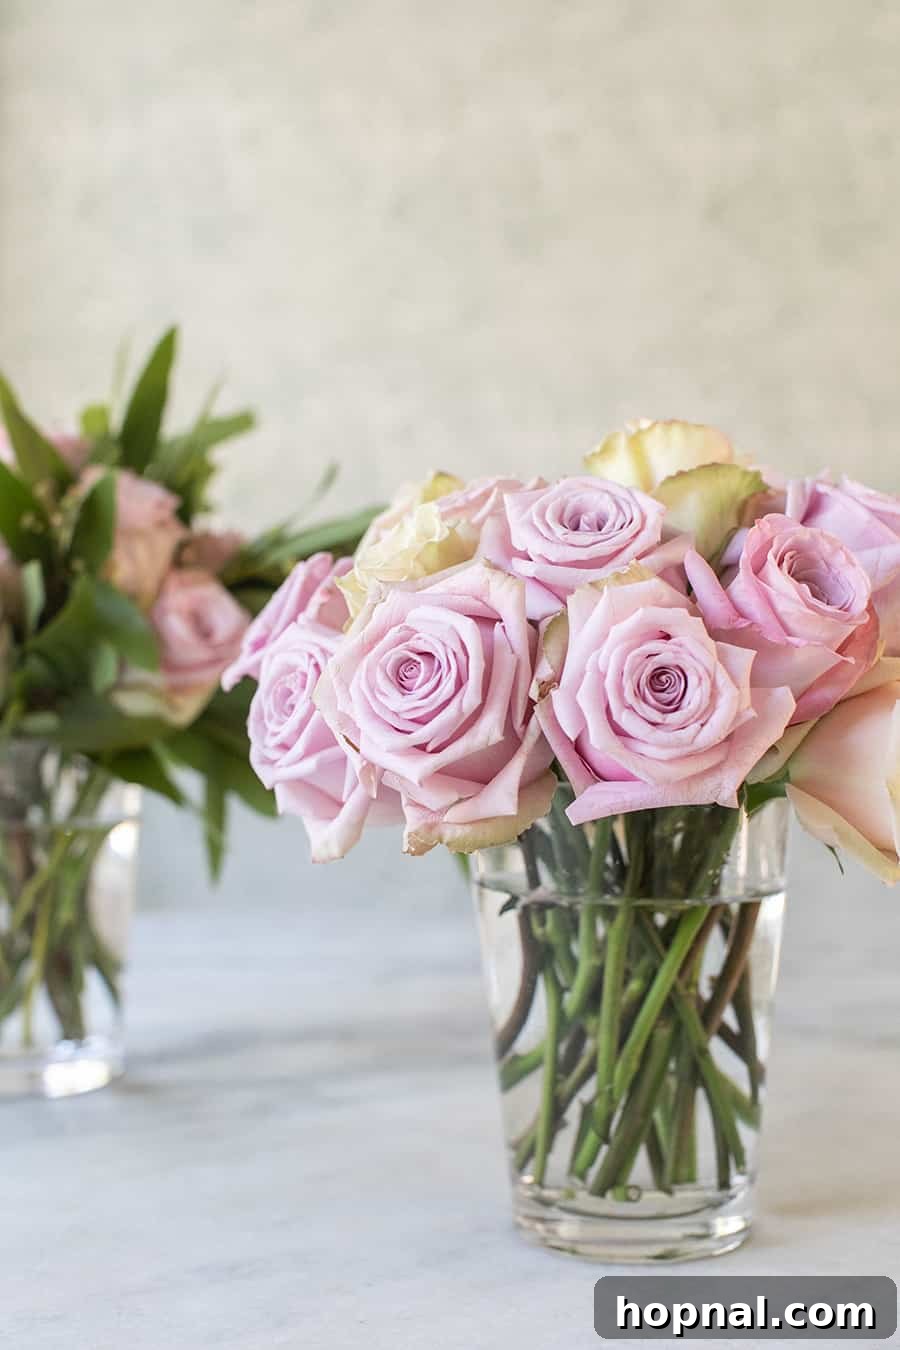
Maximizing Longevity: Care Tips for Your Rose Arrangements
You’ve put in the effort to create a beautiful rose arrangement; now, learn how to keep it looking fresh and vibrant for as long as possible. Proper care post-arrangement is just as important as the preparation steps.
- **Change Water Daily:** Fresh water is paramount. Change the water in your vase daily, or at least every other day. Stagnant water quickly becomes a breeding ground for bacteria, which clogs the rose stems and prevents water uptake.
- **Re-trim Stems:** Each time you change the water, remove the arrangement, and give the bottom of the stems another fresh 45-degree angle cut. This re-opens the water-absorbing vessels that may have sealed up.
- **Keep Cool:** Place your rose arrangement in a cool spot, away from direct sunlight, heat sources (like radiators or fireplaces), and drafts. High temperatures cause flowers to dehydrate and wilt much faster.
- **Avoid Ethylene Gas:** Keep your roses away from ripening fruits, especially bananas and apples. Ripening fruit releases ethylene gas, a natural plant hormone that accelerates the aging process of flowers, causing them to wilt and fade prematurely.
- **Remove Wilting Blooms or Leaves:** As individual roses or leaves start to wilt or turn yellow, remove them immediately. Decaying plant material can release ethylene gas and encourage bacterial growth in the water, affecting the health of the remaining fresh blooms.
- **Consider a Mister:** Lightly misting the petals of your roses once a day can help keep them hydrated, especially in dry environments. Use a fine mist spray bottle with clean, cool water.
Explore More Floral Tips and Creative Ideas
The world of floral design is vast and rewarding. If you’ve enjoyed learning how to arrange roses, you’ll love exploring these other great floral tips and ideas to further enhance your skills and passion for flowers:
- 10 Floral Arranging Tips from a Pro: Gain insights directly from experienced florists to master various techniques.
- 7 Tips for Creating DIY Wedding Flowers on a Budget: Learn how to create stunning wedding florals without breaking the bank.
- Complete Guide on Growing and Cutting Hellebore: Discover the beauty of hellebores and how to incorporate them into your arrangements.
- How to Add Eucalyptus in The Shower: Explore the aromatic and therapeutic benefits of eucalyptus in your bathroom.
- Complete Guide for Taking Care of 15 Common House Plants: Expand your green thumb beyond cut flowers to nurturing living plants.
- How to Care for Tulips: Master the unique needs of tulips to keep them looking vibrant and elegant.
- 7 Ways to Create a Gorgeous Bouquet with $10 or Less by Oprah.com: Prove that beautiful floral arrangements don’t require a hefty budget.
We hope this detailed guide empowers you to create stunning rose arrangements with confidence and creativity. If you try making your own rose arrangement using these techniques, we’d love to hear about your experience! Share your tips, photos, or questions by leaving a comment below.
You can also FOLLOW US on FACEBOOK, INSTAGRAM, and PINTEREST to discover more delicious recipes, delightful cocktails, decadent desserts, and inspiring party ideas!