
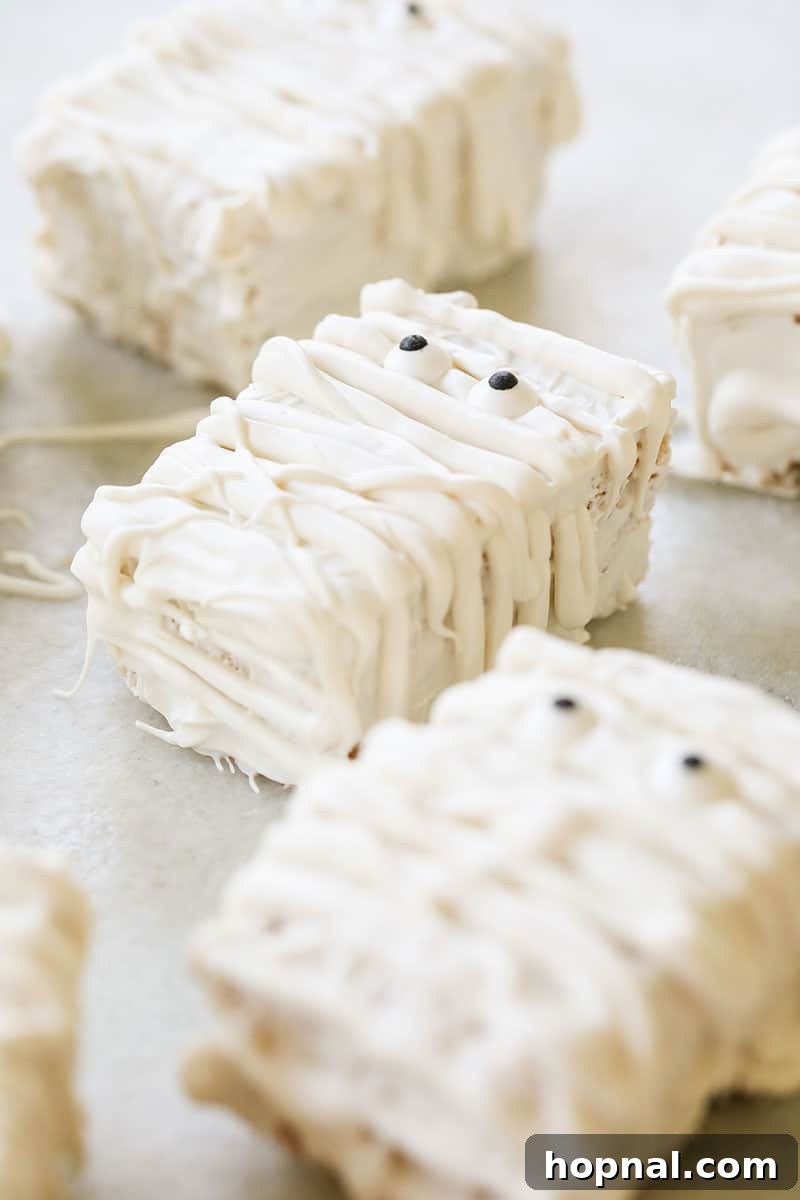
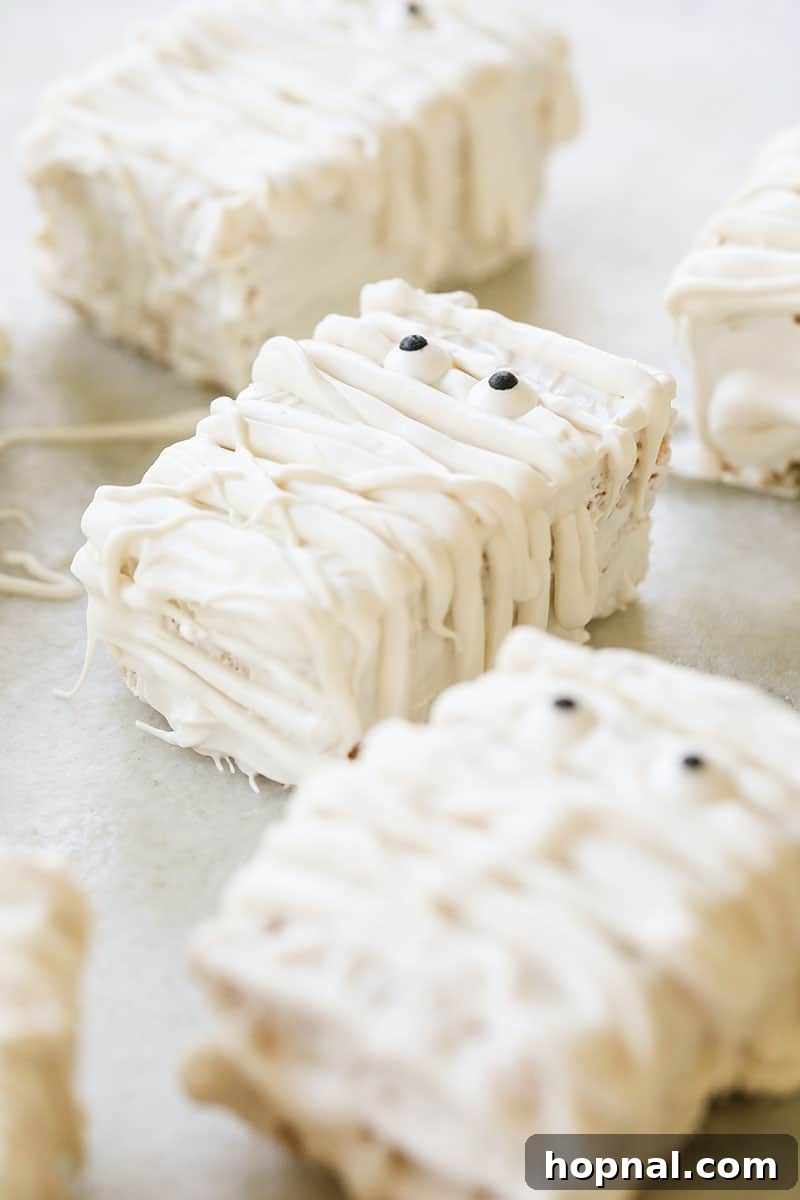
These Brown Butter Mummy Rice Krispie Treats are the ultimate spooky indulgence, delivering a rich, gooey experience with every bite! Elevated by the nutty depth of brown butter and adorned with creamy white chocolate bandages, these treats taste like they came straight from a gourmet bakery, yet they are incredibly simple to whip up right in your own kitchen.
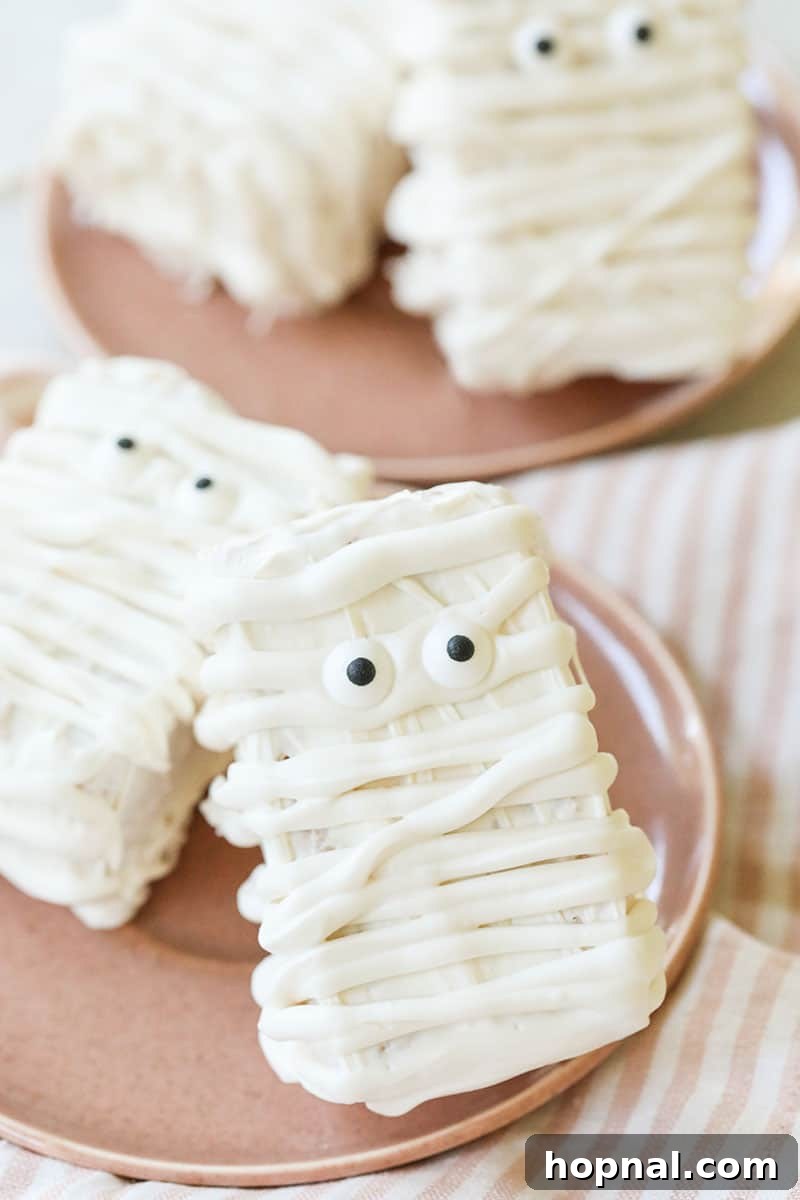
Just like our popular 4th of July Rice Krispie Treats and delightful Strawberry Rice Krispie Treats, these adorable little mummies are destined to become a holiday favorite. This isn’t just any Rice Krispie treat recipe; it’s truly the best, featuring a secret ingredient — rich brown butter — that adds an unparalleled depth of flavor and a wonderfully chewy texture.
The inspiration for these festive mummies comes from our beloved Mummy Cupcakes and super easy Mummy Brownies, which are always a hit at any gathering. Imagine serving these alongside our charming Mummy Brie for the most enchanting and cohesive Halloween party spread. Your guests will be impressed by the creativity and deliciousness!
These treats are not only fun and festive, but they’re also foolproof to make. You don’t need any advanced cake-decorating skills or culinary expertise to create these spooky, bakery-style masterpieces. They are the perfect project for a fun afternoon with kids or a quick dessert for an unexpected Halloween gathering.
Why Brown Butter Makes All the Difference
What sets these Mummy Rice Krispie Treats apart from the rest? The answer lies in one magical ingredient: brown butter. Browning butter is a simple technique that transforms ordinary butter into a golden, nutty, and incredibly fragrant elixir. As the milk solids in the butter toast, they release deep caramel and hazelnut notes that infuse the entire treat with a complex, sophisticated flavor profile you won’t find in traditional Rice Krispie treats.
This subtle yet impactful change elevates the classic crispy treat from a simple childhood snack to a gourmet dessert. The rich, toasty undertones of the brown butter complement the sweetness of the marshmallows perfectly, creating a balanced and undeniably addictive flavor. It adds an extra layer of warmth and coziness, making these mummies truly special for autumn celebrations like Halloween. Don’t skip this step – it’s worth every moment!
Mummy Rice Krispie Treats Ingredients
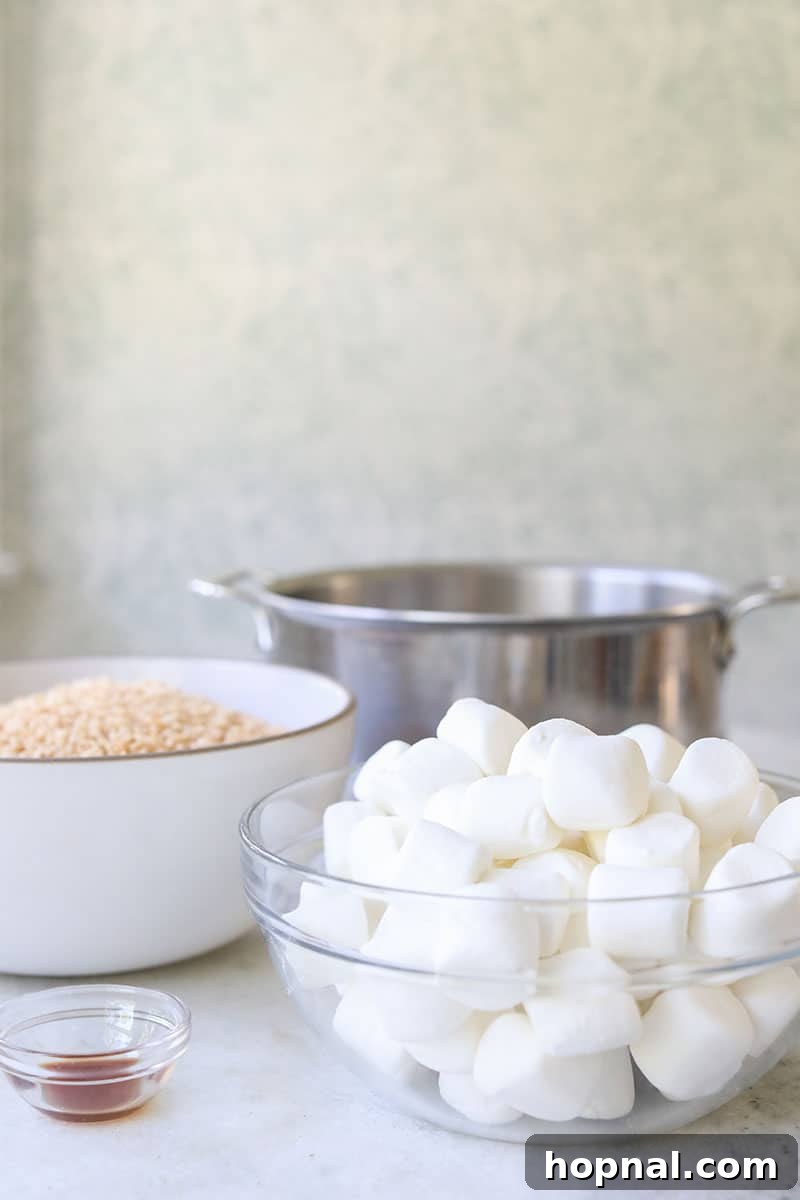
- Rice Krispies Cereal: The quintessential foundation for that delightful crispy, airy texture we all love.
- Fresh Marshmallows: These melt down into a gooey, sticky binder, creating those irresistibly soft and chewy bites. For the best results, use fresh marshmallows – stale ones can be harder to melt smoothly.
- High-Quality Salted Butter: Essential for browning, this butter adds incredible richness and helps achieve the perfect chewy consistency. The salt also balances the sweetness of the marshmallows.
- Pure Vanilla Extract: A splash of real vanilla extract brings warmth and depth to the flavor. While imitation vanilla works, pure vanilla extract offers a superior aroma and taste that truly shines through.
- White Chocolate or Candy Melts: The key to creating those iconic spooky mummy “wraps.” White candy melts are often easier to work with as they melt smoothly and harden quickly, but good quality white chocolate can also be used.
- Edible Candy Eyes: These tiny, whimsical decorations are the perfect finishing touch, bringing your mummies to life! They can also be used for other fun Halloween creations like our Frankenstein Cookies.
How to Make Spooky Brown Butter Mummy Rice Krispie Treats
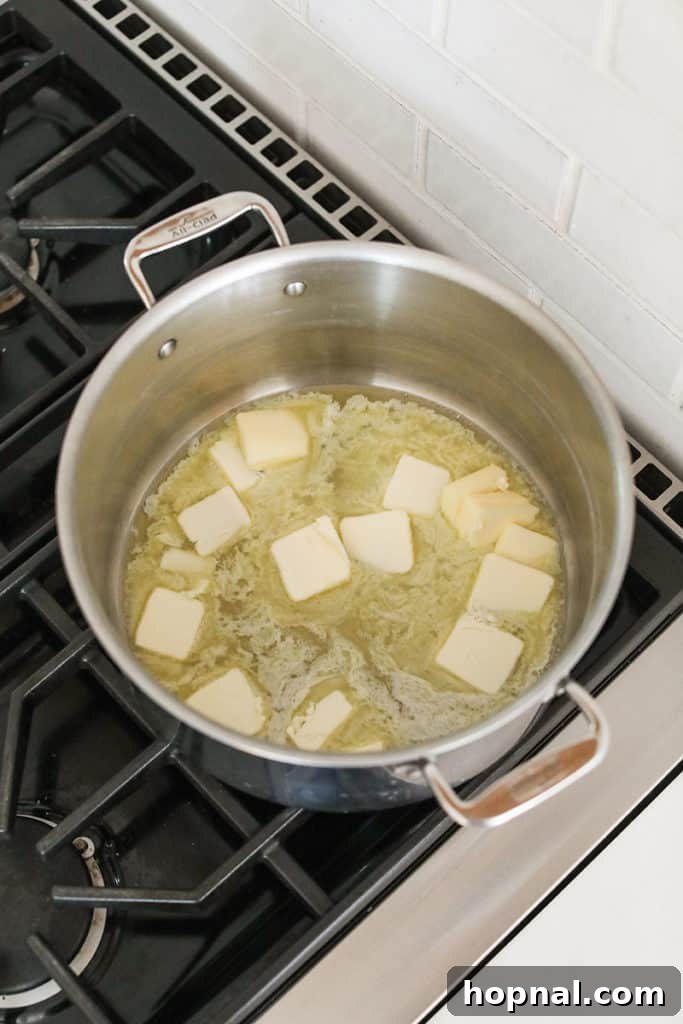
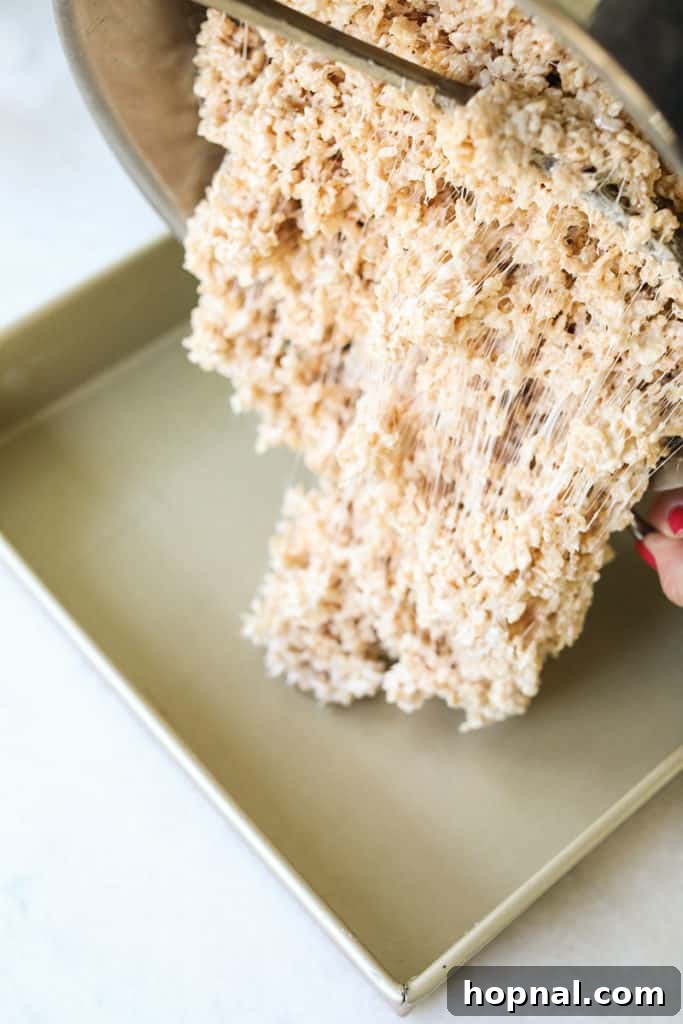
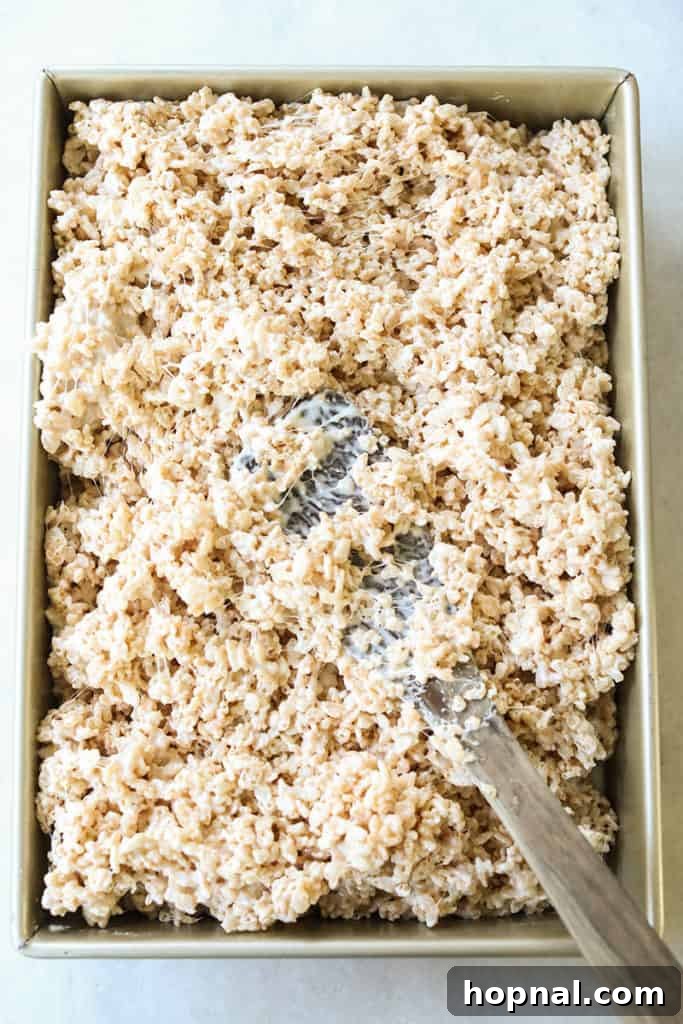
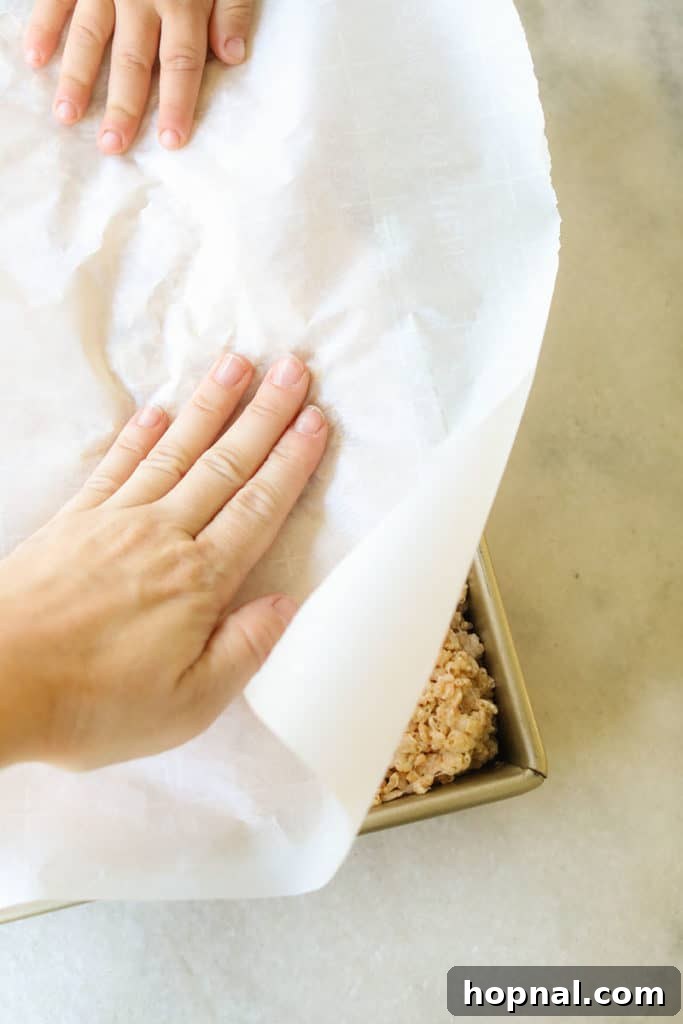
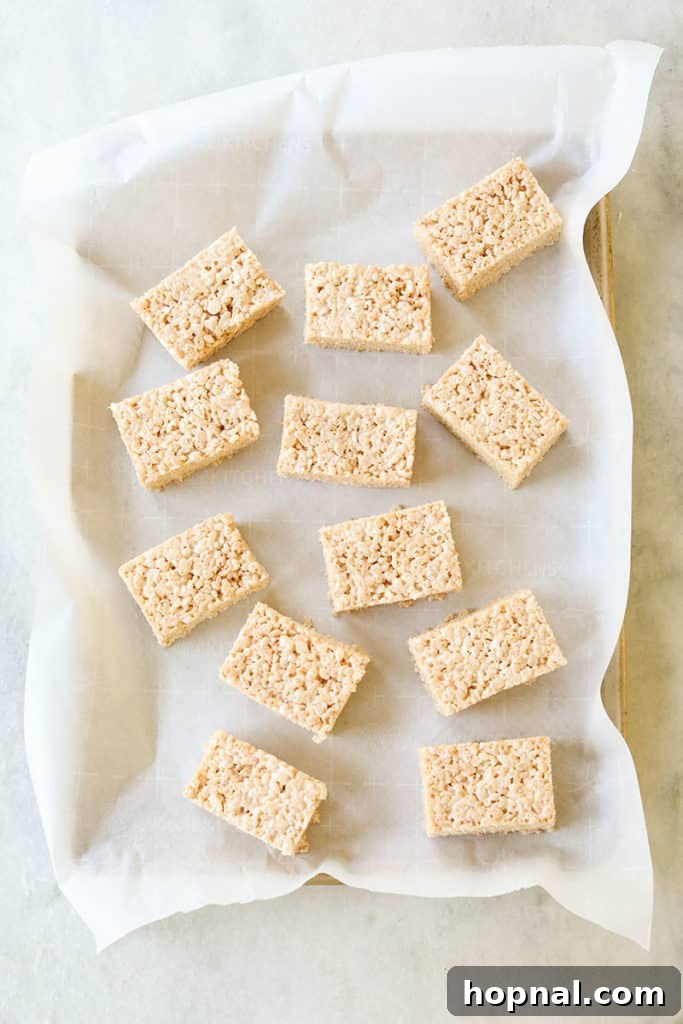
1. Brown the Butter to Perfection: In a large, heavy-bottomed pot, melt the salted butter over medium heat. Continue to cook, stirring occasionally, until the butter turns a beautiful golden brown color and releases a wonderfully nutty, toasted aroma. Watch carefully to prevent burning.
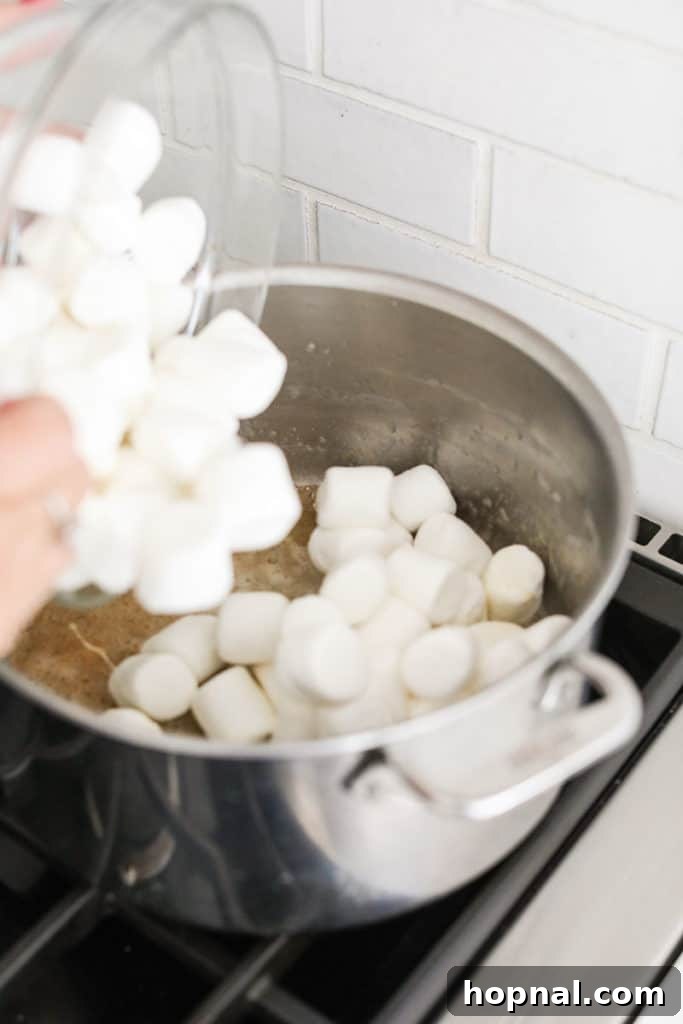
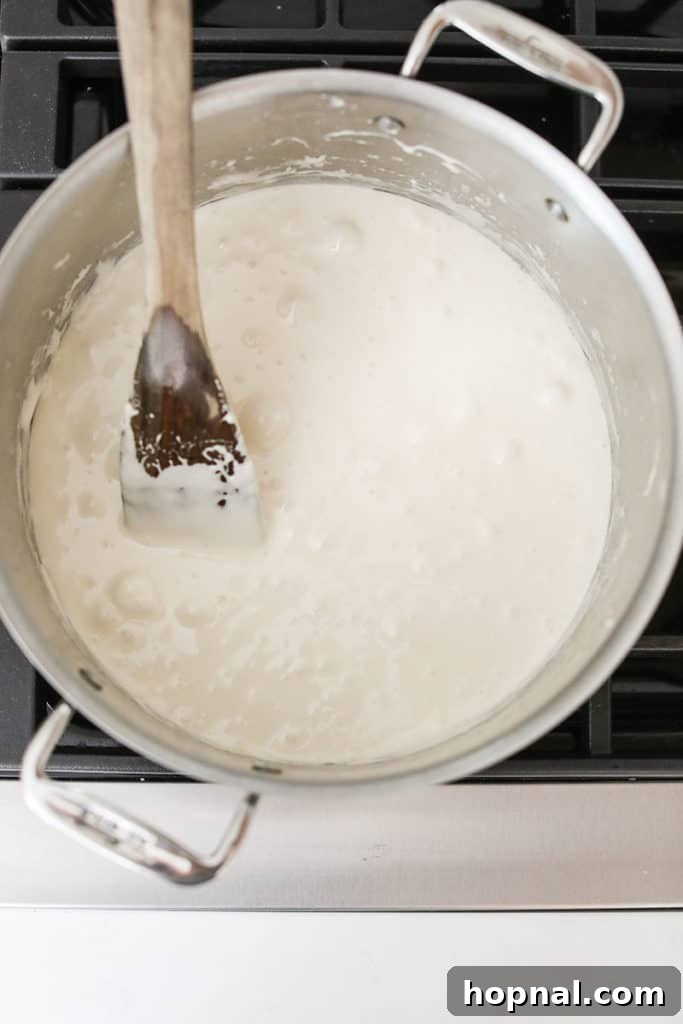
2. Melt Marshmallows to Gooey Perfection: Reduce the heat to low. Add all the marshmallows to the browned butter and stir continuously until they are completely smooth and melted into a luscious, sticky cream. Remove the pot from the heat and stir in the vanilla extract until fully incorporated. The aroma will be intoxicating!
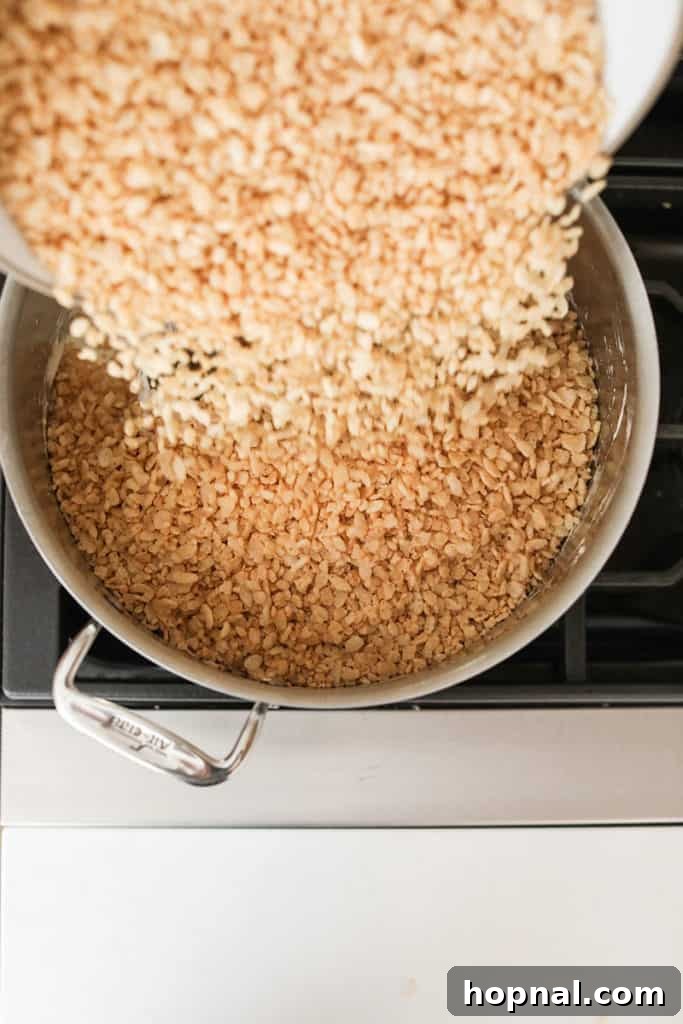
3. Incorporate the Cereal: Add the Rice Krispies cereal to the marshmallow mixture. Stir gently but thoroughly with a wooden spoon or silicone spatula until every single piece of cereal is evenly coated with the gooey marshmallow. This ensures every bite is perfectly crispy and chewy.
4. Press into the Pan: Line a 9×13-inch baking pan with parchment paper, leaving an overhang on the sides for easy removal. Transfer the entire Rice Krispie mixture into the prepared pan. Lightly butter another piece of parchment paper and use it to gently but firmly press the mixture down into an even layer across the pan. This technique prevents sticking and creates a uniformly dense treat.
5. Cool and Cut: Allow the treats to cool completely at room temperature, which usually takes about 1 hour. Once firm, use the parchment paper overhang to lift the entire slab out of the pan. Place it on a cutting board and, with a buttered knife, cut the treats into rectangles of your desired size. Buttering the knife helps prevent sticking for clean, sharp edges.
6. Prepare the Candy Coating: In a microwave-safe bowl, melt the white candy melts in 30-second intervals, stirring well after each interval, until completely smooth. Stir in 1 tablespoon of canola oil. This helps thin the candy melts, making them smoother and easier to dip and drizzle, resulting in a silkier finish.
7. Dip and Decorate Your Mummies: Take each cooled Rice Krispie treat and dip its top and sides into the melted white candy coating. Allow any excess to drip off. While the first coat is still wet, transfer the remaining melted candy melts to a piping bag (or a zip-top bag with a tiny corner snipped off). Drizzle the candy melts across the dipped treats in random, crisscrossing lines to create the mummy “bandages.” Don’t worry about perfection; messy lines often look more authentic and cute!
8. Add the Spooky Eyes: Immediately after drizzling the bandages, press two candy eyes onto each treat before the coating has a chance to set. This ensures they adhere securely.
9. Let Them Dry: Place the decorated mummy treats back on the parchment paper and allow them to set for at least 20 minutes, or until the candy coating has fully hardened. Then they’re ready to serve and enjoy!
Perfecting the Mummy Look with White Chocolate or Candy Melts
Creating those charming mummy “bandages” is the most fun part of this recipe! The key to success lies in the consistency of your melted chocolate or candy melts. If it’s too thick, it will be hard to drizzle and create fine lines. If it’s too thin, it might run too much. Here’s how to get it just right:
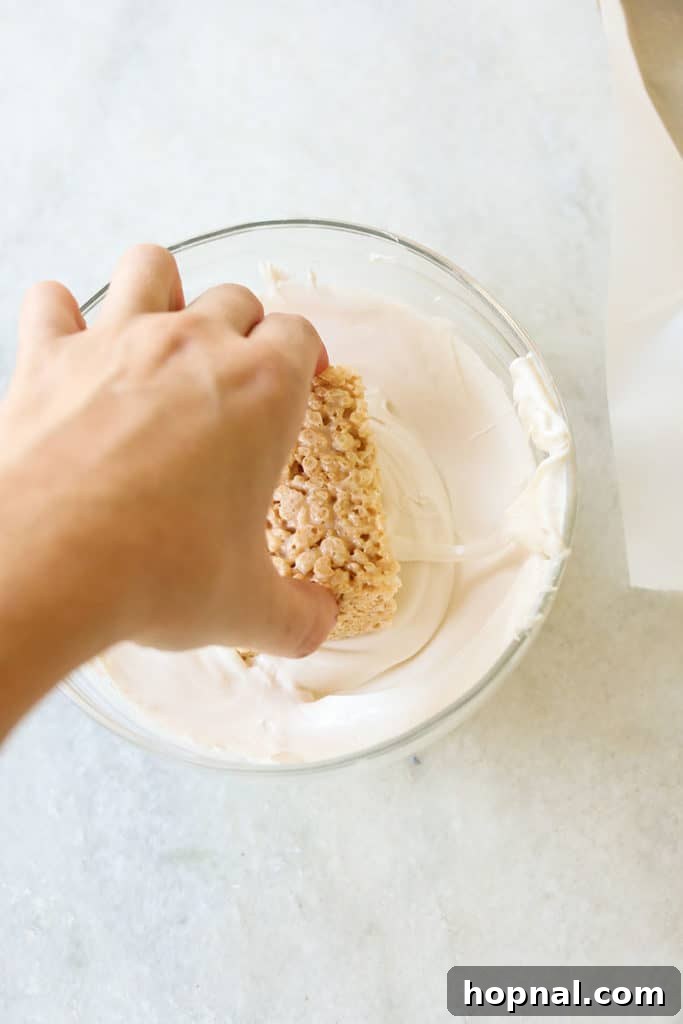
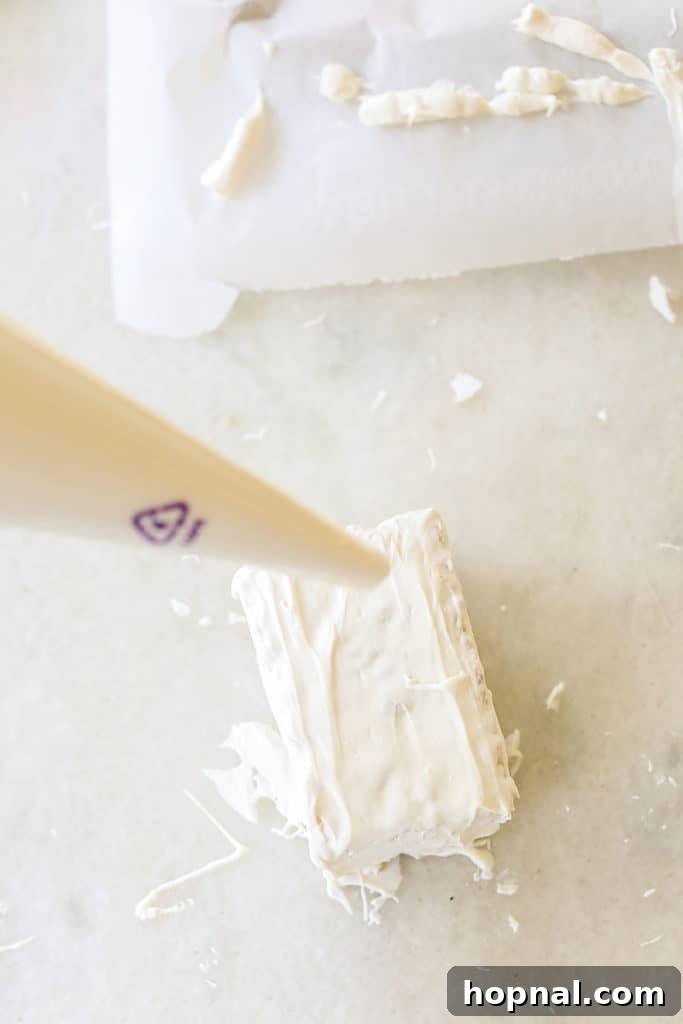
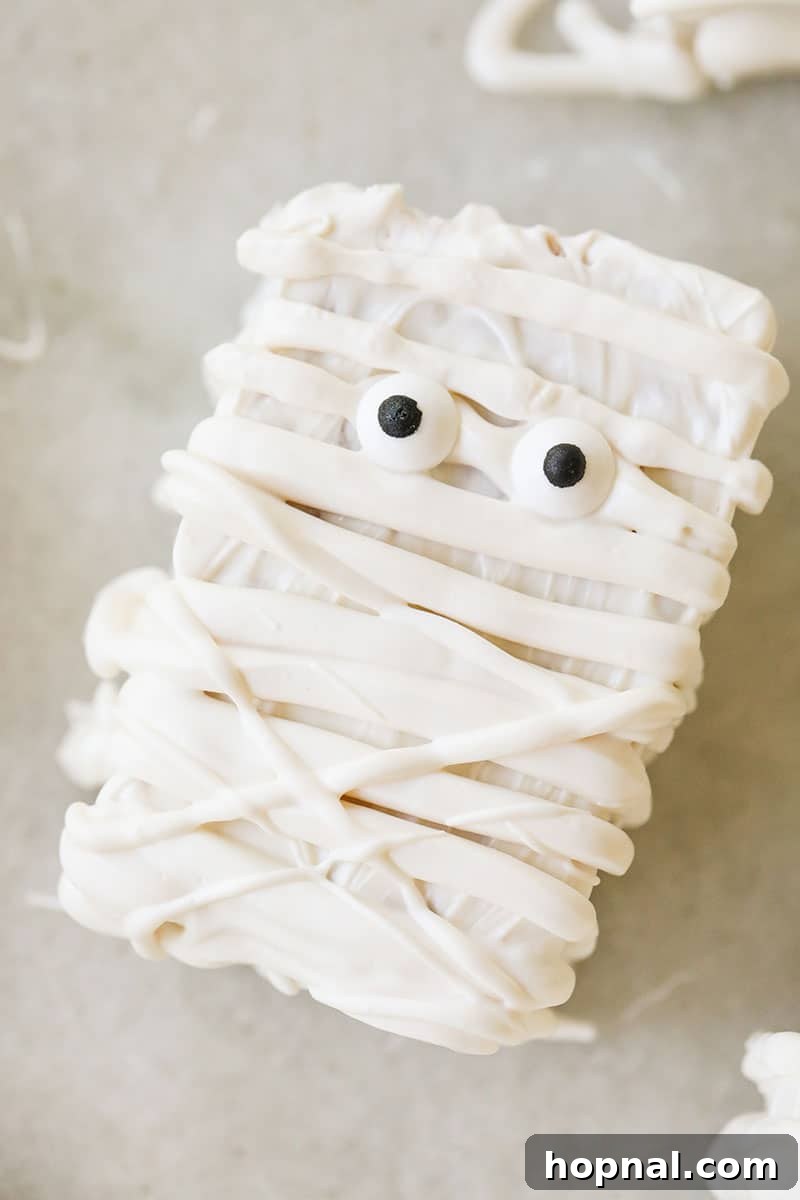
Using a little canola oil (or coconut oil) helps achieve that silky, flowable consistency. Once melted and thinned, transfer the coating to a piping bag. If you don’t have a piping bag, a sturdy zip-top bag with a tiny corner snipped off works perfectly. Start with a very small snip; you can always make the hole larger if needed. Drizzle the “bandages” back and forth, horizontally and diagonally, ensuring some of the Rice Krispie treat peeks through. The beauty of mummies is their imperfect, wrapped appearance, so don’t strive for exact uniformity. The messier, the cuter!
Eden’s Top Tips for Flawless Mummy Treats
- Use Parchment Paper Wisely: When pressing the Rice Krispie mixture into the pan, always place another piece of parchment paper on top. This prevents sticking, allows you to apply even pressure, and ensures a smooth, uniform layer. It also makes lifting the set treats out of the pan incredibly easy.
- The Buttered Knife Secret: To achieve clean, crisp edges when cutting your cooled treats, lightly butter your knife. This simple trick will prevent the sticky marshmallow from clinging to the blade, making each cut smooth and effortless.
- Achieve Silky Candy Coating: A touch of canola oil added to your melted white candy melts is a game-changer. It thins the coating slightly, making it wonderfully smooth, easy to drizzle, and gives your mummy bandages a beautiful finish that hardens perfectly.
- Embrace the Messy Look: Don’t stress about making perfect, symmetrical “bandages” with your drizzle. The charm of mummy treats comes from their slightly chaotic, wrapped appearance. The messier and more haphazard the lines, the cuter and more authentic your little mummies will look!
- Patience is Key for Setting: Allow your decorated treats to set for at least 20 minutes (or longer in a cool room) before moving or serving them. This ensures the candy coating fully hardens, preventing smudges and ensuring the candy eyes stay firmly in place.
- Don’t Overcook Marshmallows: When melting marshmallows, keep the heat low. Overcooking can lead to hard, brittle treats rather than soft and chewy ones. Stir gently and consistently until just melted.
- Fresh Marshmallows are Best: Always use fresh marshmallows. Older, harder marshmallows can alter the texture and make it difficult to achieve that signature gooeyness.
Storage Tips for Lasting Freshness
To keep your Brown Butter Mummy Rice Krispie Treats wonderfully soft and chewy, store them in an airtight container at room temperature. They will remain fresh and delicious for up to 1 week. For longer storage, you can freeze them: simply wrap each individual treat tightly in plastic wrap, then place them in a freezer-safe sealed bag or container. They will stay fresh in the freezer for up to 1 month. When you’re ready to enjoy them, just thaw them at room temperature for an hour or two before serving.
Mummy Rice Krispie Treats FAQs
Absolutely! While these treats are often best enjoyed on the day they are made for maximum crispiness, you can certainly prepare the Rice Krispie treats base a day in advance if you need to save time, especially for decorating. Just ensure they are sealed tightly in an airtight container and stored at room temperature to maintain their softness. The next day, you can proceed with the fun mummy decoration!
When stored properly in an airtight container at room temperature, homemade Rice Krispie treats typically last for up to three to four days. Beyond that, they tend to lose their signature chewy texture and become a bit hard. For extended storage, they can be frozen for up to six weeks. Just thaw them at room temperature before serving.
The versatility of Rice Krispie treats is one of their best qualities! You can experiment with different flavored marshmallows, such as strawberry or chocolate, for a unique twist. Consider using chocolate Rice Krispies cereal for a deeper cocoa flavor. For extra indulgence, mix in a swirl of peanut butter with the marshmallows, or add different extracts like almond or peppermint for a seasonal touch. You can also fold in mini chocolate chips, sprinkles, or crushed cookies after mixing the cereal. The possibilities are endless – let your creativity guide you!
To minimize stickiness, ensure you don’t overcook the marshmallows. Melt them gently over low heat until just smooth. Also, lightly grease your hands or spatula with butter or cooking spray when pressing the mixture into the pan. If the treats still feel excessively sticky after cooling, a light dusting of powdered sugar can help, though this might alter the appearance of your mummies.
Yes, with a few substitutions! For gluten-free, ensure your crispy rice cereal is certified gluten-free (many brands are). For dairy-free, use a plant-based butter alternative that browns well, and dairy-free marshmallows (check ingredients as some contain gelatin derived from animal products). Also, choose dairy-free white chocolate or candy melts for the mummy decoration. The process remains the same!
More Spooktacular Halloween Treats to Try
Holidays
Spooky Witch Finger Pretzels
Holidays
Easy Halloween Pretzel Rods
Halloween
Festive Halloween Sugar Cookies
Halloween
Delightful Halloween Dirt Cups
If you conjure up these adorable Brown Butter Mummy Rice Krispie Treats, we would absolutely love to hear about it! Please take a moment to leave a review and a comment below to share your experience. Don’t forget to tag us on social media and share your amazing pictures — we can’t wait to see your spooky creations!
Mummy Rice Krispie Treats
Mummy Rice Krispie Treats are the perfect festive addition to any Halloween party! Crafted with delectable browned butter and decorated with creamy white chocolate, this is truly the best recipe for a fun and memorable spooky snack.
Pin Recipe
Rate Recipe
Print Recipe
Equipment
- Large Pot
- 9 x 13 Inch Cake Pan
Ingredients
- 8 ounces salted butter (2 sticks or 1 cup)
- 12 ounces Rice Krispies cereal (1 box)
- 20 ounces marshmallows (about 80 large marshmallows or 2 x 10-ounce packages)
- 1 teaspoon pure vanilla extract
For the Mummies
- 2 bags white candy melts
- 45 edible candy eyes
- 1 tablespoon canola oil (optional, for thinning candy melts)
Instructions
- In a large, heavy-bottomed pot, melt the salted butter over medium heat. Continue cooking, stirring occasionally, until the butter turns a rich golden brown and emits a nutty aroma. This browning process is crucial for the unique flavor of these treats.
- Once the butter is browned, remove the pot from heat and stir in the vanilla extract.
- Return the pot to low heat. Add the marshmallows and stir continuously with a wooden spoon, coating them in the browned butter. The marshmallows will gradually melt and become smooth, forming a sticky, creamy mixture. Stir until fully melted, like marshmallow cream.
- Remove the pot from the heat once the marshmallows are completely melted. Add the Rice Krispies cereal and stir gently but thoroughly until the cereal is evenly coated and well blended into the sticky marshmallow mixture.
- Prepare a 9×13-inch cake pan by lining it with parchment paper, allowing some overhang on the sides. Pour the Rice Krispie mixture into the prepared pan.
- Use a spatula or another piece of lightly buttered parchment paper to gently press the mixture down into an even layer across the entire pan.
- Let the treats cool and set completely at room temperature for at least 1 hour. Once firm, use the parchment paper overhang to lift the slab out of the pan and place it on a cutting board. Cut into desired rectangular shapes using a buttered knife for clean cuts.
To Decorate the Mummies
- In a microwave-safe bowl, melt one bag of white candy melts in 30-second intervals, stirring well after each, until smooth. If desired, stir in 1 tablespoon of canola oil to achieve a smoother, thinner consistency for easier dipping.
- Dip the tops and sides of each cooled Rice Krispie treat into the melted candy coating, allowing any excess to drip off. Place the dipped treats back on the parchment paper.
- Melt the second bag of candy melts (with or without oil) and transfer it to a piping bag or a sturdy zip-top bag with a tiny corner snipped off. This will be used to create the mummy bandages.
- Drizzle the melted candy over the dipped treats in random, crisscrossing patterns to create the mummy “bandages.” Don’t worry about perfection; the irregular lines add to their charm.
- Immediately after drizzling, press two edible candy eyes onto each Rice Krispie treat before the coating sets.
- Allow the decorated mummy treats to sit undisturbed for about 20 minutes, or until the candy coating has fully hardened. Then they are ready to be served and enjoyed!
Notes
- Add a little canola oil to the candy melts for a silky, easy-to-drizzle texture.
- Use parchment paper so the dipped treats don’t stick while drying.
- Transfer melted candy melts to a piping bag (or zip-top bag) for the mummy “bandages.” Cut a small hole in the tip — smaller holes make neater lines.
- Drizzle quickly back and forth for that wrapped look — they don’t have to be perfect!
- Add candy eyes before the drizzle sets so they stay in place.
- Let them dry completely before moving or packaging.
Nutrition
Nutrition information is automatically calculated and should only be used as an approximation.
Enjoyed this recipe? Leave a comment below!