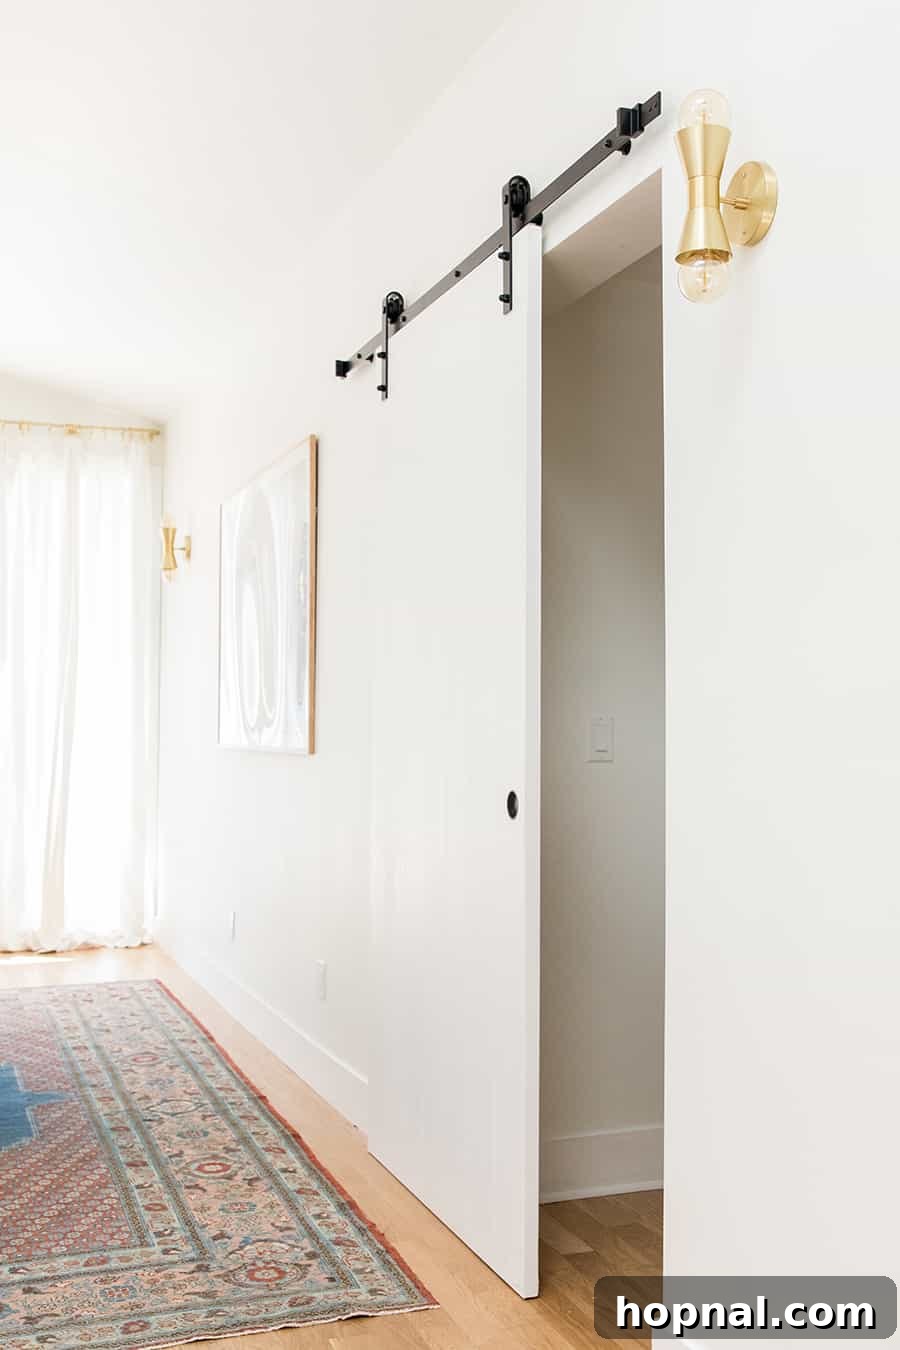
Interior barn doors are more than just a passing trend; they are a stylish and incredibly functional solution for modern homes. Offering significant space savings, an appealing aesthetic, and remarkably smooth operation, these doors are also surprisingly straightforward for DIY enthusiasts to install. Whether you’re aiming to maximize floor space, introduce a unique design element, or simply create more privacy, a sliding barn door can be the perfect addition to your living environment.
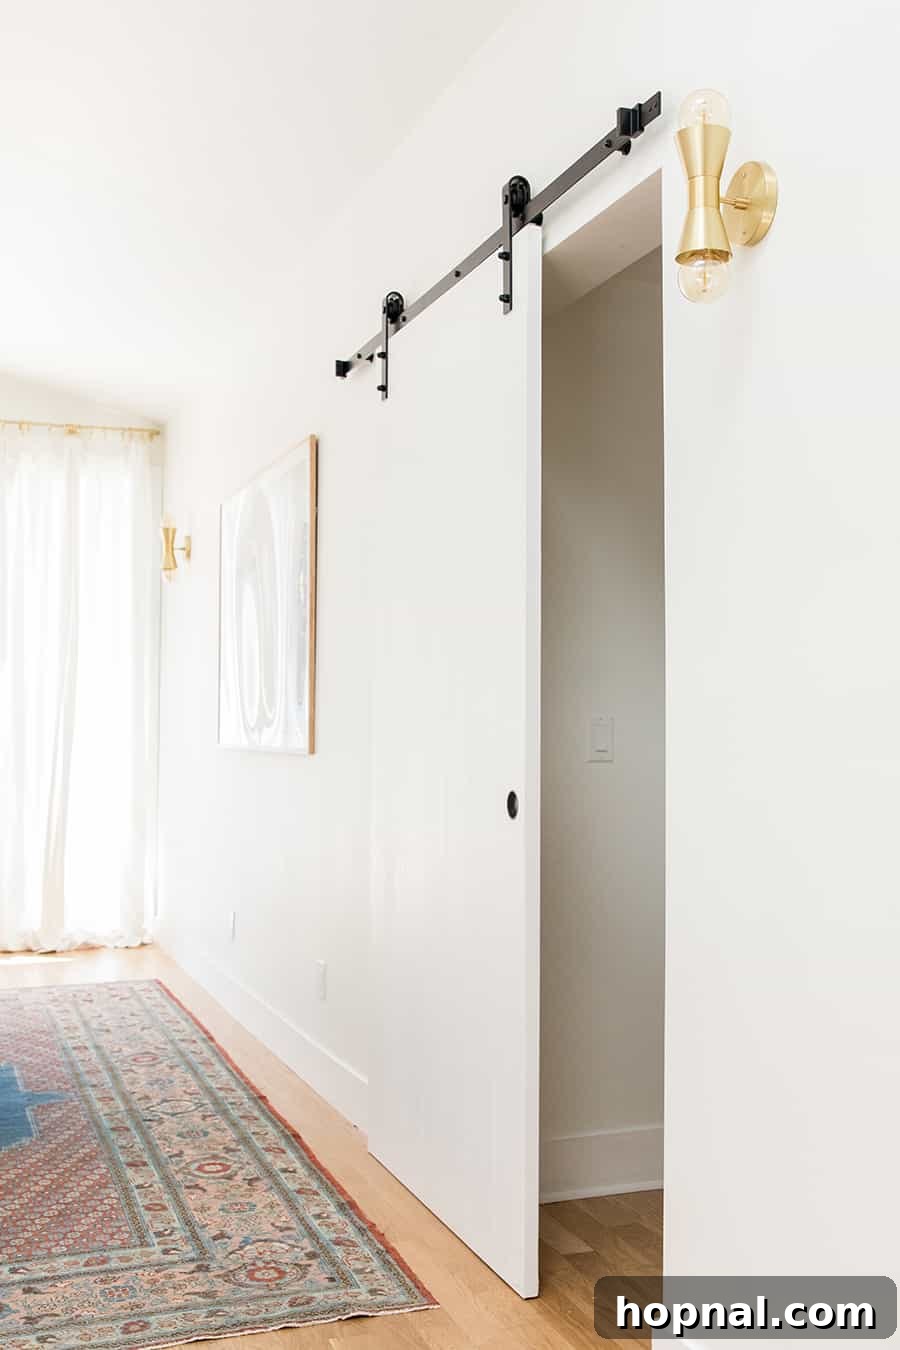
The Perfect Solution for Modern Living: Why Choose Interior Barn Doors?
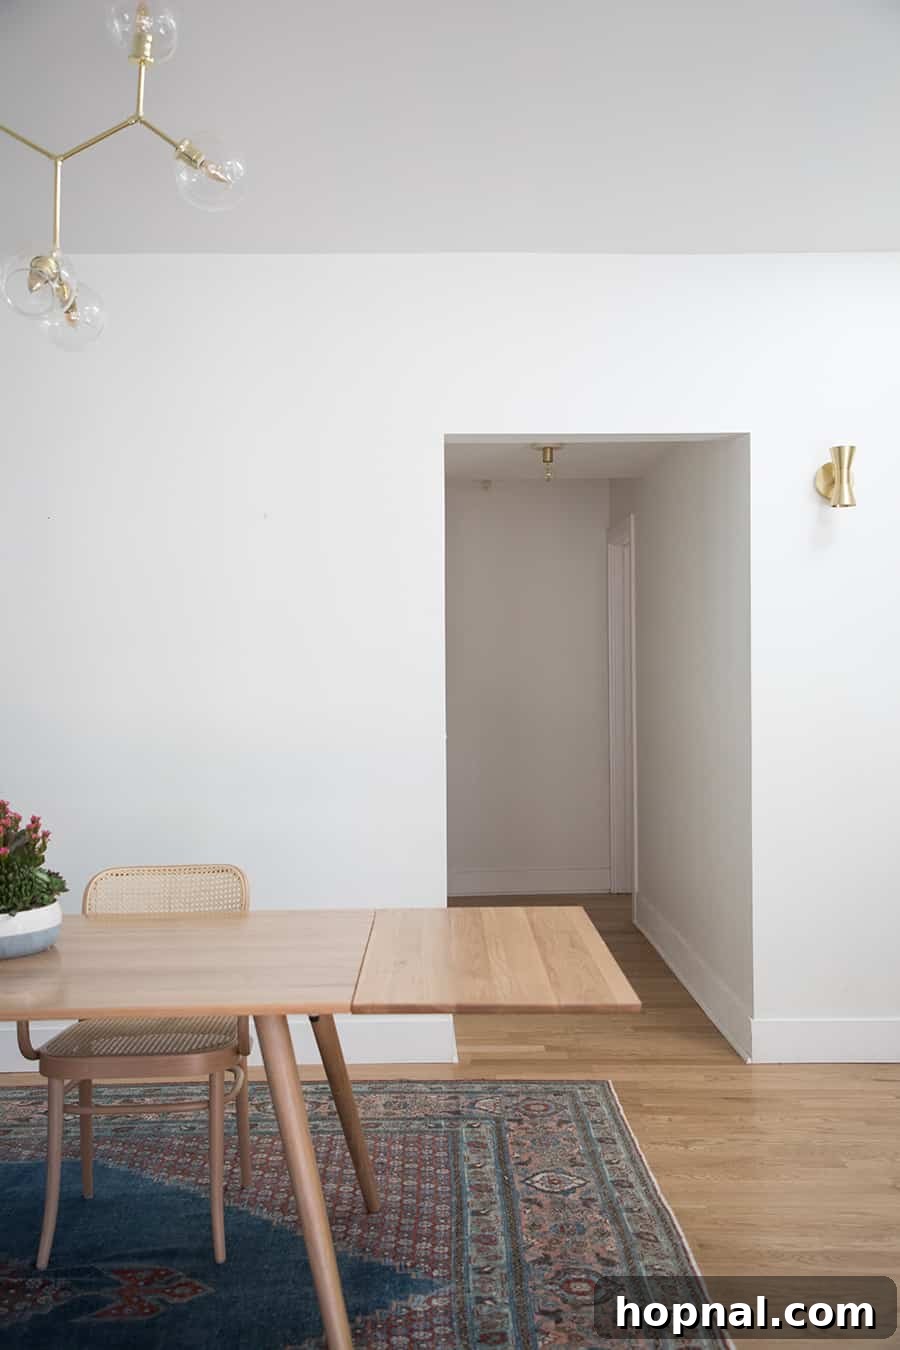
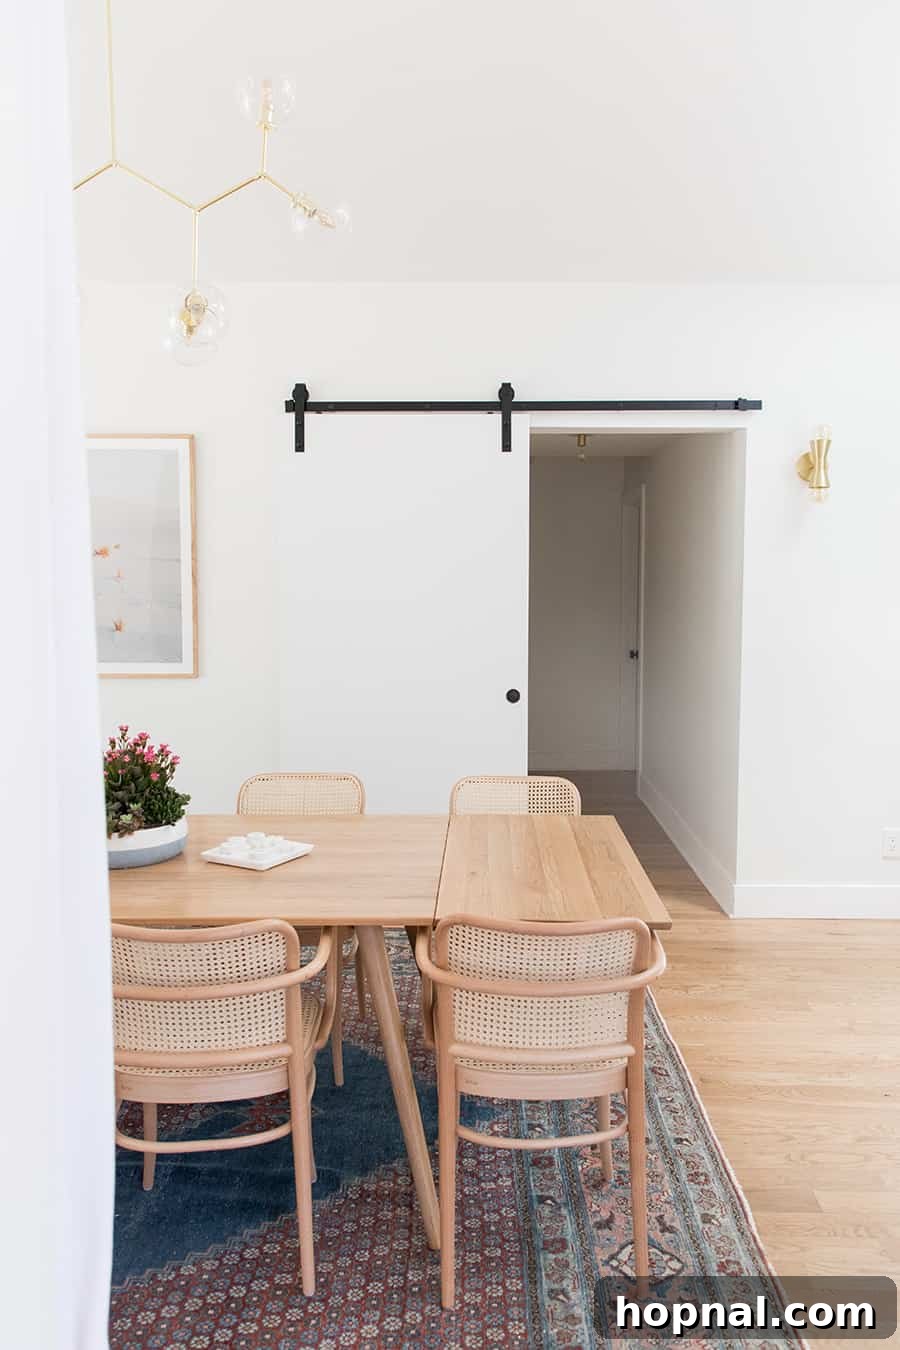
After weeks of dedication, our kitchen and dining room remodel was finally complete. The fresh paint, new fixtures, and updated layout transformed our space into an open, inviting area. However, with an open-concept design comes a common challenge: managing noise and maintaining privacy, especially when entertaining. Our children’s room, conveniently located just off the dining area down a short hallway, often became a source of ambient noise during lively gatherings. We knew we needed a solid door solution to effectively block out extra sound, ensuring a peaceful retreat for our little ones while allowing adult conversations to flow freely.
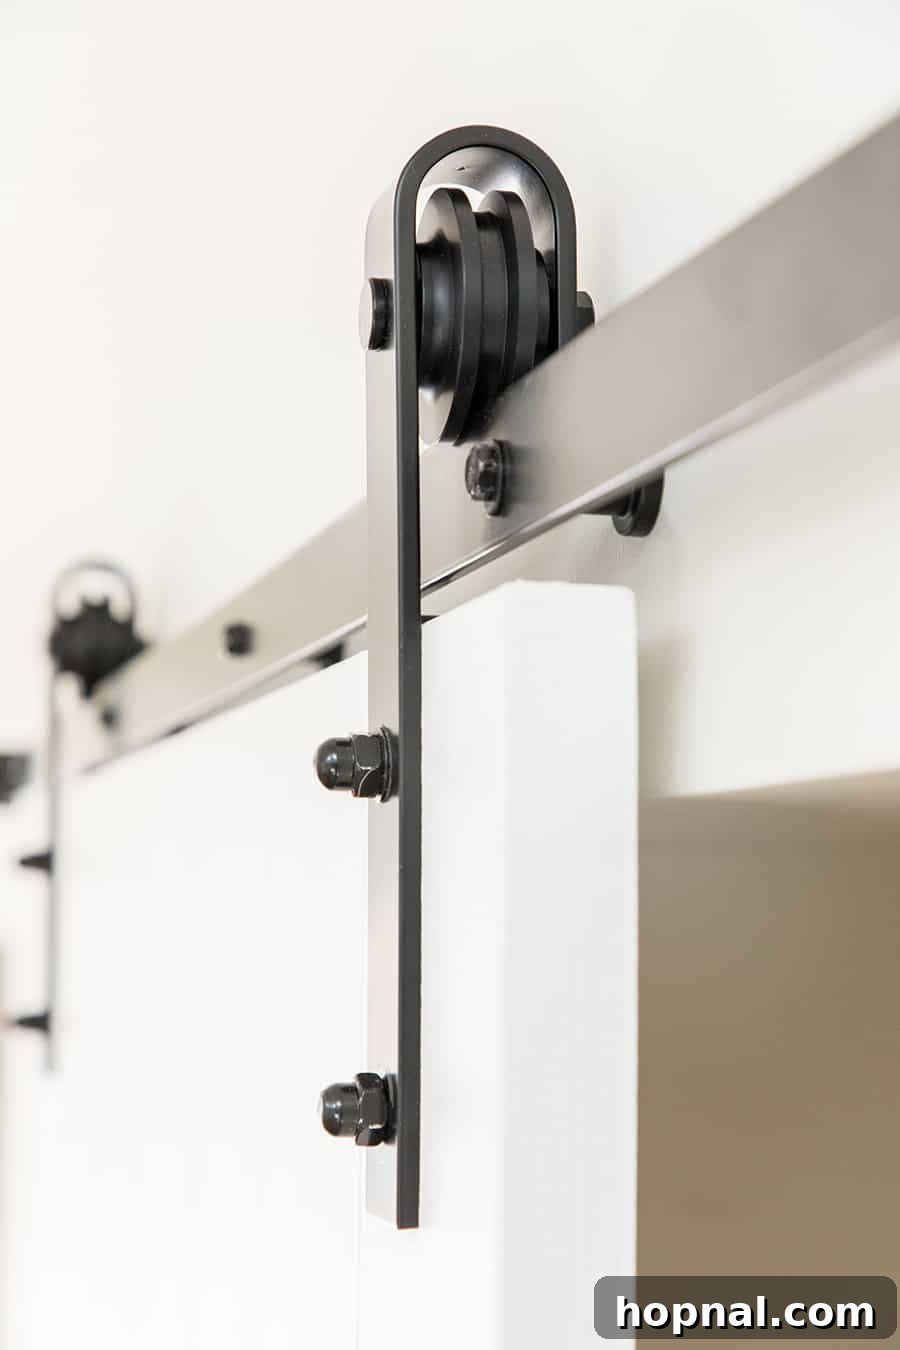
Traditional swing doors simply weren’t an option due to the limited space in the hallway. That’s when we began exploring the elegant and practical world of interior barn doors. After extensive research into various hardware options for a self-installation project, we discovered the exquisite range of sliding barn door hardware by Schlage. Their matte black finish instantly caught our eye, promising to add a touch of modern sophistication to our newly remodeled space. Designed specifically for a single sliding door, which was precisely what we needed, the complete hardware kit arrived, igniting our enthusiasm for this exciting DIY project.
Unveiling the Benefits of Interior Barn Doors
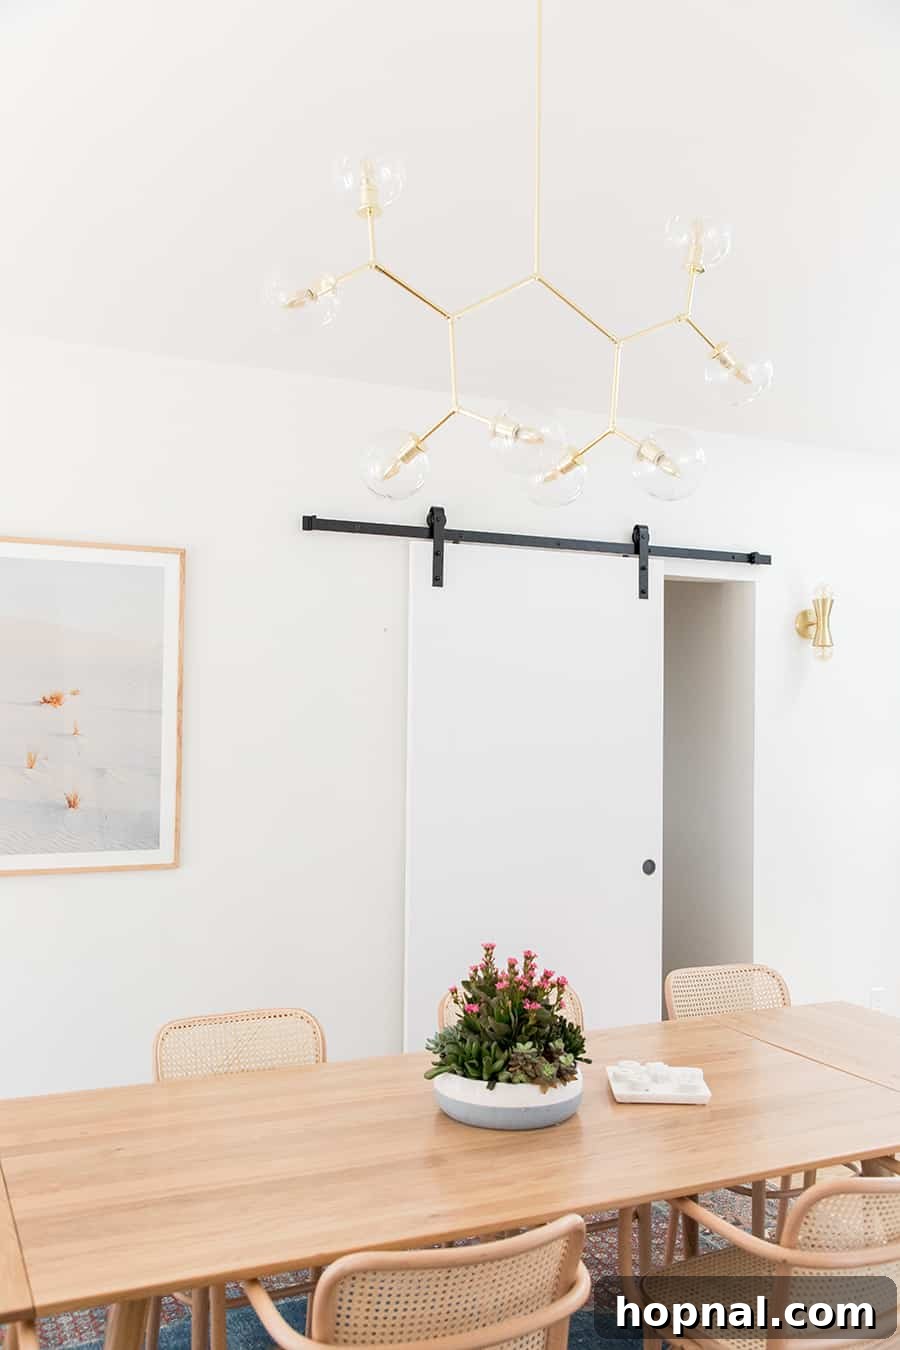
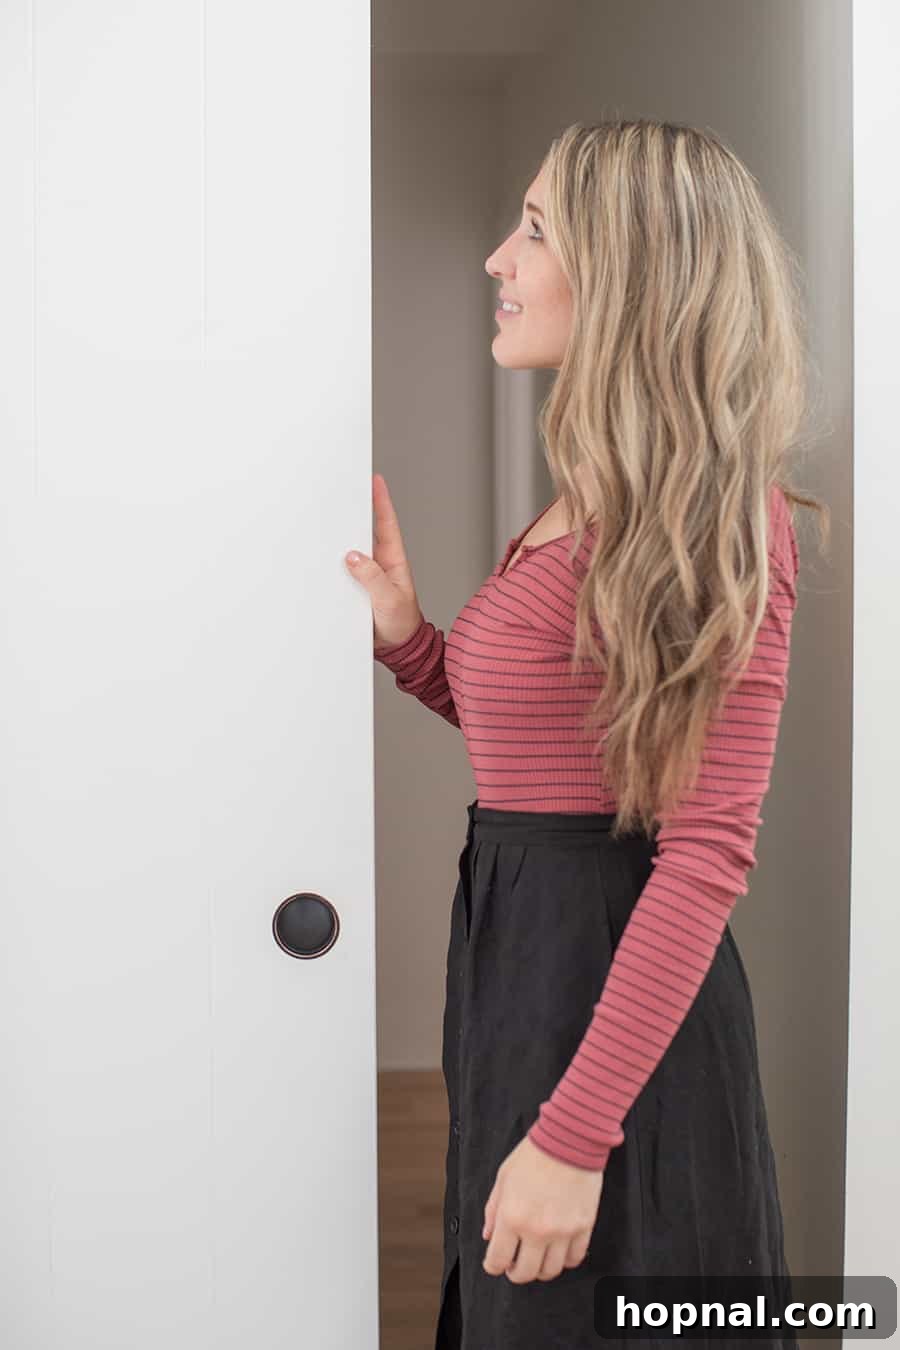
Beyond their stunning visual appeal, interior barn doors offer a wealth of practical advantages that make them an ideal choice for any home. Our new door, for instance, instantly infused a remarkable sense of warmth and character into the room. While the space was already gorgeous, the addition of this unique door and its sleek hardware made it truly stand out, elevating its style quotient significantly.
Space-Saving Innovation
One of the most compelling reasons to choose a sliding barn door is its incredible ability to save space. Unlike traditional hinged doors that require a significant swing radius, barn doors glide smoothly along a track, occupying only the wall space where they rest when open. This makes them perfect for smaller rooms, narrow hallways, or areas where a conventional door would obstruct furniture or traffic flow. Imagine reclaiming that precious floor space that was once dedicated to a door’s swing!
Enhanced Privacy and Noise Control
For us, the primary driver was the need for better noise control and privacy. The barn door proved to be the perfect solution for discreetly blocking off the hallway, providing a quiet sanctuary for our guests or ensuring uninterrupted naptime for the baby during the day. While not completely soundproof due to slight gaps, they offer a substantial improvement over open doorways, effectively creating a more defined and secluded space.
Aesthetic Versatility and Style Statement
Interior barn doors are design chameleons, capable of complementing a wide array of interior styles. From rustic farmhouse and industrial chic to modern minimalist and Scandinavian, there’s a barn door style and finish to match every aesthetic. They serve as a focal point, a piece of functional art that draws the eye and adds architectural interest. The right barn door can transform a mundane entryway into a stunning feature, reflecting your personal taste and elevating your home’s overall design.
Functional Flexibility for Any Room
Beyond bedrooms and dining rooms, barn doors excel in various other applications:
- Pantry Doors: Free up valuable kitchen space and add a touch of charm.
- Laundry Room Doors: Conceal utility areas neatly and stylishly.
- Home Office Doors: Create a quiet workspace when needed, then slide open for an expansive feel.
- Bathroom Doors: Offer privacy with a contemporary flair (ensure proper latching for this application).
- Closet Doors: Replace bifold or standard sliding closet doors for a custom look.
Custom Interior Barn Doors: Tailored to Your Taste
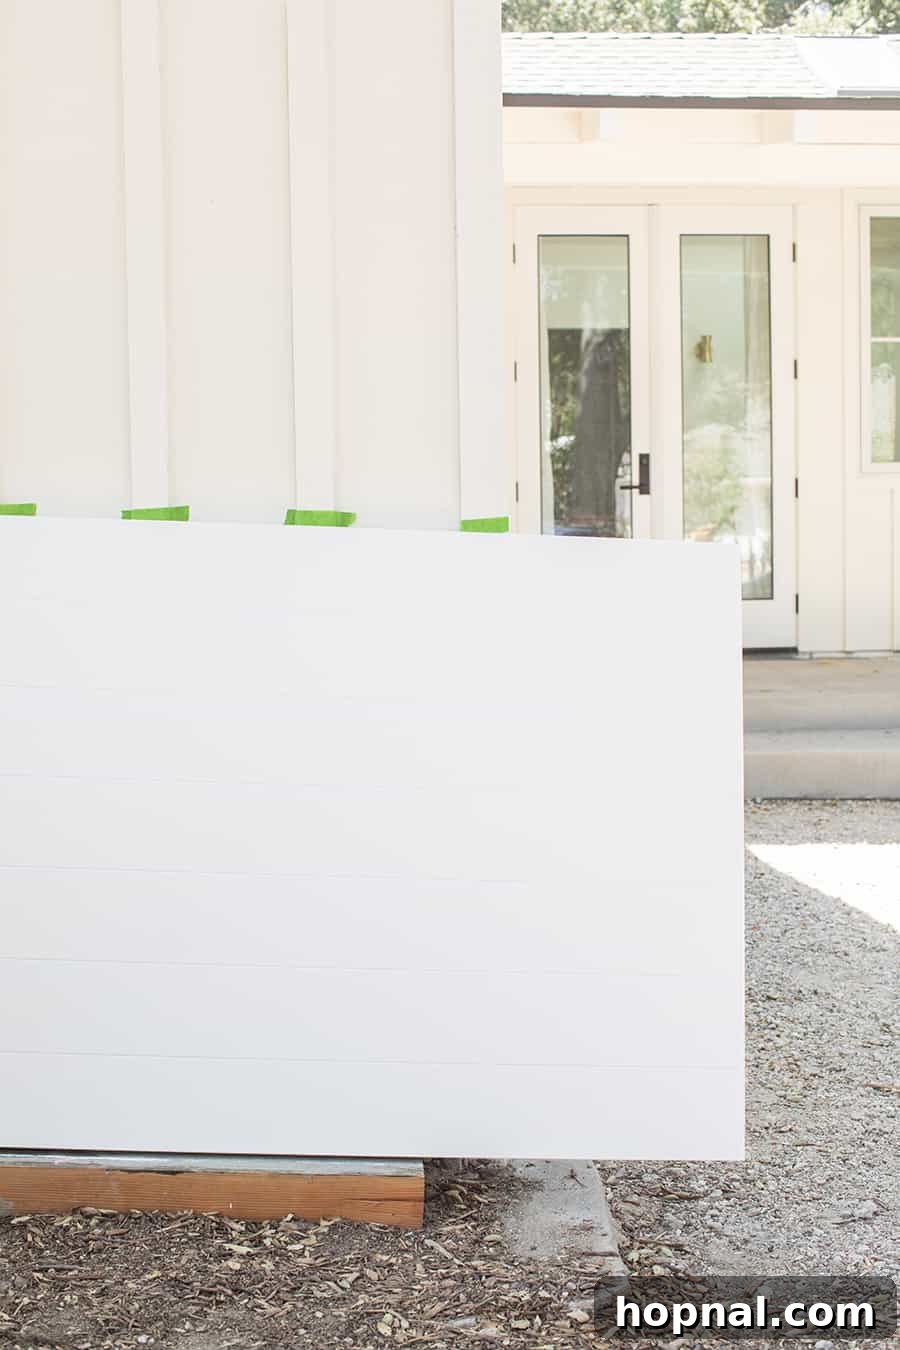
One of the joys of installing an interior barn door is the immense potential for customization. To maintain a cohesive design aesthetic throughout our home, we opted to order a custom door that perfectly matched the style of our existing interior doors. This ensured a seamless integration rather than an abrupt design departure. Of course, the final touch was painting it the exact same crisp color, White Picket Fence from Dunn Edwards, which tied everything together beautifully. When selecting your barn door, consider:
- Door Style: From classic K-brace designs to sleek modern panels, or even glass-paneled options for light transmission.
- Material: Solid wood for a robust feel, engineered wood for stability, or even metal for an industrial edge.
- Finish: Paint, stain, distressed, or raw wood – the possibilities are endless to match your decor.
- Size: Ensuring the door is adequately sized to fully cover the opening when closed, with proper overlap for privacy and aesthetics.
How To Install An Interior Barn Door – A Step-by-Step Guide for DIYers
Installing a sliding barn door might seem like a daunting task, but with the right hardware and a methodical approach, it’s a thoroughly achievable DIY project. We were genuinely surprised by how straightforward the process was, especially with the high-quality Schlage Sliding Barn Door Hardware. Here’s a detailed breakdown to guide you through each step:
Step 1: Planning and Preparation
- Measure Accurately: Before ordering anything, meticulously measure your doorway opening. You’ll want your barn door to be wider than the opening by at least 2-4 inches on each side, and taller by at least 1-2 inches. This overlap ensures proper coverage, privacy, and aesthetic balance when the door is closed.
- Order Your Barn Door(s): Based on your measurements and desired style, place your order. Consider whether you want a pre-finished door or one you can customize with paint or stain.
- Gather Your Tools: You’ll need a stud finder, a long level (at least 4-6 feet), a drill/driver, tape measure, pencil, painter’s tape, and potentially a miter saw or circular saw if you’re installing a header.
Step 2: Paint Your Door(s)
If you’ve opted for an unfinished door, now is the time to paint or stain it. Ensure you apply a good quality primer, especially if you’re going from a dark to a light color (or vice versa). Apply multiple thin coats, allowing adequate drying time between each, for a durable and professional finish. We used White Picket Fence from Dunn Edwards for a clean, bright look that matched our home’s existing trim.
Step 3: Crucial Header Installation (for Drywall)
This is arguably the most critical step for a secure barn door installation. If you’re mounting the track into drywall, you absolutely must have a sturdy wooden header behind the wall, or install one if none exists. Barn doors, especially solid wood ones, are heavy, and drywall alone cannot support their weight.
- If You Have a Pre-Existing Header: We were fortunate to have already informed our framer about our future plans for a barn door in this location, so a wooden header was already integrated into the wall.
- If You Need to Add a Header: If your wall doesn’t have studs or a solid header at the correct height, you’ll need to install one. This involves attaching a sturdy piece of wood (like a 1×4 or 1×6) directly to the wall studs above your door opening. This “header board” should be the same length as your barn door track and securely anchored into at least two, preferably more, wall studs. Once installed, you can paint or stain it to match your wall color, door color, or trim, ensuring it blends seamlessly with your decor. This provides a solid anchor point for the heavy track.
Step 4: Install Your Top Track
The main challenge with installing the track bar is ensuring it is perfectly level. Even a slight deviation can cause your door to drift open or closed.
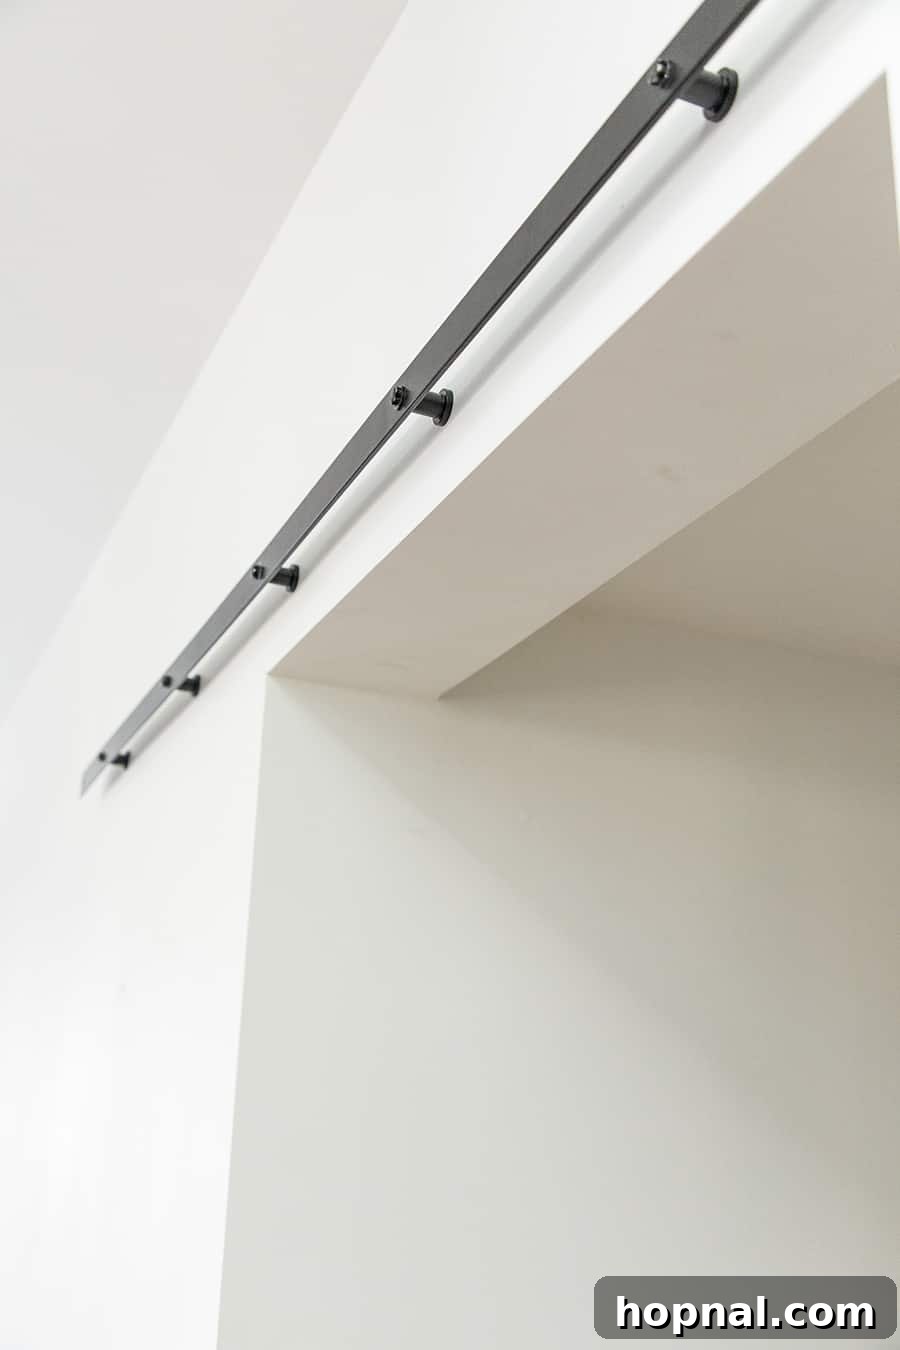
- Mark the Track Placement: Hold the track against the wall at your desired height. Use your stud finder to locate and mark the wall studs that the track screws will hit.
- Level the Track: Using a long level, carefully mark the five large holes on the track with a pencil. Make sure the track is perfectly level not only horizontally but also appears level relative to your ceiling, as some ceilings may not be perfectly straight.
- Drill Pilot Holes: Drill pilot holes for the mounting screws into the header board or wall studs, ensuring they align with the marked holes on the track.
- Attach the Track with Spacers: This is a crucial step that can often be overlooked (as Zan nearly did!). Don’t forget to add the five spacers between the wall/header and the track. These spacers ensure the door has enough clearance to slide freely without rubbing against the wall. Secure the track firmly to the header using the provided lag screws.
- Unit Conversion: You might encounter measurements in millimeters in your hardware instructions. Have your phone handy for quick conversions to inches – thank goodness for Siri!
Step 5: Install the Sliders (Hangers) on the Door
Your hardware kit will come with detailed instructions and often a paper template for precise placement of the sliders (also known as hangers or rollers) on your barn door.
- Position the Template: Carefully tape the template to the top edge of your barn door, ensuring it’s centered and aligned according to the instructions.
- Mark and Drill: Mark the screw holes through the template and drill pilot holes for the slider bolts.
- Attach the Sliders: Securely attach the two sliders to the top of your door using the bolts and hardware provided. Ensure they are tightened properly but do not overtighten, which could damage the door.
Step 6: Hang the Door on the Track
With the track securely mounted and the sliders attached to the door, it’s time for the moment of truth!
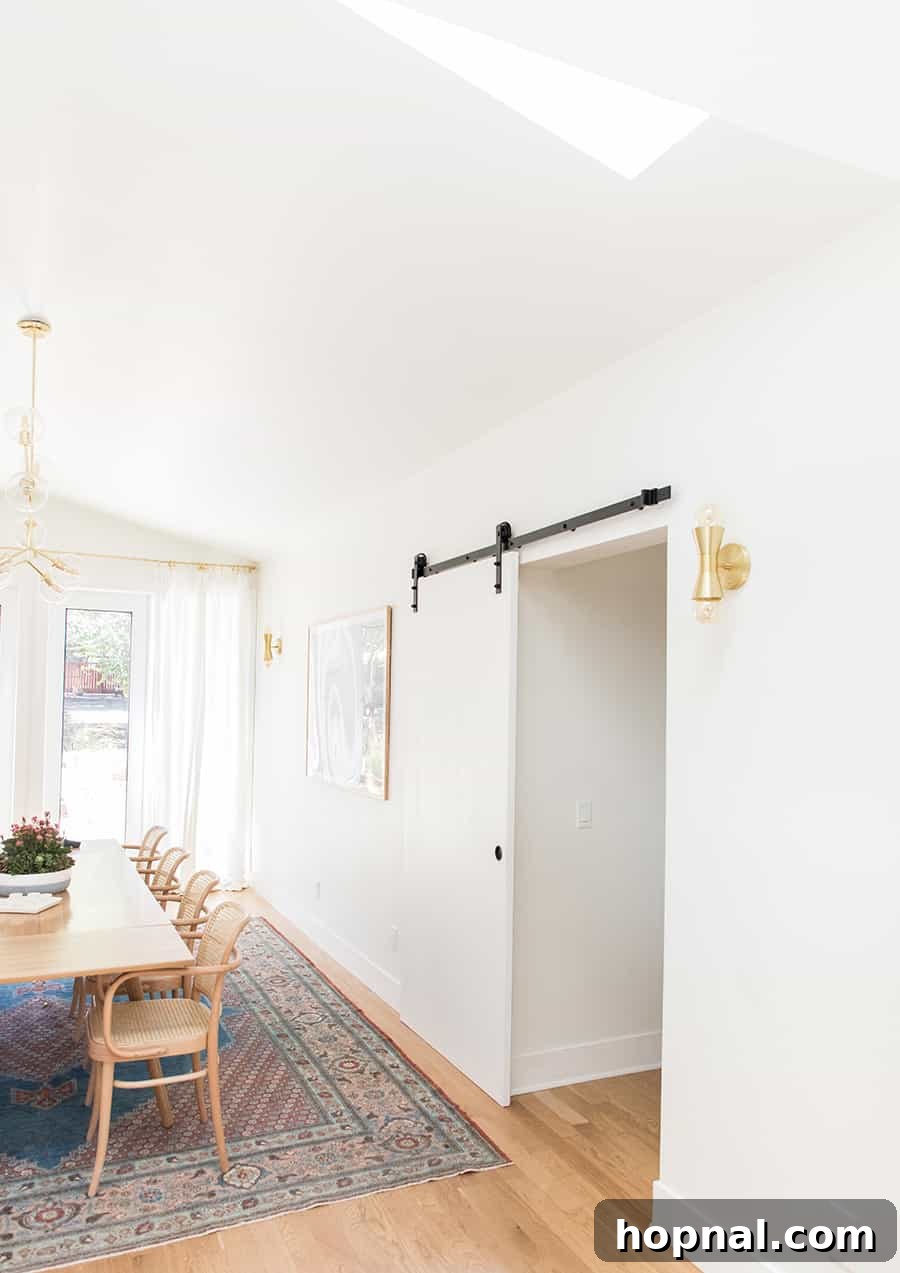
- Carefully Lift: With the help of another person, carefully lift the barn door and hook the rollers of the sliders onto the top track.
- Test and Adjust: Gently slide the door back and forth to ensure it glides smoothly. Install the anti-jump blocks (small discs that prevent the door from lifting off the track) onto the top edge of your door, positioned just above the track.
- Install Door Stoppers and Floor Guide: Attach the track stoppers to prevent the door from rolling too far in either direction. Finally, install the floor guide at the bottom of the doorway opening. This small piece keeps the bottom of the door from swinging outward as it slides.
We honestly couldn’t believe how easy and fairly cut and dry the entire installation process was. It transformed our space with remarkable efficiency!
Top Tips For a Flawless Interior Barn Door Installation
- Prioritize the Header: If installing into drywall, never skip the wooden header. It’s non-negotiable for safety and durability.
- Obsess Over Leveling: Your track must be perfectly level. Use the longest level you have and double-check, as even a small deviation will be noticeable and affect door operation.
- Don’t Forget the Spacers: Ensure you add all five spacers between the track and the wall. These provide essential clearance for the door to slide freely.
- Double-Check Measurements: “Measure twice, cut once” applies here more than ever. Accurate measurements for both the door and track placement are key.
- Teamwork Makes the Dream Work: While some parts can be done solo, hanging the heavy door onto the track is a two-person job for safety and ease.
Explore More DIY Home Inspiration
If you enjoyed this project, be sure to check out these other creative DIY ideas to further enhance your home:
DIY Thanksgiving Dessert Table
DIY Mini Marble Cake Stands
DIY Concrete Pumpkins
We hope this comprehensive guide inspires you to embark on your own interior barn door installation project. It’s a rewarding endeavor that significantly enhances both the functionality and aesthetics of your home. If you’ve installed this interior barn door or completed any other project from Sugar and Charm, we’d love to hear from you!
Please take a moment to rate this guide and share your experience in the comments below. Your feedback helps us create even better content for our DIY community. You can also FOLLOW ME on FACEBOOK, INSTAGRAM, and PINTEREST to discover more delicious recipes, delightful cocktails, tempting desserts, and inspiring party ideas!