
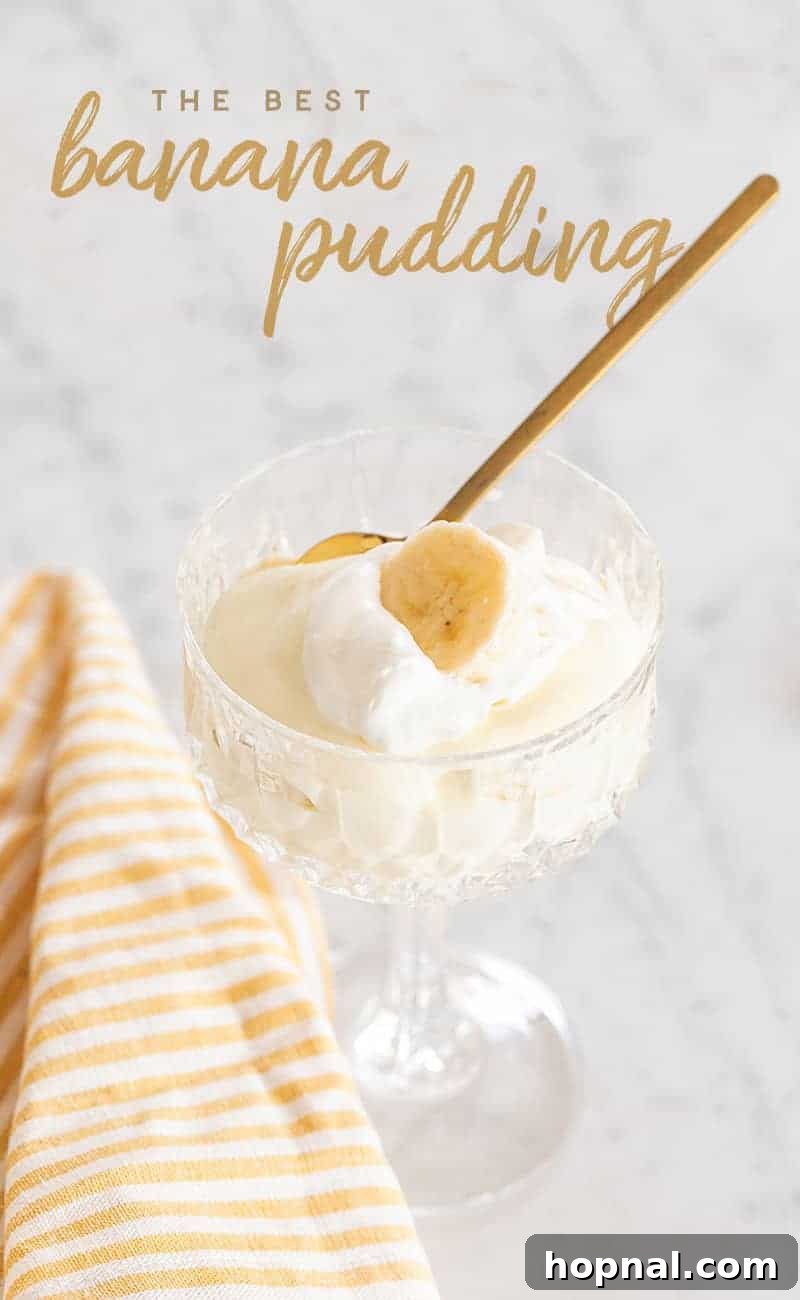
Prepare to indulge in the most exquisite banana pudding you’ve ever tasted! This recipe delivers a dessert that’s truly whipped to perfection, featuring layers of velvety vanilla pudding, fresh ripe bananas, and a generous folding of luscious homemade whipped cream. For an added delightful texture, you can layer in crisp cookies, creating a harmonious balance of creamy and crunchy. This timeless classic is incredibly simple to prepare and guarantees to be a crowd-pleaser every single time.
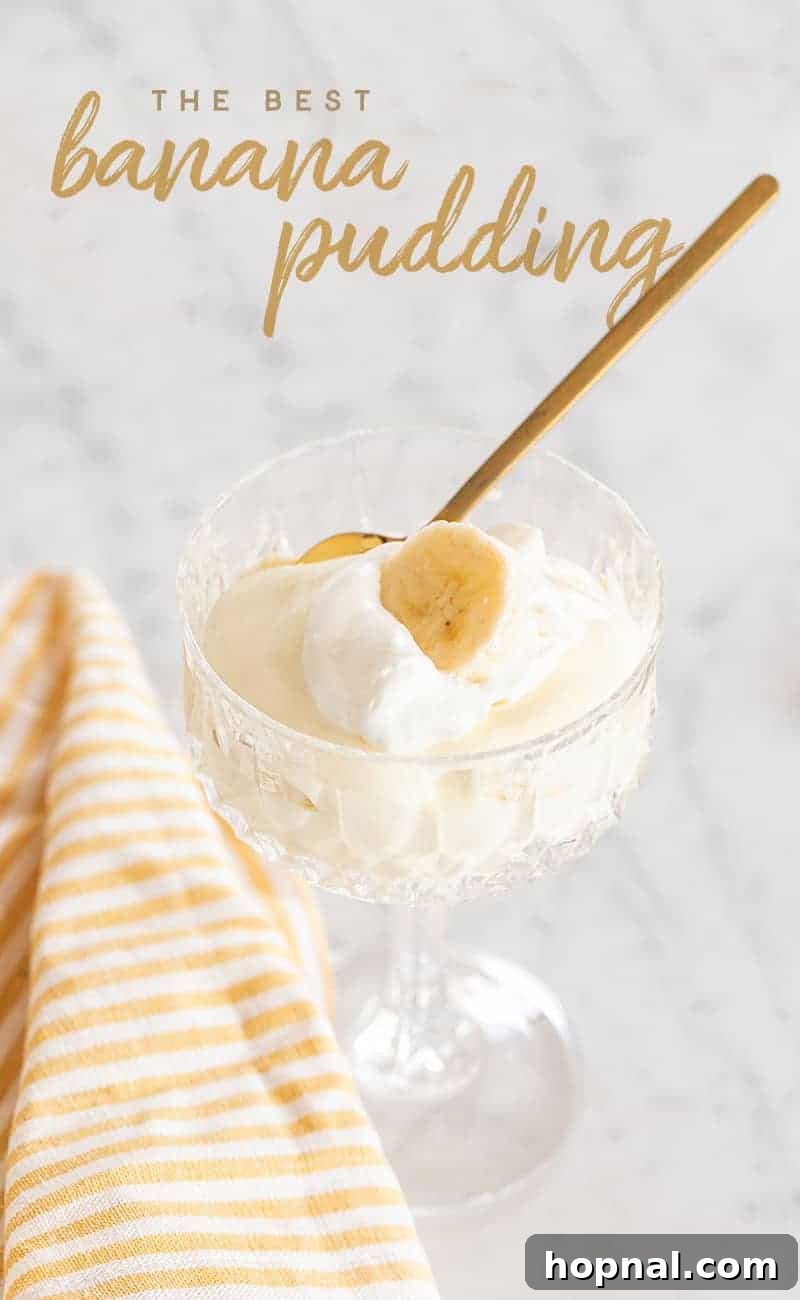
When you hear “banana pudding,” many assume it’s a banana-flavored pudding. However, the true essence of traditional banana pudding lies in its rich vanilla base. This delightful dessert is crafted from a smooth, sweet vanilla pudding, meticulously layered with slices of fresh banana and, often, crispy vanilla wafer cookies. While the cookies are an optional addition, they contribute a wonderful texture that many find irresistible.
If you’re a fan of banana-inspired treats, you might also enjoy exploring our banana pudding pie recipe for another delightful twist on this beloved fruit!
Why This No-Bake Banana Pudding is a Must-Try
Our no-bake banana pudding recipe stands out for its incredible ease and irresistibly creamy texture. It’s an ideal dessert for virtually any gathering, from lively birthday parties and heartwarming baby showers to elegant bridal showers. This recipe yields a generous batch, making it perfect for feeding a crowd without the stress of oven time. Its light and refreshing profile also makes it a superb choice for spring and summer festivities, offering a cool and sweet escape, much like other fantastic dessert recipes for warmer weather.
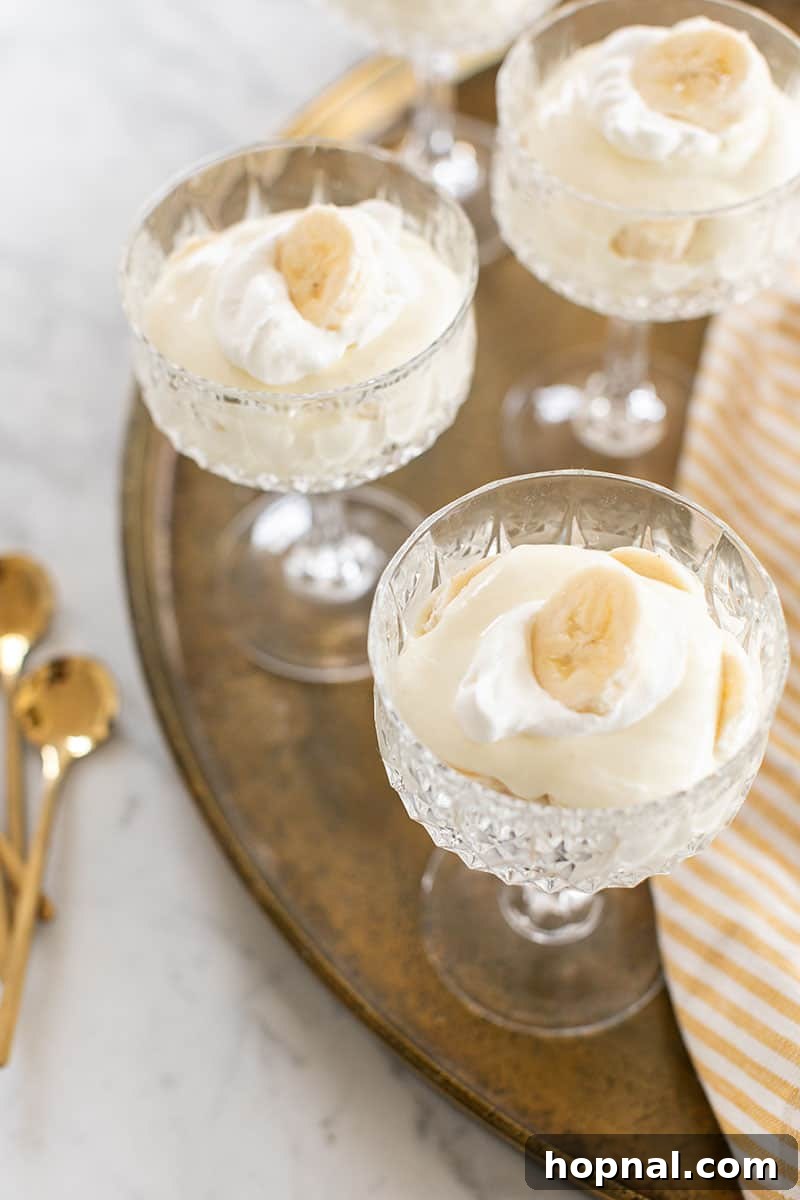
Flexibility is key with this delightful dessert. You can prepare a substantial amount in a classic 9×13-inch baking dish for family-style serving, or, as we’ve showcased, present it in individual, elegant glasses. Serving in individual portions not only adds a touch of sophistication to your event but also makes for effortless serving and allows each guest to enjoy their perfectly portioned treat.
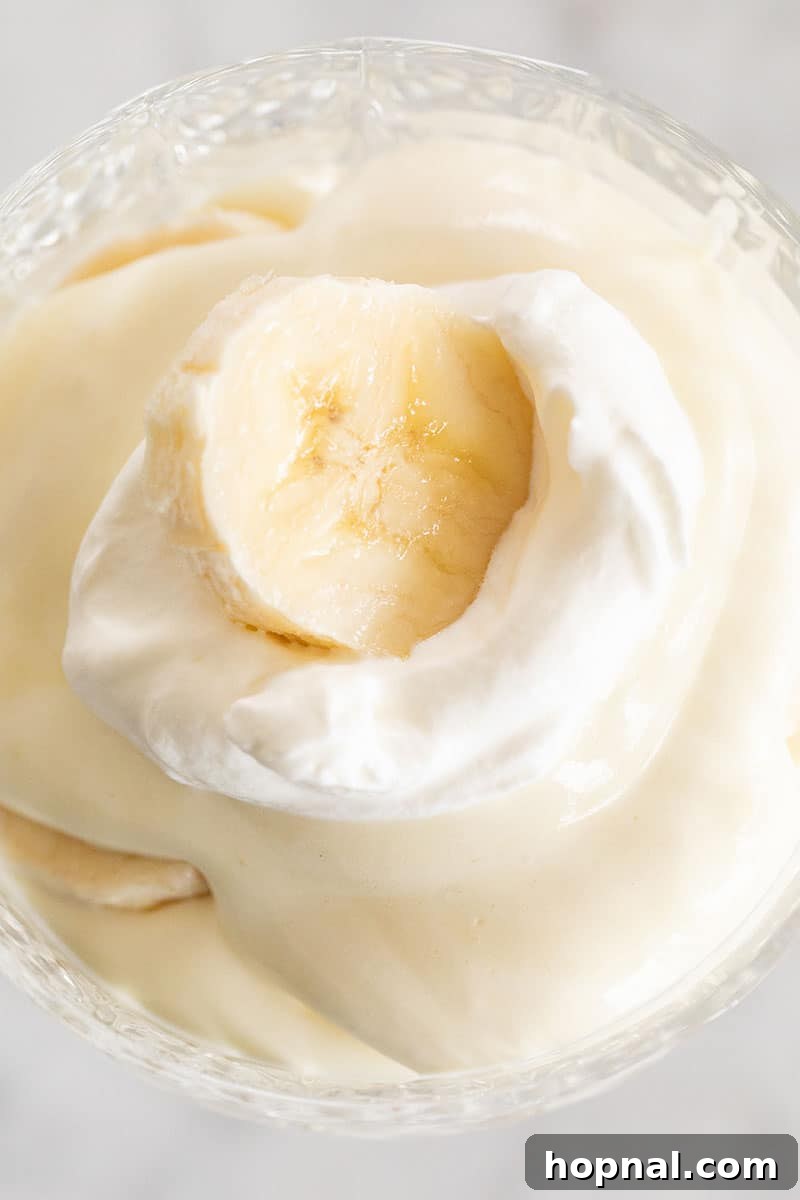
The Enduring Charm of Southern Banana Pudding
Banana pudding carries a rich history, deeply rooted in Southern culinary traditions. This beloved dessert has been gracing tables across the American South for generations, with various adaptations of the recipe appearing in cookbooks and magazines since the late 1800s. Its enduring popularity speaks to its comforting flavors and delightful simplicity.
While the essence remains the same, our recipe offers a modernized approach to this classic. We’ve crafted a version that is not only bursting with flavor but also incredibly easy to prepare. The best part? No cooking is required for the pudding itself, making it a fantastic, stress-free option for any home baker, regardless of their experience level. This recipe simplifies the process without compromising on the authentic, beloved taste that defines Southern banana pudding.
Crafting Your Dreamy Banana Pudding: A No-Cook Delight
This recipe achieves an unparalleled level of creaminess and flavor, thanks to a thoughtful combination of key ingredients. We blend cream cheese, sweetened condensed milk, and heavy cream to create a pudding base that is incredibly rich and satisfying, yet surprisingly light and not at all overwhelming. Each spoonful is a harmonious blend of sweet and creamy, making it a standout dessert that will have everyone asking for the recipe.
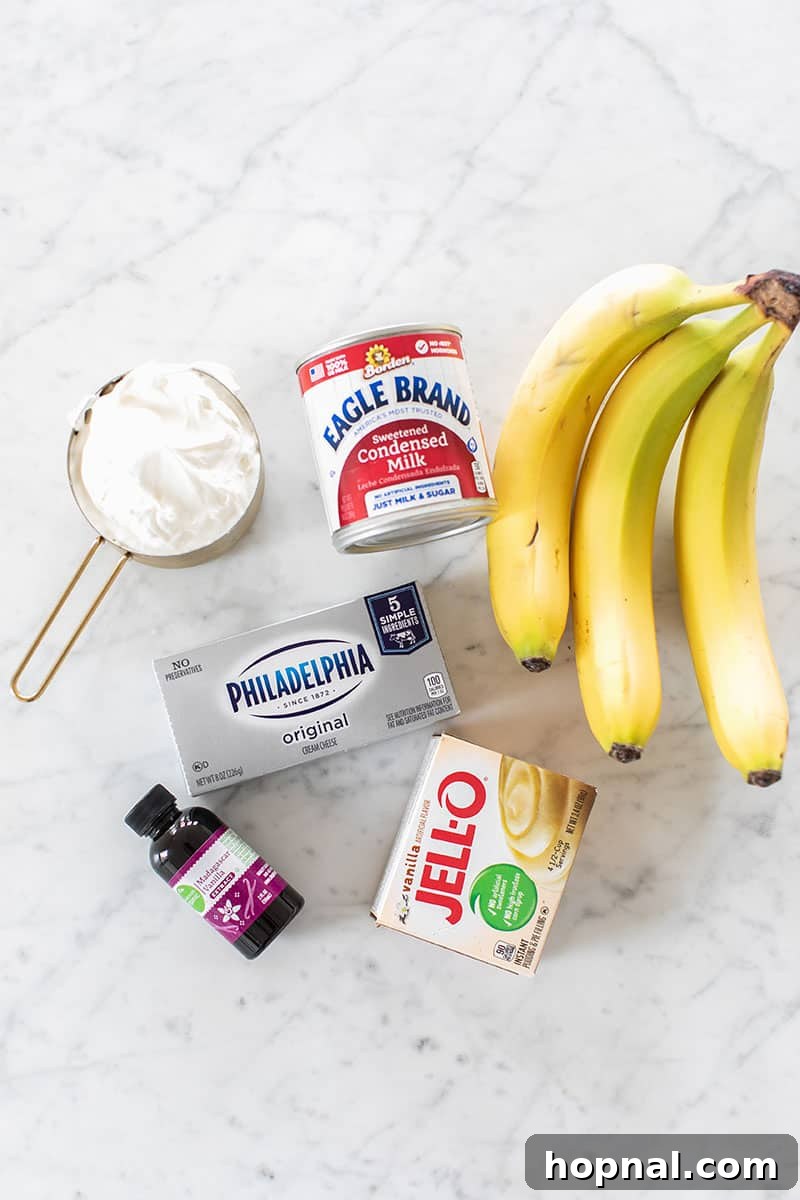
Essential Ingredients for Your Creamy Banana Pudding
Gathering the right ingredients is the first step to creating this delectable dessert. Here’s what you’ll need:
- **Cream Cheese:** The secret to an extra-creamy and rich pudding. Ensure it’s fully softened for a smooth texture.
- **Sweetened Condensed Milk**: Provides essential sweetness and contributes to the pudding’s luxurious consistency.
- **Instant Vanilla Pudding Mix**: The foundation of our quick and easy pudding, ensuring a perfect set without cooking.
- **Cold Milk:** Helps the instant pudding set properly and creates a smooth mixture. 2% milk works beautifully.
- **Heavy Cream:** Divided for both the pudding base and for making fresh whipped cream topping.
- **Vanilla Extract:** Enhances the overall flavor profile, adding warmth and depth.
- **Ripe Bananas:** The star of the show! Choose ripe but firm bananas for best flavor and texture.
- **Optional: Vanilla Wafer Cookies:** For delightful crunch and a classic touch.
Step-by-Step Directions to No-Bake Banana Pudding Perfection
Follow these simple steps to create your irresistibly creamy banana pudding:
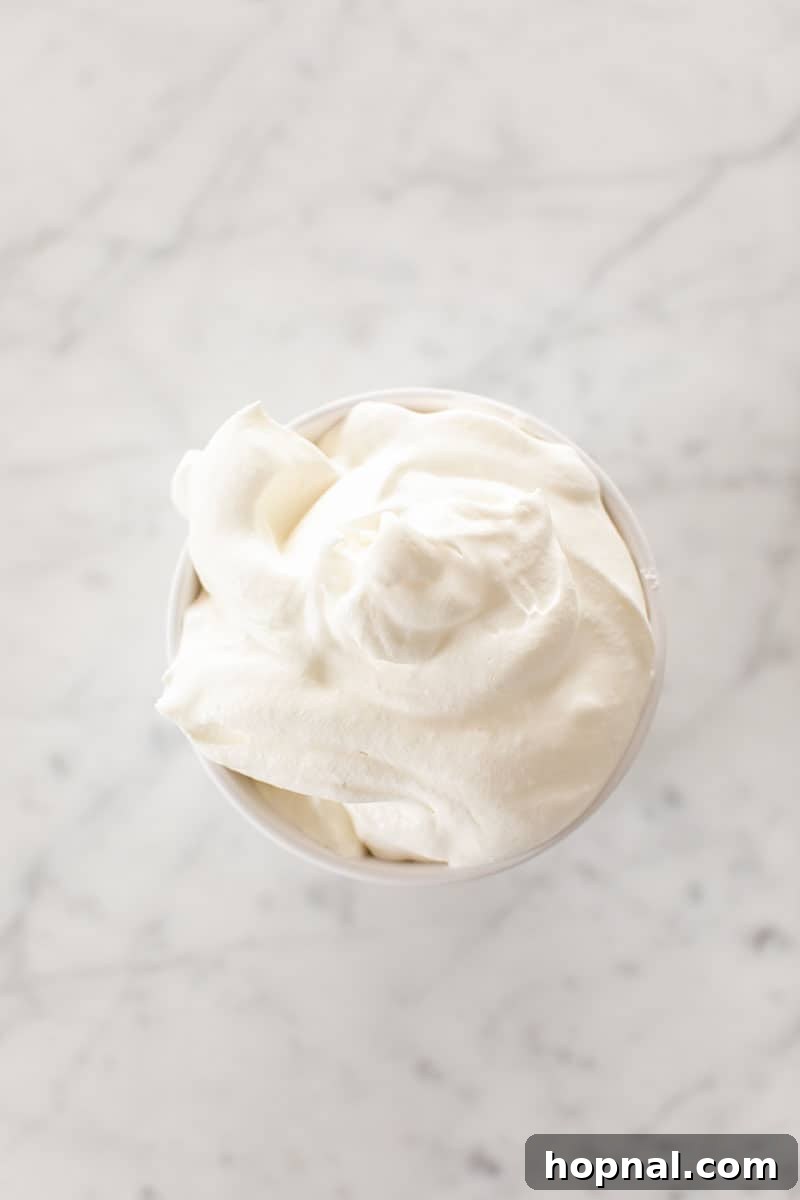
Step 1: Prepare the Homemade Whipped Cream
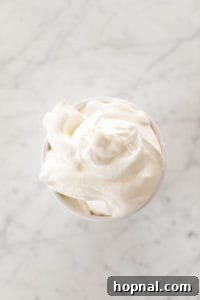
Begin by making your homemade whipped cream. This light and airy topping will be folded into the pudding mixture later, and a little extra will be reserved for garnishing. It’s surprisingly simple to prepare! Using a stand mixer fitted with the whisk attachment (or a hand mixer), whip 1 cup of cold heavy cream on medium-high speed until it forms stiff peaks. Be careful not to over-whip, as it can turn grainy.
Step 2: Ensure Your Cream Cheese is Perfectly Softened
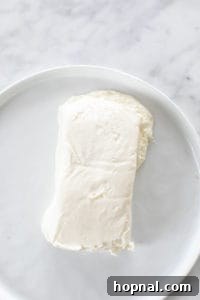
For a truly smooth and lump-free pudding, ensuring your cream cheese is completely softened is crucial. One quick method is to remove the foil wrapping, place the cream cheese in a microwave-safe bowl, and heat it for 15-20 seconds. Alternatively, you can take it out of the refrigerator a few hours before you plan to make the recipe and let it come to room temperature naturally. If the cream cheese is cold, it will result in small, undesirable chunks in your pudding, compromising the creamy texture we’re aiming for.
Once your cream cheese is fully softened, transfer it to a large mixing bowl. Using an electric mixer fitted with the paddle attachment, beat the cream cheese until it’s light, fluffy, and completely smooth, with no lumps whatsoever.
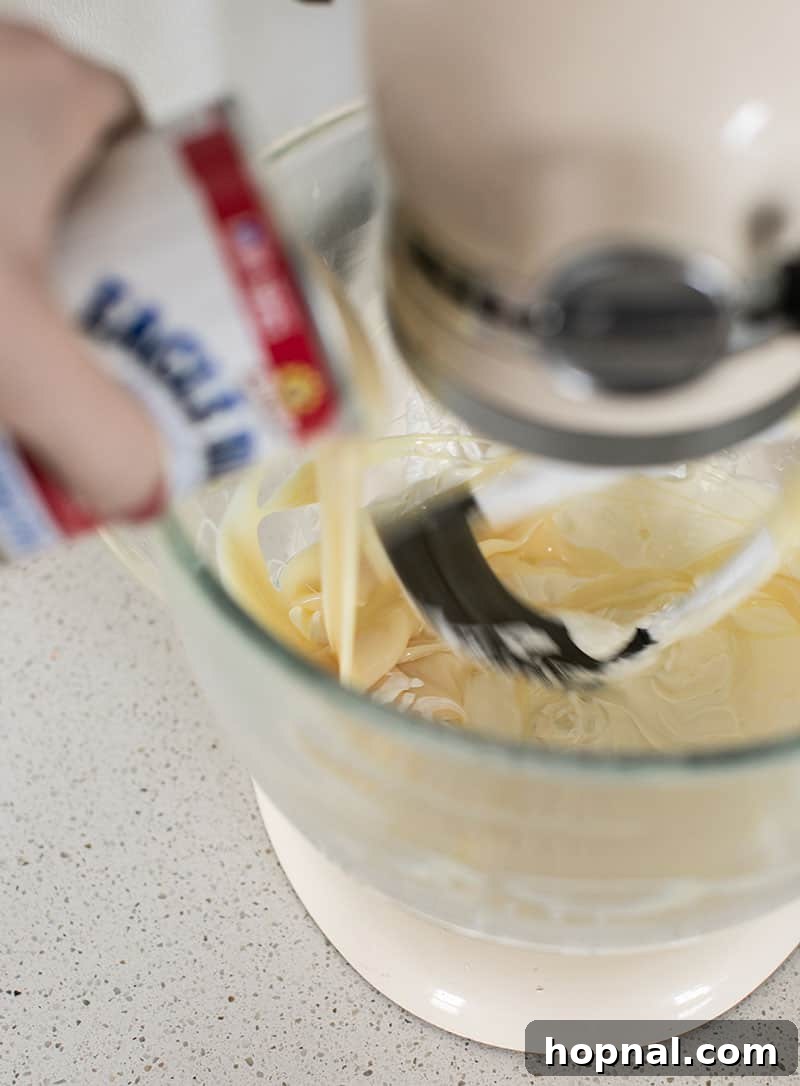
Step 3: Combine and Whip the Pudding Ingredients
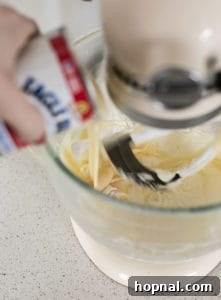
With the softened cream cheese beaten, gradually add in the sweetened condensed milk, instant vanilla pudding mix, cold milk, the remaining 1/2 cup of heavy cream, and the vanilla extract. Continue to beat the mixture with your electric mixer until all the ingredients are thoroughly combined and the mixture appears completely smooth.
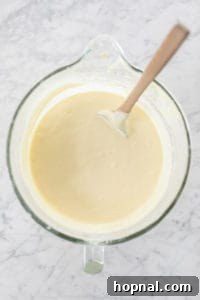
Important Note: At this stage, the pudding mixture will not be thick. It will have a more watery consistency. Do not be alarmed by this! The instant pudding needs time to set. The mixture will gradually thicken as it sits and chills in the refrigerator.
Step 4: Gently Fold in the Whipped Cream
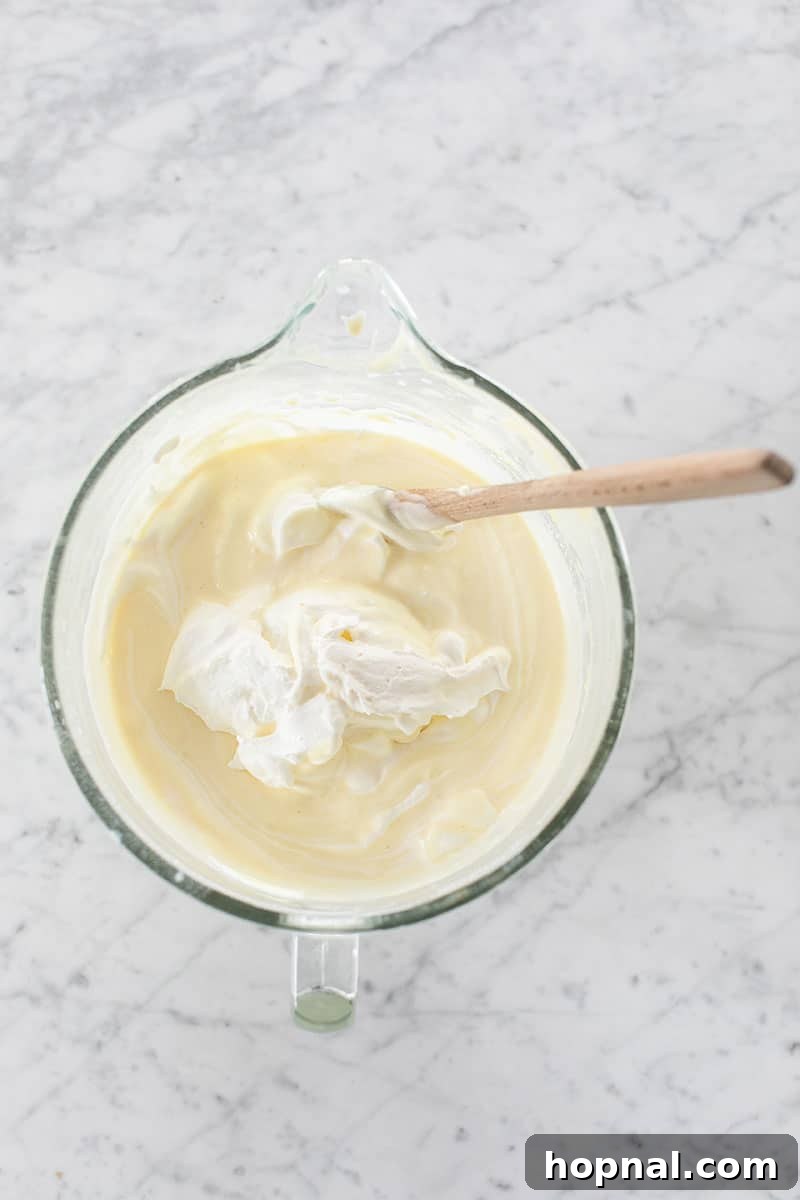
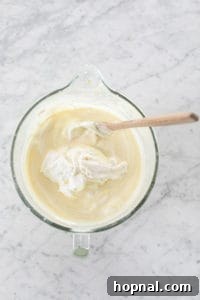
Now, it’s time to incorporate the homemade whipped cream you prepared earlier. Add about two-thirds of your whipped cream to the pudding mixture. Using a rubber spatula, gently fold the whipped cream into the pudding until it is just incorporated. The goal is to maintain as much air as possible in the whipped cream for a light, airy texture in your pudding. Reserve the remaining whipped cream for topping your assembled dessert.
Step 5: Assemble Your Layers of Delight
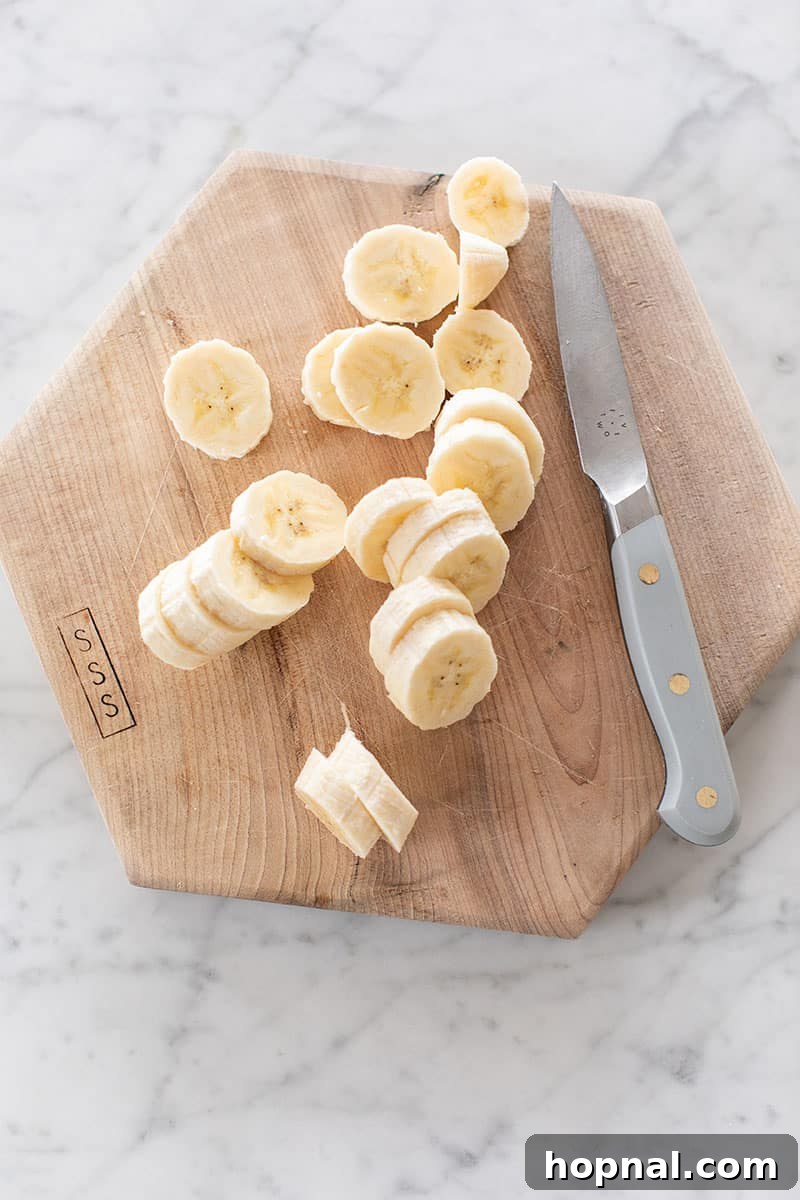
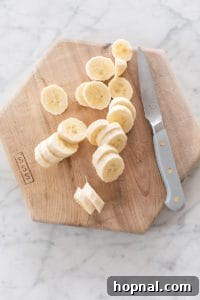
Peel and slice your 4 ripe bananas into even rounds. To begin assembling, place a few slices of banana at the bottom of your chosen serving dish. You can use a large 9×13-inch pan for a family-sized dessert, or individual glasses for a more refined presentation, as we’ve done.
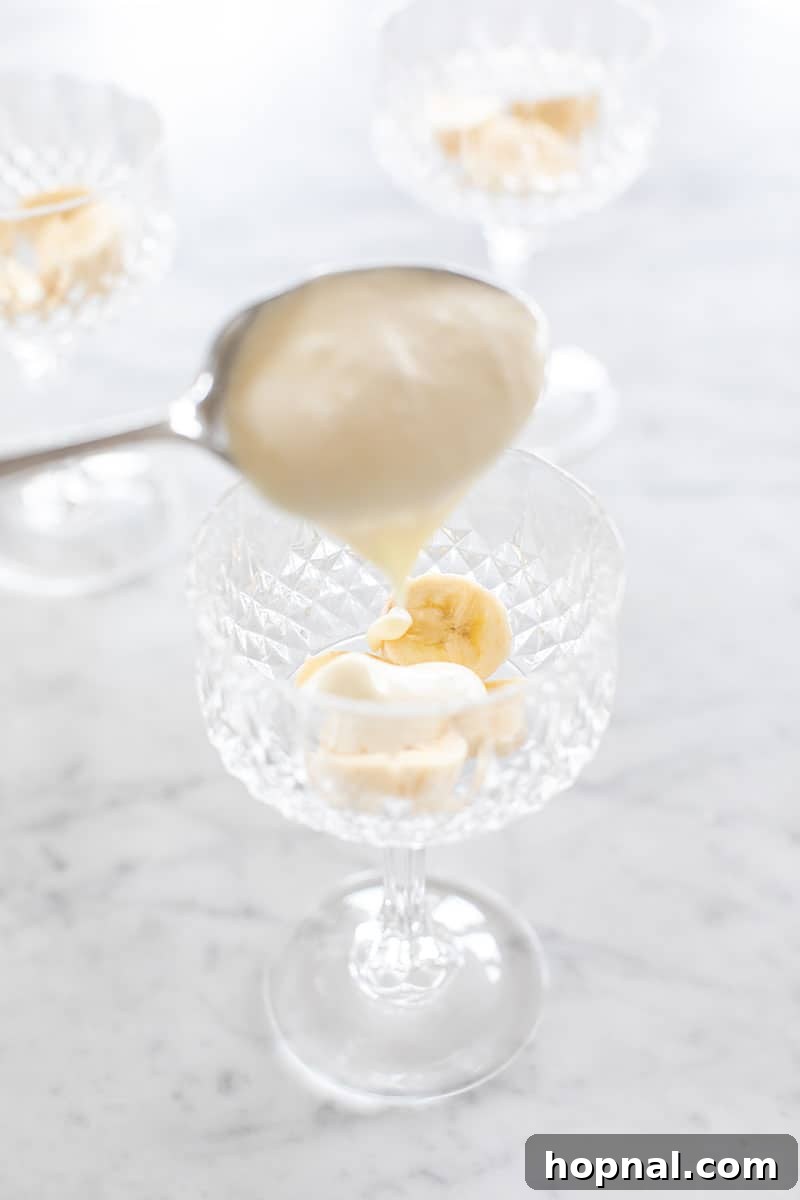
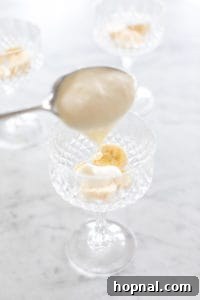
Next, spoon a generous layer of the prepared banana pudding mixture over the bananas, ensuring they are well covered. This is also the ideal moment to layer in vanilla wafer cookies if you wish to include them, adding an extra dimension of texture to each bite.
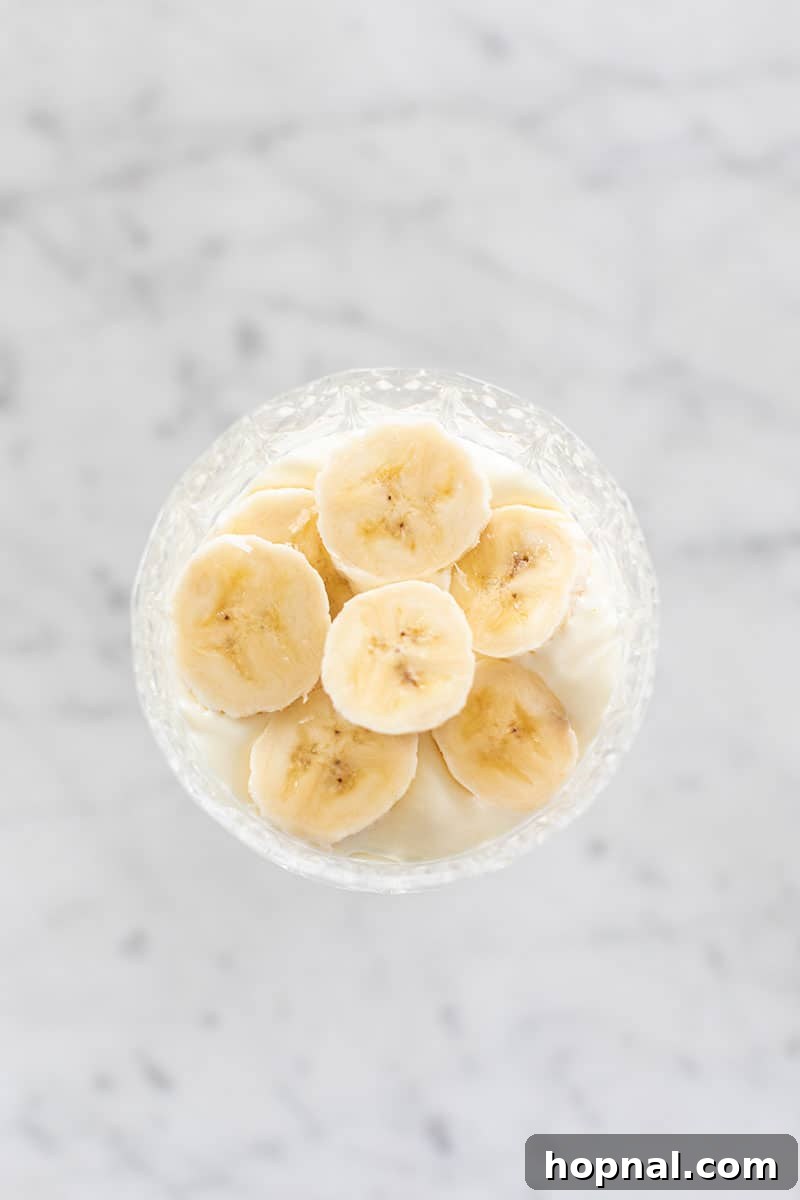
Continue to build your banana pudding by repeating the layers: first bananas, then pudding, and then cookies (if using). Repeat this pattern until your dish or glasses are filled to the top.
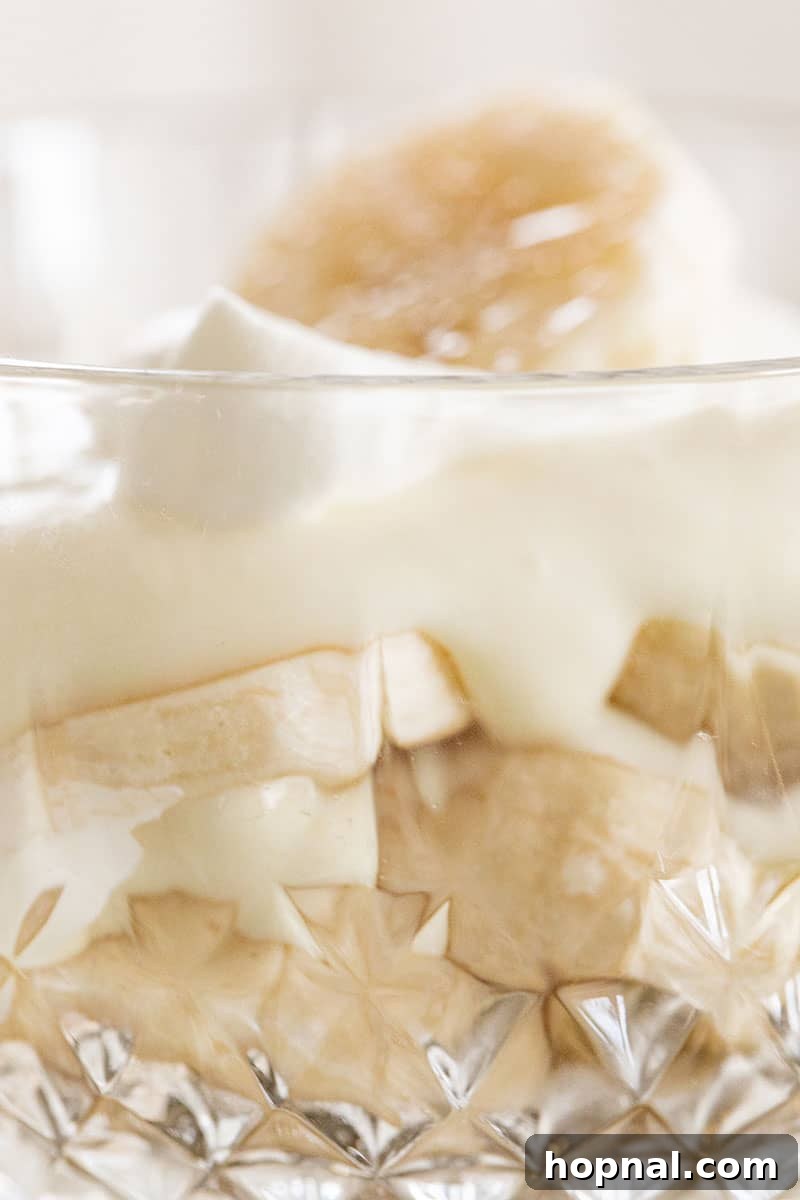
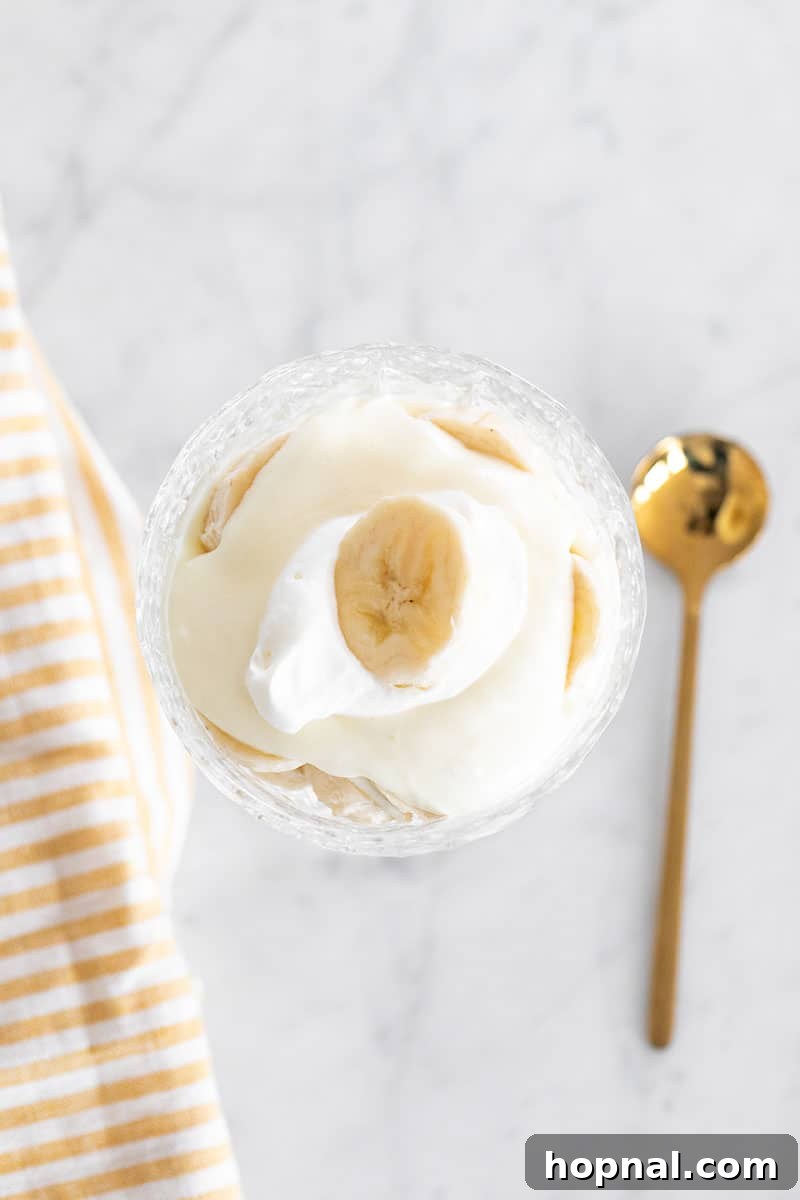
Finally, garnish the top of your banana pudding with the remaining whipped cream, a few fresh banana slices, and a sprinkle of crushed cookies for an appealing finish.
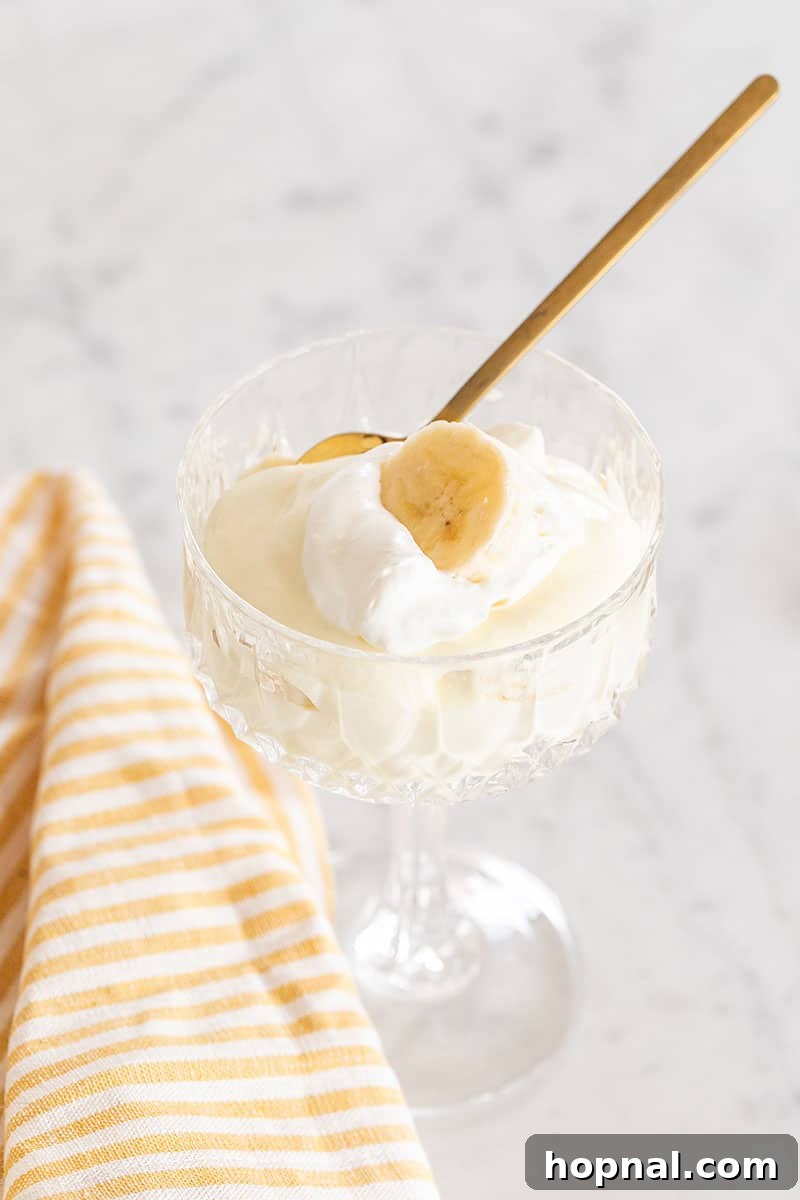
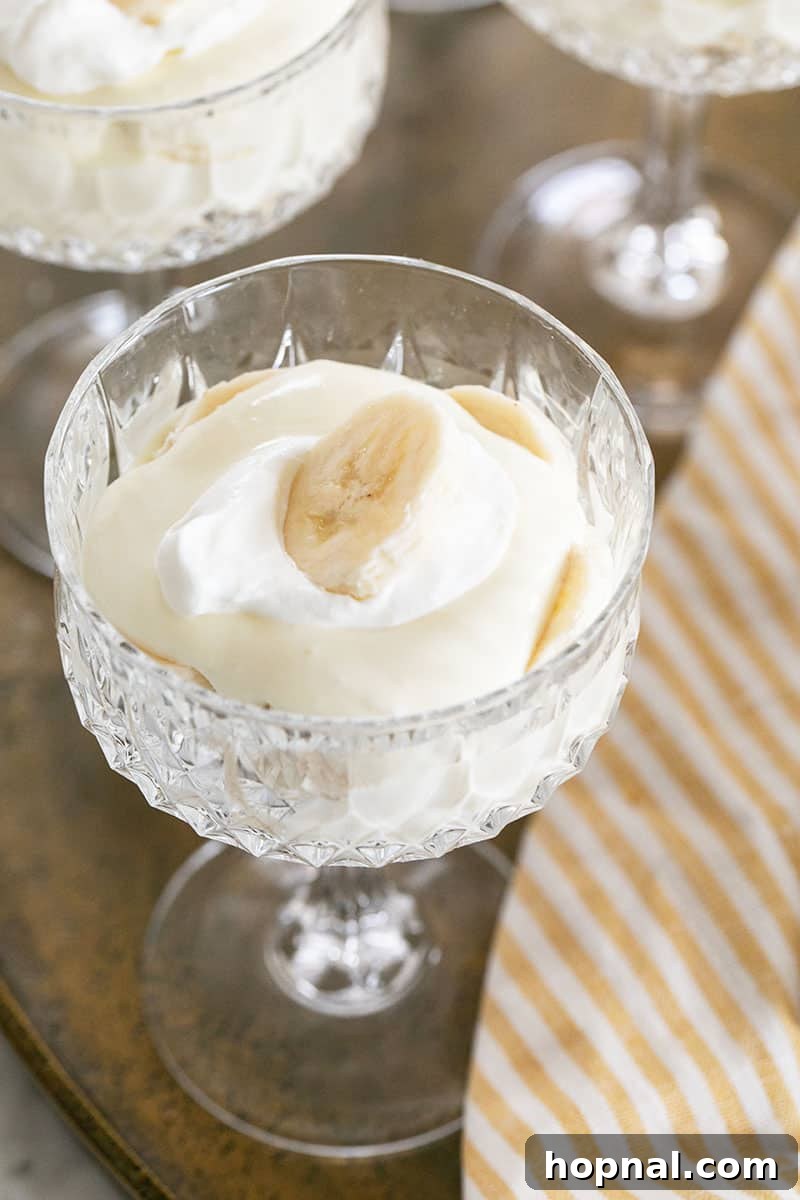
Once assembled, allow the pudding to chill for at least 30 minutes, or preferably a few hours, for the flavors to meld and the pudding to fully set. Then, get ready to savor the BEST banana pudding you’ve ever made! It’s the perfect dessert for any occasion, and serving it alongside a refreshing cocktail can elevate your entertaining experience.
Expert Tips for the Best Banana Pudding
- **Choose the Right Bananas:** Slightly ripe but still firm bananas are ideal. Overripe bananas can become mushy quickly and make the pudding too sweet. Underripe bananas lack flavor.
- **Prevent Banana Browning:** To minimize browning, you can lightly brush banana slices with a tiny bit of lemon juice before layering. However, if the bananas are fully encased in pudding, they tend to brown less quickly.
- **Chill Time is Key:** The pudding absolutely needs time to set. Don’t rush this step! A minimum of 30 minutes is required, but 2-4 hours, or even overnight, will yield the best consistency and flavor.
- **Cream Cheese Temperature:** As emphasized, room temperature cream cheese is non-negotiable for a silky-smooth pudding.
- **Cookie Variations:** While vanilla wafers are classic, feel free to experiment with other cookies like shortbread, Biscoff, or even graham crackers for a different twist.
- **Serving Presentation:** For individual servings, clear glass jars or parfait glasses beautifully showcase the layers.
Frequently Asked Questions About Banana Pudding
How long will banana pudding keep? Does it need to be refrigerated?
Yes, banana pudding absolutely needs to be refrigerated due to its dairy content. Once prepared, it will last 3-4 days when covered tightly and stored in the refrigerator. For the best flavor and texture, we recommend enjoying it within 2-3 days.
To keep the bananas looking fresh, you can refrigerate the pudding mixture and slice the bananas just before assembling and serving. If you’re serving it the same day you make it, assemble everything and then refrigerate until serving; the bananas covered in pudding won’t brown too significantly within a few hours.
Why is my banana pudding watery?
It’s a common concern! After you combine and whip all the ingredients for the pudding base, it will initially have a liquid, watery consistency. This is completely normal and expected. The instant pudding mix requires time to activate and thicken. Within just 30 minutes of chilling, you’ll notice it begins to firm up, and after a few hours, it will achieve that perfectly thick, creamy consistency you desire. Patience is key for the setting process!
More Delicious Desserts You’ll Love!
If you’re looking for more sweet inspirations, explore these other fantastic dessert recipes:
Classic Banana Cake
Ricotta Cheesecake with Whipped Sour Cream Topping
Healthy Nana Splits
Ice Cream Sundae Sheet Cake
Classic Vanilla Cupcakes
Lemon Cupcakes
We hope you enjoy making and sharing this delicious, whipped banana pudding! Please let us know how it turned out by leaving a review and comment below!
Banana Pudding
Eden
15 minutes
45 minutes
10 people
Print Recipe
Ingredients
- 8 ounces cream cheese, completely softened
- 14 ounces sweetened condensed milk
- 5 ounces instant vanilla pudding
- 2 cups milk, 2% works great
- 1 1/2 cups heavy whipping cream, divided into 1 cup and 1/2 cup
- 2 tsp. vanilla extract
- 4 ripe bananas
Instructions
-
First, make the homemade whipped cream that you will later fold into the pudding. It’s very simple to make! With the whisk attachment, whip 1 cup heavy cream until it thickens.

-
Next, you need to make sure the cream cheese is completely softened. You can actually remove the foil, place the cream cheese in a microwave-safe bowl and heat it for 15-20 seconds.
-
Once the cream cheese is fully softened, use an electric mixer fitted with the paddle attachment and beat until light in texture with no lumps.
-
Beat in the condensed milk, pudding mix, cold milk, heavy cream, and vanilla extract.
-
Beat until completely smooth. Note, it will not be a thick pudding consistency yet. It will be more watery and as it sits it becomes thicker. So don’t be alarmed! It takes time to set.
-
Next, fold in the whipped cream you made previously. Do this by adding it to the pudding mix and then using a spatula to gently fold the mixture until it’s all incorporated.
-
Save the extra whipped cream for the topping of the pudding!
-
Slice 4 peeled bananas and add a few pieces to the bottom of the dish you’re serving it in.
-
Add the pudding over the top, covering the bananas. This is where you would also layer in wafers cookies if you prefer!
Notes
Nutrition
Carbohydrates: 39g,
Protein: 7g,
Fat: 26g,
Saturated Fat: 16g,
Cholesterol: 92mg,
Sodium: 248mg,
Potassium: 270mg,
Fiber: 1g,
Sugar: 36g,
Vitamin A: 1014IU,
Vitamin C: 1mg,
Calcium: 213mg,
Iron: 1mg
Nutrition information is automatically calculated, so should only be used as an approximation.