
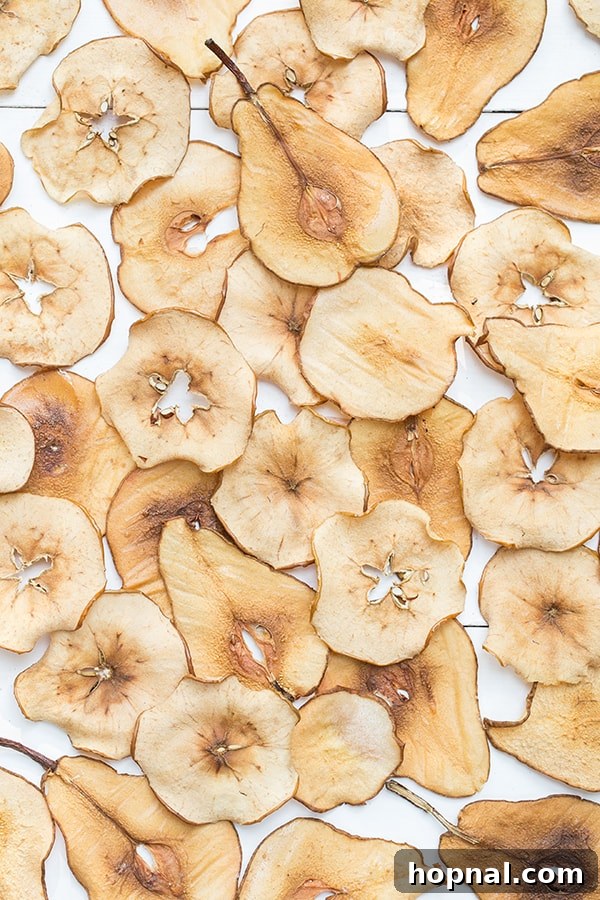
Homemade Pear and Apple Chips: Your Ultimate Guide to a Healthy, Crispy Snack
As the crisp autumn air arrives and leaves begin to transform into a tapestry of red and gold, there’s nothing quite like the abundance of seasonal fruits. This pear and apple chips recipe is not just a delicious treat; it’s a celebration of fall’s bounty, offering a delightfully versatile snack or a light, wholesome dessert. Imagine biting into a perfectly crisp, naturally sweet fruit chip, perhaps even enhanced with a sprinkle of warming cinnamon or drizzled with a rich caramel sauce for an extra touch of indulgence!
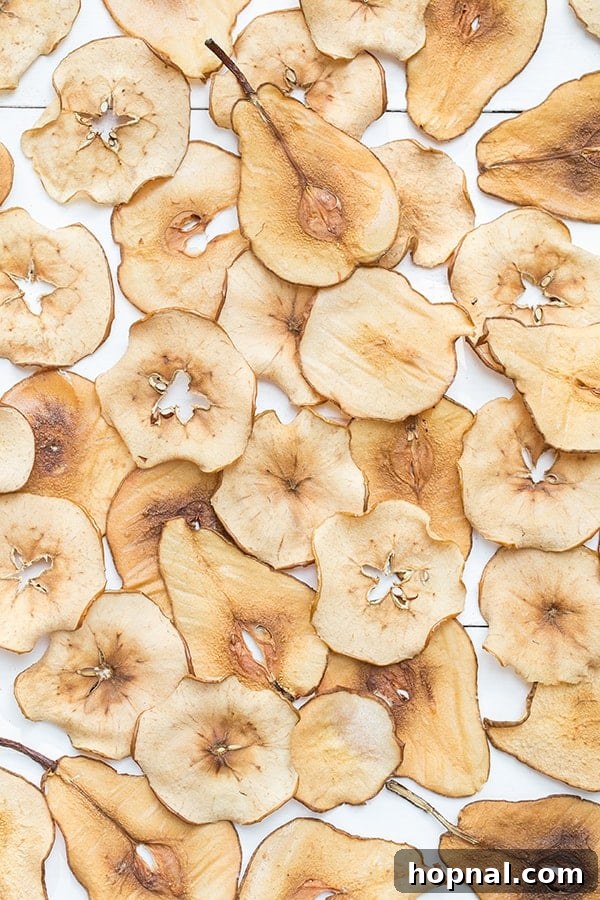
September heralds the arrival of my favorite season, and with it, a yearning for cozy flavors and wholesome treats. What better way to welcome autumn than by creating these incredibly simple yet profoundly satisfying pear and apple chips? While I refer to it as a ‘recipe,’ the process is so straightforward, you’ll wonder why you haven’t been making these all along! This guide will walk you through every step, ensuring you achieve that perfect balance of crispiness and natural sweetness.
Forget store-bought versions laden with added sugars and artificial preservatives. Our homemade fruit chips allow you to control every ingredient, ensuring a pure, natural flavor that truly shines. They are not only an excellent way to enjoy the nutritional benefits of fresh fruit in a convenient form but also a fantastic solution for utilizing any surplus of apples and pears from your local orchard or farmer’s market, turning potential waste into a delectable snack.
Why Bake Your Own Fruit Chips? The Unrivaled Benefits
There are numerous compelling reasons to embark on the journey of making your own pear and apple chips, transforming fresh fruit into a shelf-stable, irresistible treat:
- Unbeatable Freshness and Flavor: Store-bought fruit chips can often taste stale, overly processed, or lack the vibrant essence of real fruit. Crafting them at home guarantees maximum freshness and allows the natural, nuanced flavors of the fruit to truly stand out, offering a superior taste experience.
- Complete Control Over Ingredients: Many commercial brands include unnecessary added sugars, unhealthy oils, or artificial preservatives to extend shelf life and enhance flavor. With homemade chips, you dictate what goes in – typically just fruit and a touch of spice, making them an incredibly wholesome and clean-eating option.
- Cost-Effective Snacking: Especially during peak harvest season, apples and pears are incredibly affordable. Turning them into chips is an economical way to enjoy fruit year-round, significantly cheaper than buying pre-packaged dried fruit, and helps reduce food waste by preserving abundant produce.
- Customizable Seasoning: While cinnamon is a classic and highly recommended choice, the possibilities for flavoring are endless! Experiment with a hint of ground nutmeg, a warming dash of ginger, a touch of cardamom, vanilla extract, or even a light sprinkle of brown sugar or maple sugar before baking for a caramelized finish.
- Dietary Friendly & Allergen-Free: Naturally gluten-free, dairy-free, and vegan, these chips cater to a wide range of dietary preferences and restrictions. They make an excellent and safe alternative to many common processed snacks that often contain allergens.
- Longer Shelf Life: Dehydrating or oven-drying fruit removes moisture, which inhibits spoilage. This extends the shelf life of your fresh produce, allowing you to enjoy the taste of autumn well into the colder months.
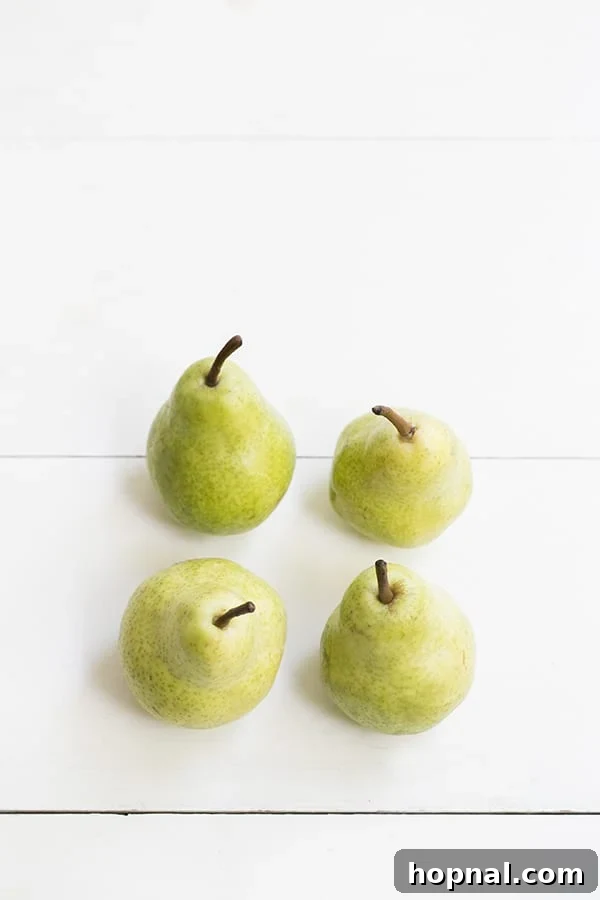
Selecting the Best Pears and Apples for Your Crispy Chips
The success of your homemade fruit chips begins with carefully selecting the right produce. The ideal fruit will be firm, ripe, and have a good balance of sweetness and texture. Here’s what to look for when choosing your apples and pears:
- Apple Varieties: For achieving wonderfully crispy chips that hold their shape well, varieties with firm flesh and a good balance of natural sweetness and tartness are ideal. Fuji, Honeycrisp, Gala, Pink Lady, or even a slightly tart Granny Smith (if you prefer a more piquant flavor) are excellent choices. Avoid overly soft or mealy apples, as they tend to become mushy rather than crisp when dried.
- Pear Varieties: When it comes to pears, Bosc and Anjou varieties tend to hold up particularly well during the baking process, maintaining a pleasant texture and firm structure. Bartlett pears can also work beautifully, but it’s crucial to ensure they are firm-ripe rather than overly soft, as softer pears might result in a chewier, less crispy chip.
- Optimal Ripeness: Always choose fruits that are firm to the touch but not hard. They should yield slightly when gently squeezed. Overly ripe fruit contains too much moisture and natural sugar, which can lead to soggy or overly caramelized (potentially burnt) chips. Conversely, unripe fruit lacks optimal flavor and sweetness, resulting in a less enjoyable snack.
- Organic Preference: While not strictly necessary, opting for organic apples and pears minimizes your exposure to pesticides, especially since you’ll be consuming the peel, where much of the beneficial fiber and antioxidants reside. If you choose conventional fruits, a thorough washing under cold running water is always recommended to remove any surface residues.
Essential Equipment for Flawless Fruit Chips Every Time
While this recipe is incredibly simple, having the right tools can significantly streamline the preparation process and ensure consistently perfect results. Investing in a few key items will elevate your fruit chip-making experience:
- Mandoline Slicer: This is arguably the most crucial tool for achieving uniform, thin slices, which are paramount for evenly baked and consistently crispy chips. A setting of ¼ inch thickness is generally recommended as a starting point, but you can experiment with slightly thinner slices for an extra-crispy result. Always prioritize safety by using the provided safety guard or a cut-resistant glove when operating a mandoline to protect your fingers. If you don’t own a mandoline, a very sharp chef’s knife and a steady hand can work, but maintaining consistent slice thickness will be more challenging.
- Baking Sheets: You will typically need at least three standard-sized baking sheets to accommodate all the fruit slices in a single layer without overcrowding. Ensuring adequate space between slices is vital for proper air circulation and even drying.
- Parchment Paper: Absolutely essential! Lining your baking sheets with parchment paper creates a non-stick surface, preventing the fruit from adhering to the pan as it dries and its natural sugars caramelize. This also makes cleanup incredibly easy and contributes significantly to achieving that desirable crispy texture without the need for added oils or fats.
- Wire Rack (Optional but Recommended): For those seeking ultra-crispy chips, or if you suspect your oven might have hotspots, placing a wire cooling rack on top of your parchment-lined baking sheets and arranging the fruit slices on the rack can be beneficial. This setup allows for even better air circulation around the slices, promoting more uniform drying.
- Timer: A kitchen timer is invaluable for tracking the specific baking intervals and reminding you when to flip the chips and rotate the trays, ensuring they don’t overcook or burn.
How to Make Homemade Pear and Apple Chips: Step-by-Step Perfection
Creating these delightful fruit chips is surprisingly easy, requiring just a few simple steps. Let’s walk through the process in detail to ensure you achieve a perfect, crispy batch every single time, ready to be enjoyed as a snack or a light dessert.
- Step 1: Preheat Your Oven to the Ideal Temperature. Begin by preheating your oven to a low and consistent temperature: 275 degrees Fahrenheit (135 degrees Celsius). The fundamental principle behind drying fruit is to slowly and gently remove its moisture content, not to cook it. This low heat setting is crucial for achieving that desirable crispy, dehydrated texture without burning the delicate fruit slices.
- Step 2: Prepare Your Baking Surfaces. Line three standard baking sheets generously with parchment paper. This non-stick surface is absolutely crucial. It not only prevents the thinly sliced fruit from sticking to the pan as its natural sugars caramelize during the long baking process but also ensures easy removal of your crispy chips once they are done. Furthermore, it makes post-baking cleanup a breeze.
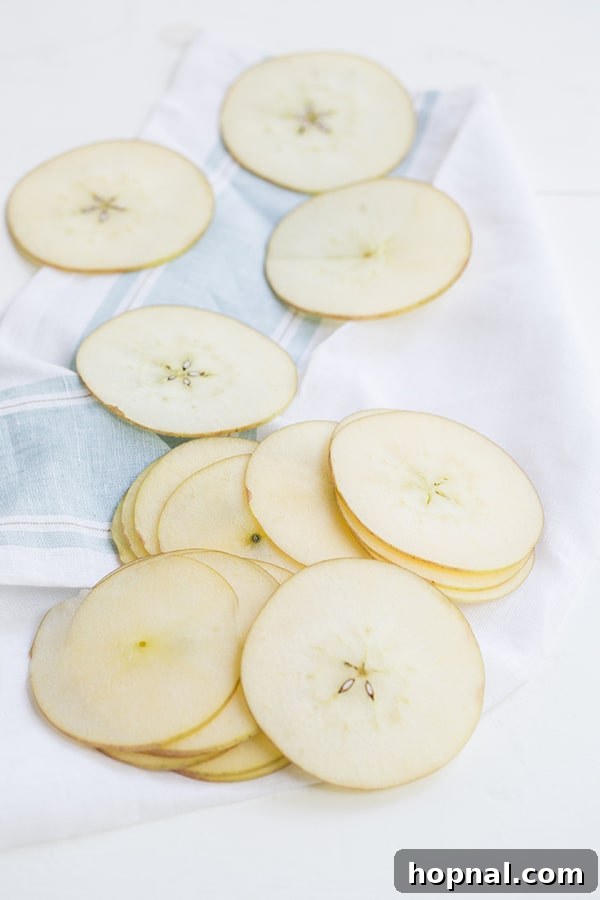
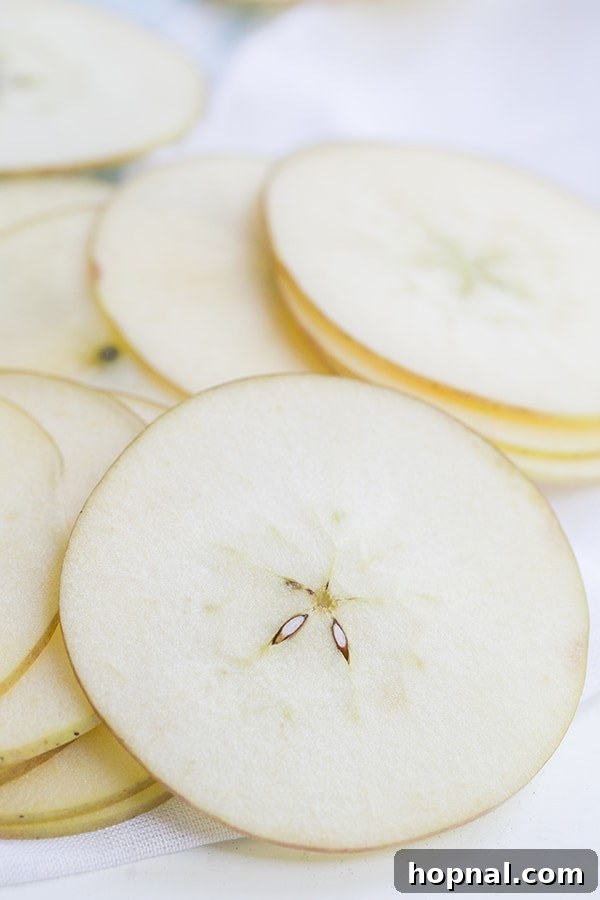
- Step 3: Slice the Fruits Evenly for Optimal Results. Using a mandoline slicer, carefully and precisely slice your apples and pears to a uniform thickness of ¼ inch. Achieving consistent thickness is paramount for even baking; slices that vary too much will result in some chips burning while others remain soft or chewy. For safety, always use the mandoline’s safety guard. You can choose to leave the skins on for added fiber, nutrients, and a rustic aesthetic. If you don’t have a mandoline, a very sharp knife and a steady hand can be used, but take extra time to ensure uniformity. Core the fruit either before or after slicing, depending on your preferred method and equipment.
- Step 4: Arrange Slices on Baking Sheets Without Overlapping. Lay the apple and pear slices in a single, neat layer across the prepared baking sheets. It is vitally important to ensure that the slices do not overlap. Adequate space between each piece allows for proper air circulation around the fruit, which is essential for uniform drying and crisping. Overlapping slices will trap moisture and steam, preventing them from achieving that coveted crispy texture.
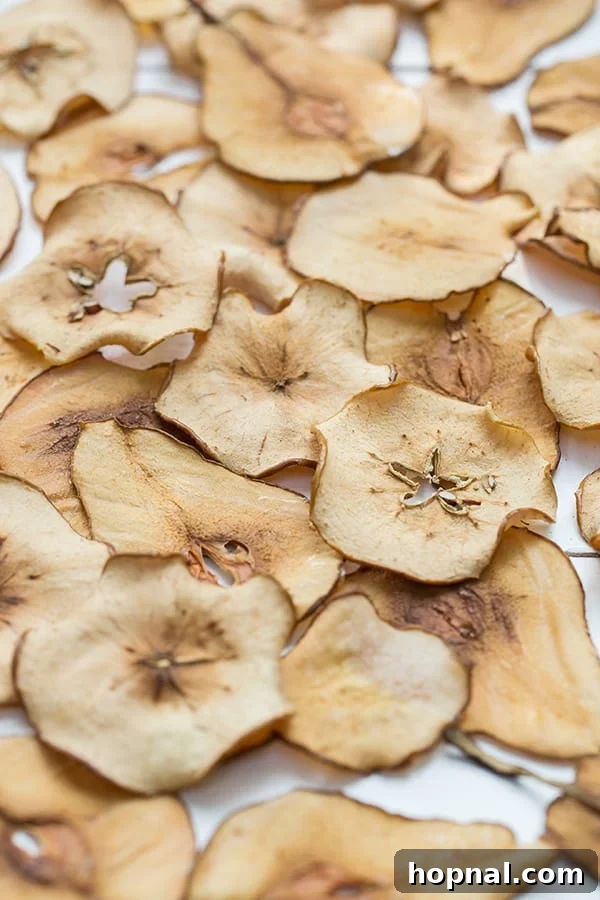
- Step 5: Bake Low and Slow, Flipping Midway. Place the baking sheets into your preheated oven. Bake for an initial period of 1½ hours. After this time, carefully remove the trays from the oven. Using tongs or a spatula, gently flip each apple and pear slice over to ensure even drying on both sides. Additionally, rotate the baking sheets themselves (e.g., move the top sheet to the bottom rack, turn the front to the back) for even exposure to heat. Return them to the oven and continue baking for another hour, or until the chips are visibly golden brown, completely dry to the touch, and distinctly crispy. The total baking time can vary slightly based on your oven’s calibration, the fruit’s moisture content, and slice thickness, so vigilance during the final hour is key.
- Step 6: Cool Completely and Season to Perfection. Once baked to your desired level of crispness, remove the chips from the oven. Resist the urge to snack immediately! It is essential to let them cool completely, either on the baking sheets or transferred to a wire rack. As they cool, the residual heat will dissipate, and they will continue to firm up and achieve their maximum crispiness. Once fully cooled, generously sprinkle with cinnamon or your chosen complementary spice, and enjoy your perfectly homemade, healthy fruit chips!
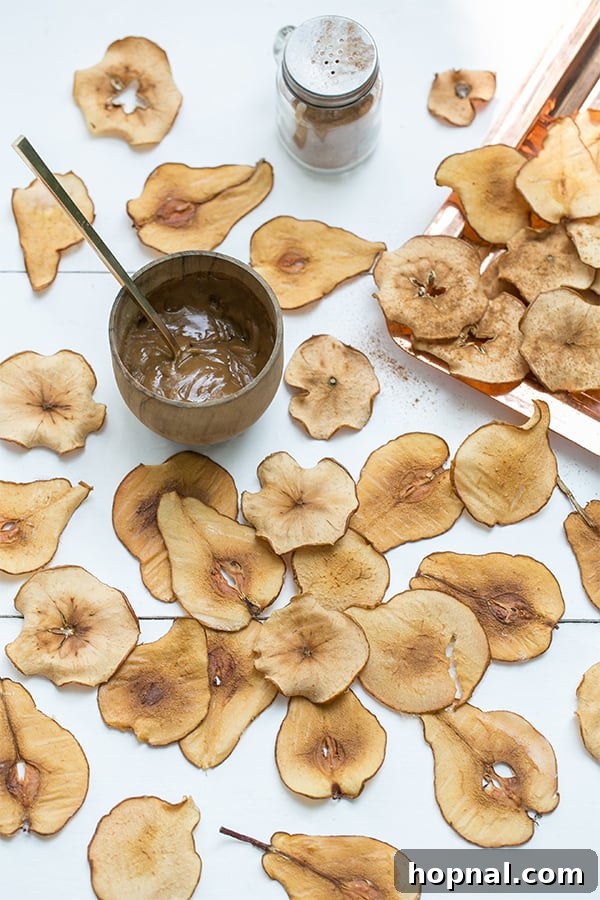
A Super Easy Snack or Dessert: Versatility at Its Best!
This incredibly easy pear and apple chips recipe truly embodies simplicity, boiling down to just a few core actions: wash, slice, and bake! But don’t let the apparent ease fool you; the results are wonderfully satisfying and endlessly versatile, making them a staple for any season, particularly autumn. They are fantastic as a standalone snack, offering a guilt-free crunch that beautifully satisfies those midday cravings or provides a healthy alternative to processed junk food.
For an elevated experience, especially when serving them as a dessert, a light dusting of cinnamon after baking transforms them into an aromatic delight, complementing the natural sweetness of the fruit. Take it a step further by dipping them in a rich, warm caramel sauce – a combination that is nothing short of delicious and perfect for a cozy evening treat! These chips can also be crushed and used as a topping for yogurt, oatmeal, or even sprinkled over ice cream for an extra layer of flavor and texture.
The Wholesome Goodness: Nutritional Benefits of Apple and Pear Chips
Beyond their delightful taste and satisfying crunch, these homemade fruit chips pack a powerful punch of nutritional benefits, making them a smart choice for a healthy lifestyle. A single serving of organic dried apples or pears provides nearly 20 percent of the daily recommended value for dietary fiber, an essential component for optimal bodily function and overall well-being.
Apples and pears are both outstanding sources of fiber, specifically containing a beneficial blend of both soluble and insoluble types:
- Soluble Fiber: This type of fiber readily dissolves in water, forming a gel-like substance in your digestive tract. It plays a crucial role in helping to regulate and control blood sugar levels by slowing down the absorption of glucose. Additionally, soluble fiber has been shown to significantly lower LDL (“bad”) cholesterol levels, contributing positively to cardiovascular health and reducing the risk of heart disease.
- Insoluble Fiber: Often referred to as “roughage,” insoluble fiber does not dissolve in water. Instead, it adds essential bulk to your stool, which is vital for promoting regular bowel movements and maintaining a healthy, efficient digestive system. It acts as a natural cleanser, helping to move waste through the intestines and can effectively prevent constipation, supporting overall gut health.
Furthermore, apples and pears are rich in various other beneficial nutrients, including an array of vitamins and powerful antioxidants. They contain Vitamin C, which is well-known for boosting immune function and protecting against cellular damage. Apple peels, in particular, are a source of quercetin, a potent antioxidant that possesses anti-inflammatory properties. By keeping the skins on when slicing your fruits, you maximize these incredible nutritional benefits, ensuring you get the most out of every crispy bite.
It’s important to note, however, that dried foods have a higher calorie and natural sugar concentration on a weight-for-weight basis compared to their fresh counterparts. This is because the water content has been removed, effectively concentrating all the natural sugars and nutrients into a smaller, denser form. While these chips are undoubtedly a healthier and more natural alternative to many processed snacks, portion control is key if you are diligently monitoring your calorie intake as part of a weight management plan. For active individuals, athletes, or those needing a quick energy boost, this concentrated nutrient and energy source can be a fantastic and efficient way to fuel your body naturally!
Pear and Apple Chips: The Ultimate Grab-and-Go Snack Solution
Come apple and pear picking season, you might find yourself delightfully inundated with an abundant harvest – more fruit than you initially know what to do with! While traditional options like pies, sauces, and crumbles are undeniably wonderful, there’s often a limit to how many you can whip up before freezer space runs out. Fret not – making fruit chips is an ingenious, fuss-free, and highly practical solution to preserve and enjoy your bounty, extending the fresh taste of fall throughout the year.
These homemade pear and apple chips are the epitome of a non-messy, grab-and-go snack. Their inherent portability and clean nature make them incredibly easy and convenient to take with you anywhere your busy life or adventurous spirit leads. Pack them effortlessly in lunchboxes for a healthy and satisfying school or work snack, stash them in the car for nutritious road trip provisions, bring them on a plane for a wholesome travel treat that avoids questionable airport food, or include them as a lightweight, energy-dense component in your provisions for backpacking and camping trips. They provide natural, sustained energy and effectively satisfy sweet cravings without the stickiness, bulk, or perishability often associated with fresh fruit, making them an ideal companion for any journey.
Expert Tips for Making the Best Pear and Apple Chips Every Time
To ensure your homemade fruit chips turn out perfectly crispy, golden, and flavorful every single time, keep these expert tips and considerations in mind. These small details can make a significant difference in the final outcome:
- Opt for Organic Fruits Whenever Possible: Prioritize choosing organic pears and apples if they are accessible. This choice not only enhances the natural, pure flavor of your chips but also significantly reduces your exposure to unwanted pesticides and chemicals, which is especially beneficial since you’ll be leaving the nutrient-rich skins on.
- Thoroughly Preheat Your Oven: Always ensure your oven is fully and accurately preheated to the specified low temperature (275°F/135°C) before placing the fruit slices inside. A stable, consistent, and low heat is absolutely crucial for gently drying the fruit and slowly removing its moisture, rather than cooking or burning it.
- Utilize Parchment Paper Without Exception: This is a non-negotiable and critical step for perfect fruit chips. Parchment paper creates an ideal non-stick surface, preventing the fruit from adhering to the baking sheet as its natural sugars caramelize. It ensures easy removal of the delicate chips and contributes significantly to achieving that desirable crispy, non-soggy texture. Avoid using aluminum foil directly, as fruit may stick and tear.
- Slice with Unwavering Uniformity: Consistency in thickness is paramount for even drying and uniform crispiness. A mandoline slicer is highly recommended as the most effective tool for achieving precise ¼-inch slices, guaranteeing that all your chips dry at approximately the same rate. If slices are uneven, some will burn while others remain chewy.
- Arrange in a Single Layer with Ample Space: Never, under any circumstances, overlap fruit slices on the baking sheet. Give each individual slice ample space to breathe and allow air to circulate freely around it. If your trays are crowded, the fruit will steam in its own moisture rather than dry out and crisp up. Use multiple trays if necessary.
- Remember to Flip and Rotate for Evenness: Approximately halfway through the total baking process, carefully remove the trays from the oven, flip each individual fruit chip over, and rotate the baking sheets (e.g., top to bottom, front to back). This promotes incredibly even drying and browning across all chips, preventing some from burning while others remain under-baked and soft.
- Allow for Complete Cooling to Maximize Crispiness: Resist the urge to snack on warm chips straight out of the oven! Fruit chips will continue to firm up and achieve their maximum, satisfying crispness as they cool down. Allow them to cool completely, either directly on the baking sheets or transferred to a wire cooling rack, before storing or enjoying.
- Experiment Boldly with Various Spices: While a simple dusting of cinnamon is wonderfully classic, don’t hesitate to venture into other warm, complementary spices. Consider a pinch of ground ginger, a dash of nutmeg, a subtle touch of cardamom, or even a pre-mixed pumpkin pie spice blend for an added autumnal twist that elevates the flavor profile.
- Consider a Food Dehydrator for Regular Production: If you find yourself consistently making large batches of fruit chips or plan to incorporate them regularly into your snacking routine, investing in a dedicated food dehydrator can be an excellent alternative. Dehydrators offer even more precise control over temperature and airflow, often resulting in perfectly dried fruit with minimal effort and supervision.
Beyond the Basic: Creative Ways to Enjoy Your Versatile Fruit Chips
While wonderfully delicious and satisfying on their own, homemade pear and apple chips are incredibly versatile and can elevate a variety of dishes and snacking experiences. Get creative with these ideas:
- Dessert Topping Extraordinaire: Crumble them into smaller pieces and sprinkle generously over vanilla ice cream, a dollop of creamy plain or Greek yogurt parfaits, or even a fruit crisp just before serving for an irresistible added crunch and concentrated natural sweetness.
- Breakfast Boost: Stir a handful of whole or broken chips into your morning oatmeal, hot cereal, or cold granola. They will rehydrate slightly, adding a lovely chewiness and burst of fruit flavor to your breakfast bowl.
- Sophisticated Cheese Board Companion: Arrange them artfully alongside a selection of artisanal cheeses, various nuts, and other dried fruits for an elegant and impressive appetizer platter that’s perfect for entertaining.
- Salad Enhancer with a Twist: Add a surprising handful of these crispy chips to a spinach or mixed green salad, particularly those featuring goat cheese, candied pecans, and a light vinaigrette, for a delightful textural contrast and a sweet, unexpected note.
- Trail Mix Upgrade: Incorporate them into your homemade trail mix for a burst of concentrated fruit flavor, natural sweetness, and sustained energy during hikes, workouts, or busy days. They’re a much healthier alternative to candy.
- Garnish for Baked Goods: Use whole or artfully broken pieces of the chips as a beautiful, edible, and flavorful garnish for homemade muffins, cupcakes, cakes, or fruit tarts, adding a touch of rustic elegance.
- Infused Water Element: For a subtle, natural fruit infusion, drop a few chips into a pitcher of plain water. As they slowly rehydrate, they will impart a delicate, refreshing apple and pear essence without any added sugars.
Other Delectable Autumnal Desserts to Indulge In
If you’re thoroughly embracing the warm and comforting flavors of fall and have enjoyed making this delightful pear and apple chips recipe, you might also love exploring these other irresistible desserts, perfect for seasonal gatherings or cozy evenings:
- Creamy and Luxurious Ricotta Cheesecake
- Classic and Irresistible Coconut Cream Pie
- The Best Classic Cherry Pie Recipe for Any Occasion
- Decadent Gluten-Free Chocolate Fudge Brownies
Share Your Experience and Connect With Us!
We absolutely love hearing from our wonderful community of home cooks and bakers! If you have tried this Homemade Pear and Apple Chips recipe or any other delicious recipe from our collection on Sugar and Charm, please take a moment to rate it directly within the recipe card and let us know how it turned out for you in the comments section below. Your valuable feedback, brilliant ideas, and ratings not only help our community grow but also inspire others to try new culinary adventures and make these recipes their own!
You can also FOLLOW US on FACEBOOK, INSTAGRAM, and PINTEREST to discover even more delicious and inspiring recipes, creative cocktail concoctions, irresistible desserts, and fabulous party ideas designed to add charm to your everyday life!
How to Make Apple and Pear Chips!
Eden
10 mins
1 hr 30 mins
1 hr 40 mins
4 servings
Print Recipe
Ingredients
- 2 Large Apples (e.g., Fuji, Honeycrisp, Gala)
- 2 Firm Pears (e.g., Bosc, Anjou)
- 1 tsp Ground Cinnamon (or to taste)
Instructions
-
Preheat your oven to 275 degrees Fahrenheit (135 degrees Celsius). This low temperature is essential for slowly drying the fruit.
-
Prepare 3 standard baking sheets by lining them thoroughly with parchment paper. This prevents sticking and aids in easy removal.
-
Using a mandoline slicer, carefully slice the apples and pears to a uniform thickness of ¼ inch. Arrange the slices in a single layer on each prepared baking sheet, ensuring no slices overlap to allow for proper air circulation.
-
Bake for 1½ hours. After this initial baking period, remove the sheets from the oven, carefully flip each apple and pear slice, and rotate the baking sheets for even exposure to heat. Return them to the oven and continue to bake for another hour, or until the chips are golden brown, completely dry, and distinctly crispy.
-
Once baked to perfection, remove the chips from the oven and allow them to cool completely on the baking sheets or a wire rack. They will crisp up further as they cool. Once cooled, generously sprinkle with cinnamon to taste, and enjoy your delicious homemade fruit chips!
Nutrition
Carbohydrates: 27g,
Protein: 1g,
Fat: 1g,
Saturated Fat: 1g,
Sodium: 2mg,
Potassium: 201mg,
Fiber: 5g,
Sugar: 18g,
Vitamin A: 71IU,
Vitamin C: 8mg,
Calcium: 20mg,
Iron: 1mg
Nutrition information is automatically calculated, so should only be used as an approximation.
Like this? Leave a comment below!