
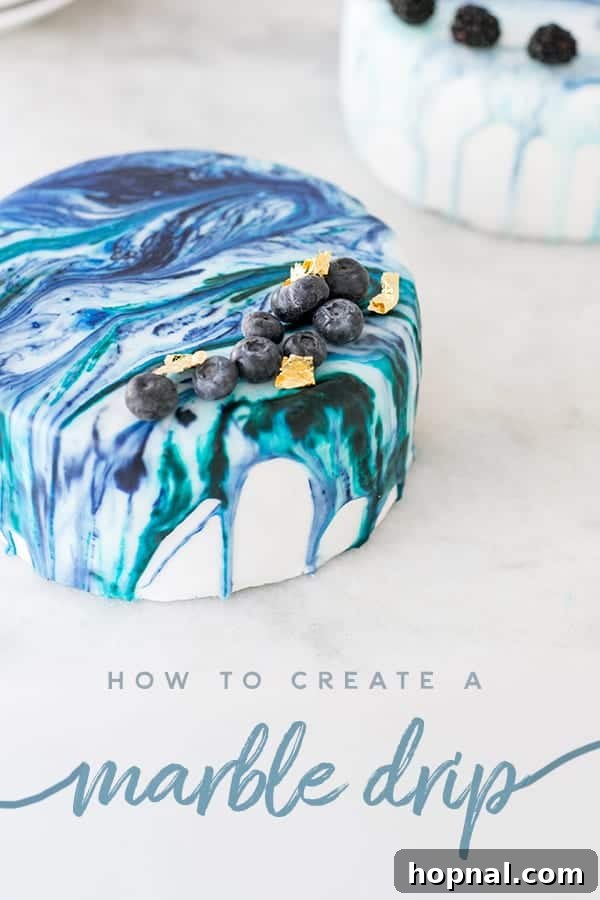
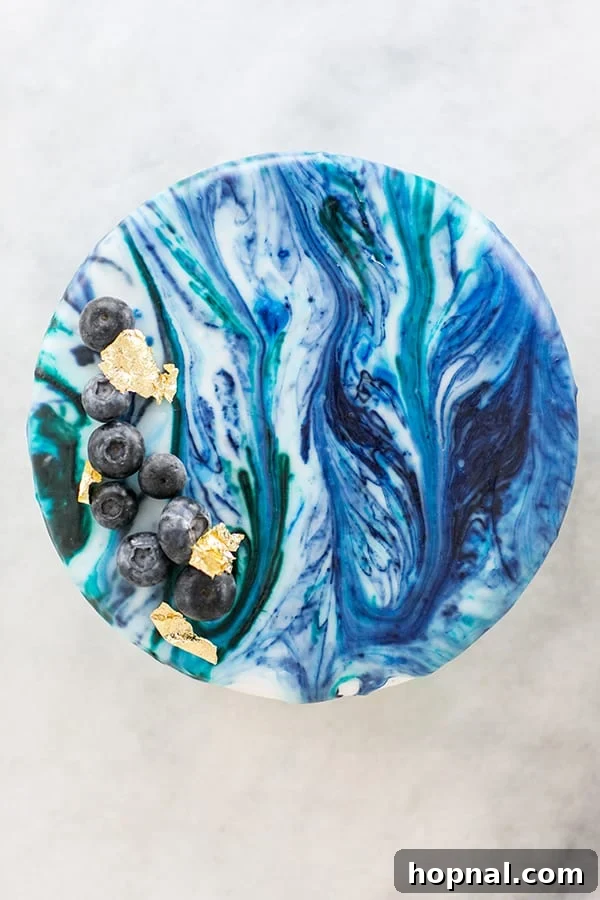
If you’re searching for a captivating yet straightforward way to elevate your party desserts, look no further than this exquisite marble drip cake! This comprehensive decorating tutorial will guide you through creating a visually stunning cake with a mesmerizing marble effect, making you the star of any gathering. Imagine impressing your guests with a professional-looking confection, achieved with surprising ease. Beyond this delightful creation, you might also enjoy exploring my unique marble candy apples for another touch of elegant sweetness!
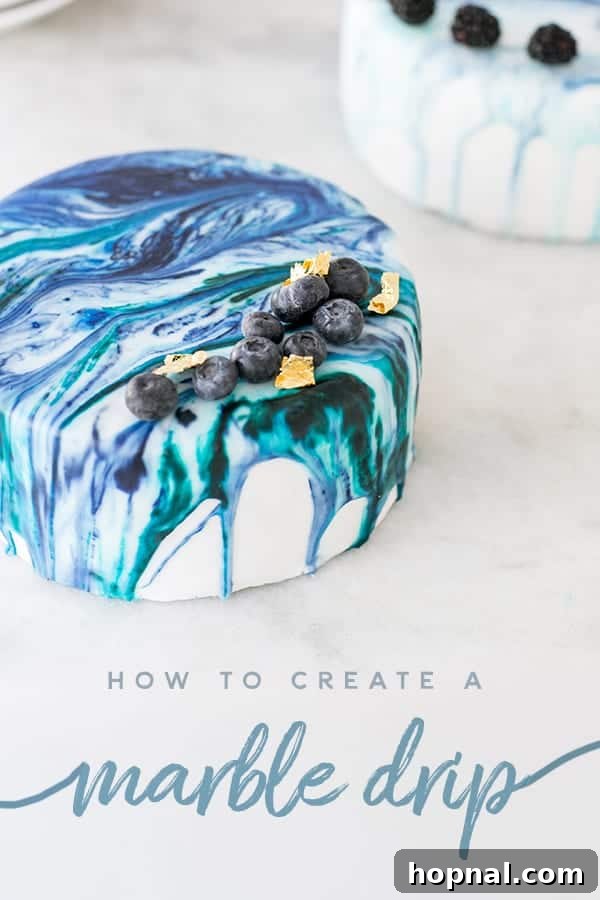
We are thrilled to share an incredibly simple yet effective method for creating a magnificent marble drip cake. The idea of making drip cakes often intimidates home bakers, but the truth is, they represent one of the most forgiving and spectacular ways to frost and decorate a cake! This technique allows for creative expression and yields impressive results without demanding advanced confectionery skills. It’s all about embracing the beautiful imperfections of the marble swirl.
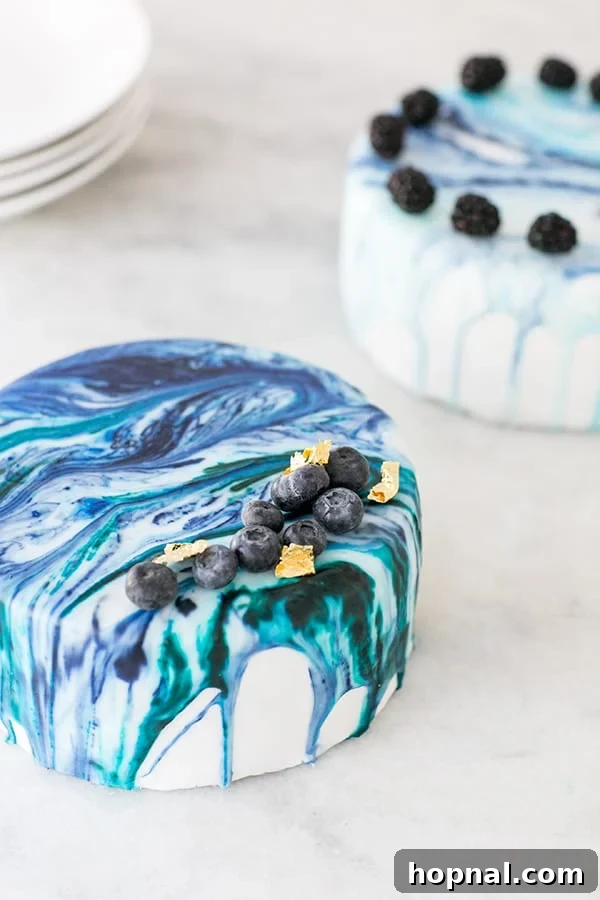
The foundation of this cake relies on covering it with fondant, a step that, while seemingly complex, is surprisingly manageable. Once you’re comfortable with applying fondant to create a smooth canvas, the actual “drip” part of the cake becomes an enjoyable and stress-free process. Fondant itself isn’t inherently difficult to work with; it simply requires a bit of patience and some arm strength for rolling it out to the perfect, even thickness. The smooth, pristine surface of fondant provides the ideal backdrop for the vibrant, swirling colors of your marble drip, allowing each pattern to truly pop.
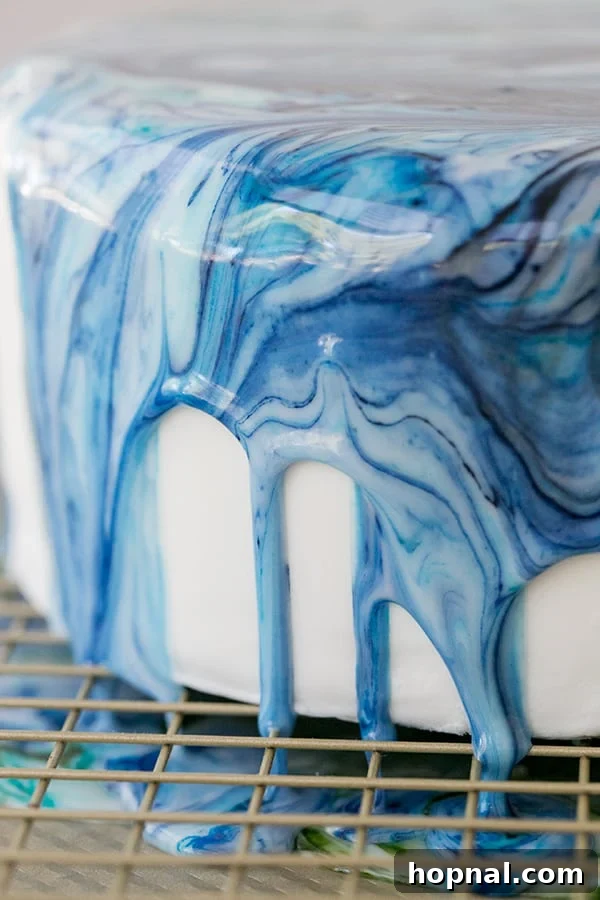
For our signature drip icing, we’ve perfected a simple recipe that incorporates a touch of corn syrup. This special ingredient is key to giving the marble drip its gorgeous, glossy sheen, making your cake look even more luxurious and professional. The shine adds an extra dimension of visual appeal, catching the light and highlighting the intricate patterns of the marbling as it cascades down the sides of your cake.
Essential Tools and Ingredients for Your Marble Drip Cake
Crafting the perfect marble drip cake begins with having the right tools and ingredients at your fingertips. Gathering everything beforehand will ensure a smooth and enjoyable decorating experience.
- Fondant – Whether you opt for the convenience of store-bought fondant or prefer the satisfaction of homemade, this will be your cake’s smooth canvas. For a truly delightful experience, you can even try our popular marshmallow fondant recipe, known for its superior taste and workability.
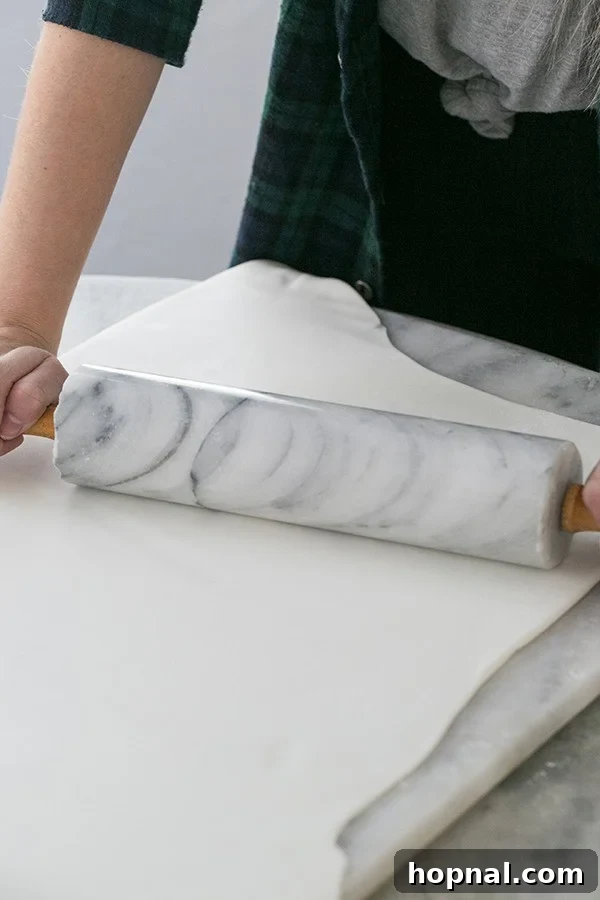
- Rolling Pin – Essential for achieving an even and consistent thickness when rolling out your fondant. A large, non-stick rolling pin works best for covering an entire cake.
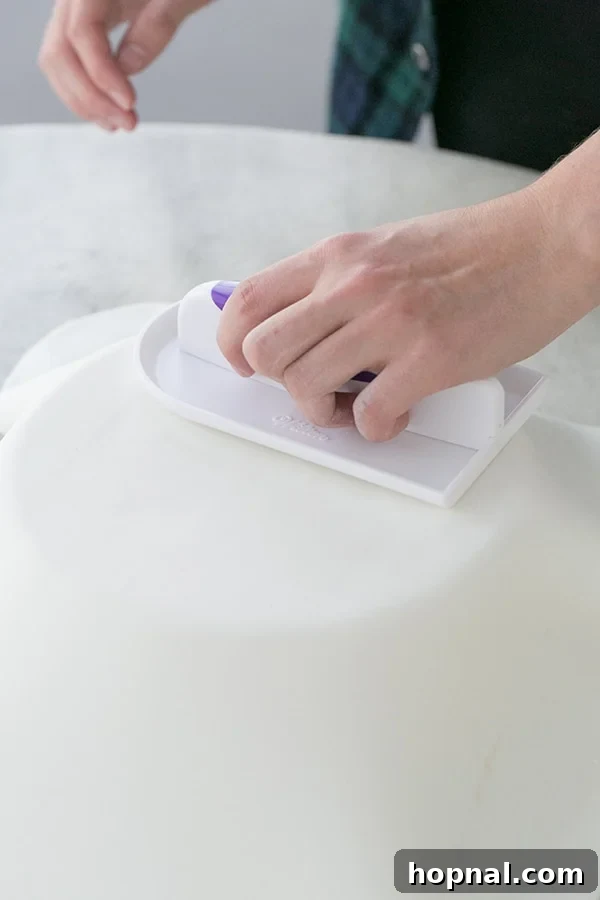
- Fondant Smoother – This specialized tool is indispensable for eliminating air bubbles, smoothing out imperfections, and creating a flawlessly even surface on your fondant-covered cake. It helps achieve that crisp, professional finish.
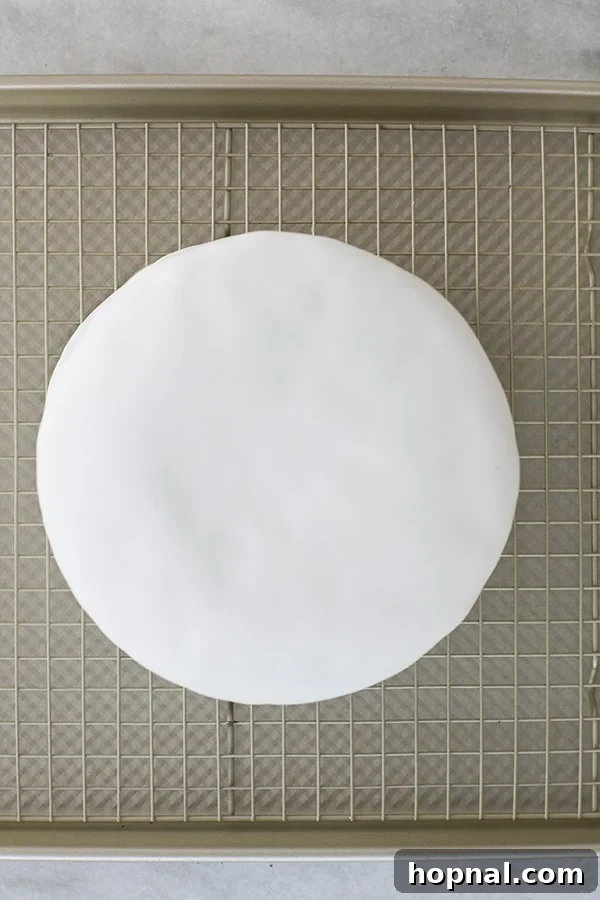
- Baking Sheet and Cookie Rack – A crucial setup for a mess-free drip application. Placing your cake on a cooling rack positioned over a rimmed baking sheet ensures that any excess icing drips neatly into the tray, simplifying cleanup and preventing sticky countertops.
- Measuring Cup with Spout – The design of a measuring cup with a spout provides excellent control when pouring the marble drip icing over your cake, allowing for precise application and beautiful, even drips.
- Powdered Sugar – The primary base for your smooth, decadent drip icing. Its fine texture is essential for a lump-free consistency.
- Corn Syrup – A key ingredient that adds a beautiful, glossy shine to your drip icing, enhancing the visual appeal of the marble effect. It also contributes to the icing’s smooth texture and prevents it from becoming too brittle.
- Warm Water – Used to achieve the ideal pouring consistency for your icing. The warmth helps dissolve the powdered sugar more effectively.
- Almond Extract – Adds a delightful flavor note to your icing, complementing your cake base beautifully. Vanilla extract can be used as an alternative if preferred.
- Food Coloring (Gel or Drops) – The magical ingredient for creating your vibrant marble effect. Gel food colorings are often preferred for their intense, concentrated colors without adding too much liquid to the icing.
Step-by-Step Guide to Crafting Your Marvelous Marble Drip Cake
Creating a beautiful marble drip cake is an art form that anyone can master with a bit of guidance. Follow these detailed steps to bring your vision to life:
1. Bake the Perfect Cake Base
Begin by baking one of our delectable easy homemade cake recipes. A sturdy yet moist cake is ideal for supporting the fondant and drip. We particularly adore this light and fluffy easy vanilla cupcake recipe, which can be scaled up for a cake, and our rich chocolate cake for a deeper flavor profile. Don’t forget our festive funfetti cake if you’re looking for extra cheer! Bake your chosen recipe in a standard 8-inch round cake pan. Ensure the cake is completely cooled before proceeding to the next steps; a warm cake will melt your frosting and fondant.
2. Prepare Your Cake for Fondant
Once your cake is fully cooled, lightly frost it with a thin layer of buttercream or ganache. This “crumb coat” serves two crucial purposes: it traps any loose crumbs, ensuring a smooth finish, and it provides an adhesive surface for the fondant to stick to. Cover the top and sides of the cake thoroughly. After applying the crumb coat, chill the cake in the refrigerator for about 15-20 minutes to allow the frosting to set firm. This makes the fondant application much easier and cleaner.
3. Apply the Fondant
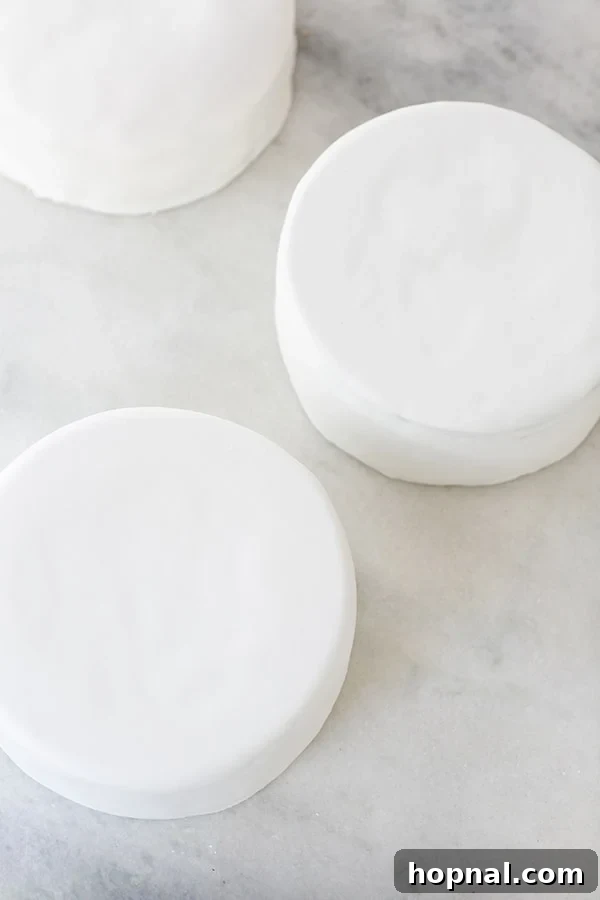
Knead your fondant until it’s pliable and smooth. This removes any air bubbles and makes it easier to roll. On a surface lightly dusted with powdered sugar or cornstarch, roll out the fondant to an approximate thickness of 1/8 to 1/4 inch. The key is to roll it large enough to cover the entire cake with some overhang. Carefully lift the rolled fondant and drape it over your lightly frosted and chilled cake. Using a fondant smoother, gently work from the top center outwards, pressing the fondant firmly against the cake to adhere it and release any trapped air bubbles. Trim any excess fondant around the base with a sharp knife or pizza cutter. Don’t worry if it’s not absolutely perfect; the drip will hide minor imperfections, but aim for as smooth a finish as possible. If you’re preparing ahead, these fondant-covered cakes can be stored in the refrigerator for up to one day.
4. Set Up for the Drip
This step is critical for a clean and controlled drip. Place a cooling rack over a rimmed cookie sheet or baking tray. Carefully transfer your fondant-covered cake onto the cooling rack. This setup ensures that as you pour the icing, any drips that run off the cake will be collected neatly in the tray below, preventing a sticky mess on your countertop.
5. Mix the Marble Drip Icing
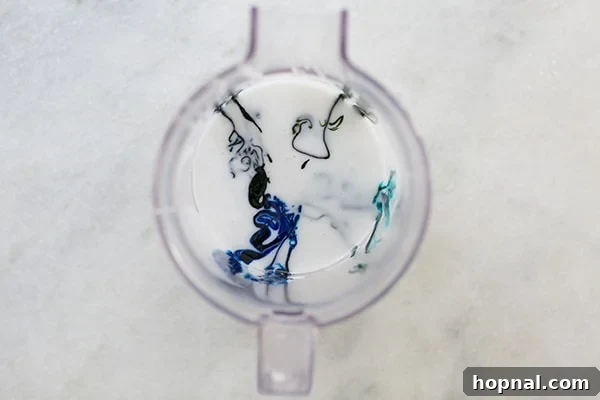
Prepare the drip frosting using the recipe provided below. Once the base icing is smooth, this is where the magic happens! Add several drops of your desired food coloring directly into the icing. We highly recommend using food coloring gel for this recipe, as it provides vibrant colors without thinning the icing. The trick here is *not* to stir the icing after adding the colors. The distinct drops and swirls of color will naturally blend as you pour, creating that beautiful, organic marble effect. We love using different shades of blue to create a stunning monochromatic marble, but feel free to experiment with any color palette that inspires you!
6. The Grand Drip
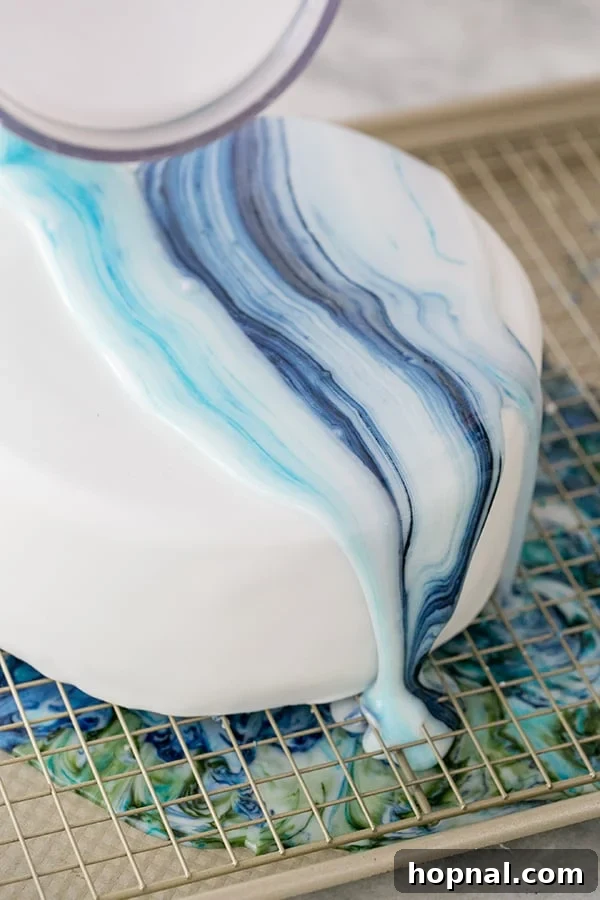
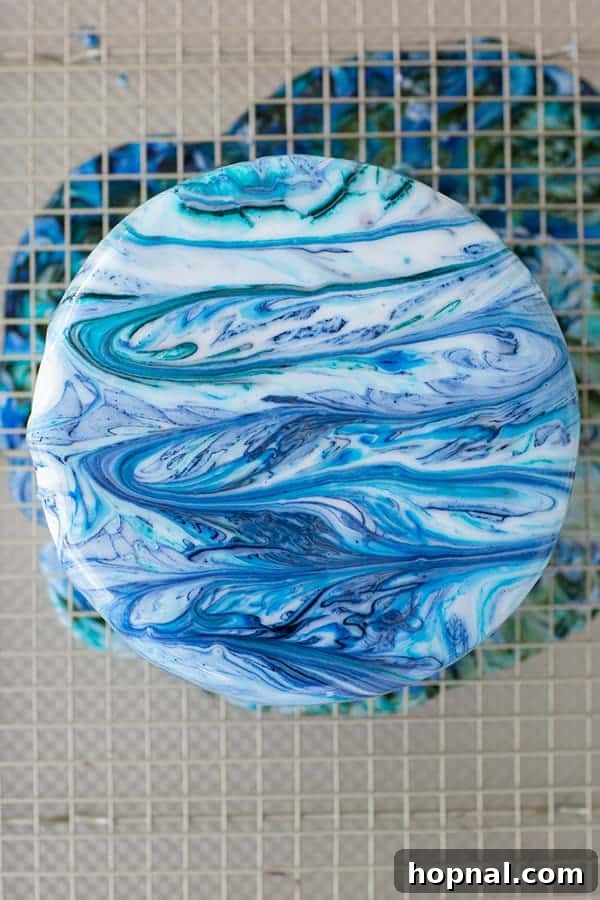
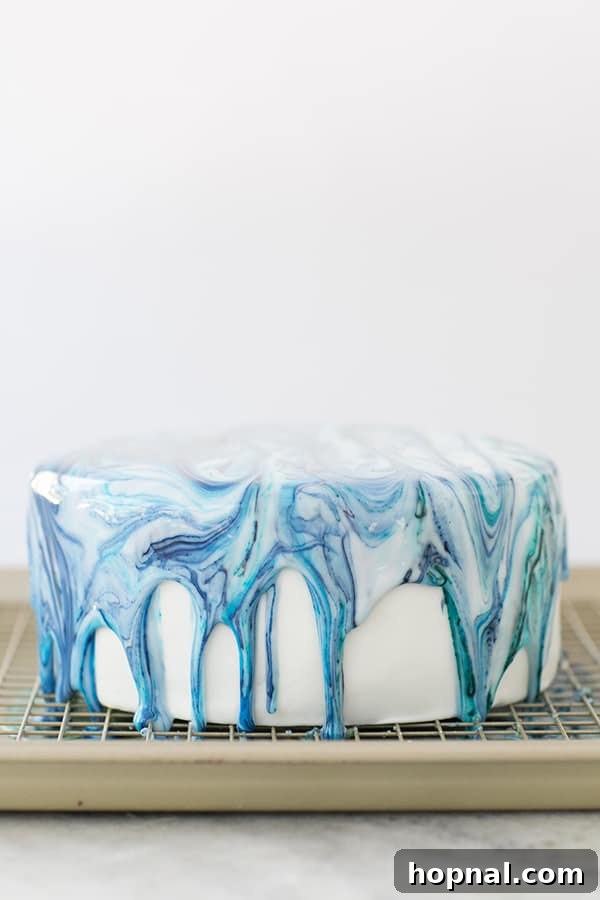
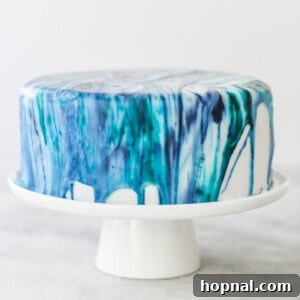
Carefully pour the marbled icing over the very top of your cake. Start from the center and gently move outwards, allowing the icing to flow naturally and cascade down the sides. Watch in awe as the colors beautifully meld and swirl, forming unique and breathtaking patterns. The consistency of the icing is key here – it should be thick enough to cling to the sides but fluid enough to drip gracefully. In about 30 minutes, your spectacular marble drip icing will harden, setting the vibrant patterns and holding its shape beautifully.
Expert Tips for a Flawless Marble Drip Cake
Achieving a picture-perfect marble drip cake is within your reach. Here are some invaluable tips to ensure your decorating process is smooth and the results are stunning:
- Optimal Cake Temperature: Always ensure your baked cake has cooled completely to room temperature before you begin decorating. A warm cake will cause your frosting and fondant to melt or sag, ruining your hard work.
- Chilling the Fondant Layer: After covering your cake in fondant, a brief chill in the refrigerator for about 30 minutes can work wonders. This firms up the fondant, making it more resilient to handling and providing a colder surface that encourages the drip icing to set faster and more distinctly.
- The Essential Drip Station: Never skip placing your cake on a rack over a rimmed cookie tray before pouring the icing. This simple setup is your best defense against a messy kitchen, catching all excess drips and making cleanup a breeze. It’s a small step that makes a huge difference.
- Elevate with Edible Embellishments: Once your drip has set, enhance the beauty of your cake with elegant garnishes. Fresh berries, such as blueberries or raspberries, provide a pop of color and freshness. Delicate edible flowers can add a sophisticated touch, while a sprinkle of edible gold leaf can introduce a luxurious sparkle, taking your cake from beautiful to truly extraordinary.
- Mastering the Marble Color Palette: For the most cohesive and aesthetically pleasing marble effect, try to stick to different shades of the same color. For instance, varying blues, pinks, or greens will create a sophisticated, blended marble look. Alternatively, choose two or three complementary colors that swirl together harmoniously without becoming muddy.
- Time-Saving Shortcut: If you’re pressed for time or prefer to focus solely on the decorating, contact your local bakery! Many bakeries are happy to provide an 8-inch round cake already covered in a smooth layer of white fondant. This allows you to jump straight to the fun part: mixing and pouring your gorgeous marble drip icing.
- Consistency is Key for the Drip: The ideal drip icing consistency is like slightly thinned honey or warm, melted chocolate. If it’s too thick, it won’t drip gracefully; if it’s too thin, it will run off too quickly and might become translucent. Adjust with small amounts of powdered sugar (to thicken) or warm water (to thin) until you achieve the perfect flow.
- Controlled Pouring: Don’t just dump the icing! For more controlled drips, you can use a spoon or a small squeeze bottle to apply the icing around the edge of the cake first, encouraging precise drips down the sides. Then, pour the remaining icing over the top center and gently spread it to the edges.
More Delightful Cake Recipes You’ll Love!
If you’ve enjoyed creating this marble drip cake, you’ll surely love exploring our other delicious cake creations. Here are some of our top cake recipes to inspire your next baking adventure!
- Neapolitan Sheet Cake: A nostalgic treat with layers of vanilla, strawberry, and chocolate.
- The Best Coconut Loaf: A moist and tender loaf cake bursting with tropical coconut flavor.
- Ice Cream Sundae Cake: All the fun of an ice cream sundae in a delightful cake form.
- Chocolate Zucchini Cake: An incredibly moist chocolate cake with a secret ingredient for added richness.
- Classic Banana Cake Recipe: A timeless favorite, perfectly spiced and incredibly moist.
- The Best Banana Bread: Not quite a cake, but an equally beloved banana treat that’s perfect for any time.
- Lavender Cake: A subtly floral and elegant cake that’s truly unique.
- Buttermilk Cake Recipe: Known for its tender crumb and tangy flavor, a true classic.
- Orange Chocolate Cake: A delightful combination of rich chocolate and bright citrus.
Now that you possess the knowledge to create the most amazing marble drip cake, we can’t wait to see your unique creations! Please share your pictures and tag us on social media. Don’t forget to leave a comment below to tell us about your experience and how your cake turned out!
You can also FOLLOW US on FACEBOOK, INSTAGRAM, and PINTEREST to discover more delicious recipes, creative cocktails, decadent desserts, and inspiring party ideas!
Marble Drip Icing Recipe
Eden
10 mins
0 mins
20 mins
30 mins
1 large cake
Ingredients
- 3 cups powdered sugar
- 1 tbsp corn syrup
- 1/4 cup warm water
- 1/2 tsp almond extract
- food coloring, gel or drops
Instructions
-
Cover a cooled, round cake in fondant for a smooth base.
-
In a bowl, combine powdered sugar, corn syrup, warm water, and almond extract. Whisk until the mixture is completely smooth and lump-free.
-
Add several drops of your desired food coloring (gel colors work best for vibrancy) to the icing. Crucially, do NOT mix the colors into the icing. The natural movement during pouring will create the beautiful marbling effect.
-
Place your fondant-covered cake on a cooling rack, ensuring a cookie sheet or baking tray is positioned underneath to catch any excess icing drips.
-
Carefully pour the marbled icing over the top of the cake, starting from the center and gently moving towards the edges, allowing it to drip naturally down the sides. Let it set and dry for about 20-30 minutes.
Notes
Feel free to use any colors of food coloring you like to achieve your desired marble effect. Experiment with complementary or monochromatic shades for varied results.
Nutrition (Approximate per recipe)
Calories: 1468kcal
Carbohydrates: 376g
Protein: 0g
Fat: 0g
Saturated Fat: 0g
Cholesterol: 0mg
Sodium: 24mg
Sugar: 369g
Iron: 0.2mg
Nutrition information is automatically calculated and is provided for informational purposes only. It should be used as an approximation.
Enjoyed this recipe? Share your thoughts below!