
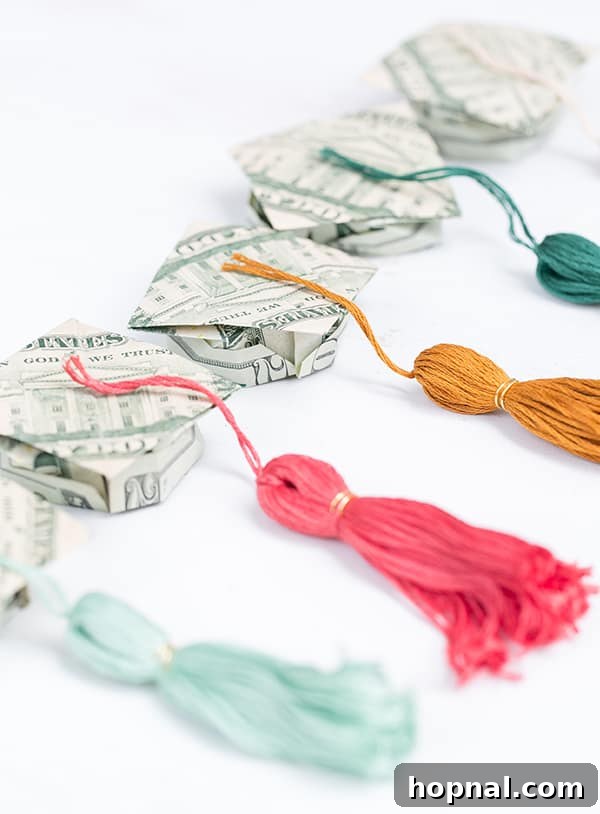
As spring ushers in the season of accomplishments, our thoughts turn to celebrating graduates with gifts that are both unique and heartfelt. While traditional cash gifts are always appreciated, there’s a growing desire to present money in a way that feels more personal and exciting. Moving beyond simply placing cash in a card, we’ve explored various innovative approaches, from adding money to balloons in previous years to our latest charming creation: incorporating currency into delightful origami money graduation caps, complete with matching DIY tassels. This guide will walk you through crafting these memorable keepsakes, ensuring your gift stands out as a true token of celebration.
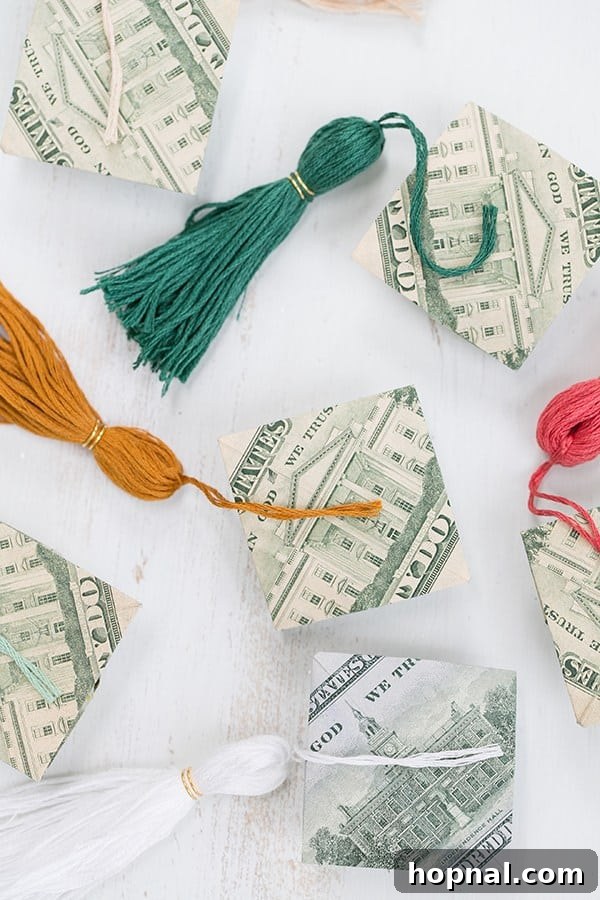
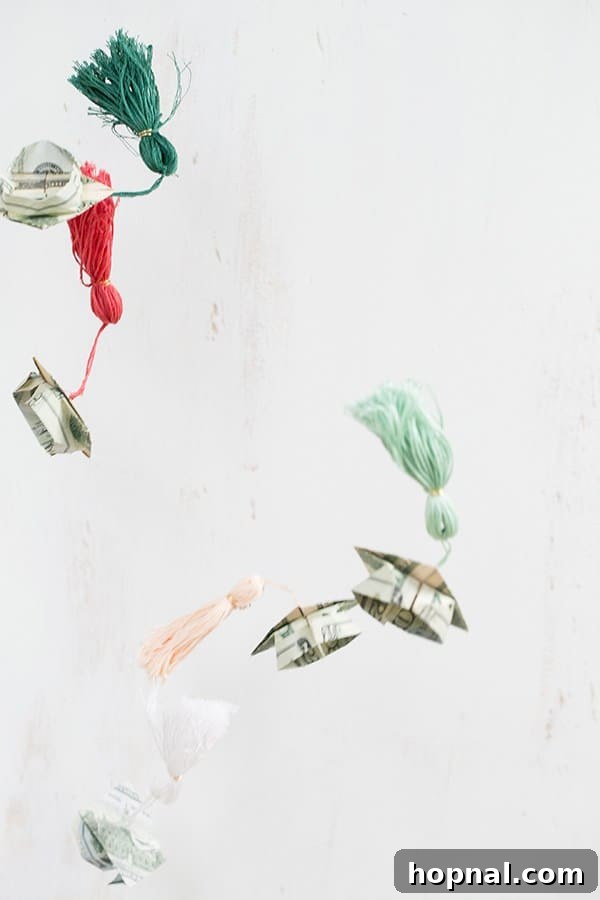
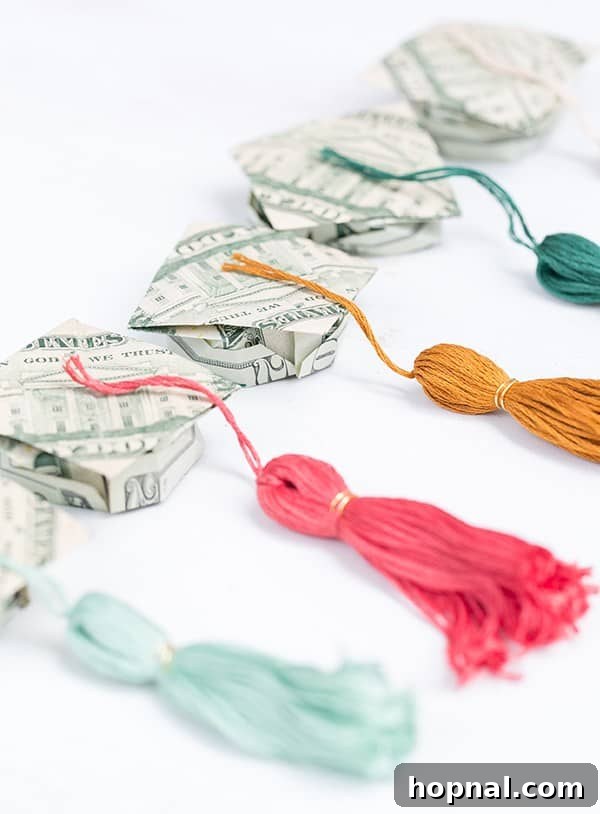
Imagine the delight on a graduate’s face when they receive not just money, but a piece of art meticulously crafted from currency itself! These little money grad caps are far more engaging and memorable than a mere monetary sum slipped into a greeting card. They transform a practical gift into an experience, showing genuine thought and effort. It’s about celebrating their achievement with a present that reflects the special milestone they’ve reached, turning ordinary cash into an extraordinary keepsake. The act of unfolding the money adds an element of surprise and interaction, making the gift even more impactful.
Crafting these origami money hats might seem intricate at first glance, but with a good tutorial, it’s a surprisingly rewarding process. We’ve found some truly excellent instructional videos that simplify the folding process, such as this one. These videos typically guide you through transforming a crisp dollar bill into the iconic square shape of a graduation cap. While some methods might suggest using string for assembly, we discovered a simpler and equally effective approach: glue dots. These tiny, super-adhesive dots are incredibly versatile and make securing the folds a breeze, ensuring your money cap holds its shape perfectly without any visible ties. Remember to choose crisp, new bills for the best results, as they fold more cleanly and hold creases better, resulting in a professional-looking cap. The attention to detail in creating these caps makes them not just a gift, but a small work of art, symbolizing the structure and achievement of graduation.
Crafting the Perfect Accessory: DIY Graduation Tassels
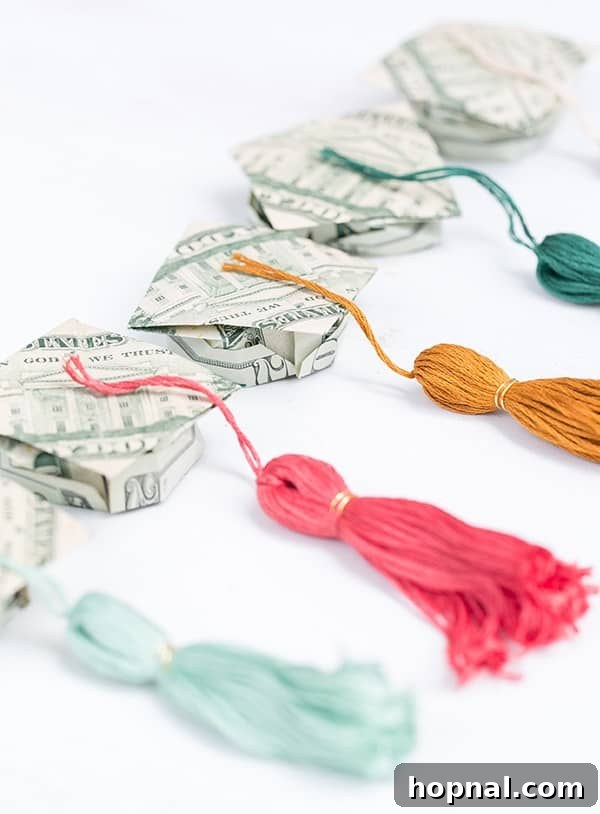
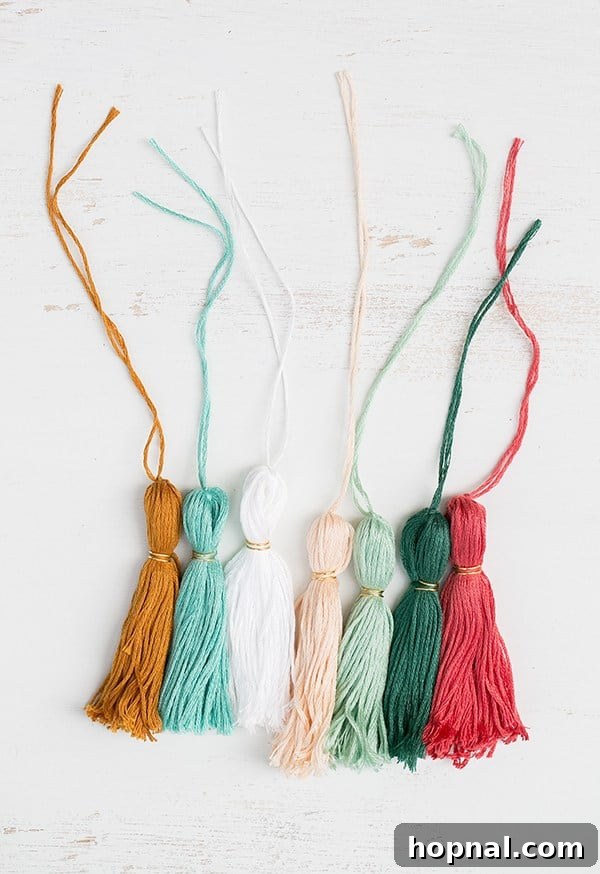
No graduation cap is complete without its iconic tassel, and for our money origami caps, a handmade tassel adds that extra layer of charm and personalization. Creating your own tassel is a simple yet incredibly satisfying project that allows you to customize the colors to match school themes or the graduate’s favorite hues. These DIY tassels are designed to perfectly complement your money caps, elevating the entire presentation from a simple gift to a cherished memento. Here’s what you’ll need and how to make them.
Supplies for DIY Tassels:
- Embroidery Floss: One standard package of embroidery floss is typically enough to create one beautifully lush tassel. Choose colors that resonate with the graduate’s achievements or personal style.
- Scissors: A sharp pair of scissors will ensure clean cuts, crucial for a neat and professional-looking tassel.
- Tiny Gold Rings: These small, decorative rings add a touch of elegance and mimic the traditional tassel hardware.
- Glue Dots: As mentioned, these are truly the best for crafts! They offer strong, clean adhesion without the mess of liquid glue, making them ideal for securing delicate components.
Step-by-Step Tassel Instructions:
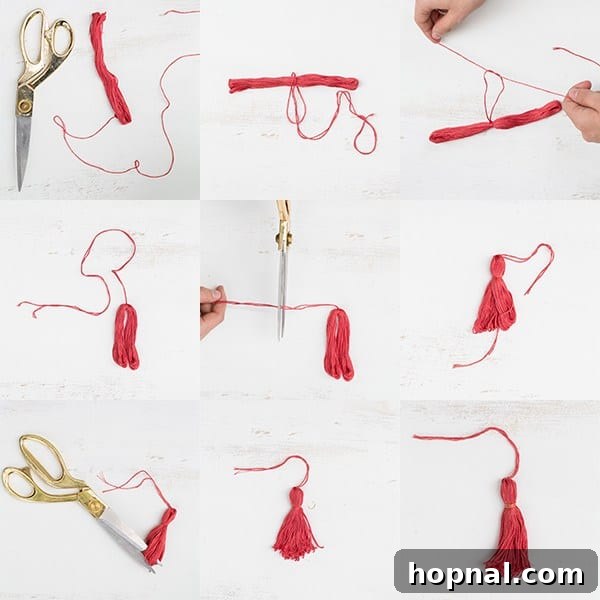
Step 1: Prepare Your Floss
Begin by unwinding one single long strand of embroidery floss from the package. Carefully cut this strand, setting it aside for later use. The remaining floss should still be neatly looped together, just as it was when you purchased it. This main loop will form the body of your tassel.
Step 2: Form the Tassel Body
Take the remaining looped floss and gently pull the sides downwards to stretch and align the loops. Simultaneously, take the long strand you previously cut and pull it upwards through the center of the stretched loops. This action begins to define the head of the tassel.
Step 3: Secure the Head
Now, double the long strand you just pulled through the center. Carefully place this doubled strand into the middle of the pre-looped floss, ensuring it sits snugly. Guide it through the small opening at the top of the main loop, then firmly tie a knot. This knot will secure the head of your tassel and create a small hanging loop if desired, though we will trim it later for our specific purpose.
Step 4: Trim for Attachment
After securing the knot, trim the long string, leaving just a short length. This remaining stub will be used to attach the tassel securely to the top of your origami money graduation cap. You want just enough length to work with a glue dot without excess hanging out.
Step 5: Create the Decorative Loop
Using a small piece of the string you just cut (or a fresh short strand of floss), tie it around the main body of the tassel. Position this tie approximately half an inch below the very top of the tassel head. This creates the classic ‘loop’ or ‘neck’ of the tassel, giving it that characteristic tiered look. Make sure the knot is tight and secure, then trim any excess string close to the knot for a clean finish.
Step 6: Add Embellishments (Optional)
Take your tiny gold rings and gently pull them apart slightly if they are closed. Carefully add these decorative rings around the neck or body of the tassel. These mimic the traditional metal elements found on real graduation tassels, adding a sophisticated touch. You can add one or several, depending on your desired look.
Step 7: Final Trimming
The bottom of your tassel will currently consist of many small loops. Using your scissors, carefully cut open all of these loops. Once cut, you can then trim the ends to your desired length and shape, creating a uniform and full fringe. Don’t be afraid to experiment with different lengths to find what looks best.
Step 8: Attach Tassel to Cap
Finally, take one of your trusty small glue dots and carefully place it on the very top center of your origami money graduation cap. Gently press the trimmed top of your DIY tassel onto the glue dot, holding it in place for a few seconds to ensure it adheres securely. And there you have it – a perfectly charming, handmade tassel completing your unique money graduation cap!
Elevate the Celebration: Graduation Party Ideas
Beyond the perfect gift, a memorable graduation celebration calls for an equally impressive party. If you’re hosting a graduation party, consider incorporating some creative and fun elements to make the event truly special and reflective of the graduate’s journey. From elegant drink stations to interactive food setups, these ideas will help you craft a celebration that honors their hard work and success in style.
- A College Graduation Bubbly Bar: Toast to success with an elegant champagne or sparkling cider bar. Offer various fruits, juices, and garnishes so guests can create their own celebratory concoctions. It adds a touch of sophistication and fun to any adult graduation gathering.
- Origami Butterfly Lei: For a truly unique and symbolic gesture, consider gifting or decorating with an origami butterfly lei. Butterflies represent transformation and new beginnings, perfectly suited for graduation. This money lei can also be a beautiful way to present cash gifts.
- 10 Tips for Giving the Perfect Toast: Prepare for the inevitable speeches by having a guide on hand for guests or family members. A well-delivered toast can be the highlight of a party, offering heartfelt congratulations and humorous anecdotes.
- DIY Punch Rings: Keep your beverages chilled and beautiful with homemade ice rings. You can embed fruits, edible flowers, or even school colors into the ice for an added decorative touch that keeps drinks cold without diluting them too quickly.
- DIY Cocktail Station: Similar to the bubbly bar, a cocktail station allows guests to mix their own drinks. Provide a selection of spirits, mixers, fresh herbs, and citrus for a personalized beverage experience. Label everything clearly and perhaps include a few recipe cards.
- Make Your Own Spritzer Bar: For a lighter, refreshing option, a spritzer bar is ideal. Offer various flavored sparkling waters, fruit purees, and garnishes. It’s a fantastic non-alcoholic alternative that still feels special and allows for creative customization.
- Wine and Cheese Party: For a more sophisticated and relaxed gathering, a wine and cheese party is always a hit. Curate a selection of wines and complementary cheeses, along with crackers, fruits, and nuts. This allows for easy mingling and conversation.
Beyond these specific ideas, consider setting up a photo booth with graduation-themed props, creating a “memory lane” display with photos from the graduate’s life, or having a “advice for the future” station where guests can write messages for the graduate. Personalized decorations, a themed playlist, and delicious food that reflects the graduate’s favorites will tie everything together for an unforgettable event.
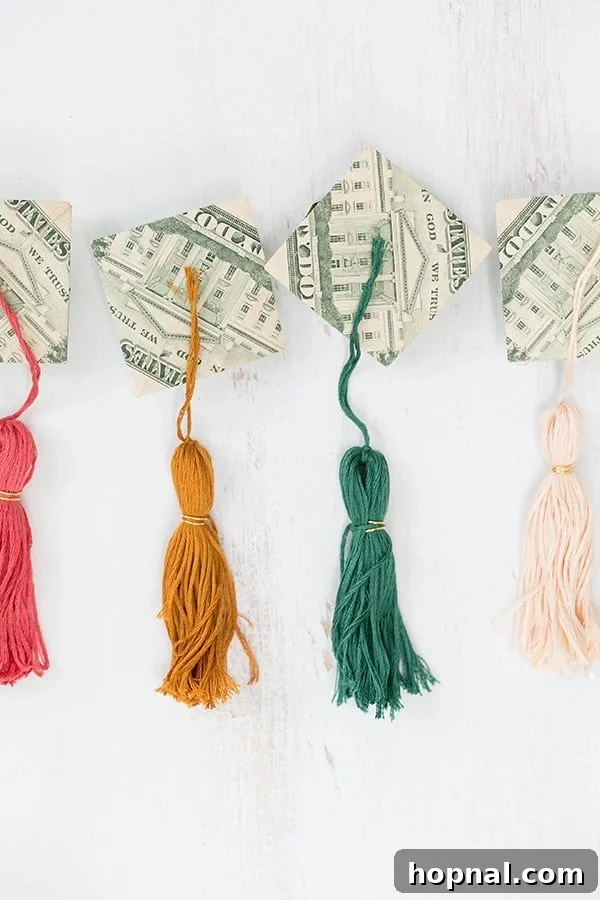
We hope these creative gift and party ideas inspire you to celebrate the incredible achievements of your graduates with flair and originality. If you create these delightful origami money graduation caps and tassels, or implement any of our party ideas, we would absolutely love to hear about your experiences and see your creations in the comments below! Don’t forget to FOLLOW US on FACEBOOK, INSTAGRAM, and PINTEREST to stay updated with more fun party ideas, delicious recipes, and inspiring craft projects for all of life’s special moments. Happy folding, gifting, and celebrating!