
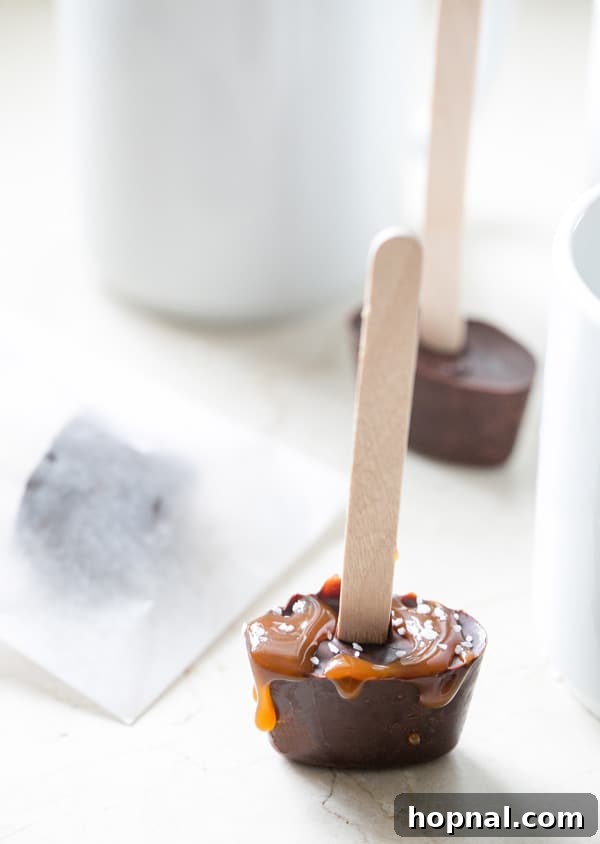
Homemade Hot Chocolate on a Stick: A Delightful & Easy Recipe
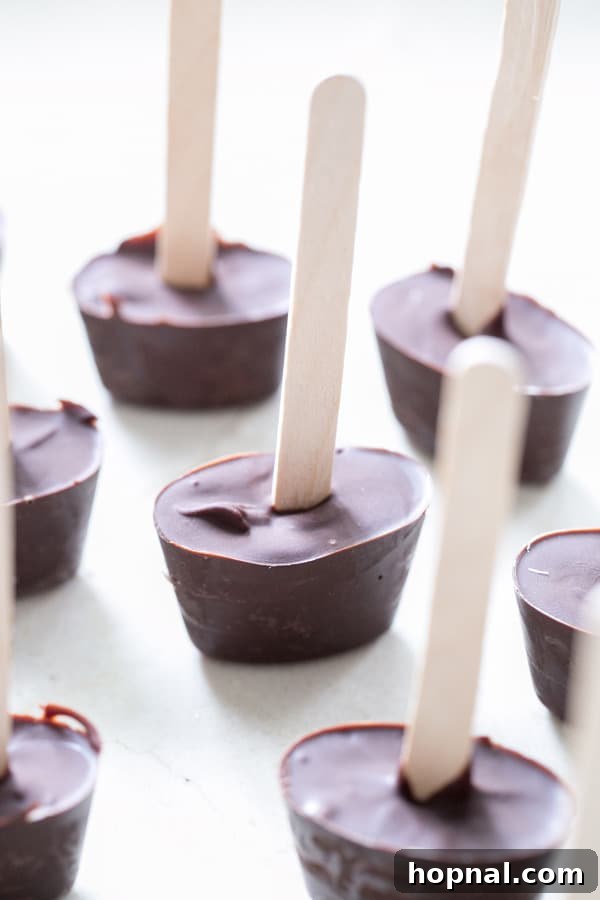
Imagine a chilly evening, a warm mug of milk, and a decadent block of chocolate on a stick, ready to transform into the most luxurious hot cocoa. Our Hot Chocolate on a Stick recipe offers exactly that – a wonderfully simple yet sophisticated way to enjoy a rich, creamy, and deeply satisfying hot chocolate. Made with just five core ingredients, this no-bake treat combines the robust flavor of dark chocolate with the smooth sweetness of milk chocolate, perfectly balanced with a touch of honey and vanilla.
Whether you’re looking for an effortless dessert, a creative addition to your holiday hot chocolate bar, or a thoughtful homemade gift, these chocolate stirrers are guaranteed to impress. They are incredibly easy to prepare in advance, making spontaneous cozy moments or last-minute gift preparations a breeze. Forget complicated techniques; this recipe focuses on pure chocolate enjoyment.
Why You’ll Love This Hot Chocolate on a Stick Recipe
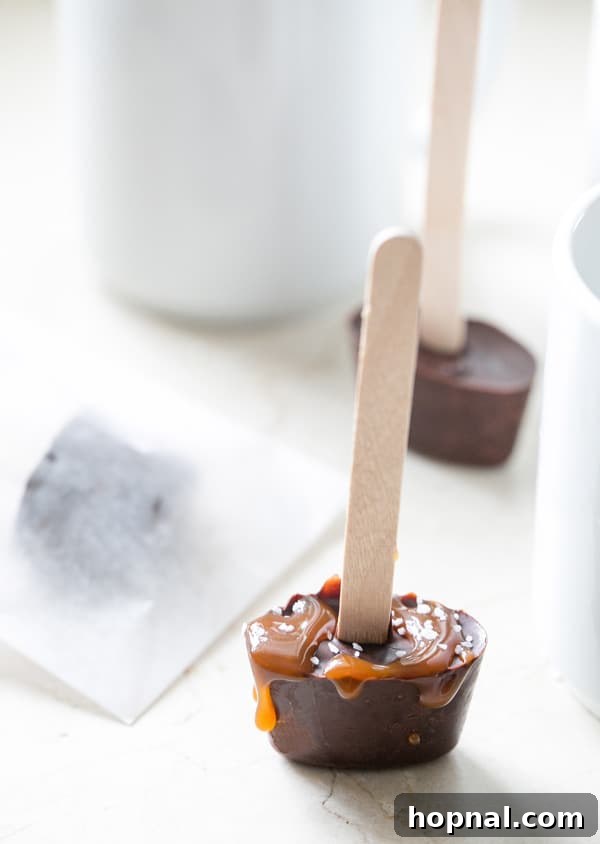
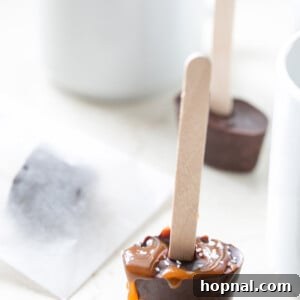
Living in Los Angeles, you might not always associate sunny days with hot chocolate. However, even here, those crisp evenings remind us of the simple joy a warm mug can bring. This recipe was born on one such day, when a hint of autumn was in the air, leading to what I consider the most delicious hot chocolate on a stick. It turned out so well that we indulged in a cup with creamy almond milk, a generous swirl of whipped cream, and a drizzle of homemade salted caramel sauce. Pure bliss!
The beauty of hot chocolate on a stick lies in its unique presentation and incredible convenience. It allows you to create individual portions of gourmet hot chocolate that are ready to go whenever a craving strikes. Simply boil your favorite milk, stir in a chocolate stick, and watch it melt into a luxurious beverage. This make-ahead aspect is a game-changer, especially when entertaining or preparing for festive occasions. They make an excellent centerpiece for a holiday hot chocolate bar, a charming addition to a dessert table, or a delightful treat for cozy nights in.
Our carefully crafted blend of dark and milk chocolate, sweetened with natural honey and infused with vanilla extract, creates a hot cocoa that is rich, deeply chocolaty, and perfectly sweet without being cloying. It’s a harmonious combination designed to deliver a superior hot chocolate experience every time.
Essential Ingredients for Perfect Hot Chocolate Sticks
Crafting the perfect hot chocolate on a stick starts with selecting quality ingredients. Each component plays a vital role in achieving that rich, smooth, and deeply satisfying flavor profile. Here’s a closer look at what makes this recipe exceptional:
- Dark Chocolate (72-75% Cocoa Content): This is the backbone of our hot chocolate. Dark chocolate, with its higher cocoa content, offers a profound, slightly bitter flavor that prevents the overall drink from being overly sweet. It contributes a luxurious depth and intensity, creating a sophisticated hot chocolate experience. Opt for a high-quality baking chocolate or bar that you enjoy eating on its own, as its flavor will shine through.
- Milk Chocolate: Complementing the robustness of dark chocolate, milk chocolate brings a creamy, mellow sweetness and a smoother texture. It softens the intensity of the dark chocolate, making the hot cocoa more approachable and universally appealing. This blend ensures a balanced and harmonious flavor that delights both dark chocolate aficionados and milk chocolate lovers.
- Honey: As a natural sweetener, honey does more than just add sweetness; it introduces subtle floral notes and a touch of warmth that enhances the complex chocolate flavors. Its unique flavor profile complements the cocoa beautifully, adding a layer of richness that refined sugar simply can’t replicate. You can use any honey you prefer, from wildflower to clover.
- Vanilla Extract: A kitchen staple, vanilla extract is a true flavor enhancer. It provides a sweet, aromatic backdrop that amplifies the chocolate notes and ties all the ingredients together. A good quality vanilla extract makes a noticeable difference, adding a touch of elegance to your hot chocolate.
- Milk (Cow, Coconut, Soy, or Almond): The choice of milk is crucial for the final hot chocolate drink. It serves as the creamy base that melts your chocolate stick into a beverage.
- Cow’s Milk: Whole milk provides the richest, most traditional, and creamiest hot chocolate.
- Almond Milk: A popular dairy-free alternative, almond milk offers a slightly nutty flavor that pairs wonderfully with chocolate, and it’s generally lighter.
- Soy Milk: Another excellent dairy-free option, soy milk provides a creamy texture and a neutral flavor that allows the chocolate to shine.
- Coconut Milk: For those who love a hint of tropical richness, full-fat canned coconut milk can add an incredibly luxurious and velvety texture, alongside a subtle coconut flavor that surprisingly complements chocolate very well.
Step-by-Step Guide: How to Make Hot Chocolate on a Stick
Creating these delightful hot chocolate sticks is a straightforward process, but paying attention to a few key details will ensure perfect results every time. Follow these steps for an enjoyable and successful no-bake project:
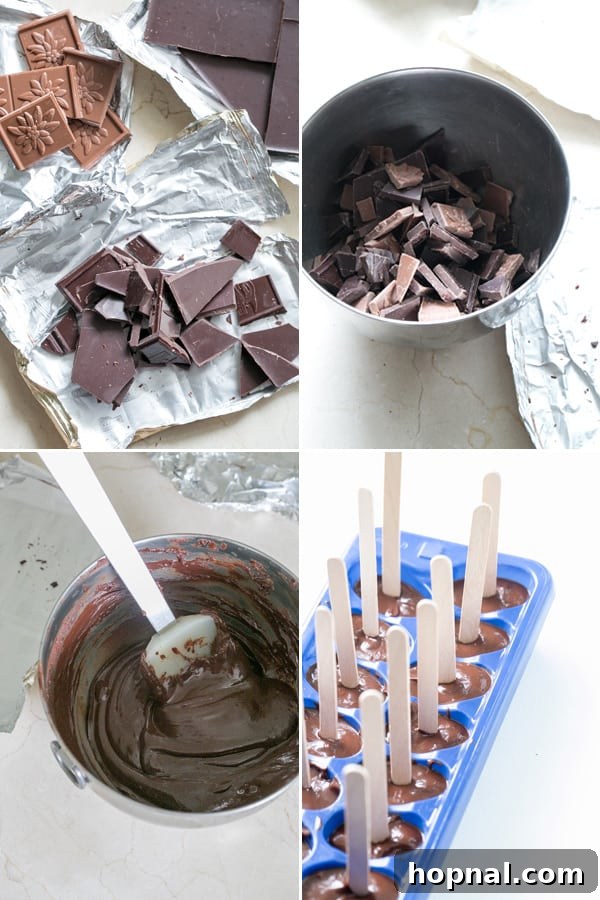
- Prepare Your Melting Station: Begin by combining your chosen dark chocolate, milk chocolate, honey, and vanilla extract in a heat-safe metal bowl. Set this bowl over a pot of simmering water, creating a makeshift double boiler. The gentle, indirect heat of a double boiler is essential for melting chocolate evenly and preventing scorching. Maintain low to medium heat, ensuring the bottom of the bowl does not touch the simmering water.
- Melt the Chocolate with Care: Chocolate is temperamental, so patience is key. Stir the chocolate mixture continuously as it melts. It’s crucial not to let it get too hot, as overheating will cause the chocolate to seize and become a thick, grainy, unusable mess. If you notice it getting too warm, simply lift the bowl off the heat, whisk vigorously, and then return it to the simmering water. Stay vigilant and do not leave the melting chocolate unattended. Continue stirring until the mixture is completely smooth and free of lumps.
- Prepare Your Molds: While the chocolate is melting, prepare your ice cube tray. Lightly spray the inside of each mold with a non-stick cooking spray, such as coconut or vegetable oil. This small step is critical for easy removal of the solidified chocolate sticks later.
- Fill the Molds: Once the chocolate mixture is perfectly melted and smooth, carefully spoon it into each cavity of the prepared ice cube tray. Fill them almost to the top, leaving a small amount of space for the stick.
- Insert the Popsicle Sticks: Immediately after filling the molds, gently insert a popsicle stick into the center of each chocolate-filled cavity. If the chocolate is still very liquid and the sticks won’t stand upright, let the mixture thicken slightly for a minute or two before re-inserting them. The chocolate will firm up quickly enough to hold the sticks in place.
- Chill to Solidify: Transfer the filled ice cube tray to the freezer. Allow the chocolate sticks to chill for approximately 10 minutes, or until they are completely solid and firm to the touch. This quick freeze ensures they hold their shape and are easy to pop out of the molds.
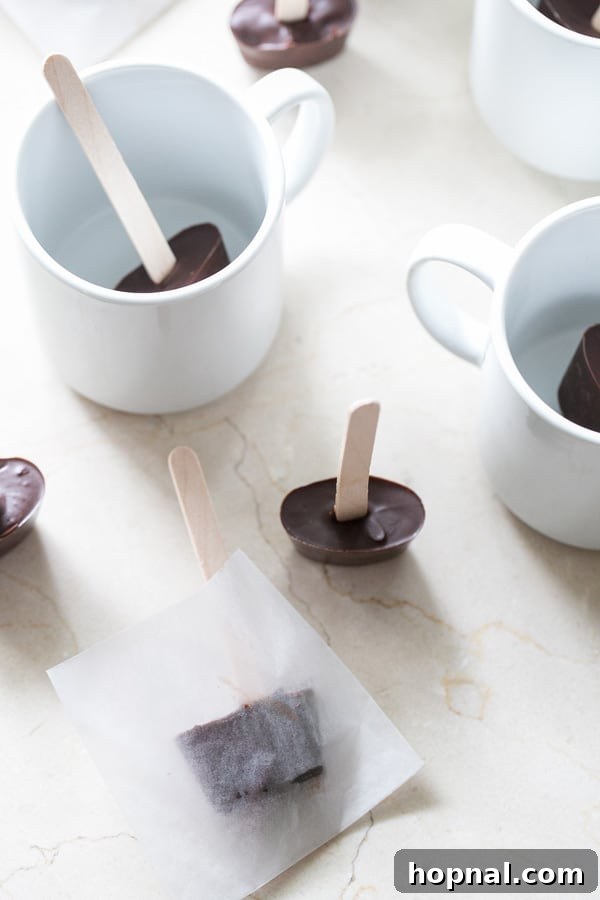
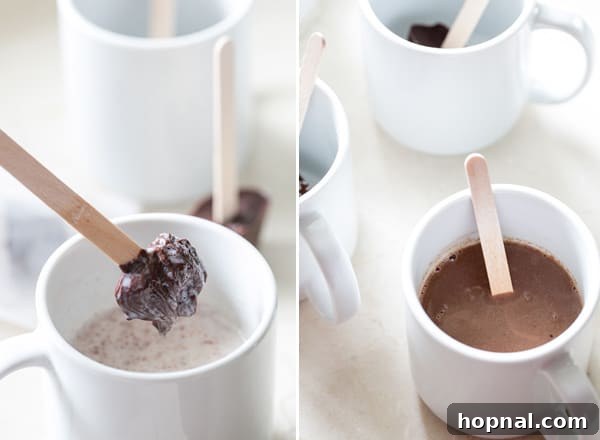
- Enjoy Your Hot Chocolate: To transform one of your homemade chocolate sticks into a luxurious hot beverage, simply bring approximately ½ cup of your preferred milk (cow, coconut, soy, or almond) to a boil in a mug or small saucepan. Ensure the milk is steaming hot, as this is essential for smoothly melting the chocolate.
- Stir and Savor: Once the milk is hot, place one chocolate stick into the mug. Stir continuously until the chocolate is fully melted and thoroughly incorporated into the milk, creating a rich, smooth hot cocoa. For an extra chocolatey experience, use two sticks per 1 cup of milk. Remember, this treat is best enjoyed on a cool day – an 85-degree forecast might just melt your enthusiasm along with the chocolate!
Expert Tips for Melting Chocolate & Troubleshooting
Melting chocolate can be a delicate process, but with the right techniques, you can achieve silky-smooth results every time. Here’s what you need to know, along with solutions for common issues:
Choosing the Best Chocolate for Melting
For hot chocolate sticks, we recommend a combination of dark and milk chocolate for the best flavor and melting consistency. Generally, the best chocolate for melting is one you genuinely enjoy eating. High-quality chocolate tends to melt more smoothly due to its higher cocoa butter content. While white chocolate can be delicious, it’s notoriously difficult to melt without seizing or scorching. It contains different fats and sugars that make it more prone to burning. For this reason, we avoid using white chocolate in this particular recipe for the sticks themselves, though it can be a delightful addition as a drizzle or garnish on your finished hot cocoa.
Always opt for good quality chocolate bars or chips that are specifically designed for melting or baking. Avoid chocolate with excessive fillers or waxy textures, as these can affect the final consistency and flavor.
What If My Chocolate Is Not Melting Smoothly?
The most common issue when melting chocolate is seizing – when the chocolate suddenly turns from a smooth liquid into a thick, grainy, unworkable paste. This usually happens due to overheating or the introduction of even a tiny amount of water (steam) into the chocolate.
- Preventing Seizing: Always use a double boiler method for melting chocolate, never direct heat. Ensure the water in the bottom pot is simmering gently, not rapidly boiling, and that the metal bowl holding the chocolate does not touch the water. Crucially, prevent any steam or water droplets from entering the chocolate. Even a single drop can cause it to seize.
- Attempting to Fix Seized Chocolate: While it’s challenging to return seized chocolate to its original smooth state, sometimes it can be salvaged. Try whisking in a tablespoon of warm (not hot!) water or a neutral oil (like vegetable oil) into the seized chocolate, one teaspoon at a time, until it becomes smooth again. Be cautious not to add too much liquid, as this can thin it out too much. This method works best for minor seizing; severely seized chocolate might be beyond repair.
Eden’s Top Tips for Success
- Choose Chocolate You Love: The quality of your chocolate directly impacts the taste of your hot cocoa. Invest in chocolate bars or chips that you would happily snack on. As mentioned, avoid white chocolate for the sticks themselves, as it burns easily.
- Master the Double Boiler: This is your best friend for melting chocolate. A metal bowl nestled over a pot of gently simmering water ensures indirect, even heat. Keep an eye on it – never let the chocolate get too hot.
- Oil Your Molds: A quick spray of coconut or vegetable oil in your ice cube tray makes unmolding the solid chocolate sticks incredibly easy. This prevents sticking and ensures your beautiful sticks come out perfectly formed.
- Secure Your Sticks: After pouring the melted chocolate, insert your popsicle sticks. If the chocolate is very fluid, let it sit for a minute or two in the mold to thicken slightly before inserting the sticks. This allows the chocolate to firm up enough to hold the sticks upright and centered.
- Storage: Once solid, store your hot chocolate sticks in an airtight container in a cool, dry place for up to two weeks, or in the refrigerator for longer freshness.
- Customization: Feel free to experiment! You can add a pinch of cinnamon or chili powder to the melting chocolate for a spiced hot cocoa, or a drop of peppermint extract for a festive twist. Before freezing, sprinkle the tops with mini marshmallows, sprinkles, or crushed candy canes for extra flair.
Perfect for Gifting & Entertaining
Hot chocolate on a stick isn’t just a treat for yourself; it’s a fantastic idea for homemade gifts. Package a few sticks in a cute cellophane bag with a ribbon, perhaps alongside a mug and a note with instructions. They make excellent party favors, stocking stuffers, or thoughtful presents for teachers, neighbors, and friends during the holiday season or any special occasion.
For entertaining, set up a “Hot Chocolate Bar” with your homemade sticks, various types of milk (dairy and non-dairy), and an array of toppings like whipped cream, marshmallows, chocolate shavings, cinnamon sticks, and a variety of flavored syrups. It’s an interactive and fun way for guests to customize their own gourmet hot cocoa.
More Delicious Chocolate Recipes to Try
If you’ve enjoyed making these hot chocolate sticks, you’ll love exploring other creative ways to use chocolate in your kitchen. Here are some of our favorite recipes that are equally delightful:
- How to Make Decadent Chocolate Truffles
- Easy Chocolate Dipped Pretzel Rods
- Adorable Pumpkin Cheesecake Truffles
- Classic Chocolate Covered Strawberries
- 5-Ingredient Dark Chocolate Coconut Truffles
Don’t forget to check out our other popular hot chocolate recipes, like our rich and creamy hot chocolate and our whimsical pink hot chocolate recipe!
FOLLOW US on FACEBOOK, INSTAGRAM, and PINTEREST to see more delicious recipes, cocktails, desserts, and parties!
Hot Chocolate On A Stick
Ingredients
- 7 oz dark chocolate (72-75%)
- 3.5 oz milk chocolate
- 1 tbsp honey
- 1 tsp vanilla extract
- Milk (cow, coconut, soy, or almond for serving)
Instructions
- Heat the dark chocolate, milk chocolate, honey, and vanilla extract in a metal bowl over a pot of simmering water (double boiler method). Stir frequently. Do not let the chocolate get too hot, or it will seize. Remove from heat, whisk, and return as needed to maintain a smooth consistency.
- Lightly spray an ice cube tray with coconut or vegetable oil to prevent sticking.
- Once the chocolate is fully melted and smooth, spoon it carefully into each cavity of the prepared ice cube tray.
- Insert a popsicle stick into the center of each chocolate-filled mold. If the chocolate is too liquid, let it thicken for a minute before inserting the sticks to ensure they stay upright.
- Place the tray in the freezer for approximately 10 minutes, or until the chocolate sticks are completely solid.
- To prepare hot chocolate, boil about ½ cup of your choice of milk (cow, coconut, soy, or almond) in a mug. Ensure the milk is very hot to effectively melt the chocolate.
- Place one chocolate stick into the hot milk and stir continuously until it fully dissolves and creates a rich, creamy hot cocoa. For an extra decadent and very chocolatey drink, use two sticks for 1 cup of milk.
Nutrition
Calories: 129kcal,
Carbohydrates: 12g,
Protein: 2g,
Fat: 9g,
Saturated Fat: 5g,
Cholesterol: 1mg,
Sodium: 6mg,
Potassium: 128mg,
Fiber: 2g,
Sugar: 9g,
Vitamin A: 13IU,
Calcium: 17mg,
Iron: 2mg
Nutrition information is automatically calculated, so it should only be used as an approximation.
We hope you enjoy this delightful recipe! Feel free to leave a comment below if you try it!