
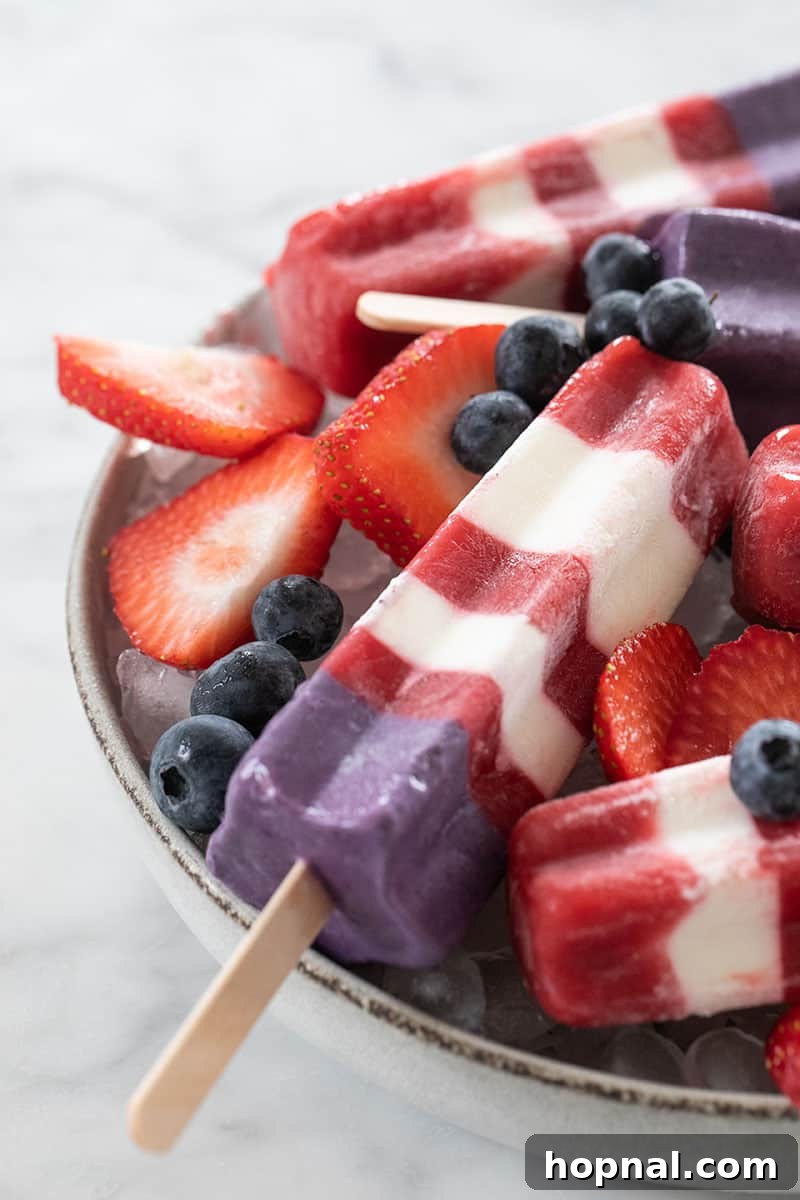
This is a delicious recipe for a classic, childhood favorite bomb pops popsicles! Made with whole ingredients, they’re creamy, colorful, and flavorful! These popsicles are perfect for celebrating the 4th of July and a great summer treat. Also, check out our guide to making the best popsicles!
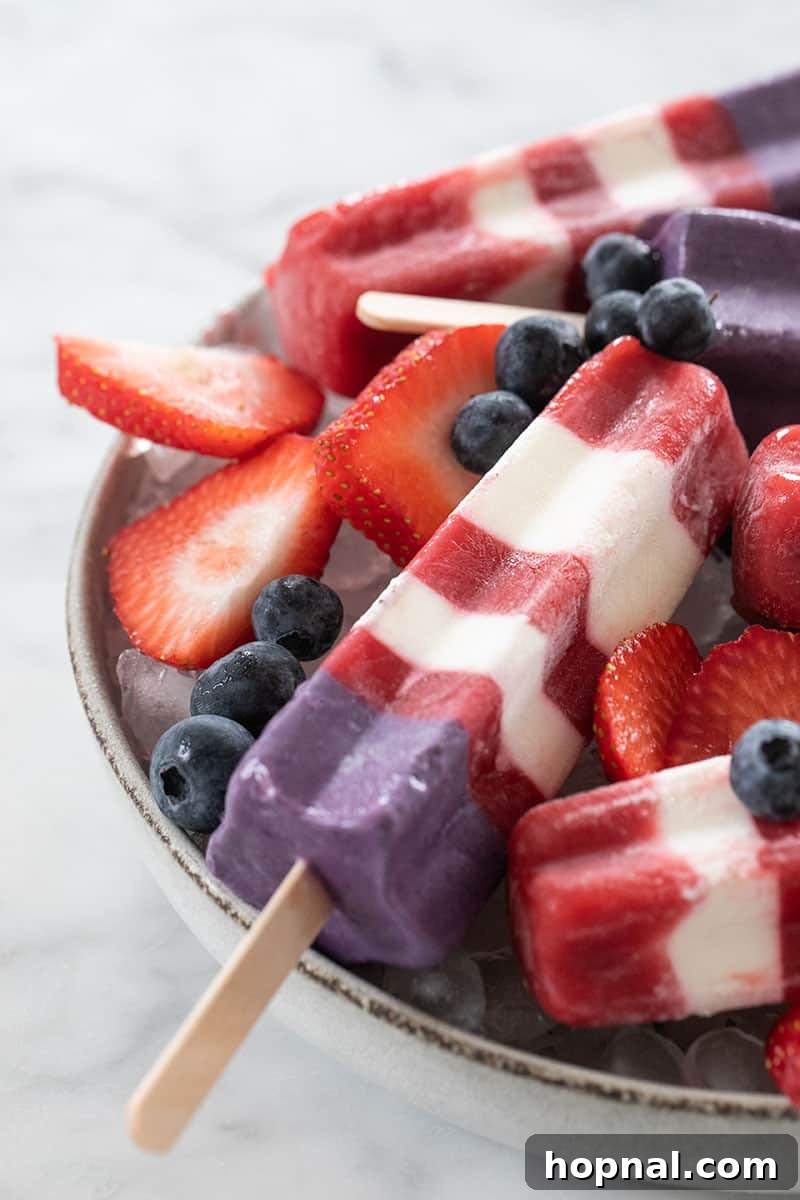
Homemade Bomb Pops Popsicles: A Healthy & Delicious Summer Treat
Few sounds evoke the pure joy of summer quite like the distant jingle of an ice cream truck. For many, that siren song meant one thing: a classic Bomb Pop popsicle. The vibrant red, white, and blue layers, the sweet and tangy flavor—it was the epitome of a childhood summer. That cherished memory inspired us to create a homemade version of this iconic treat, one that you can feel good about sharing with your family. Our recipe brings that nostalgic delight right into your kitchen, perfect for sharing with kids or as a festive addition to any Fourth of July gathering.
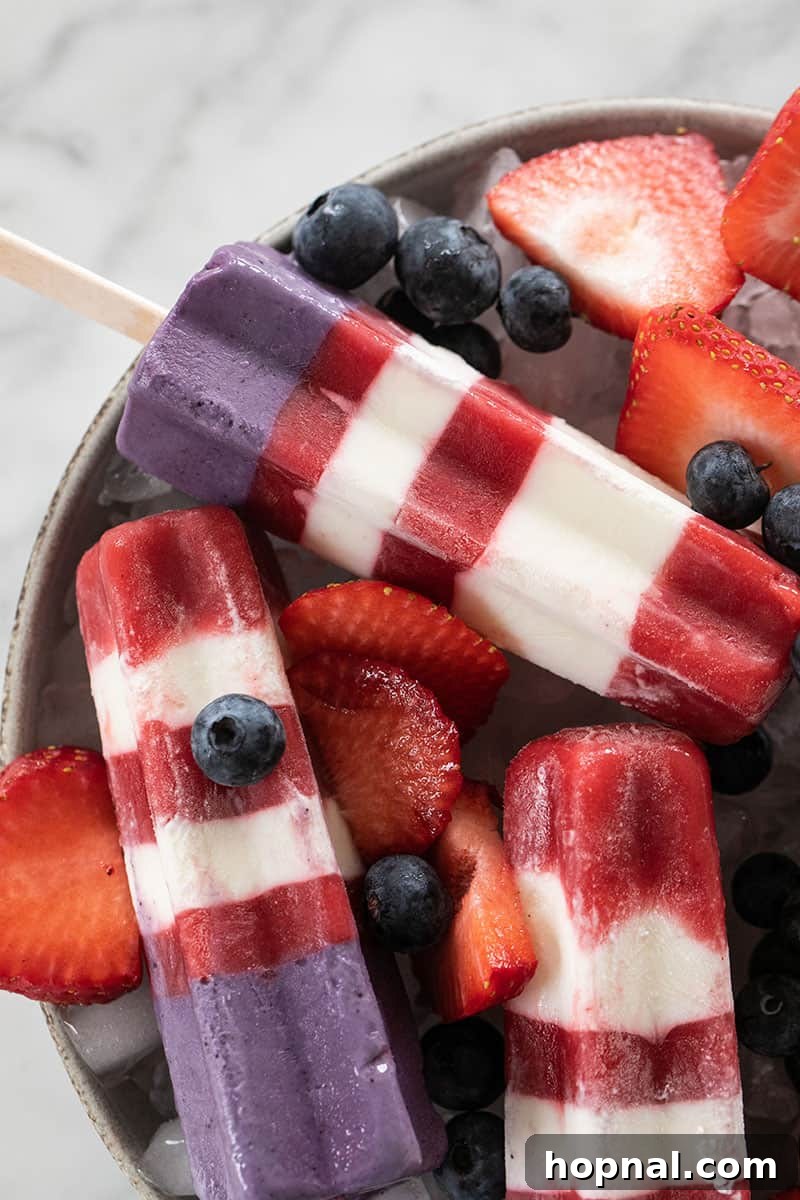
Why Make Homemade Bomb Pops?
While the store-bought Bomb Pop holds a special place in our hearts, making your own offers several significant advantages. This recipe uses fresh fruit and creamy yogurt, sweetened with just a touch of sugar (or honey, if you prefer). The key benefit? You have complete control over the ingredients. Say goodbye to artificial colors, high-fructose corn syrup, and unknown additives. Our homemade Bomb Pops are crafted with whole, wholesome ingredients, ensuring a treat that’s not only delicious but also a healthier choice for your family.
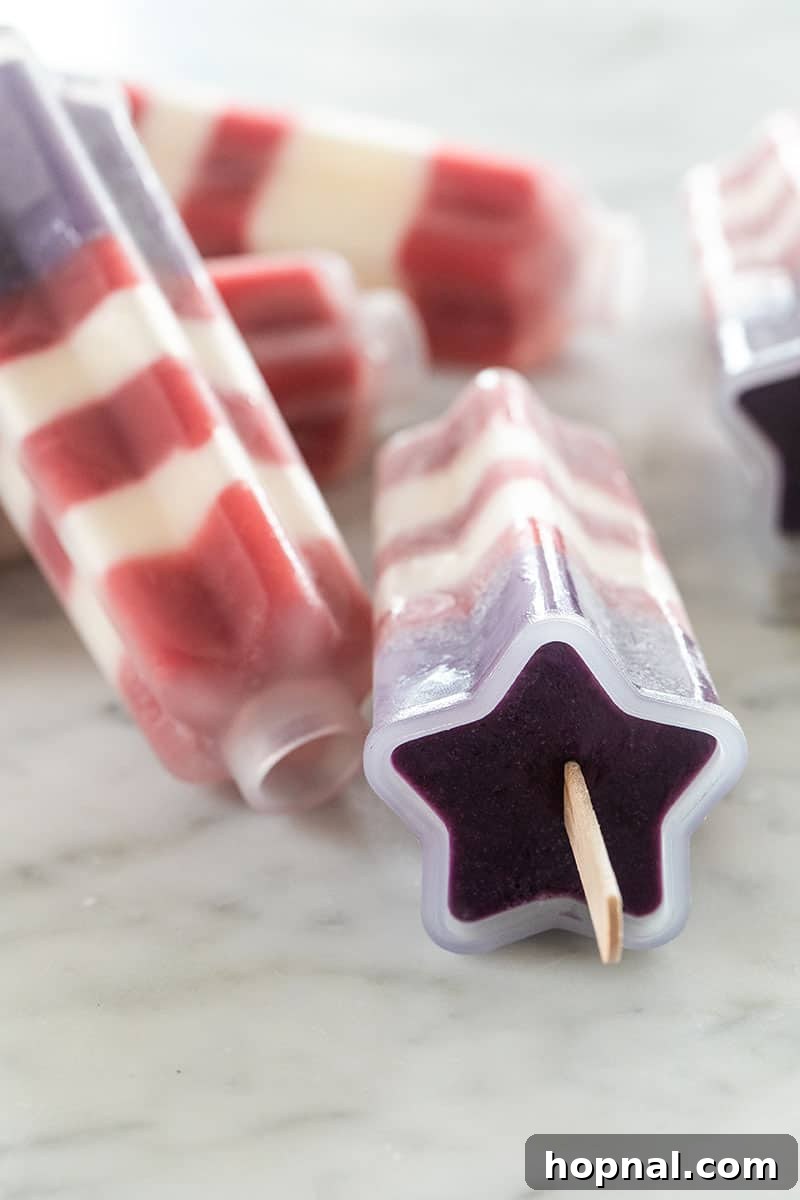
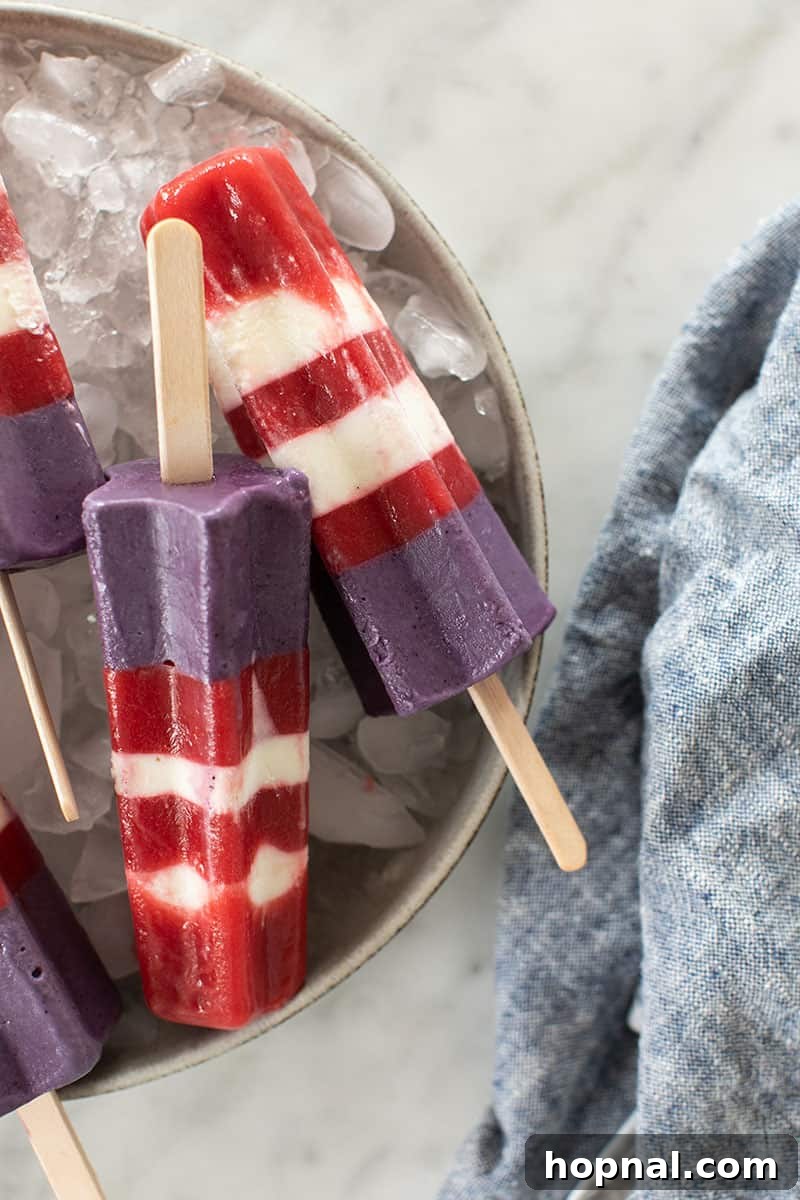
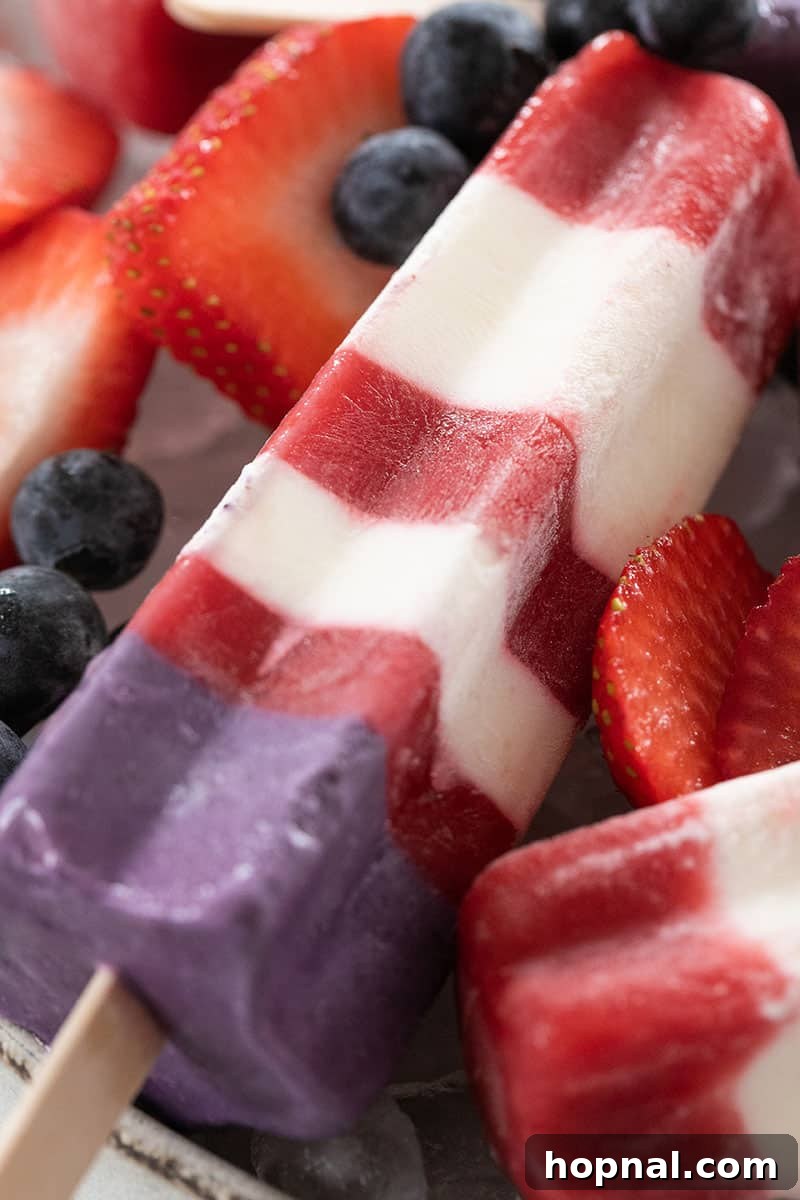
The result is a popsicle that’s wonderfully creamy, bursting with natural fruit flavor, and features those iconic red, white, and blue layers. While the blue layer naturally tends to lean more towards a beautiful purple hue (blended blueberries aren’t quite as vibrant as food coloring!), the taste and visual appeal remain irresistible.
Achieving Vibrant Colors (and the “Blue” Reality)
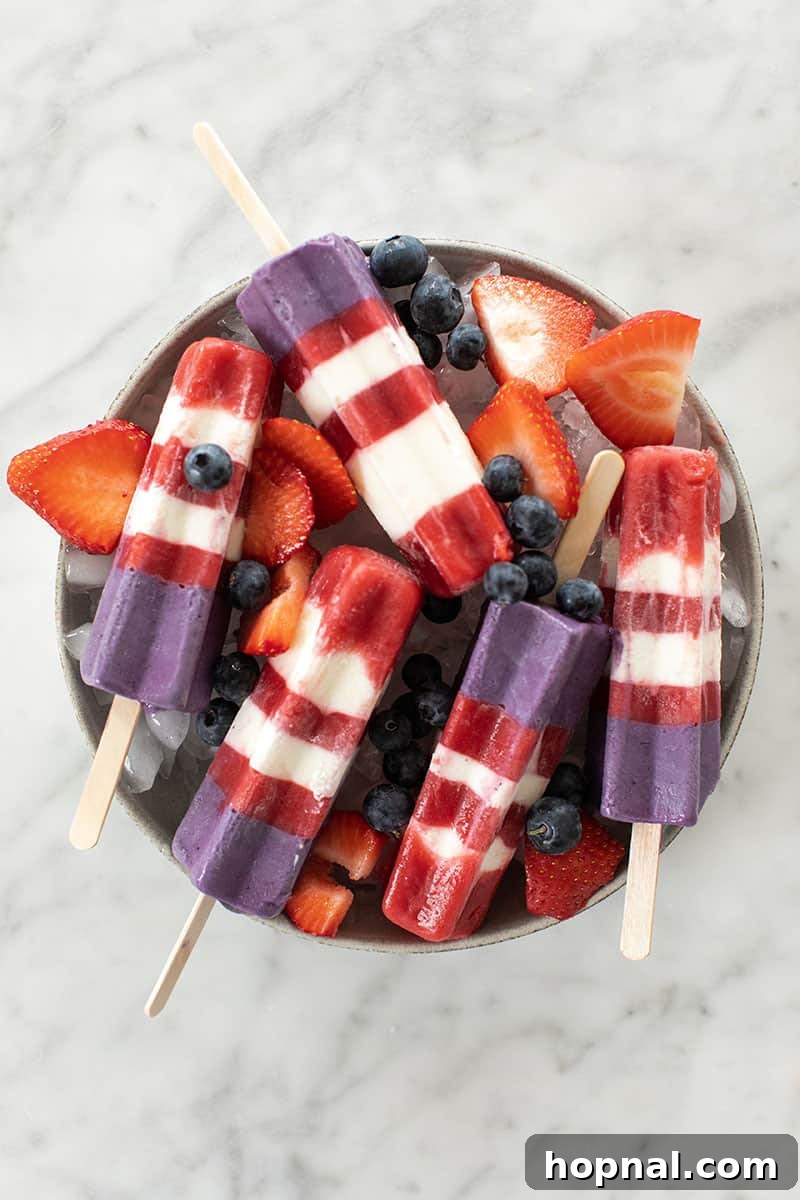
Creating those distinct red, white, and blue layers is part of the fun! We’ve experimented extensively with natural options to achieve a true blue color from fruit. While blueberries are the natural choice for the “blue” layer, when blended, they often take on a lovely purple shade rather than a bright blue. We found that trying to force a perfectly blue hue with only natural ingredients often required extra steps or specialized components that weren’t worth the trouble for an easy homemade recipe.
If you’re aiming for that super intense, classic blue, a tiny drop of blue food coloring is the most straightforward way to achieve it. However, we wholeheartedly embrace the beautiful, slightly purple hue that natural blueberries provide. It adds a rustic charm and reminds you that you’re enjoying a treat made with real fruit. Ultimately, whether you opt for a vibrant purple or a touch of food coloring, the delicious flavor will be the star!
How to Make Homemade Bomb Pops
Making your own Bomb Pops might seem intimidating with the layering, but it’s surprisingly simple. The process involves preparing three distinct fruit and yogurt mixtures, then carefully layering them in your popsicle molds, allowing each layer to partially freeze. This ensures crisp, beautiful stripes that will impress everyone.
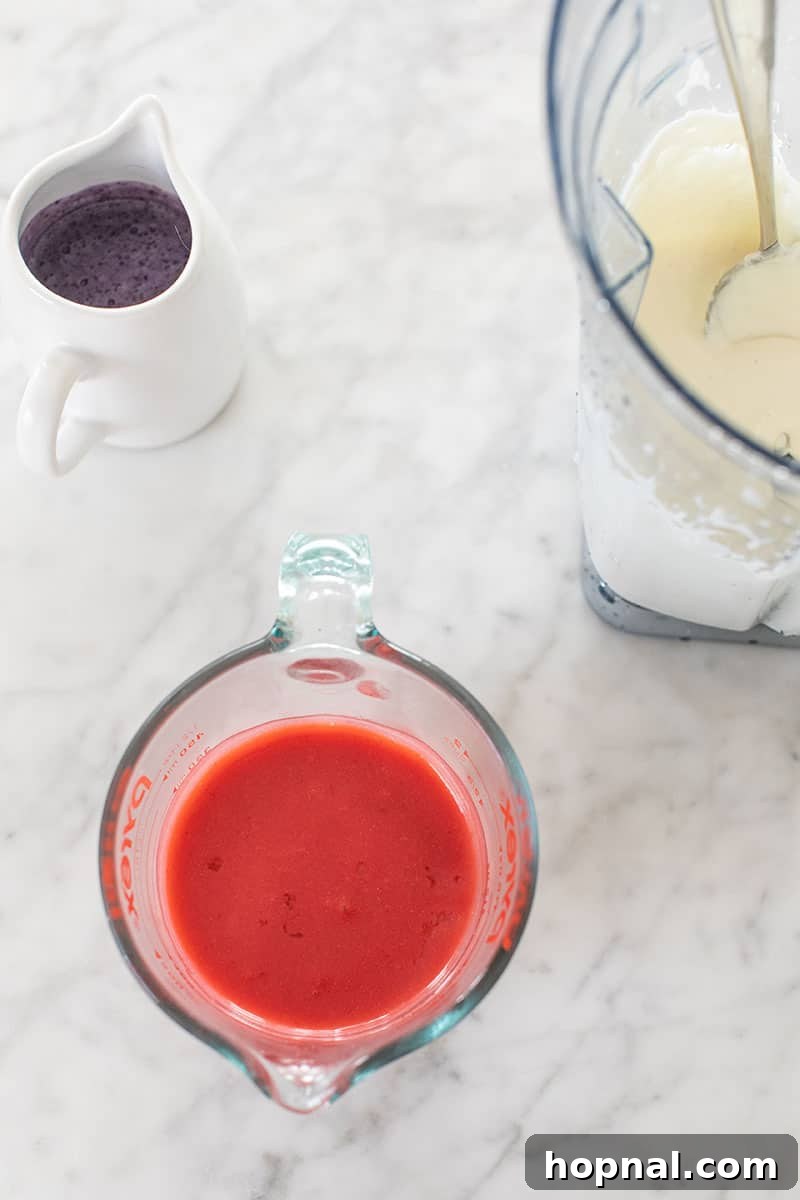
The Red Popsicle Layer
The first vibrant layer is a sweet and tangy strawberry blend. It’s made with fresh strawberries, a hint of lemon juice, sugar, and a touch of cornstarch. The fresh strawberries provide a beautiful natural red color and a burst of summery flavor, while the lemon juice brightens everything up.
The secret to wonderfully creamy popsicles, free from icy crystals, lies in the cornstarch. It acts as a natural stabilizer, giving your homemade pops a smooth, delightful texture reminiscent of your favorite ice cream. We often use this trick in our ice cream recipes too, like our luscious raspberry cheesecake swirl. This small addition makes a huge difference in the final product!
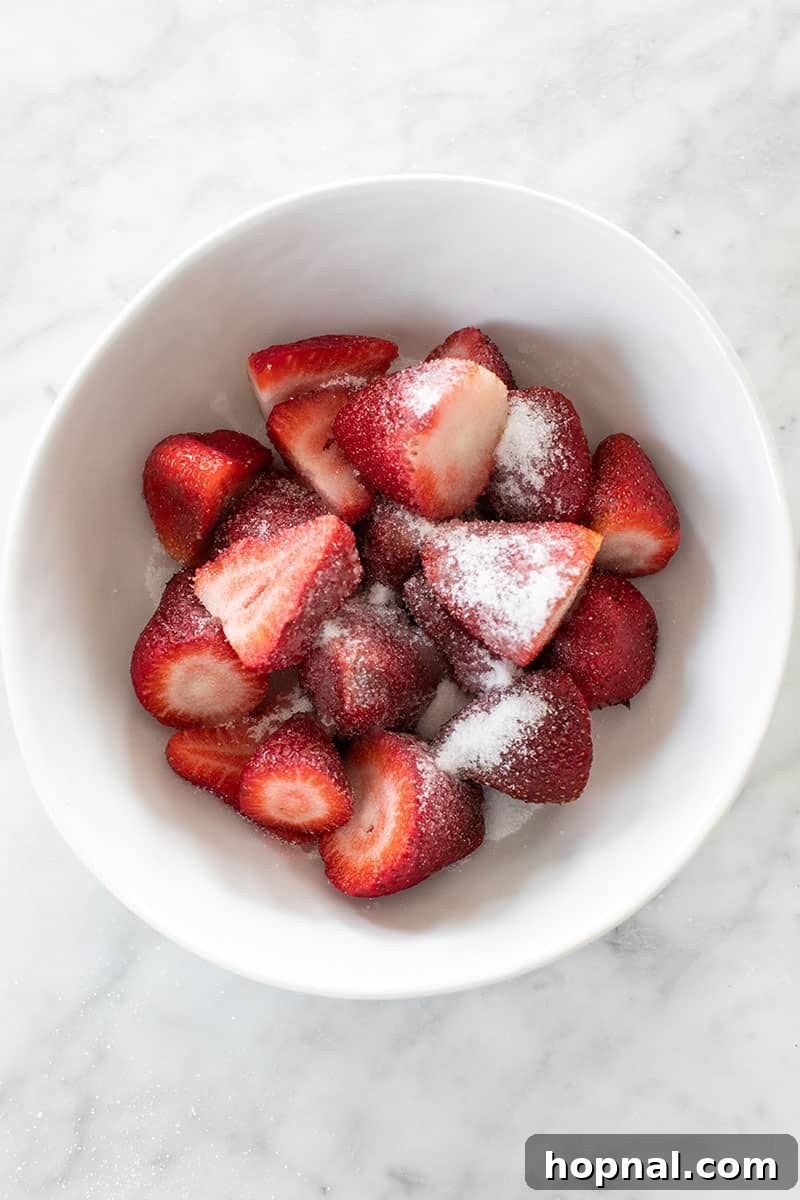
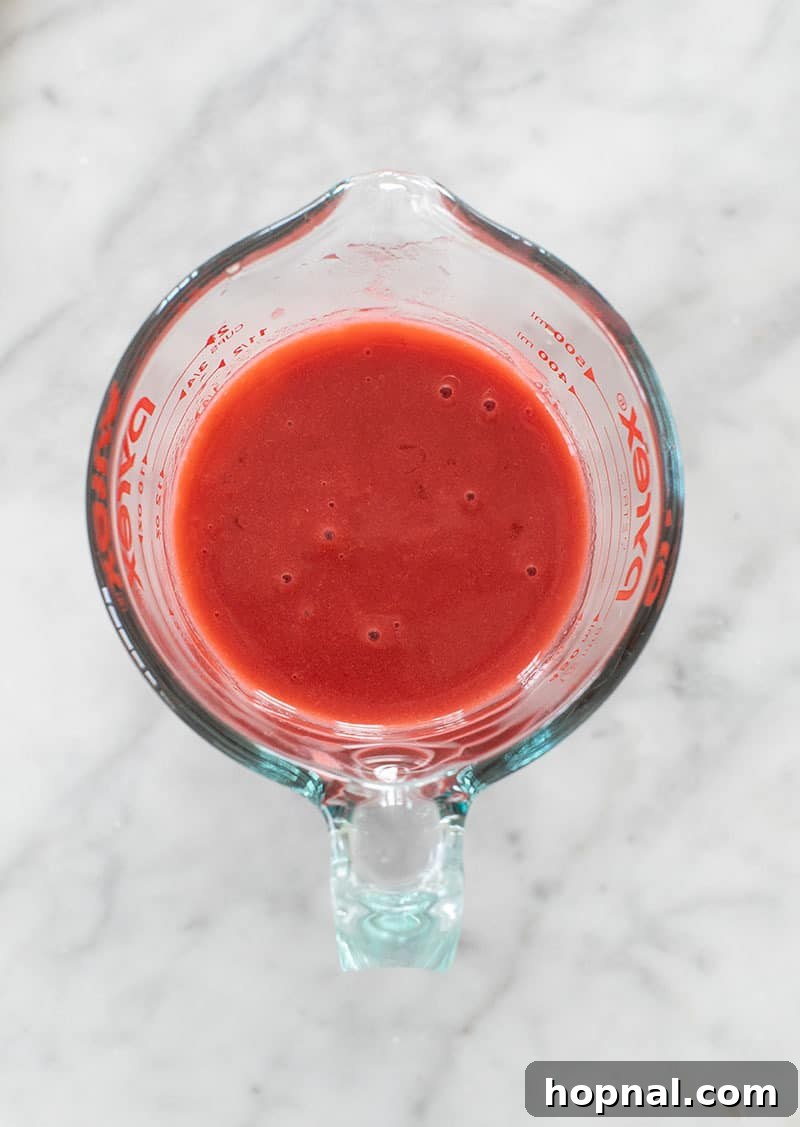
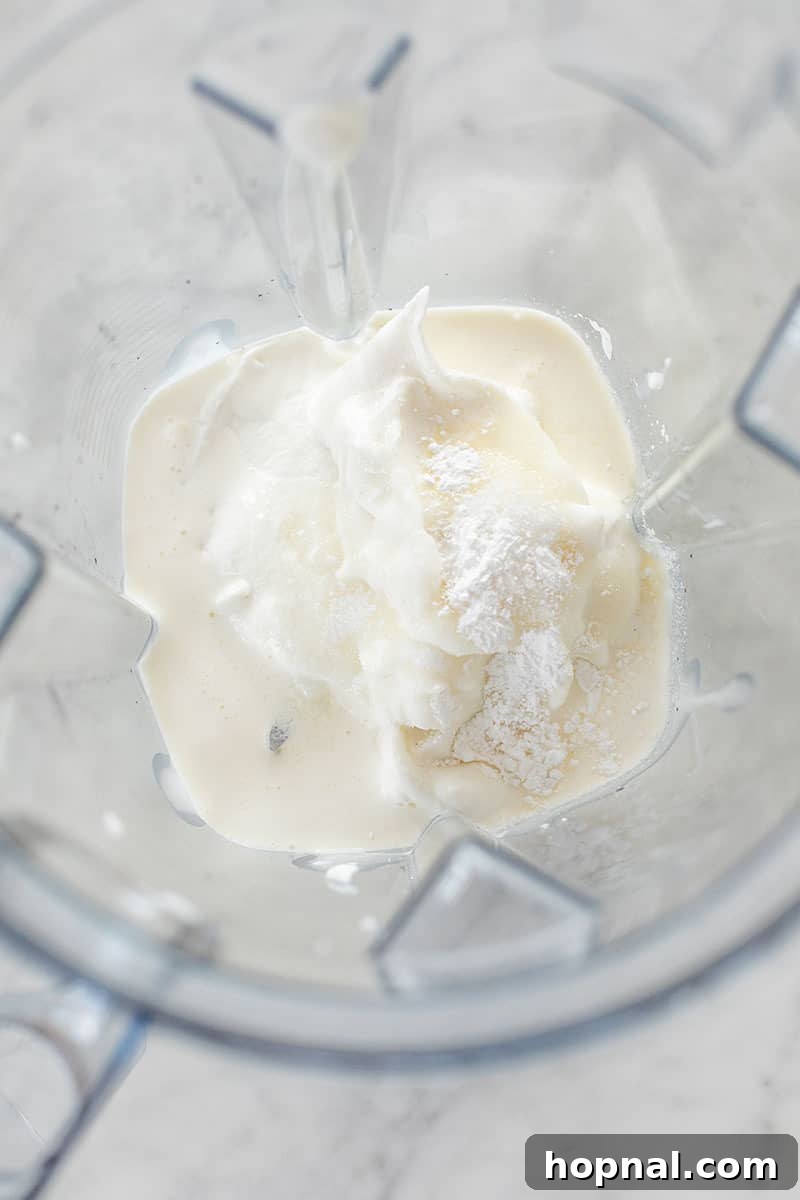
The White Popsicle Layer
The creamy white layer provides a delicious contrast in both color and flavor. It’s crafted from smooth vanilla yogurt and your choice of milk, along with a bit of sugar and, once again, cornstarch for that irresistible creamy consistency. For the milk, feel free to use what you have on hand or what best suits your dietary preferences: whole dairy milk for richness, or plant-based options like coconut milk or almond milk for a lighter touch. Each option contributes its own subtle nuance to the flavor profile, ensuring a versatile and delightful white layer.
The Blue (or Purple) Popsicle Layer
Finally, we come to the captivating “blue” layer. This layer is made with fresh blueberries, sugar, cornstarch, and a splash of milk (almond or coconut milk work beautifully here). As mentioned, when blueberries are blended, they naturally create a rich purple color, which is absolutely gorgeous in its own right!
Simply blend all the ingredients together in a blender until the mixture is completely smooth. If you are set on a vivid blue, a tiny amount of food coloring can be added at this stage. Otherwise, embrace the natural beauty of the blueberry’s purple hue!
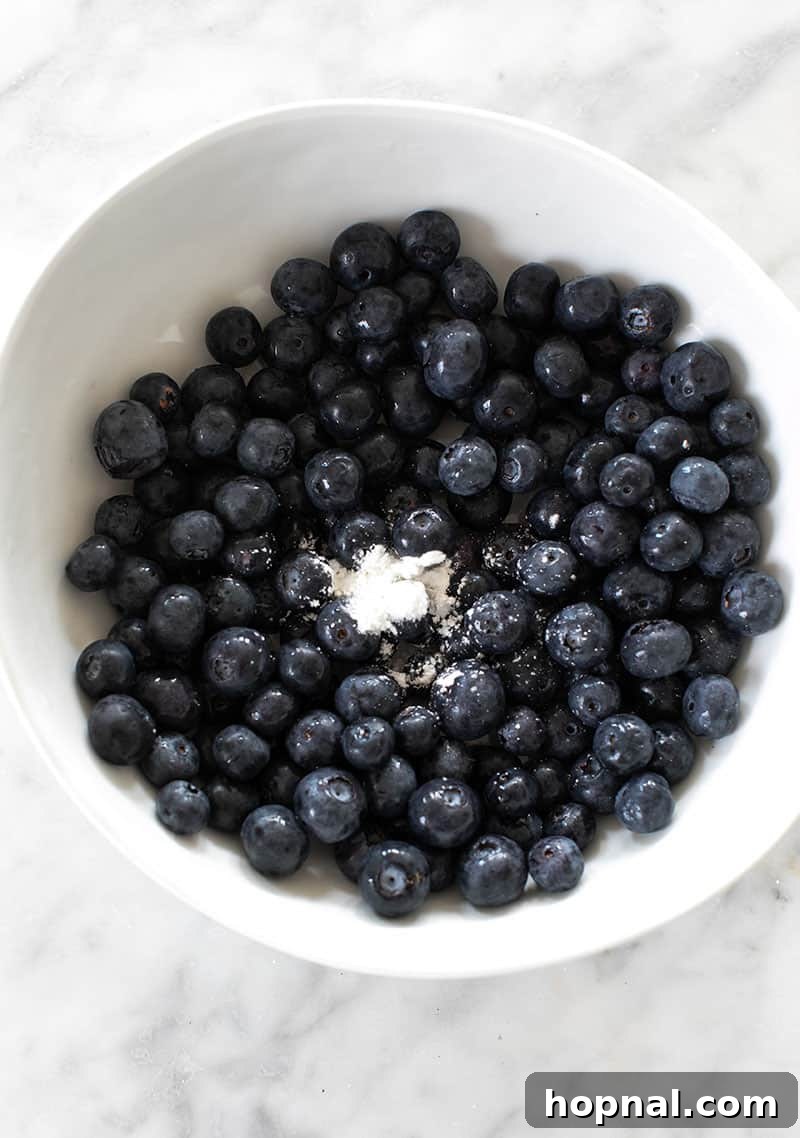
Blend all of the ingredients together in a blender until smooth.
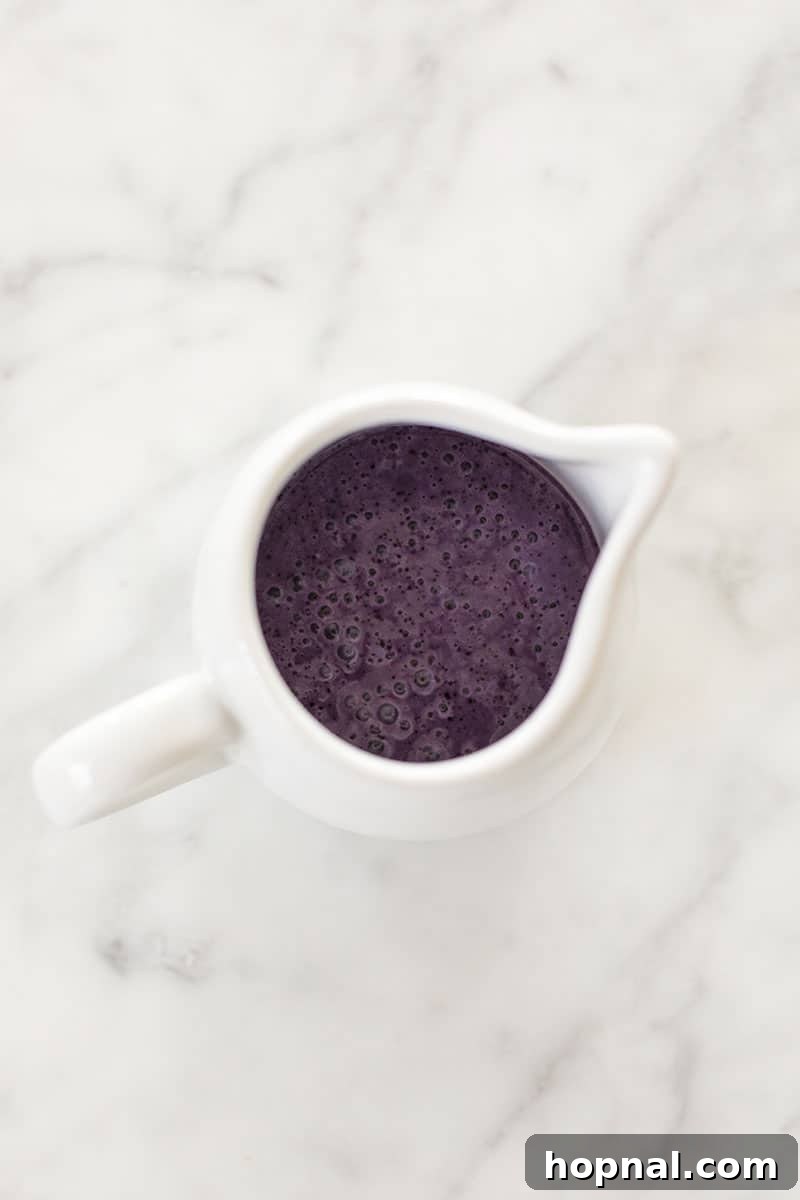
Assembling Your Bomb Pop Popsicles
Once you have each of your three colorful mixtures prepared, the assembly process is quite straightforward. The key to distinct layers is patience and proper freezing between each pour. We recommend storing each blended layer in separate containers with a spout, which makes pouring into the molds much cleaner and easier.
First, blend each set of ingredients for the red, white, and blue layers on high until they are completely smooth and free of any fruit chunks. This ensures a silky-smooth popsicle texture.
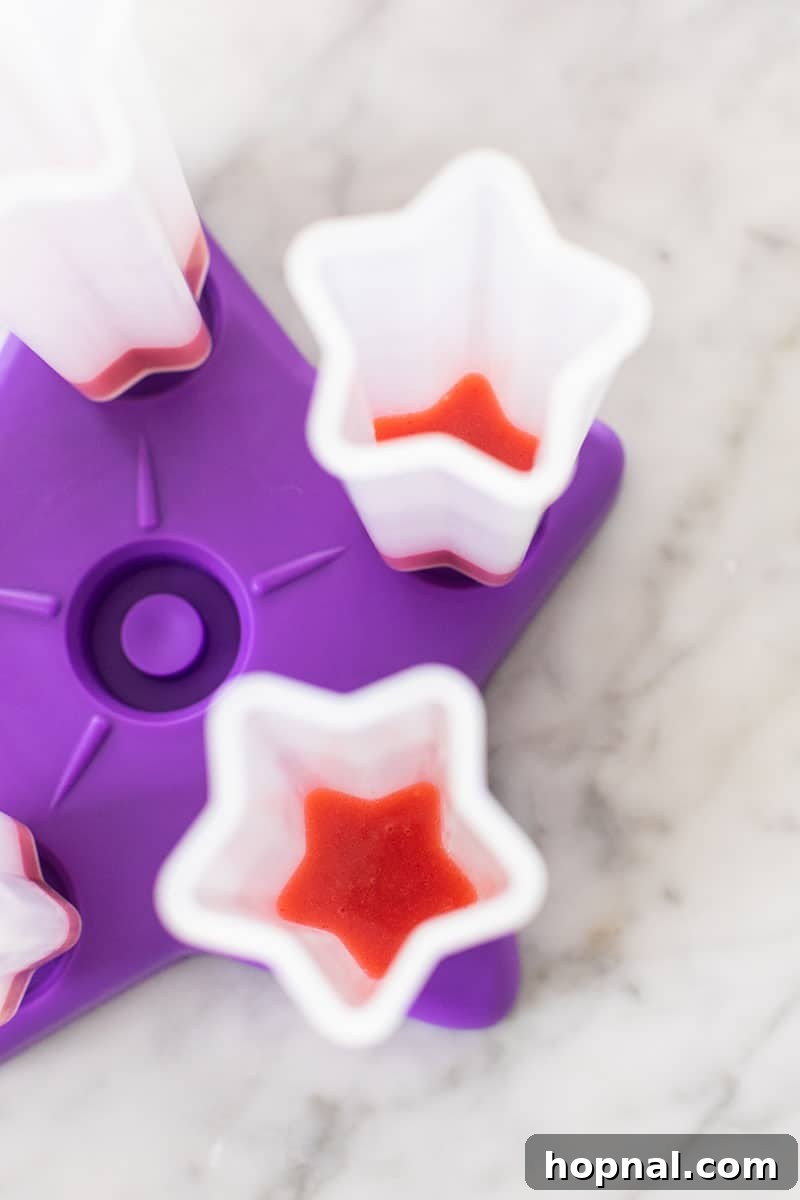
Creating Perfect Layers
The magic of Bomb Pops lies in their distinct stripes. To achieve this, each layer needs to set partially before the next is added. Begin by pouring your first chosen layer (traditionally red) into the popsicle molds, filling about one-third of the way. Place the molds in the freezer for approximately 20-30 minutes, or until the layer is firm enough to support the next without bleeding, but not completely frozen solid.
Once the first layer is set, carefully pour in the second layer (the white mixture), filling another third of the mold. Return to the freezer for another 20-30 minutes. Repeat this process for the final layer (the blue/purple mixture). If you’re using wooden popsicle sticks, insert them after the second layer has partially frozen, ensuring they stand upright and freeze securely in the middle.
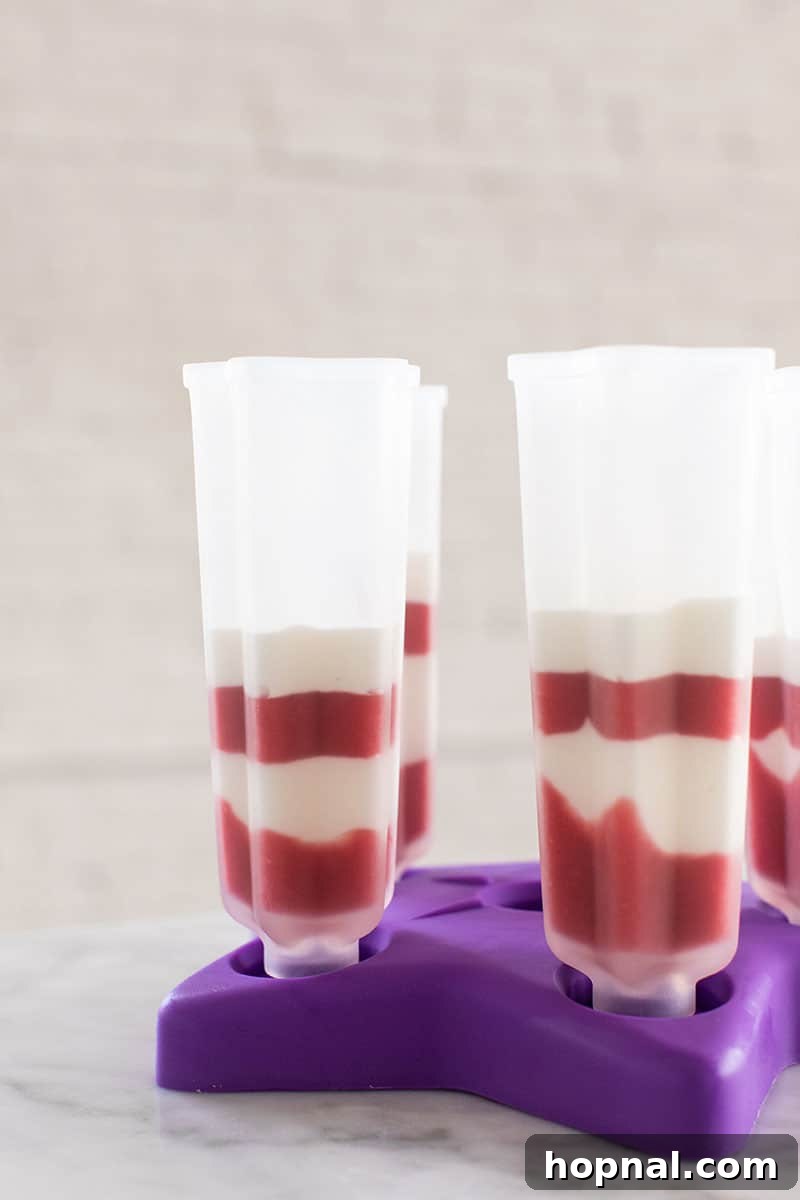
Add the popsicle stick in before you reach the middle of the mold to freeze in place.
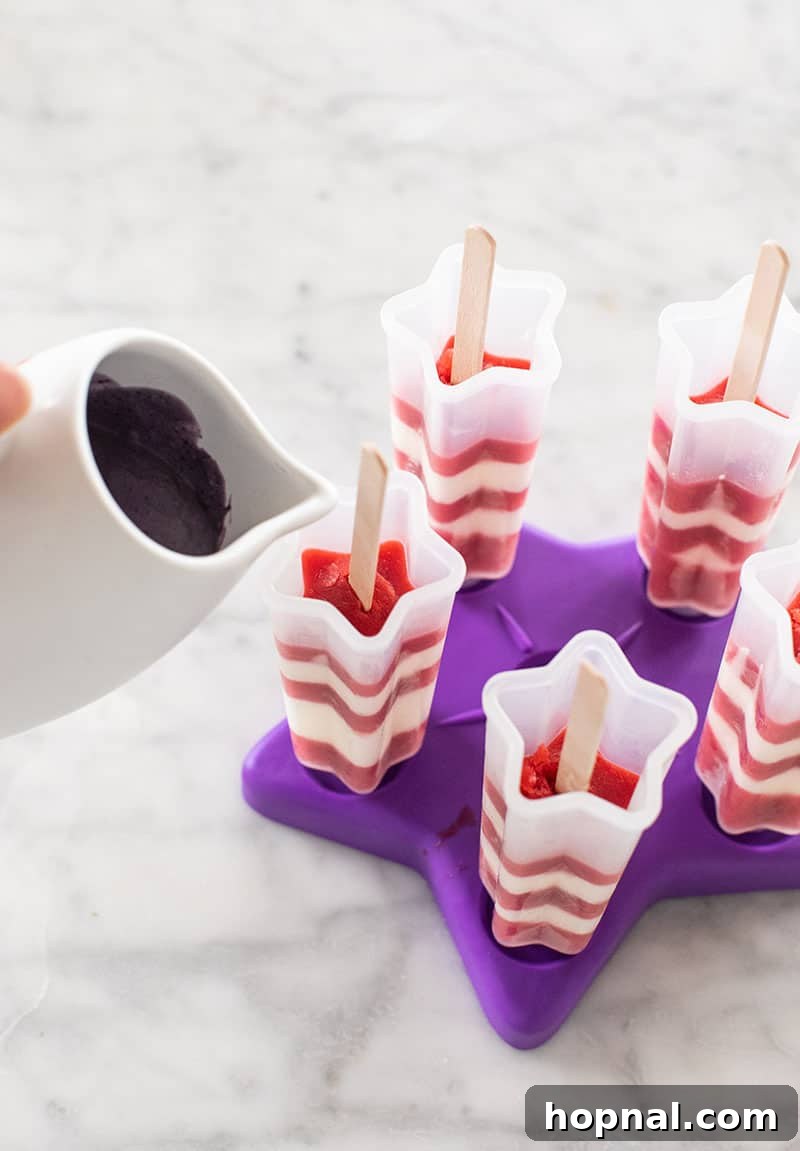
While the classic Bomb Pop features three equal layers of red, white, and blue, feel free to get creative with your pattern! You could do thinner stripes, thicker sections, or even inverse the colors. For example, we sometimes create a few thinner red and white stripes, finishing with a larger blue section at the bottom. Experiment and have fun with it!
Choosing the Right Popsicle Mold
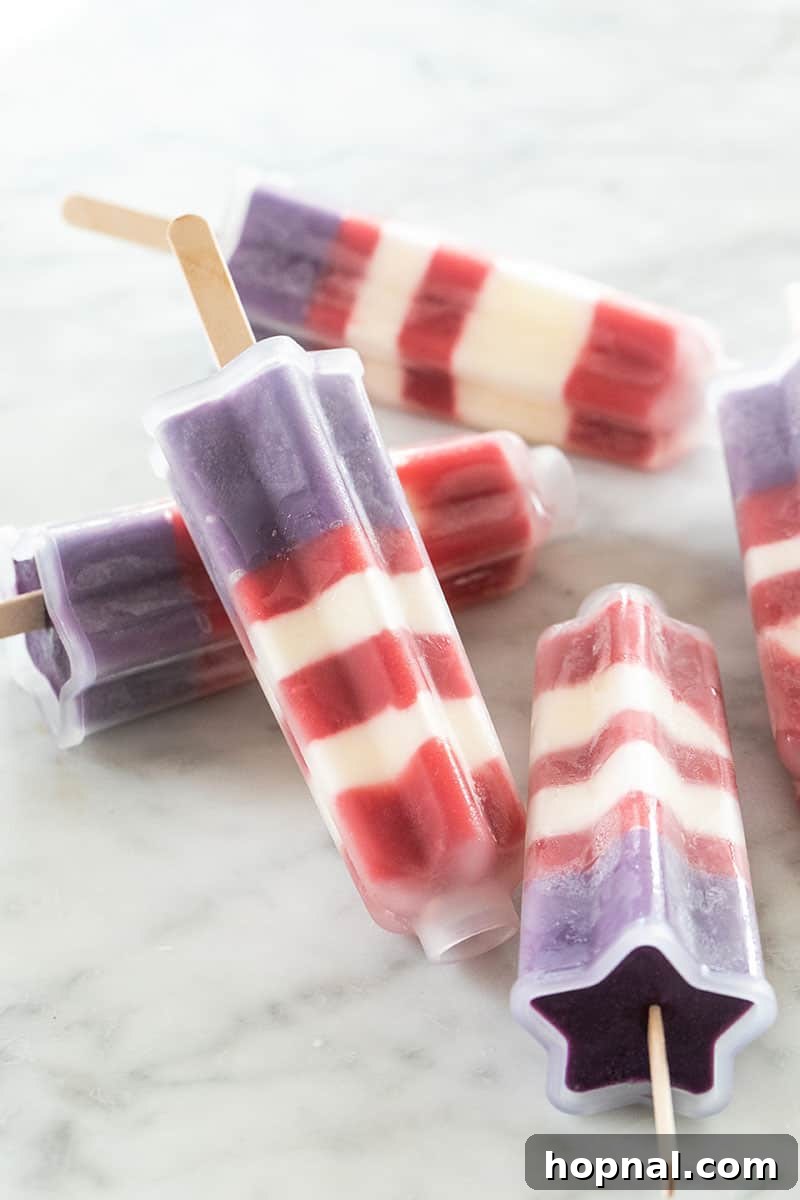
The right mold can make all the difference in achieving perfectly shaped popsicles. We used this specific popsicle mold for this recipe, and it worked flawlessly for creating those crisp layers. For a traditional look, we opted for wooden popsicle sticks instead of the plastic reusable ones that came with the mold. However, if you’re making these for kids and want to minimize drips, many molds come with built-in drip guards on their reusable sticks, which can be a fantastic feature.
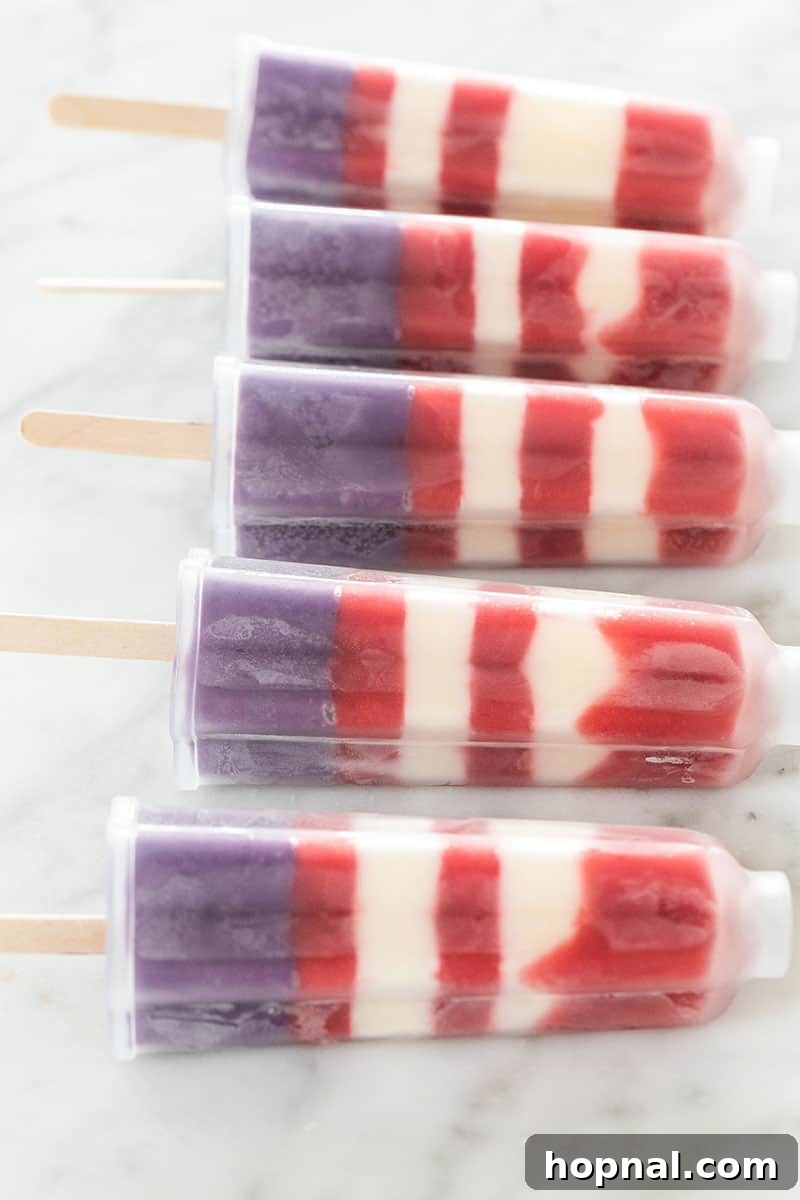
There are many types of popsicle molds available, from classic rectangular shapes to fun star molds, like the one shown below, which are particularly festive for the 4th of July. Silicone molds are also popular for their ease of demolding. No matter your choice, ensure it’s food-grade and easy to clean.
Essential Tips for Perfect Popsicles
To ensure your homemade Bomb Pops turn out perfectly every time, keep these key tips in mind:
- Don’t Overfill: Always leave about 1/4 inch of space at the top of your popsicle molds. This is crucial because liquids expand as they freeze. Overfilling can make it incredibly difficult to remove the lid or individual popsicles, and you won’t get that clean, professional edge.
- Ripe Fruit is Key: Use the ripest, most flavorful strawberries and blueberries you can find. This will naturally enhance the sweetness and depth of flavor in your popsicles, reducing the need for excessive added sugar.
- Smooth Blending: Ensure each layer mixture is completely smooth after blending. Any chunks of fruit can create an uneven texture or make the popsicles harder to eat.
- Partial Freezing is a Must: Resist the urge to rush the layering process. Each layer must be firm enough to prevent the subsequent layer from mixing, but not so solid that it forms a barrier preventing the layers from adhering slightly. The 20-30 minute interval is typically ideal.
- Demolding with Ease: When your popsicles are fully frozen (ideally overnight), don’t force them out of the mold. Instead, run the mold under warm water for about 10-20 seconds. This gently loosens the edges, allowing the popsicles to slide out effortlessly.
- Sweetness Adjustment: Taste each mixture before freezing and adjust the sugar level to your preference. Remember that frozen treats often taste slightly less sweet than their liquid counterparts.
Serving Your Homemade Bomb Pops
These homemade Bomb Pops are a fantastic addition to any summer celebration. They’re especially festive for the Fourth of July, Memorial Day, or Labor Day picnics with their patriotic colors. Serve them straight from the freezer on a hot day, perhaps nestled in a bowl of ice to keep them cool while guests choose their favorite. Kids and adults alike will adore these refreshing, fruity treats. They also make a wonderful alternative to traditional desserts at BBQs or pool parties.
More 4th of July Recipes You’ll Love
Looking for more patriotic treats and drinks for your Independence Day celebration? We’ve got you covered with a variety of festive recipes:
- The Best 4th of July Desserts
- Refreshing Watermelon 4th of July Cocktail
- American Flag Cupcake Cake
- Red, White and Blue 4th of July Jello Shots
More Popsicle Recipes You’ll Love
If you’ve caught the popsicle-making bug, there’s a whole world of frozen delights to explore! From refreshing fruit blends to sophisticated cocktail-inspired pops, these recipes are perfect for any occasion:
- Grapefruit Negroni Popsicles
- Watermelon Tequila Pops
- Greyhound Popsicles
- Avocado Popsicles
- Lemonade Popsicles
- Peachy Mango Protein Popsicles
We hope you enjoy making these fantastic homemade Bomb Pop popsicles as much as we do. They truly bring a taste of summer nostalgia to life with wholesome ingredients and vibrant colors. Let us know if you make these by leaving a comment and review below!
You can also FOLLOW US on FACEBOOK, INSTAGRAM, and PINTEREST to see more delicious recipes, cocktails, desserts, and party ideas!
Bomb Pops Popsicle Recipe
Eden
15
1 15
6 Popsicles
Equipment
- Popsicle mold
- Blender
Ingredients
Red Layer
- 2 cups fresh strawberries, tops removed, washed and cleaned.
- 3 tbsp granulated sugar , you can also use honey
- 1 tsp lemon juice, fresh-squeezed
- 1/2 tsp cornstarch
White Layer
- 1/2 cup vanilla yogurt
- 1 cup milk, coconut, almond or whole milk
- 1 tbsp granulated sugar
- 1 tsp cornstarch
Blue Layer
- 1/2 cup blueberries, washed and cleaned
- 3 tbsp granulated sugar , you can also use honey
- 1 cup milk, coconut, almond or whole
- 1 tsp cornstarch
- blue dye , optional
Instructions
-
Start with the white layer. Blend all white layer ingredients in a blender until completely smooth.
-
Pour the blended white mixture into a bowl or container with a spout and store it in the refrigerator.
-
Wash the blender thoroughly. Next, prepare the red layer by blending all red layer ingredients until smooth.
-
Pour the red mixture into a separate container with a spout and refrigerate.
-
Finally, wash the blender again and make the blue layer, blending until smooth. Store in a separate container.
-
To assemble, pour the red layer into your popsicle molds, filling them about 1/3 of the way. Freeze for 20-30 minutes until semi-solid.
-
Carefully pour the white layer over the red, filling another 1/3. Freeze for another 20-30 minutes. Repeat with the blue layer. Continue adding layers and freezing between each until the mold is full.
-
Insert the popsicle stick when the mold is about halfway full (after the white layer has been added and semi-frozen) to ensure it freezes firmly in place.
-
Once the mold is completely filled, freeze the popsicles overnight for best results.
-
To remove the popsicles, run the mold under warm water for 10-20 seconds until they easily release. Enjoy!
Nutrition
Calories:
147kcal
,
Carbohydrates:
27g
,
Protein:
4g
,
Fat:
3g
,
Saturated Fat:
2g
,
Cholesterol:
9mg
,
Sodium:
49mg
,
Potassium:
235mg
,
Fiber:
1g
,
Sugar:
24g
,
Vitamin A:
141IU
,
Vitamin C:
30mg
,
Calcium:
135mg
,
Iron:
1mg
Nutrition information is automatically calculated, so should only be used as an approximation.