
Running low on a specific baking ingredient can put a sudden halt to your culinary plans. But what if that ingredient is **self-rising flour**, and your recipe absolutely demands it? Don’t let a missing pantry staple derail your baking aspirations! Crafting your own **homemade self-rising flour** is surprisingly simple, requiring just three basic ingredients you likely already have on hand. This comprehensive guide will walk you through precisely **how to make self-rising flour** effortlessly, ensuring your baked goods achieve that perfect light and airy texture every time. Say goodbye to last-minute grocery runs and hello to a well-stocked, versatile baking arsenal!
For more foundational baking knowledge, be sure to see our guide for measuring flour.
Nothing is more frustrating than preparing a recipe and realizing you lack a crucial ingredient. This often happens with staples like buttermilk, too! Luckily, just as you can make your own buttermilk from scratch, you can also easily create your own **self-rising flour substitute** right in your kitchen.
What is Self-Rising Flour? Understanding This Baking Staple
Self-rising flour is a uniquely formulated flour blend that comes with its own leavening agent and a touch of salt already mixed in. It’s typically composed of all-purpose flour, baking powder, and salt. The magic behind its name lies in the baking powder, a chemical leavener that reacts with moisture and heat to produce carbon dioxide gas, causing your dough or batter to rise beautifully. This pre-mixed convenience makes it a favorite for specific types of baked goods, particularly those requiring a tender, fluffy crumb, such as classic Southern biscuits, light pancakes, and certain quick breads. Unlike standard all-purpose flour, which requires you to add leavening agents separately, self-rising flour streamlines the baking process, ensuring consistent results for recipes designed around its unique composition. The flour used in commercial self-rising blends often has a lower protein content, which is crucial for contributing to the exceptionally tender texture it imparts to baked goods. Common recipes that benefit from self-rising flour include flaky biscuits, airy pancakes, and our delightful Blackberry Cobbler Recipe.
Why Make Your Own Self-Rising Flour? Convenience, Cost, and Quality
There are several compelling reasons why you might choose to make your own self-rising flour at home, even if you could buy it pre-made:
- Unbeatable Convenience: The most immediate benefit is saving a trip to the grocery store. If you’re halfway through a recipe and realize you’re out, a homemade substitute is a quick and effective fix, preventing any delays in your baking process.
- Cost-Effective Solution: Buying all-purpose flour, baking powder, and salt separately is often more economical than purchasing specialized self-rising flour, especially if you don’t use it frequently. This method helps you save money in the long run.
- Guaranteed Freshness and Potency: Baking powder has a shelf life and can lose its leavening power over time. By mixing your own, you ensure that the leavening agent is fresh and active, leading to superior rise and texture in your baked goods. Pre-packaged self-rising flour might have sat on a shelf for a while, potentially diminishing its effectiveness.
- Control Over Ingredient Quality: Making your own gives you complete control over the quality of each component. You can choose your preferred brand of all-purpose flour and ensure your baking powder and salt are of high quality, which can significantly impact the final taste and texture of your baked creations.
- Reduced Pantry Clutter: For occasional bakers, keeping a separate bag of self-rising flour might not be practical. Having the individual components on hand allows you to create it only when needed, freeing up valuable pantry space.
How to Make Self-Rising Flour: The Simple Ingredients
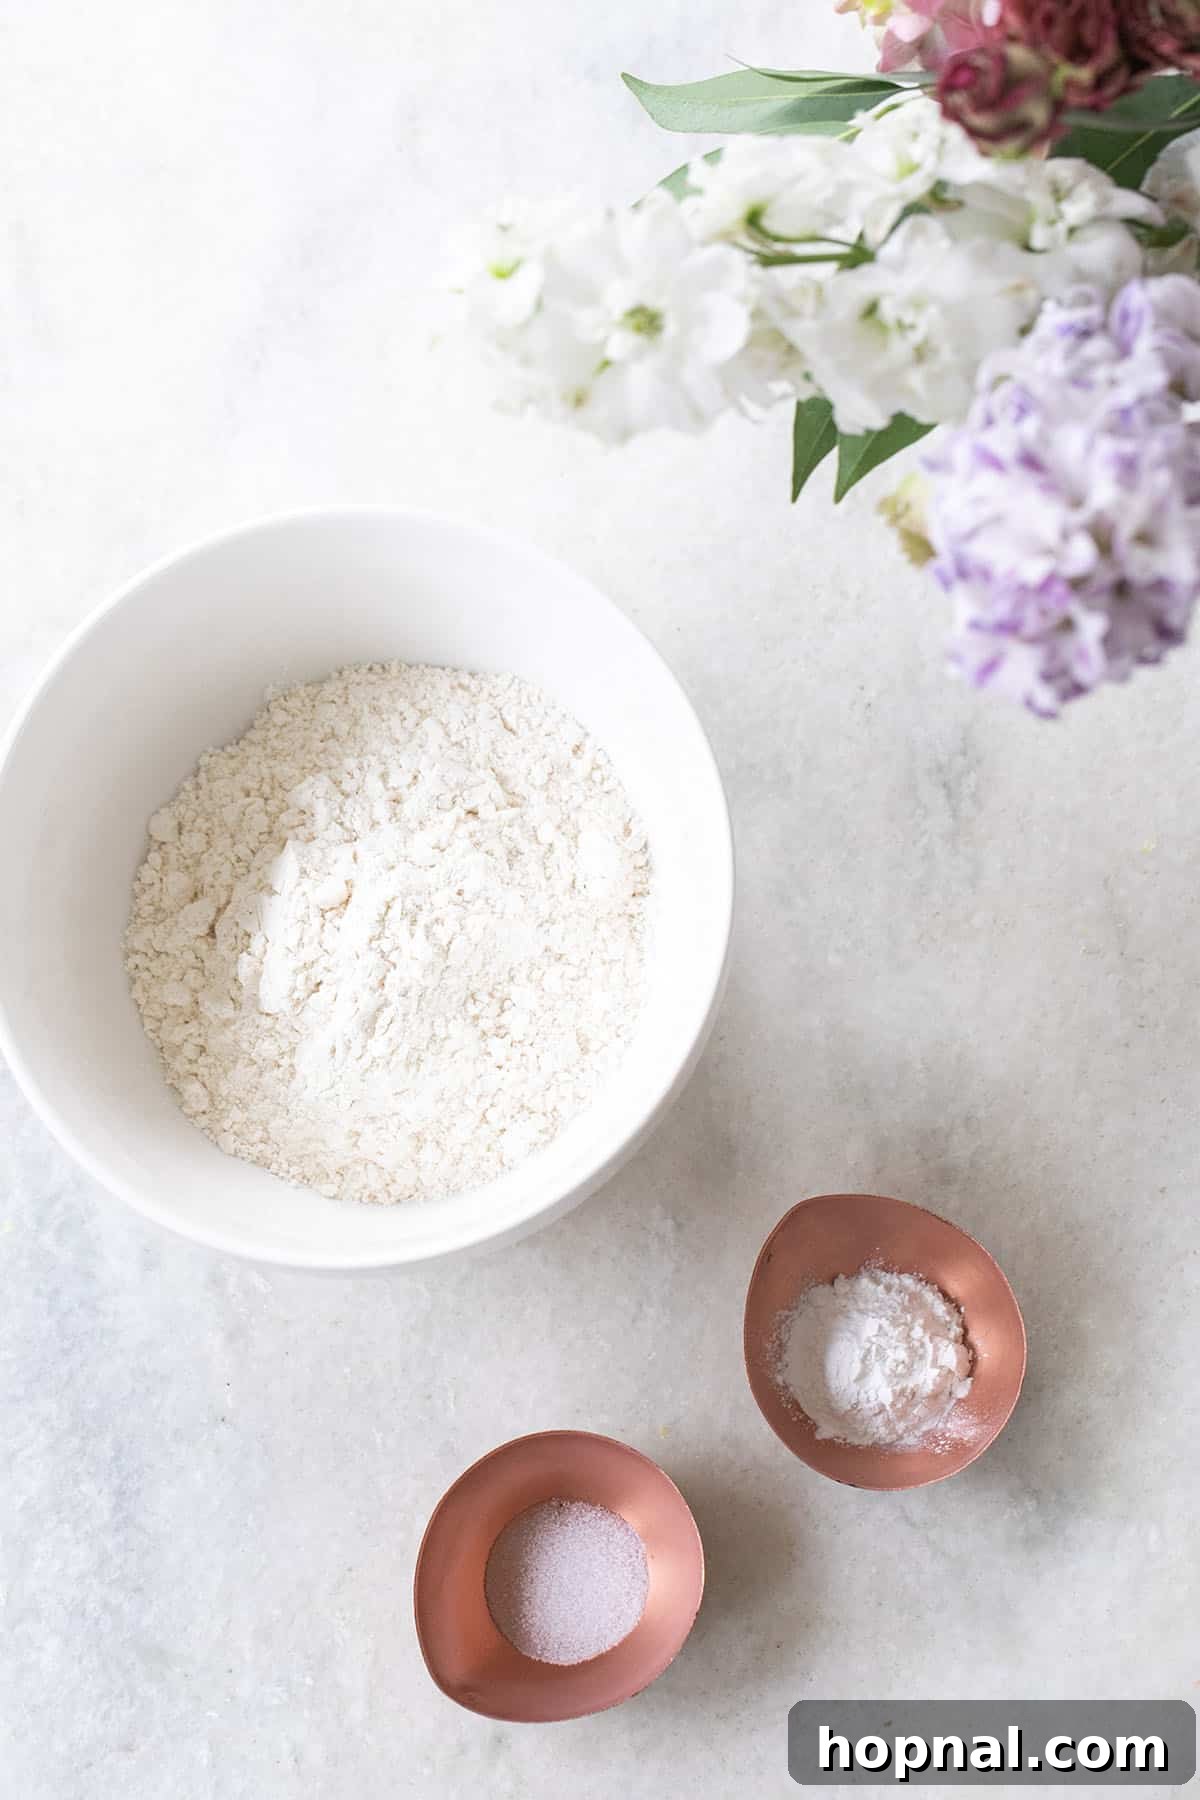
Crafting your own self-rising flour at home is incredibly straightforward, requiring just three essential ingredients. The beauty of this recipe lies in its simplicity and accessibility. You’ll need:
- All-Purpose Flour: This forms the base of your self-rising flour. While commercial self-rising flour often uses a lower-protein flour, standard all-purpose flour works perfectly for most home baking applications. Ensure your flour is fresh and unexpired for the best results.
- Baking Powder: This is your primary leavening agent, crucial for giving your baked goods that desired lift and airy texture. For optimal results, always use fresh baking powder. If you’re unsure about its freshness, you can test it by mixing a teaspoon with a quarter cup of hot water; it should bubble vigorously. Learn more about baking soda vs. baking powder.
- Fine Salt: Salt not only enhances the flavor of your baked goods but also plays a subtle yet important role in controlling the action of the leavening agent and strengthening the gluten structure. Use a fine-grained salt, such as table salt, to ensure even distribution throughout the flour.
Step-by-Step Directions for DIY Self-Rising Flour
Making your own **self-rising flour substitute** is a quick, two-step process that takes less than a minute. Precision in measurement and thorough mixing are key to ensuring consistent results in your baking:
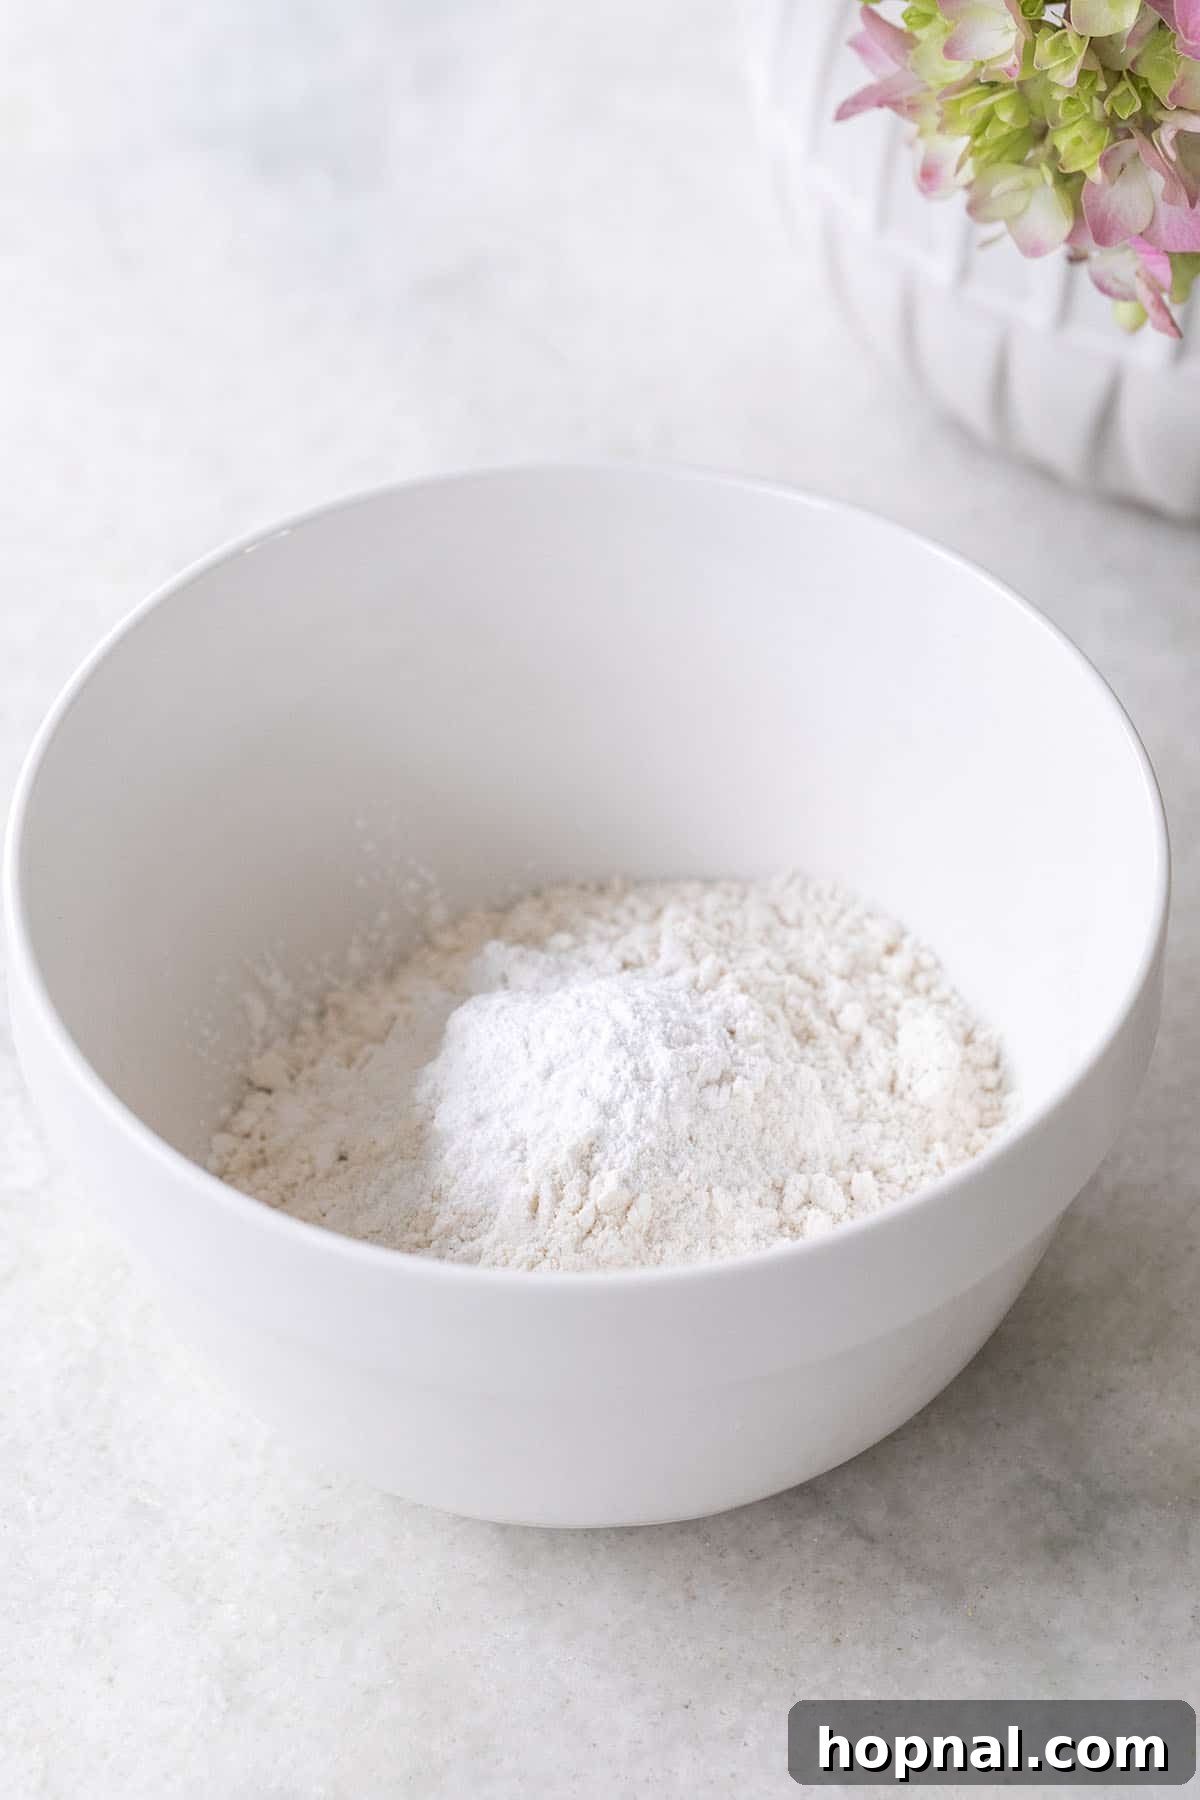
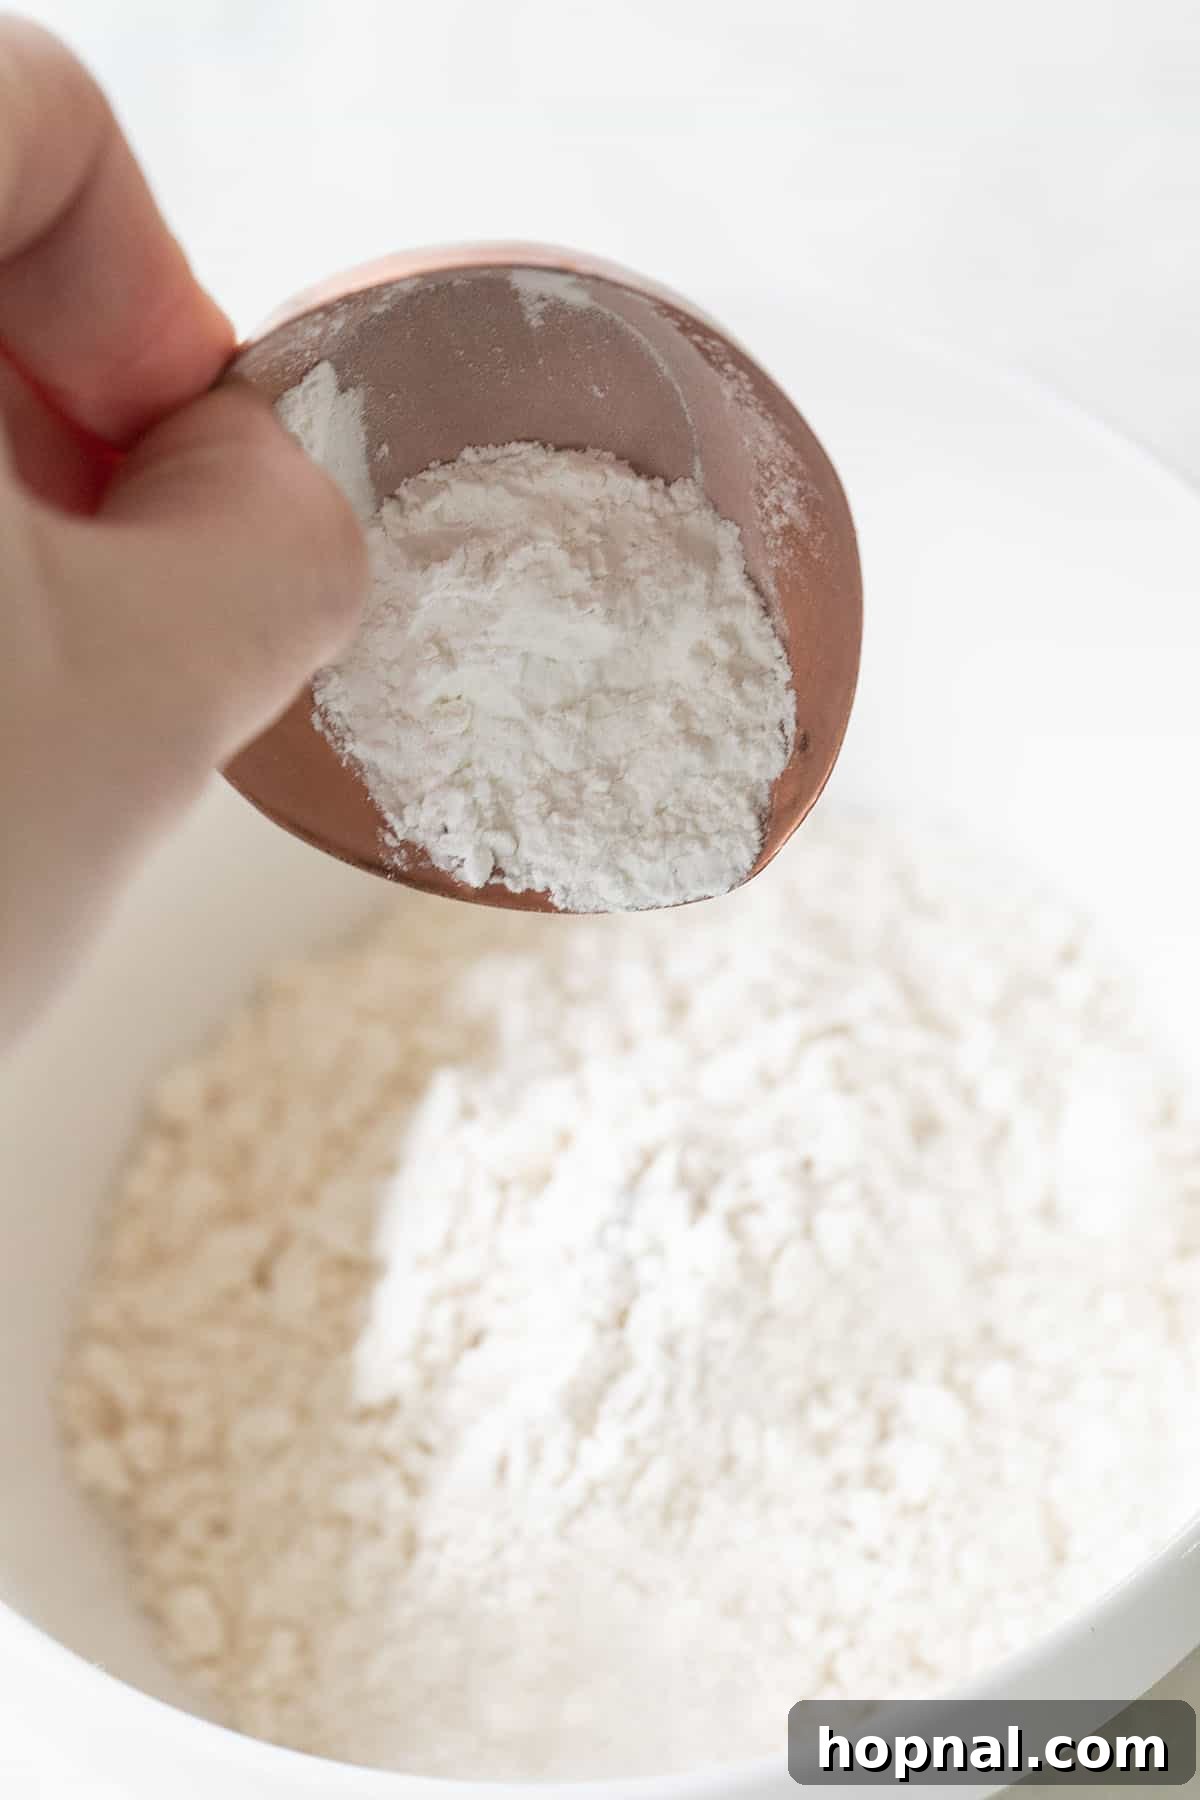
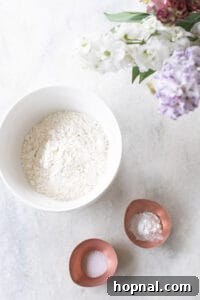
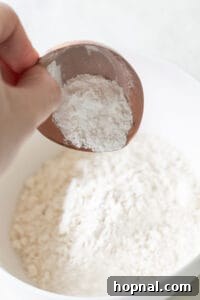
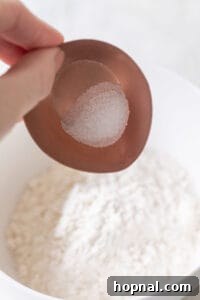
In a spacious mixing bowl, accurately measure 1 cup of all-purpose flour. Follow this by adding 1 ½ teaspoons of baking powder and ½ teaspoon of fine salt. It’s important to level off your measurements for accuracy, especially with leavening agents, to ensure the correct balance for your recipe.
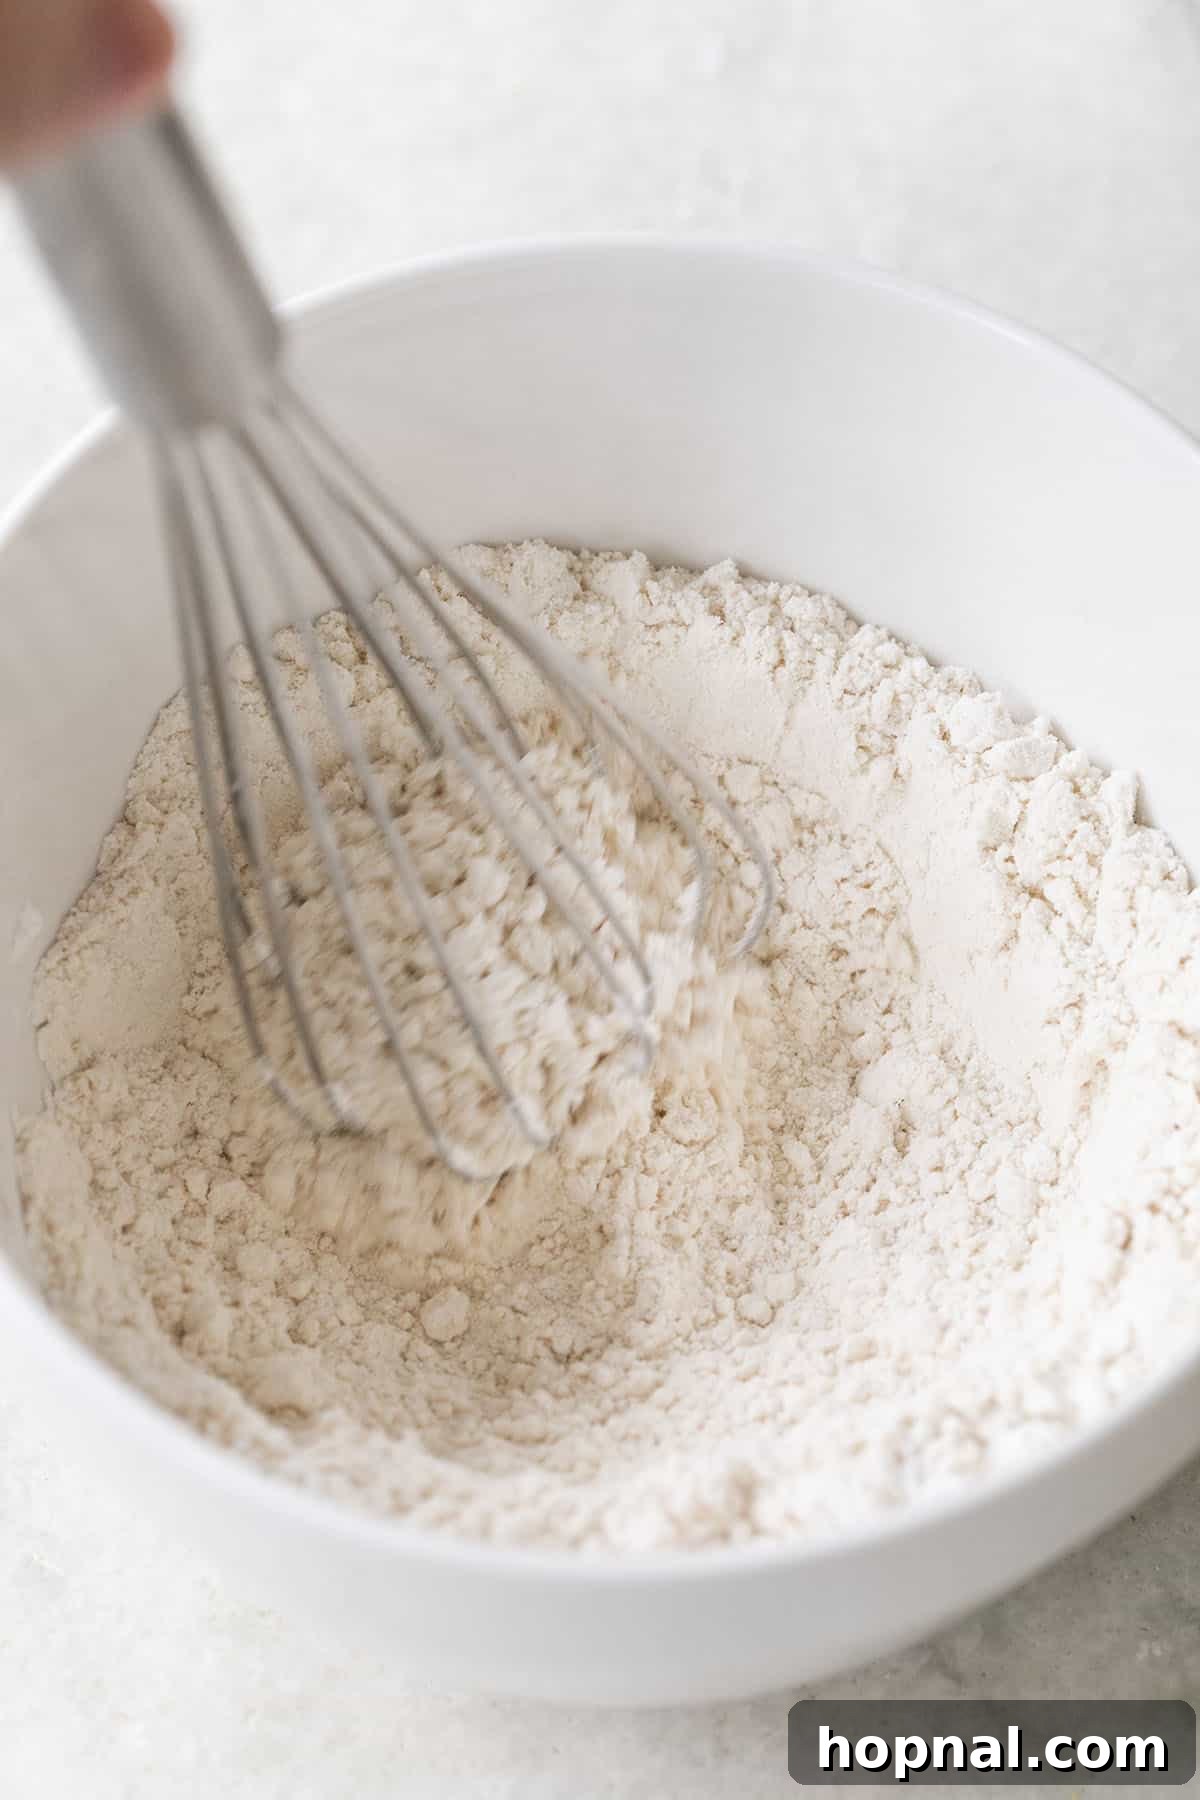
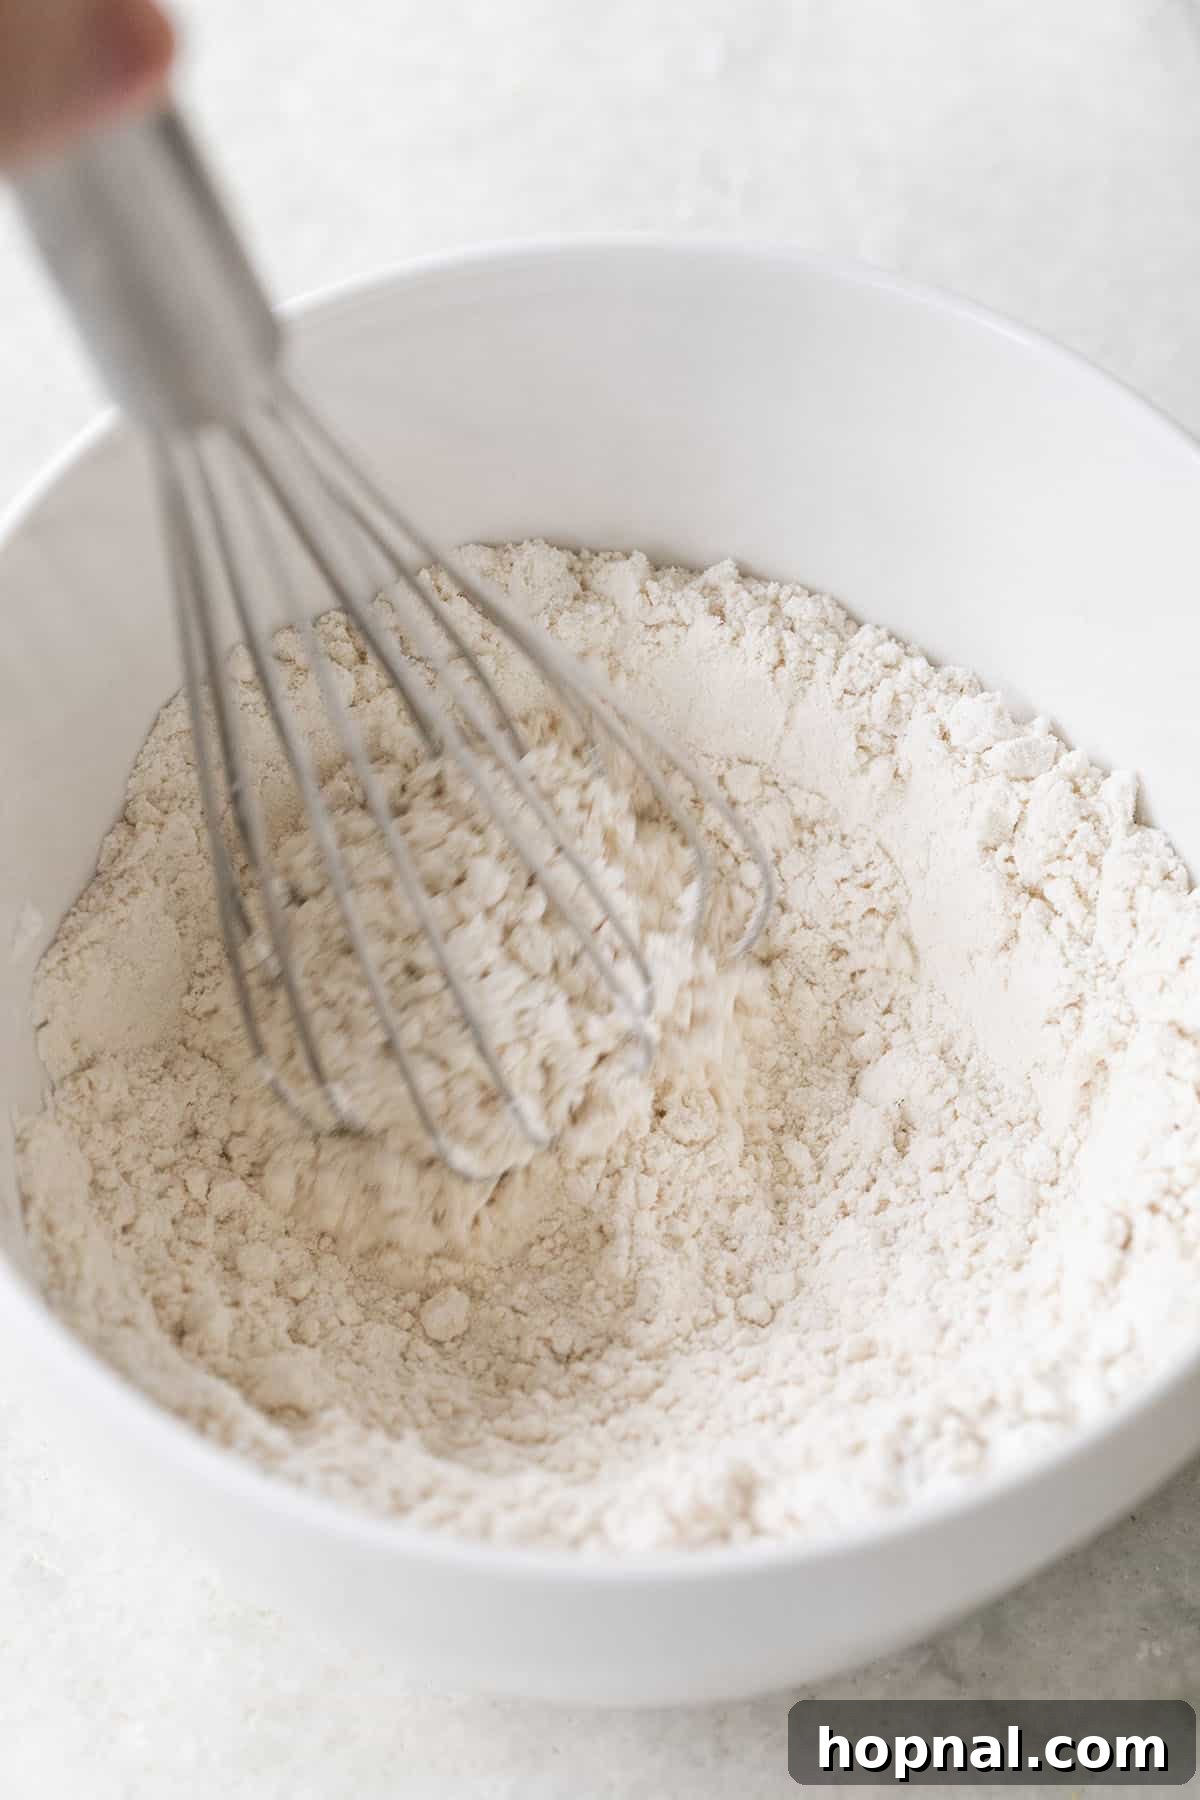
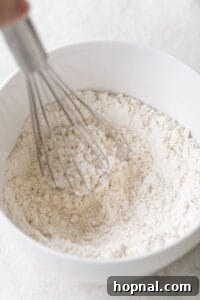
Using a whisk, gently but thoroughly combine all three ingredients. Whisking ensures that the baking powder and salt are evenly distributed throughout the flour. This even distribution is critical for consistent leavening, preventing pockets of uneven rise in your baked goods. Continue whisking for about 30 seconds to 1 minute until you’re confident that the mixture is homogenous and no lumps remain.
Your **homemade self-rising flour** is now ready to use immediately in any recipe that calls for it. Alternatively, you can store it for future baking adventures, ensuring you always have this versatile ingredient on hand.
How to Store Your Homemade Self-Rising Flour
Proper storage is essential to maintain the potency of your homemade self-rising flour, particularly the effectiveness of the baking powder. If you plan to make a larger batch to keep on hand, follow these guidelines:
- Use an Airtight Container: Always transfer your freshly made self-rising flour to an airtight container immediately after mixing. This protects it from moisture and air, which can degrade the baking powder and cause the flour to absorb unwanted odors or humidity. Glass jars with tight-fitting lids or sturdy plastic food storage containers work wonderfully.
- Choose a Cool, Dry, Dark Place: Store the container in a cool, dry, and dark pantry or cupboard, away from direct sunlight, heat sources, and high humidity. These environmental elements are detrimental to the leavening agent’s shelf life and can cause the flour to clump.
- Label and Date for Freshness: It’s a good practice to label the container with the date you prepared the flour. While all-purpose flour itself has a long shelf life, baking powder typically remains potent for 6 to 12 months once opened. For best results and reliable leavening action, aim to use your homemade self-rising flour within this timeframe. If you notice your baked goods aren’t rising as expected, your baking powder might have lost its strength, and it’s time to make a fresh batch.
Expert Tips for Baking Success with Self-Rising Flour
Achieving perfectly tender and airy baked goods with **homemade self-rising flour** is easy when you follow a few expert tips:
- Sift for Ultimate Tenderness: For exceptionally light and tender results, especially in delicate pastries or cakes, consider sifting your homemade self-rising flour before incorporating it into your recipe. Sifting aerates the flour, removes any small clumps, and ensures the leavening agents are perfectly distributed, leading to a more uniform rise and a finer, softer crumb.
- Quality Ingredients Matter: The success of your baking often starts with the quality of your ingredients. Always use fresh all-purpose flour, active baking powder (check its expiration date and test its potency if unsure), and a good quality fine salt. High-quality ingredients contribute significantly to the flavor and texture of your final product.
- Measure Accurately: Baking is a science, and precise measurements are crucial. Use proper measuring cups for dry ingredients and level them off correctly. Avoid scooping directly from the bag with your measuring cup, as this can compact the flour and lead to over-measurement. Instead, spoon the flour into your measuring cup and then level it with a straight edge for consistent results.
- Avoid Overmixing: When working with self-rising flour, especially in recipes for quick breads and biscuits, overmixing can develop too much gluten. This results in tough, chewy baked goods rather than the desired tender texture. Mix your batter or dough just until the ingredients are combined; a few small lumps are generally acceptable and even desirable.
- Mind the Lifespan: While the all-purpose flour base can last longer, the active component—baking powder—will gradually lose its efficacy. For the best leavening action and most reliable results, aim to use your homemade self-rising flour within 6 to 12 months of preparation. Always store it in an airtight container in a cool, dark, and dry place to maximize its shelf life.
Frequently Asked Questions About Self-Rising Flour
Absolutely! The primary distinction lies in their composition. All-purpose flour is precisely what its name implies: plain flour suitable for a wide range of baking and cooking tasks, with no added leavening agents or salt. Self-rising flour, on the other hand, is a pre-mixed convenience blend that already contains baking powder and salt. This means it’s designed to provide its own lift in recipes without the need for additional leaveners. While all-purpose flour is a versatile staple, self-rising flour is specifically formulated for recipes where a consistent, gentle rise is desired, like biscuits and certain cakes. Using them interchangeably without adjustment will drastically alter the outcome of your recipe, so understanding their differences is key to baking success.
The simplest and most effective way to substitute self-rising flour is to make your own from scratch, which is exactly what this guide teaches! For every 1 cup of self-rising flour required in a recipe, you can create a substitute by combining 1 cup of all-purpose flour with 1 ½ teaspoons of baking powder and ½ teaspoon of fine salt. Whisk these ingredients together very well for at least 30 seconds to ensure even distribution before adding them to your recipe. This homemade blend will function just like commercial self-rising flour, providing the necessary lift and seasoning for your baked goods.
No, self-rising flour is not just all-purpose flour. While all-purpose flour is its foundational component, self-rising flour is a fortified product. It includes carefully measured amounts of baking powder, which acts as a leavening agent, and salt, which enhances flavor and helps regulate the leavening process. Think of it as an upgraded version of all-purpose flour, specifically tailored for recipes that benefit from an inherent rise and flavor balance without the need to add these components separately. Therefore, while you can substitute *for* self-rising flour *with* all-purpose flour plus leavening, they are not the same product in their basic form and should not be used interchangeably without proper adjustments.
The three essential ingredients that make up self-rising flour are all-purpose flour, baking powder, and salt. Each plays a vital role in creating the unique characteristics of this versatile baking staple:
All-Purpose Flour: This is the primary structural component. It provides the bulk and gluten structure that holds your baked goods together. While some commercial self-rising flours use a lower-protein soft wheat flour for maximum tenderness, general all-purpose flour works effectively for home preparation.
Baking Powder: This is the crucial chemical leavening agent. It’s a blend of baking soda, an acid (like cream of tartar), and a starch (such as cornstarch). When it comes into contact with liquid and heat during baking, it undergoes a chemical reaction, releasing carbon dioxide gas. These gas bubbles get trapped in the dough or batter, causing it to rise and creating a light, airy, and tender texture.
Salt: Included in a small but significant amount, salt serves multiple purposes. It enhances the overall flavor profile of your baked goods, balancing sweetness and enriching other flavors. Furthermore, salt helps to regulate the activity of the leavening agent and strengthens the gluten network, contributing to the structure and even rise of the final product.
Don’t forget to check out our printable kitchen conversion chart! This invaluable tool is incredibly helpful when baking at home, ensuring you always have the right measurements.
Delightful Recipes That Use Self-Rising Flour
Now that you know how simple it is to make your own, put your homemade self-rising flour to good use with these delicious recipes:
- Lavender Cake Recipe: Experience a delicate flavor and tender crumb.
- Blueberry Cobbler: A classic comfort dessert with a perfectly risen topping.
You can also FOLLOW US on FACEBOOK, INSTAGRAM, and PINTEREST to see more delicious recipes, cocktails, desserts, and parties!
Homemade Self-Rising Flour
Ingredients
- 1 cup all-purpose flour
- 1 1/2 tsp baking powder
- 1/2 tsp salt
Instructions
-
In a medium-sized mixing bowl, accurately measure 1 cup of all-purpose flour.

-
Add 1 1/2 teaspoons of baking powder to the flour. Ensure your baking powder is fresh for optimal leavening.
-
Next, incorporate 1/2 teaspoon of fine salt. This enhances flavor and helps regulate the leavening process.
-
Using a whisk, gently but thoroughly combine all three ingredients until they are completely homogenous. Whisk for at least 30 seconds to a minute to ensure the leavening agent and salt are evenly distributed throughout the flour.
-
Your homemade self-rising flour is now ready to be used immediately in your favorite recipes or stored in an airtight container for future use.
Nutrition (per 1 cup, approximate)
Carbohydrates: 98g,
Protein: 13g,
Fat: 1g,
Saturated Fat: 1g,
Polyunsaturated Fat: 1g,
Monounsaturated Fat: 1g,
Sodium: 1171mg,
Potassium: 740mg,
Fiber: 4g,
Sugar: 1g,
Calcium: 279mg,
Iron: 6mg
Nutrition information is automatically calculated, so should only be used as an approximation. Actual values may vary based on specific ingredient brands and preparation methods.
Found this recipe helpful? Leave a comment below!