
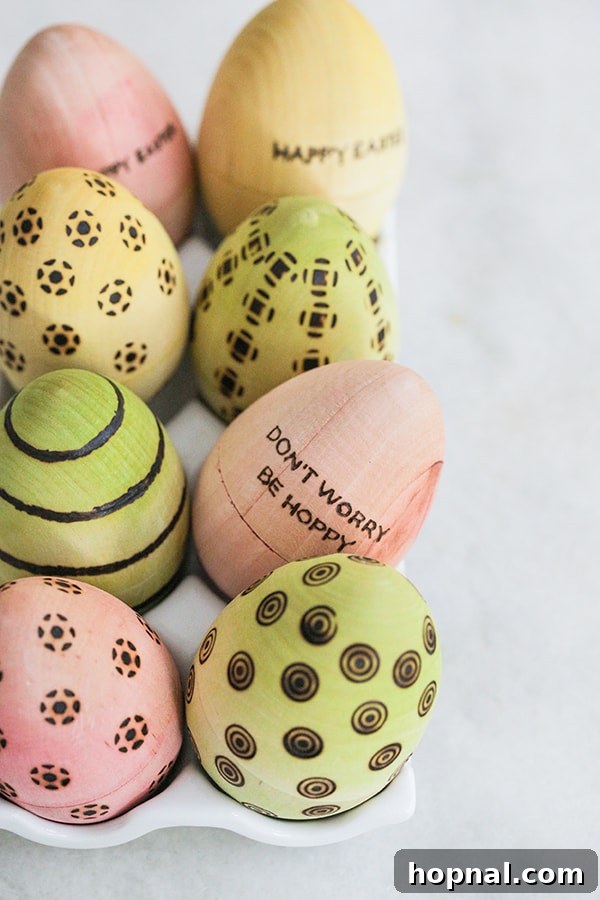
Are you searching for a unique and sustainable way to celebrate Easter this year? If you cherish the art of crafting as much as we do, then you’re in for a treat! This comprehensive guide will walk you through the delightful process of creating personalized, wood-burned Easter eggs. Far from your typical dyed eggs, these wooden masterpieces offer an elegant, rustic charm that will elevate your table settings, add a special touch to your annual egg hunts, and become cherished heirlooms that you can reuse and enjoy for many Easters to come. Get ready to unleash your creativity and design your own unforgettable wooden Easter eggs!
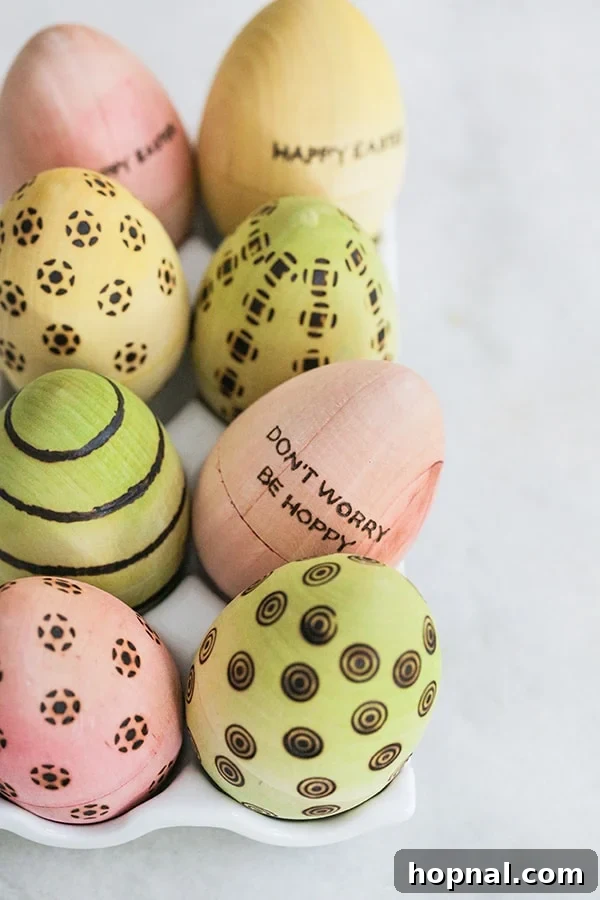
We are absolutely enamored with these wooden eggs, and for good reason! Their enduring nature means your artistic efforts will last virtually forever, allowing you to appreciate your unique creations year after year. There’s something inherently therapeutic about engaging in creative projects, and wood burning, also known as pyrography, is no exception. The focused concentration and the satisfying transformation of a simple wooden surface into a piece of art can be incredibly relaxing and rewarding. If you haven’t yet explored the world of pyrography, preparing these Easter eggs is the perfect opportunity to dive in!
To embark on this exciting crafting journey, you will primarily need a reliable wood-burning tool. This versatile instrument has been a staple in my craft kit for years, and I’m constantly discovering innovative ways to incorporate it into various DIY projects. Investing in a good quality tool will ensure precise control and consistent results for all your pyrography endeavors, making the process more enjoyable and less challenging.
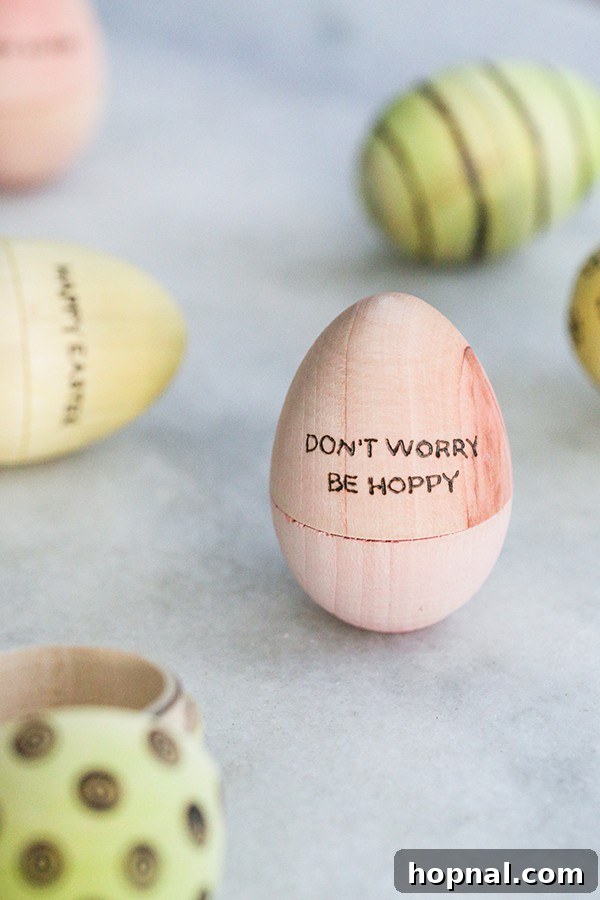
Mastering Pyrography: How to Engrave Wooden Easter Eggs
Engraving wooden Easter eggs with a wood-burning tool is a fantastic way to add a personal and artistic touch to your holiday decorations. This section will guide you through the essential supplies and detailed directions to create stunning, custom-designed eggs. From selecting your materials to the final intricate burn, every step is designed to be accessible and enjoyable for crafters of all skill levels. Embrace the warmth and character that pyrography brings to these timeless Easter symbols.
Essential Supplies for Your Wood Burning Project
Before you begin, gathering all your materials will ensure a smooth and uninterrupted crafting experience. While the list might seem straightforward, each item plays a crucial role in achieving the beautiful, long-lasting results you desire for your wood-burned Easter eggs. Pay particular attention to the quality of your wooden eggs and the versatility of your wood-burning tool.
- Wooden Eggs: We recommend opting for smooth, unfinished wooden eggs. They provide the ideal surface for both dyeing and pyrography, allowing for clean lines and vibrant colors.
- Egg Dyeing Kit: A standard kit readily available at any grocery store during the Easter season will suffice. Look for kits that offer a range of pastel colors for a soft, elegant base.
- White Vinegar: This essential ingredient will be used in place of water when mixing your dyes, helping the colors adhere better and achieve a beautiful, light pastel finish on the wooden surface.
- Wood Burning Tool Kit: A good quality wood-burning tool, often accompanied by various interchangeable tips, is key. Different tips allow for diverse effects, from fine lines for detailed lettering to broader strokes for shading and filling in designs.
- Pencil: For sketching designs or transferring patterns.
- Printer (Optional): If you plan to trace specific fonts or intricate designs.
- Safety Gloves and Well-Ventilated Area: Crucial for safe operation of the wood-burning tool.
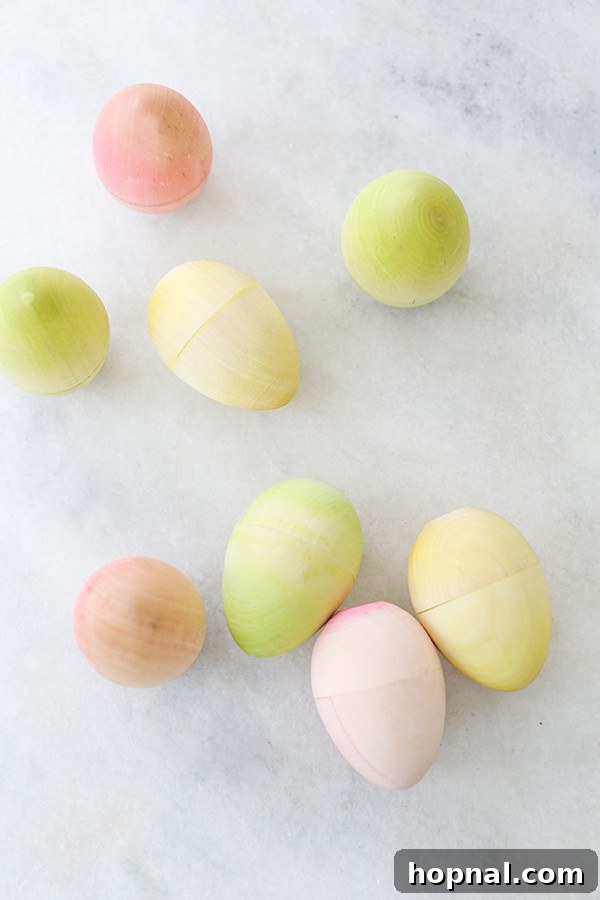
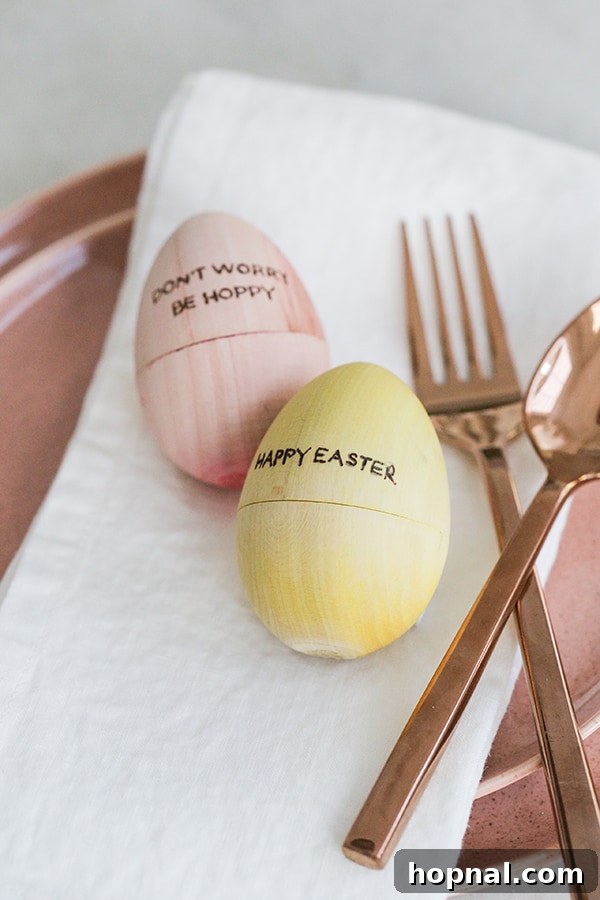
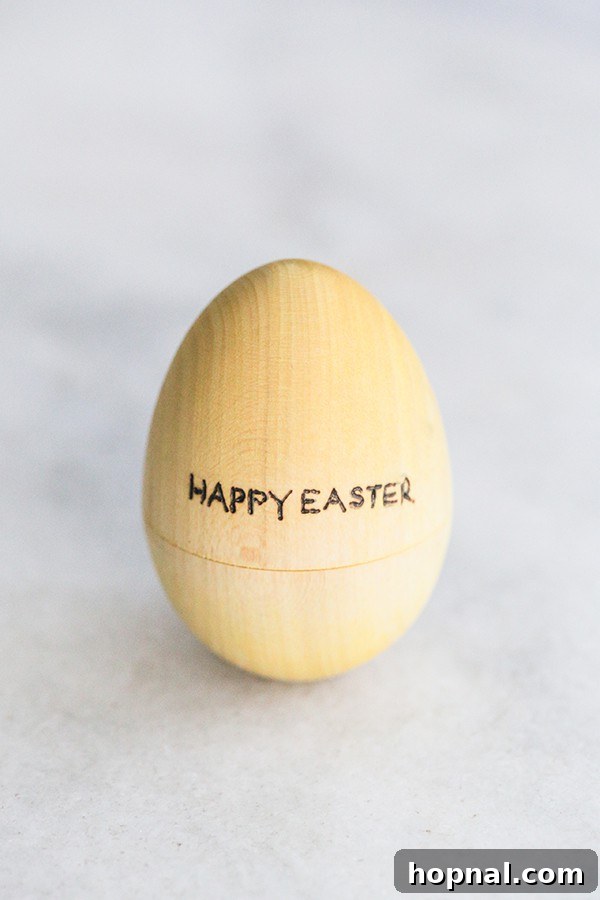
It’s truly remarkable how charming these Easter eggs look even with just the delicate pastel dye. The subtle coloring provides a perfect, soft canvas, enhancing the natural wood grain and creating an inviting backdrop for your wood-burned designs. This initial dyeing step adds a foundational layer of beauty, making the subsequent pyrography truly pop!
Step-by-Step Directions to Craft Your Wood-Burned Easter Eggs
Creating your wood-burned Easter eggs is a rewarding two-part process: first, preparing the perfect colorful base, and then, adding the intricate details with your pyrography tool. Follow these steps carefully to ensure beautiful and professional-looking results.
- **Prepare Your Dye Baths:** Begin by setting up your egg dyeing kit according to the package instructions. However, here’s a crucial tip for wooden eggs: substitute water with white vinegar. Vinegar acts as a mordant, helping the dye penetrate and adhere more effectively to the wooden surface, resulting in richer, more consistent pastel colors.
- **Dye the Wooden Eggs:** Submerge each wooden egg into the desired color bath. Leave each egg in the dye solution for approximately one to two minutes, or until it achieves your preferred shade of pastel. Remember that wooden eggs absorb dye differently than real eggshells, so keep an eye on the color development.
- **Thoroughly Dry the Eggs:** Once dyed, carefully remove the eggs from the baths and place them on a drying rack or paper towels. Allow the wooden eggs to dry completely. This step is critical; any residual moisture can interfere with the wood-burning process and potentially damage your tool or the egg’s surface. Ensure they are dry to the touch and the color is set before proceeding.
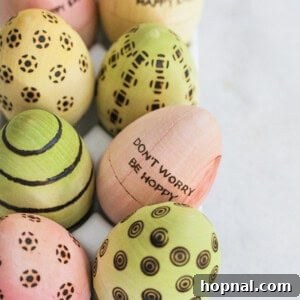
- **Choose Your Design and Prepare for Burning:** With your wooden eggs thoroughly dried, it’s time to select your pattern or design. Most wood-burning kits come with an assortment of tips, each capable of creating different lines and textures. These tip patterns are excellent for beginners and can produce beautiful results with minimal effort. Consider simple geometric shapes, floral motifs, or even abstract designs.
- **Transferring Your Design (for writing or complex patterns):** For precise lettering or intricate designs, a tracing method works wonders. First, print out the word, phrase, or pattern you wish to burn onto your egg. Next, heavily shade the back of the printed design with a soft lead pencil (a 2B or darker works best). Position the shaded paper firmly against the egg where you want the design to appear, and then trace over the lines of your design on the front of the paper with a pen or a sharp pencil. The pressure will transfer the pencil lead from the back of the paper onto the wooden egg, leaving a light, traceable outline.
- **Begin Wood Burning:** Plug in your wood-burning tool and allow it to heat up completely. Always practice on a scrap piece of wood first to get a feel for the tool’s heat and how much pressure to apply. Using the tiny point tip, carefully trace over the pencil outline on your egg. Maintain a steady hand and consistent speed for an even burn. Remember, wood burning is about patience and precision. Work slowly, allowing the heated tip to do the work. The depth of your burn will depend on the pressure applied and the duration the tip stays in contact with the wood.
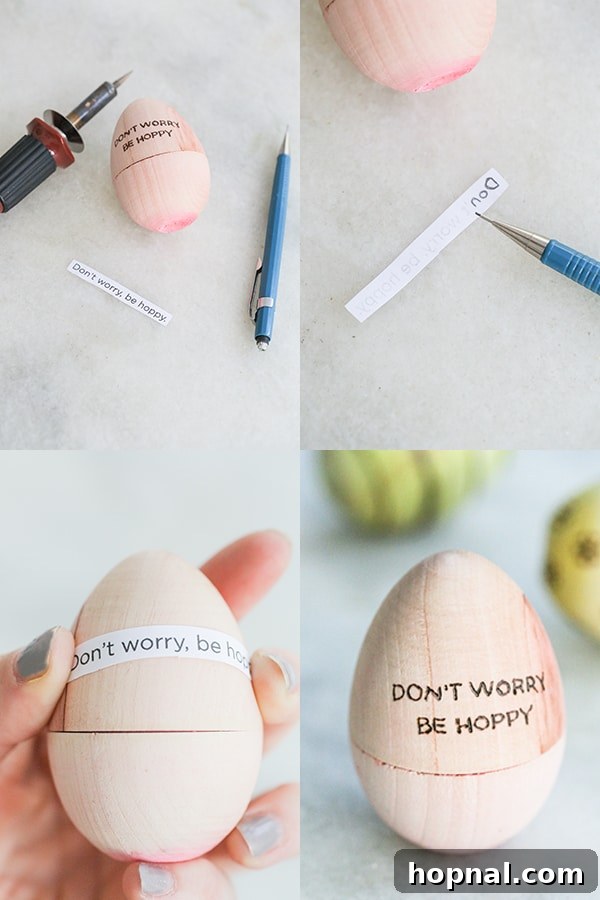
This tracing method significantly simplifies the process, especially for those who are not confident in their freehand drawing skills. It ensures your lettering and designs are perfectly proportioned and placed exactly where you intend them to be. For intricate details and lettering, I found the tiny point tip on the wood-burning tool to be exceptionally effective, allowing for crisp, clean lines that truly bring the design to life on the egg’s surface.
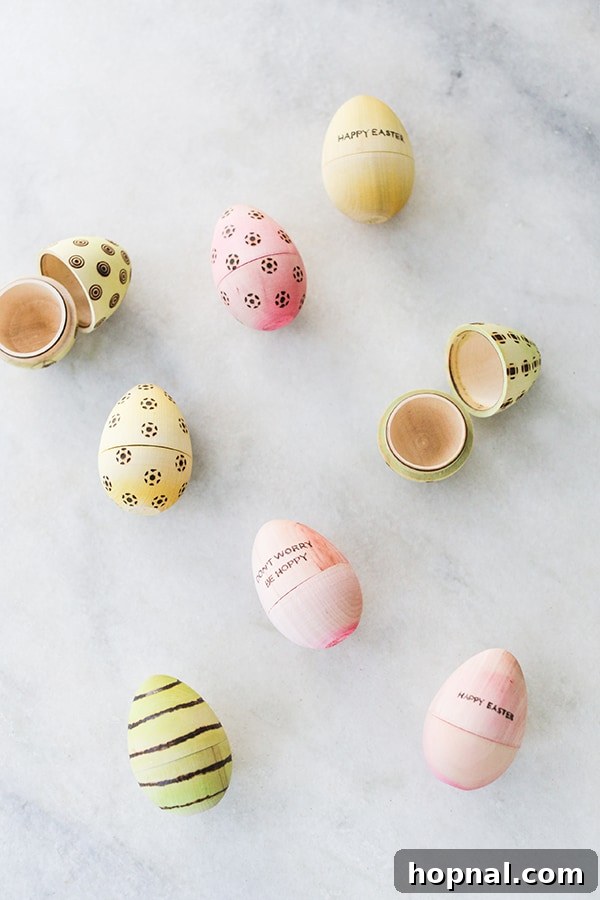
Creative Ways to Display and Use Your Unique Wooden Easter Eggs
Once your beautiful wood-burned Easter eggs are complete, the possibilities for their use are endless! Their durability and personalized charm make them incredibly versatile. Here are some inspiring ideas to showcase your handcrafted masterpieces:
- **Egg Hunts:** Replace traditional plastic eggs with these unique wooden treasures. Instead of small candies, you can engrave numbers on each egg for a counting hunt, or clues that lead to a grand prize. The reusability means less waste each year!
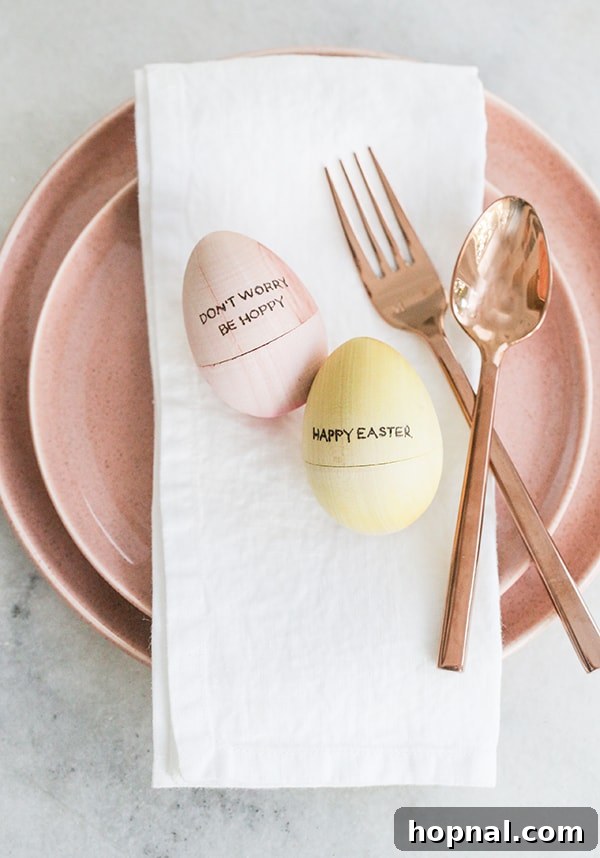
- **Name Cards for Easter Brunch:** Elevate your Easter brunch table by using these eggs as elegant and personalized name cards. Burn each guest’s name onto an egg, adding a special touch that doubles as a thoughtful party favor. Pair them with delicate floral arrangements for a truly memorable setting. Consider incorporating them into your Easter brunch decor.
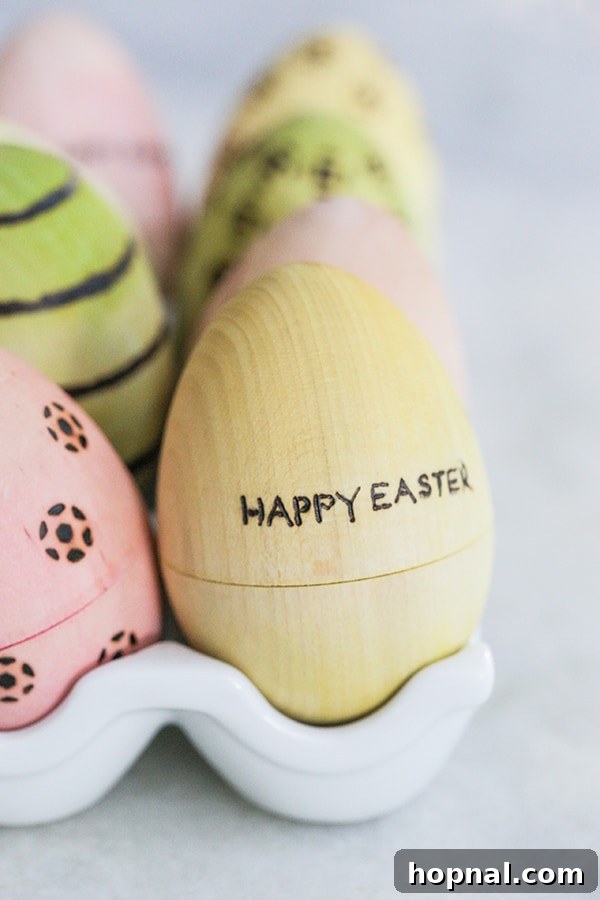
- **Decorative Centerpieces:** Arrange your wood-burned eggs in a rustic basket, a clear glass bowl, or nestled amongst spring foliage as a stunning centerpiece for your dining table or mantelpiece.
- **Wreath Embellishments:** Attach smaller wooden eggs to an Easter wreath for a charming, rustic touch on your front door.
- **Thoughtful Gifts:** These personalized eggs make heartfelt gifts for family and friends. Engrave initials, special dates, or meaningful quotes to create a truly unique present.
- **Year-Round Decor:** Don’t limit these beauties to just Easter! Their natural aesthetic and artistic designs can seamlessly blend into farmhouse or rustic home decor throughout the year.
Explore More Creative Easter Egg Decorating Ideas
While wood burning offers a distinctive aesthetic, there are countless other creative ways to decorate Easter eggs. If you’re looking to expand your crafting repertoire or simply gather more inspiration for your Easter celebrations, explore these delightful ideas:
- Calligraphy Eggs: Learn how to adorn eggs with beautiful hand-lettered designs, adding a sophisticated and artistic flair to your Easter decor.
- Mosaic Easter Eggs: Discover the technique of creating intricate mosaic patterns using small pieces of colored eggshell or paper, resulting in stunning, textured designs.
- Gold Leaf Easter Eggs: Add a touch of luxury and glamour to your eggs with delicate gold leafing, creating an opulent and eye-catching display.
- DIY Ombre Easter Eggs: Master the art of gradient dyeing to create beautiful ombre effects, transitioning colors smoothly for a modern and chic look.
More Festive Easter Ideas You’ll Love!
Beyond egg decorating, make your Easter celebrations truly special with these additional festive ideas that promise charm and fun for everyone:
- DIY Old Fashioned Candy Box: Craft a charming, vintage-inspired candy box, perfect for gifting treats or as a delightful centerpiece.
- Pin the Tail on the Bunny Printable: A classic party game gets an Easter twist with this fun and easy printable, perfect for entertaining kids.
- Delightful Bunny Sugar Cookies: Bake adorable bunny-shaped sugar cookies, an absolute treat for any Easter gathering.
- Host an Egg Decorating Party: Gather friends and family for a creative and memorable egg decorating party, complete with all the supplies and inspiration.
- Refreshing Carrot Mimosa: Add a unique and festive touch to your Easter brunch with this vibrant and delicious carrot mimosa recipe.
We hope you’re inspired to try your hand at crafting these beautiful wood-burned Easter eggs! There’s immense satisfaction in creating something truly unique and reusable for your holiday celebrations. Please share your creations with us! Leave a comment below with your thoughts or tips. And don’t forget to tag your photos on social media @sugarandcharm or use the hashtag #sugarandcharm so we can admire your artistry and even share your fantastic work with our community!
Wood Burning Easter Eggs
A DIY tutorial providing step-by-step instructions on how to use a wood-burning tool to beautifully decorate wooden Easter eggs.
Print Recipe |
Pin Recipe |
Rate this Recipe
Course: DIY Crafts |
Cuisine: American
Prep Time: 30 minutes |
Cook Time: 0 minutes |
Total Time: 30 minutes
Yield: 6 eggs |
Author: Eden
Ingredients
- 6 wooden eggs
- 1 Easter egg dye kit
- 1 wood burning tool kit
Instructions
- Dye the wooden eggs with an Easter egg dye kit, using vinegar instead of water. Leave each egg in the bucket for one to two minutes until the desired color is achieved.
- Allow the dyed wooden eggs to dry completely before proceeding to the next step.
- Once the wooden eggs have dried, select your preferred pattern or design. Utilize the various tips that come with most wood-burning kits for different effects.
- For specific writing or detailed patterns, print out your desired text or design. Shade the back of the paper with a pencil, then trace the design onto the egg by pressing firmly, creating a light pencil outline.
- Using a fine point tip on your wood-burning tool, carefully burn over the pencil outline, slowly bringing your design to life on the egg.
Notes
It may take some practice and trial and error to get a comfortable feel for using the wood-burning tool. Start with light pressure and short strokes on a scrap piece of wood to gain confidence.
Tried this Recipe? Tag us Today!
Mention @sugarandcharm or tag us #sugarandcharm! We love seeing your creative projects.