
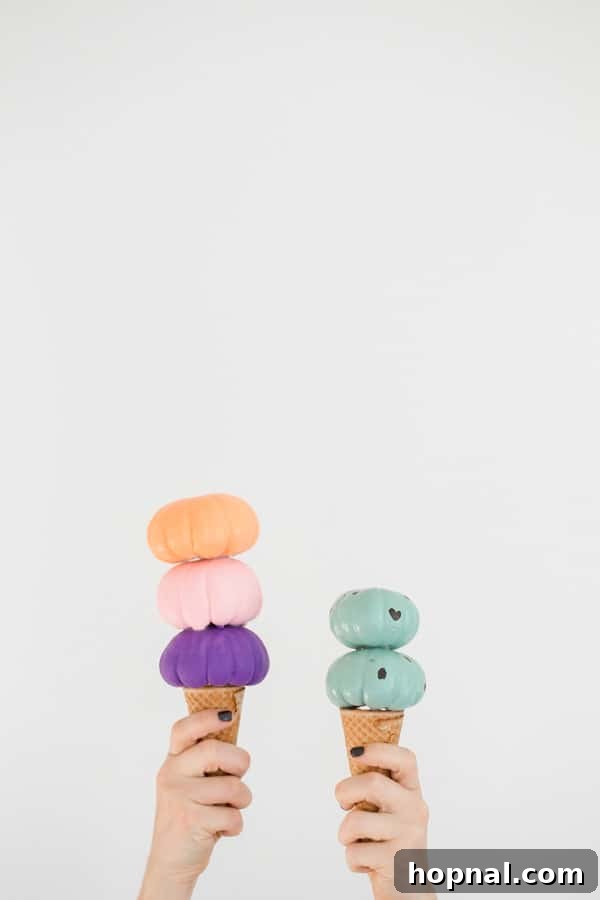
As autumn leaves begin to fall and the air grows crisp, thoughts inevitably turn to Halloween and all the enchanting ways we can celebrate the season. While traditional pumpkin carving has its timeless appeal, it’s not always the safest or easiest option, especially when little hands are eager to join in the festive fun. This year, why not embrace a wonderfully whimsical, mess-free, and utterly adorable alternative? Get ready to create the sweetest Halloween decor with our DIY Pumpkin Ice Cream Cones! These no-carve masterpieces are incredibly simple to make, perfect for kids of all ages, and guaranteed to bring a smile to everyone’s face, making them a fantastic addition to your fall decorating ideas.
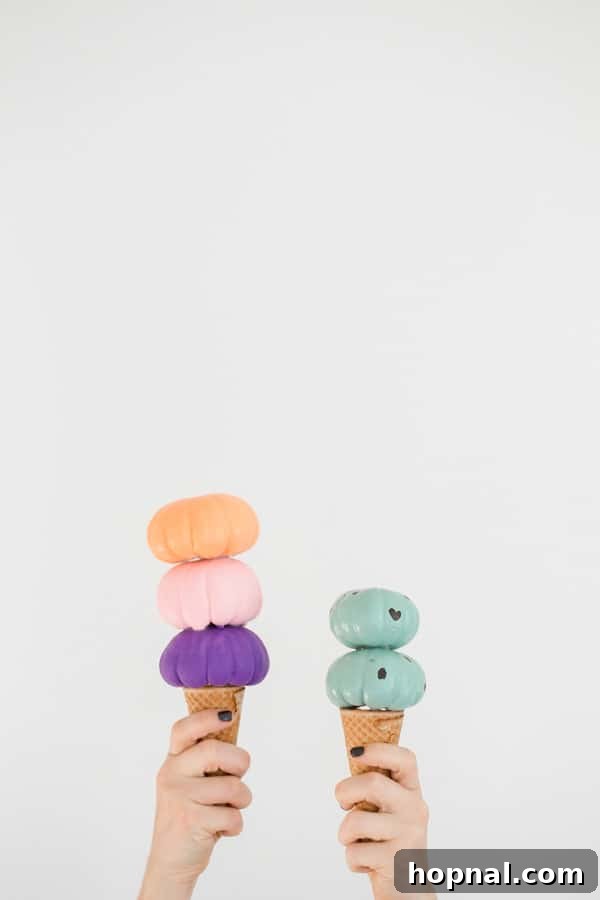
The inspiration behind these delightful decorations stemmed from planning a festive Friday night gathering with family and friends, complete with their energetic little ones. Pumpkin decorating was a must, but with toddlers and preschoolers in attendance, sharp tools and intricate carving seemed out of the question. We needed a project that was truly inclusive, where every child could actively participate without the need for constant supervision over blades. My goal was to find a creative outlet that was safe, fun, and resulted in charming keepsakes that would last throughout the autumn season, bypassing the common issues of carved pumpkins like rapid spoilage and mess.
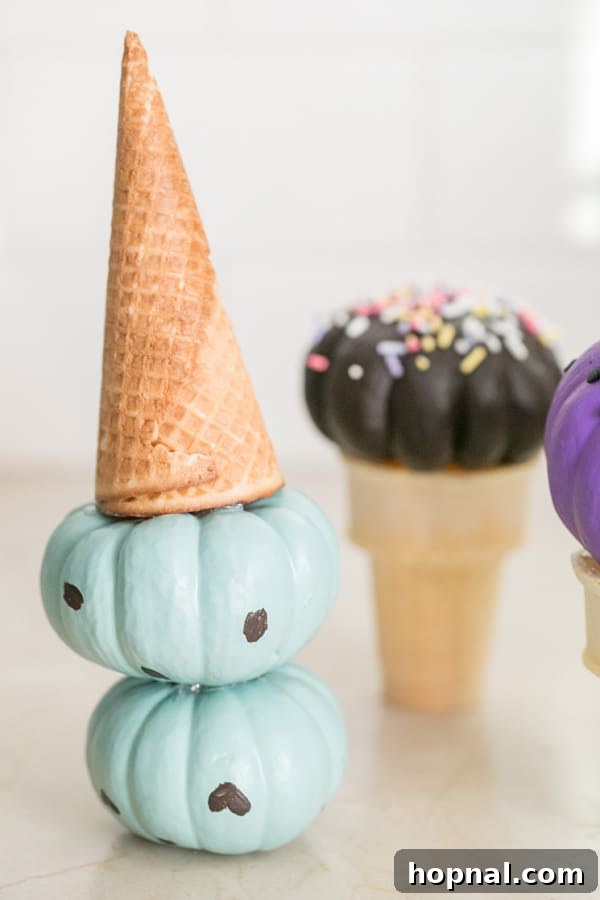
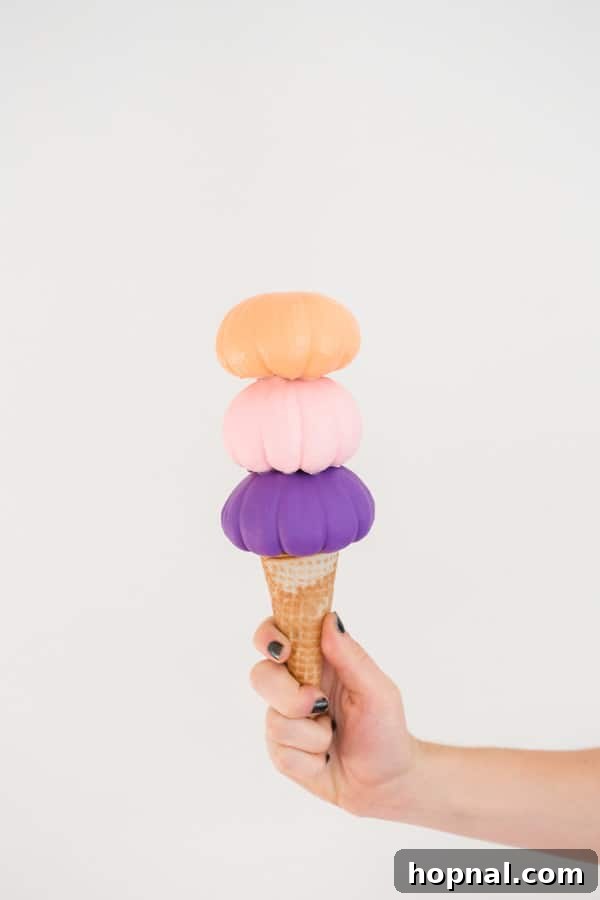
Brainstorming ideas that would capture a child’s imagination led me straight to one universal delight: ice cream! The thought instantly sparked joy, and I realized that mini white pumpkins, with their perfectly rounded and smooth surfaces, were the ideal canvas. Tipped upside down, these tiny gourds transform into delightful scoops, ready to be adorned with vibrant colors and playful sprinkles. The concept was simple yet brilliant – turn a fall staple into a sweet treat! It’s an imaginative twist on traditional pumpkin decorating that stands out and offers a unique visual appeal for any Halloween or fall display.
Watching my son, Romeo, light up with excitement as I demonstrated how to craft a pumpkin ice cream cone was truly priceless. His enthusiasm was contagious, proving that this craft is a genuine hit with children! While the actual hot-gluing step requires careful adult supervision – safety first, always! – the rest of the project is entirely kid-friendly. Children, from toddlers to pre-teens, will absolutely love the creative freedom of painting their “ice cream scoops” in their favorite colors and adding all sorts of colorful “toppings.” It’s a fantastic way to engage their artistic side and create something truly unique for Halloween or general fall decor, fostering creativity and fine motor skills in a fun, celebratory way.
Sweet & Simple: DIY Pumpkin Ice Cream Cones Craft Guide
Ready to scoop up some fun and create your own adorable no-carve pumpkin ice cream cones? This project is delightfully simple and requires just a few readily available materials. You probably have most of these lying around your house already, making it an incredibly accessible craft for a spontaneous afternoon activity or a planned Halloween party. Let’s gather our supplies and get crafting!
Supplies You’ll Need for Your Pumpkin Ice Cream Cones:
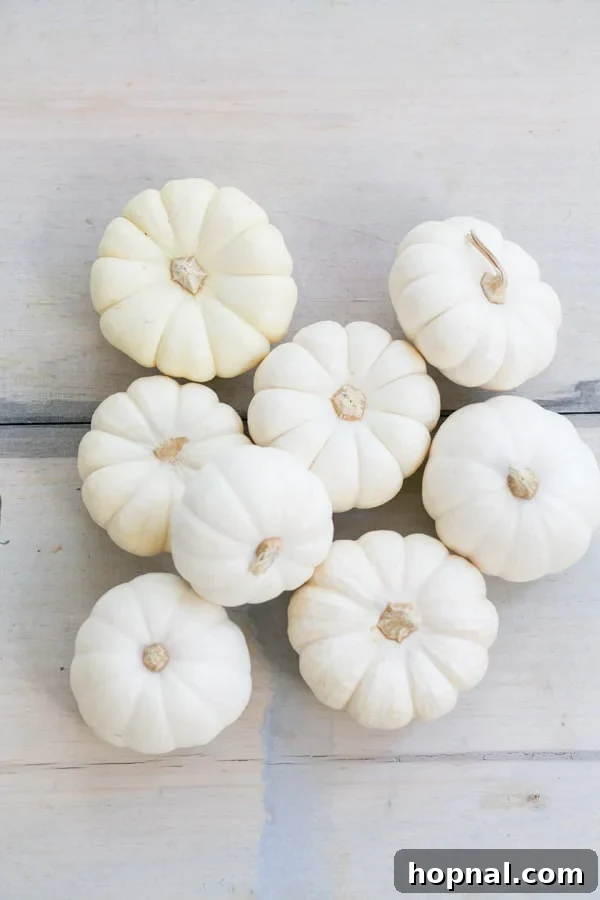
- Mini White Pumpkins: These are crucial for achieving that perfect “ice cream scoop” look. Their smooth, light surface also makes them an ideal canvas for painting vibrant colors, ensuring your “flavors” truly pop. You can usually find these at grocery stores or pumpkin patches during the fall season.
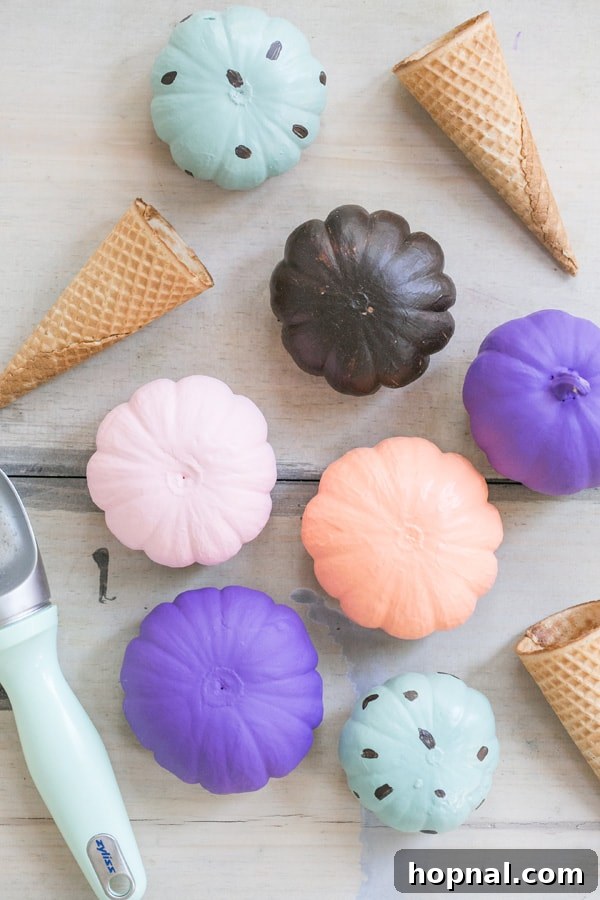
- Assorted Acrylic Paints: Choose a variety of colors to mimic your favorite ice cream flavors – think classic pink strawberry, rich brown chocolate, refreshing mint green, sunny yellow vanilla, or even bold purples and blues for a fantastical twist! Standard acrylic craft paints work wonderfully, dry quickly, and are easy to clean up.
- Sugar Cones and/or Cake Cones: Offer a mix for visual variety. Sugar cones provide a classic pointed look, giving a traditional ice cream cone feel, while flat-bottomed cake cones offer a broader, more stable base, which can be easier for younger children to handle.
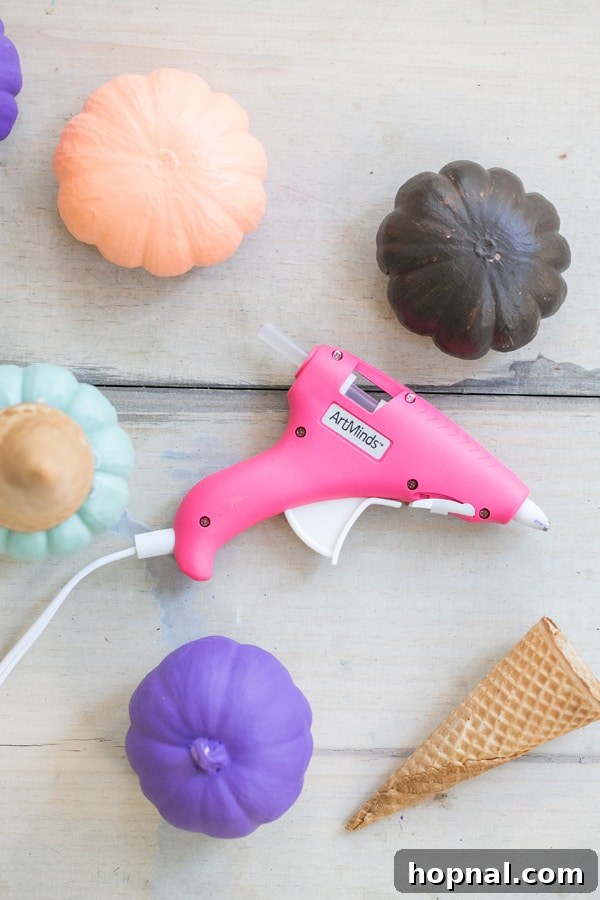
- Hot Glue Gun & Glue Sticks: Essential for securely attaching the pumpkins to the cones. This provides a strong bond that ensures your creations stay intact. Always ensure adult supervision when using a hot glue gun to prevent burns.
- Decorative Sprinkles: This is arguably the most fun part! Stock up on rainbow sprinkles, chocolate jimmies, nonpareils, edible glitter, or even small craft beads to give your “ice cream” that irresistible, finished touch. The more variety, the better for a truly customized look!
Time needed: 1 hour (plus drying time)
Follow these simple steps to transform ordinary mini pumpkins into extraordinary, whimsical ice cream cone decorations that will charm everyone this Halloween and throughout the fall season!
-
Step 1: Paint Your “Ice Cream” Scoops
Begin by setting up your painting station. Protect your work surface with newspaper or a plastic tablecloth. Paint your mini white pumpkins in your desired “ice cream” colors. Get creative! You can paint them a solid color for a classic look, or try swirling two colors together for a marbled effect, mimicking different ice cream flavors. Encourage kids to experiment with various brush strokes, dabbing, or even sponge painting techniques. If you’re short on time and need them to dry quicker, a hairdryer on a low, cool setting can significantly speed up the drying process. However, ensure the paint is completely dry to the touch before moving to the next step to prevent any smudges or paint transfer.
-
Step 2: Add Sweet Sprinkles (Optional but Highly Recommended!)
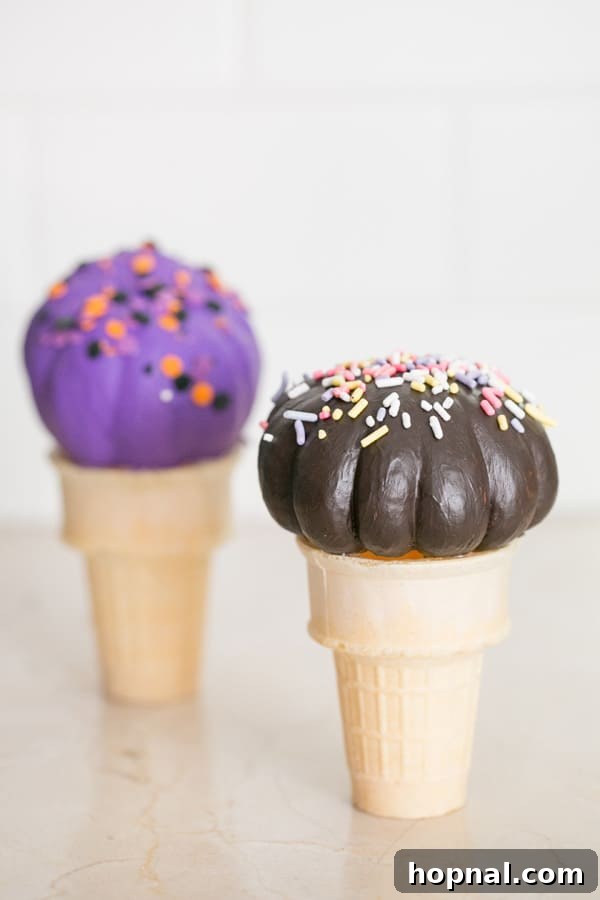
This is where the magic happens and the pumpkins truly begin to resemble delightful ice cream! While the paint is still slightly wet and tacky (but not soaking wet), generously sprinkle your chosen decorations onto the pumpkin. The wet paint acts as a natural adhesive, holding the sprinkles securely in place as it dries. You can use classic rainbow sprinkles for a vibrant look, chocolate jimmies for a “chocolate chip” effect, sparkling glitter for extra glam, or even tiny beads for texture. This step is always a huge hit with kids and adds an irresistible whimsical touch to your pumpkin ice cream cones, making each one unique and delicious-looking!
-
Step 3: Assemble Your Cones
Once your painted pumpkins are completely dry and the sprinkles are securely set, it’s time for the final assembly. This step requires adult assistance and careful handling due to the hot glue gun. Apply a generous dollop of hot glue to the top, flat edge of an ice cream cone (either a sugar cone or a cake cone). Carefully and quickly press the painted pumpkin onto the glue, holding it firmly in place for about 15-20 seconds until the glue cools and sets. Ensure the pumpkin is securely attached and stable on the cone to prevent it from falling off. Voila! You now have the cutest, no-melt ice cream cone pumpkin ready for display, a testament to your family’s creativity.
A friendly reminder: When crafting these charming decorations with children, empower them to take the lead on the creative aspects like painting and sprinkling. The hot glue gun, however, is best handled exclusively by an adult to ensure everyone’s safety and a smooth, enjoyable crafting experience for all!
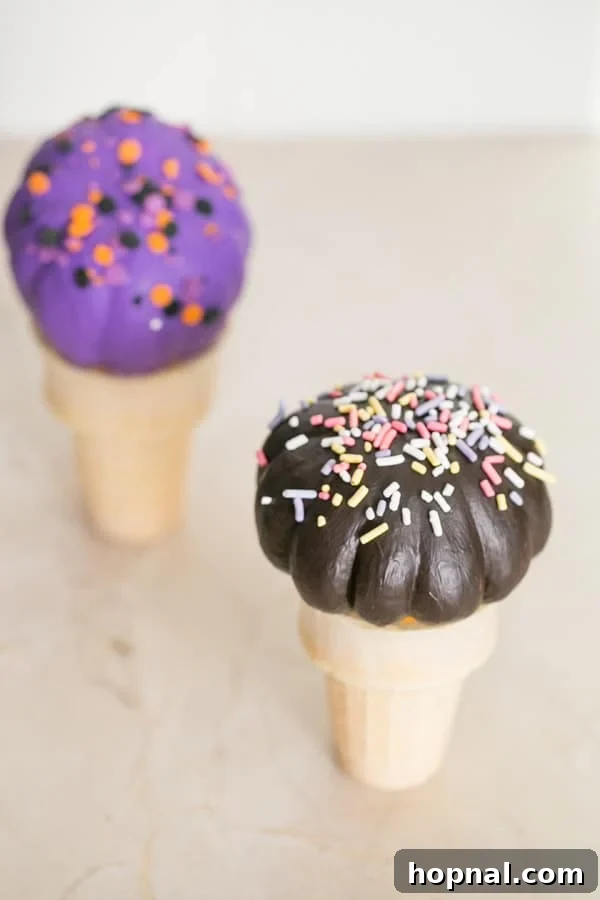
And just like that, with a dash of creativity, a bit of paint, and a steady hand for the glue, you’ve created the most charming and unique ice cream cone pumpkins! These aren’t just crafts; they’re conversation starters, delightful centerpieces for your autumn table, and a testament to the joy of simple, imaginative decorating. They’re perfect for adding a touch of whimsy to any room or party.
The sprinkles truly add that extra touch of adorable whimsy, making these pumpkins look good enough to eat (but please don’t!). Imagine a whole display of these “sweet treats” lined up on a mantelpiece, brightening a Halloween party table, welcoming guests on your porch, or as a fun focal point in a child’s bedroom. They’re fantastic for classroom activities, scout meetings, or simply a fun, creative afternoon at home with the family. Plus, unlike carved pumpkins, which can quickly spoil, these painted beauties will last for weeks, if not months, allowing you to enjoy your festive creations throughout the entire autumn season and beyond!
Discover More Spooktacular Halloween & Fall Ideas You’ll Love!
If you enjoyed crafting these adorable pumpkin ice cream cones and are looking for more ways to celebrate the season, you’re in for a treat! We have a plethora of other fantastic ideas to make your Halloween and fall season even more memorable. Explore these creative projects and find your next favorite seasonal activity, from party planning to unique decorations:
Halloween Candy Bar Cart: Elevate Your Trick-or-Treat Experience
DIY Concrete Pumpkins: Create Durable & Chic Autumn Decor
Gourmet Candy Apples: A Sweet Twist on a Fall Classic Treat
10 Enchanting Halloween Ideas for Kids: Fun & Festive Activities for All Ages
Spectacular Halloween Candy Board: The Ultimate Sweet Display for Parties
We absolutely adore seeing your creative interpretations! Don’t forget to leave a comment below and share your experiences if you make these utterly adorable painted pumpkins. They truly are such a fantastic, engaging, and safe idea for all the kiddos in your life, providing endless autumn fun without the mess and danger of traditional carving. Your feedback and creations inspire us!
For more delightful recipes, enticing cocktails, mouth-watering desserts, inspiring party planning ideas, and charming DIY projects, be sure to FOLLOW US on FACEBOOK, INSTAGRAM, and PINTEREST. Join our vibrant community and never miss out on our latest charming inspirations to make every season special!