
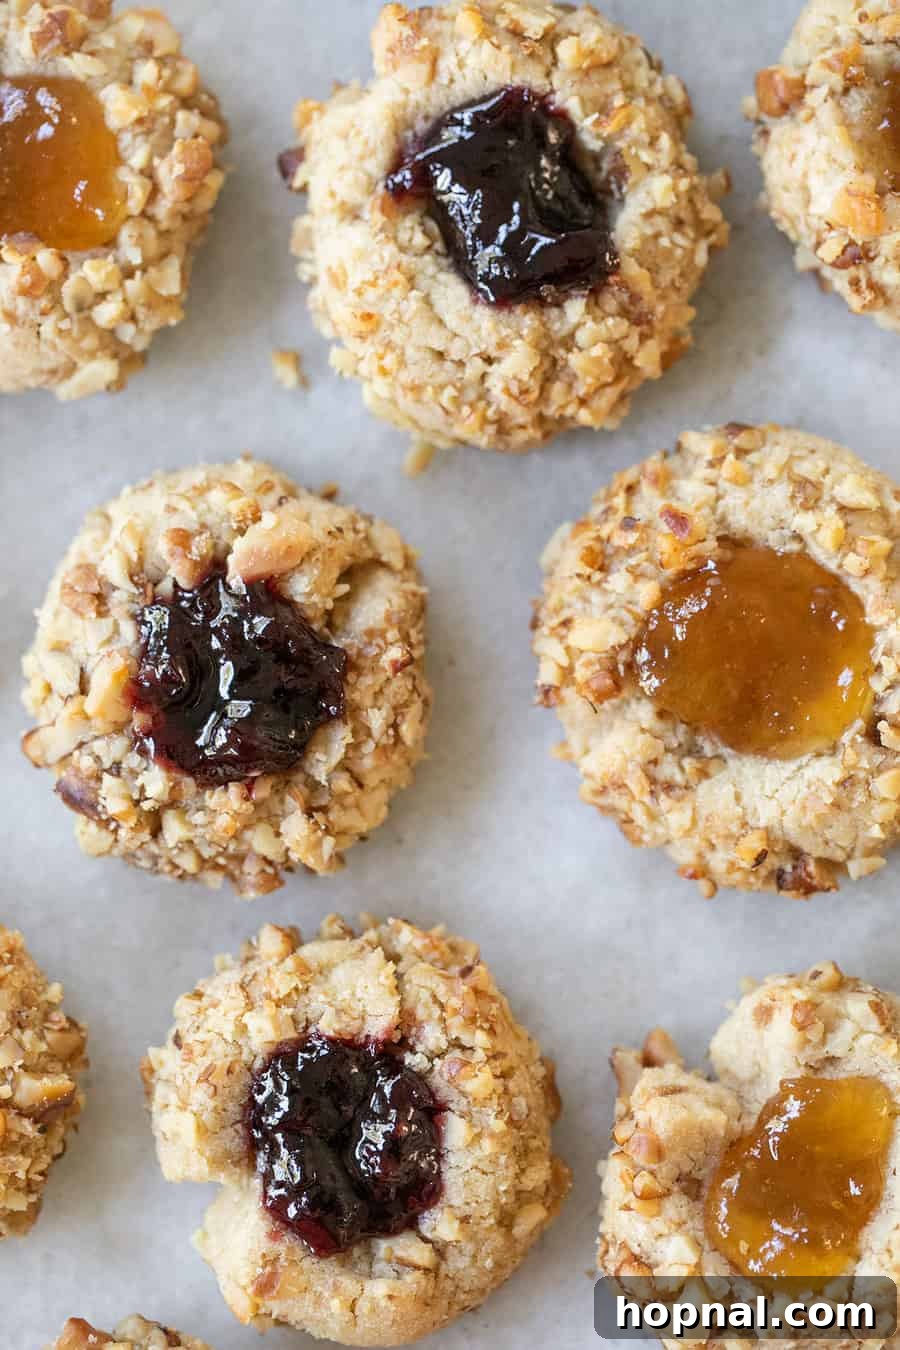
Prepare to fall in love with these timeless Jam Thumbprint Cookies! A cherished classic, these cookies feature a tender, buttery shortbread base that literally melts in your mouth, perfectly complemented by a delightful crunch from crushed walnuts and a burst of sweet, fruity jam in the center. Whether you’re baking for festive holiday gatherings, a cozy afternoon tea, or simply craving a comforting homemade treat, this thumbprint cookie recipe is guaranteed to become a household favorite.
Crafted with just six simple ingredients, this recipe proves that extraordinary flavor doesn’t require complexity. It’s a testament to the magic that happens when high-quality staples come together to create something truly special. If you’re a fan of cookies infused with vibrant jam flavors, you’ll also adore our shortbread cookie bars and the colorful layers of our Italian Rainbow Cookies!
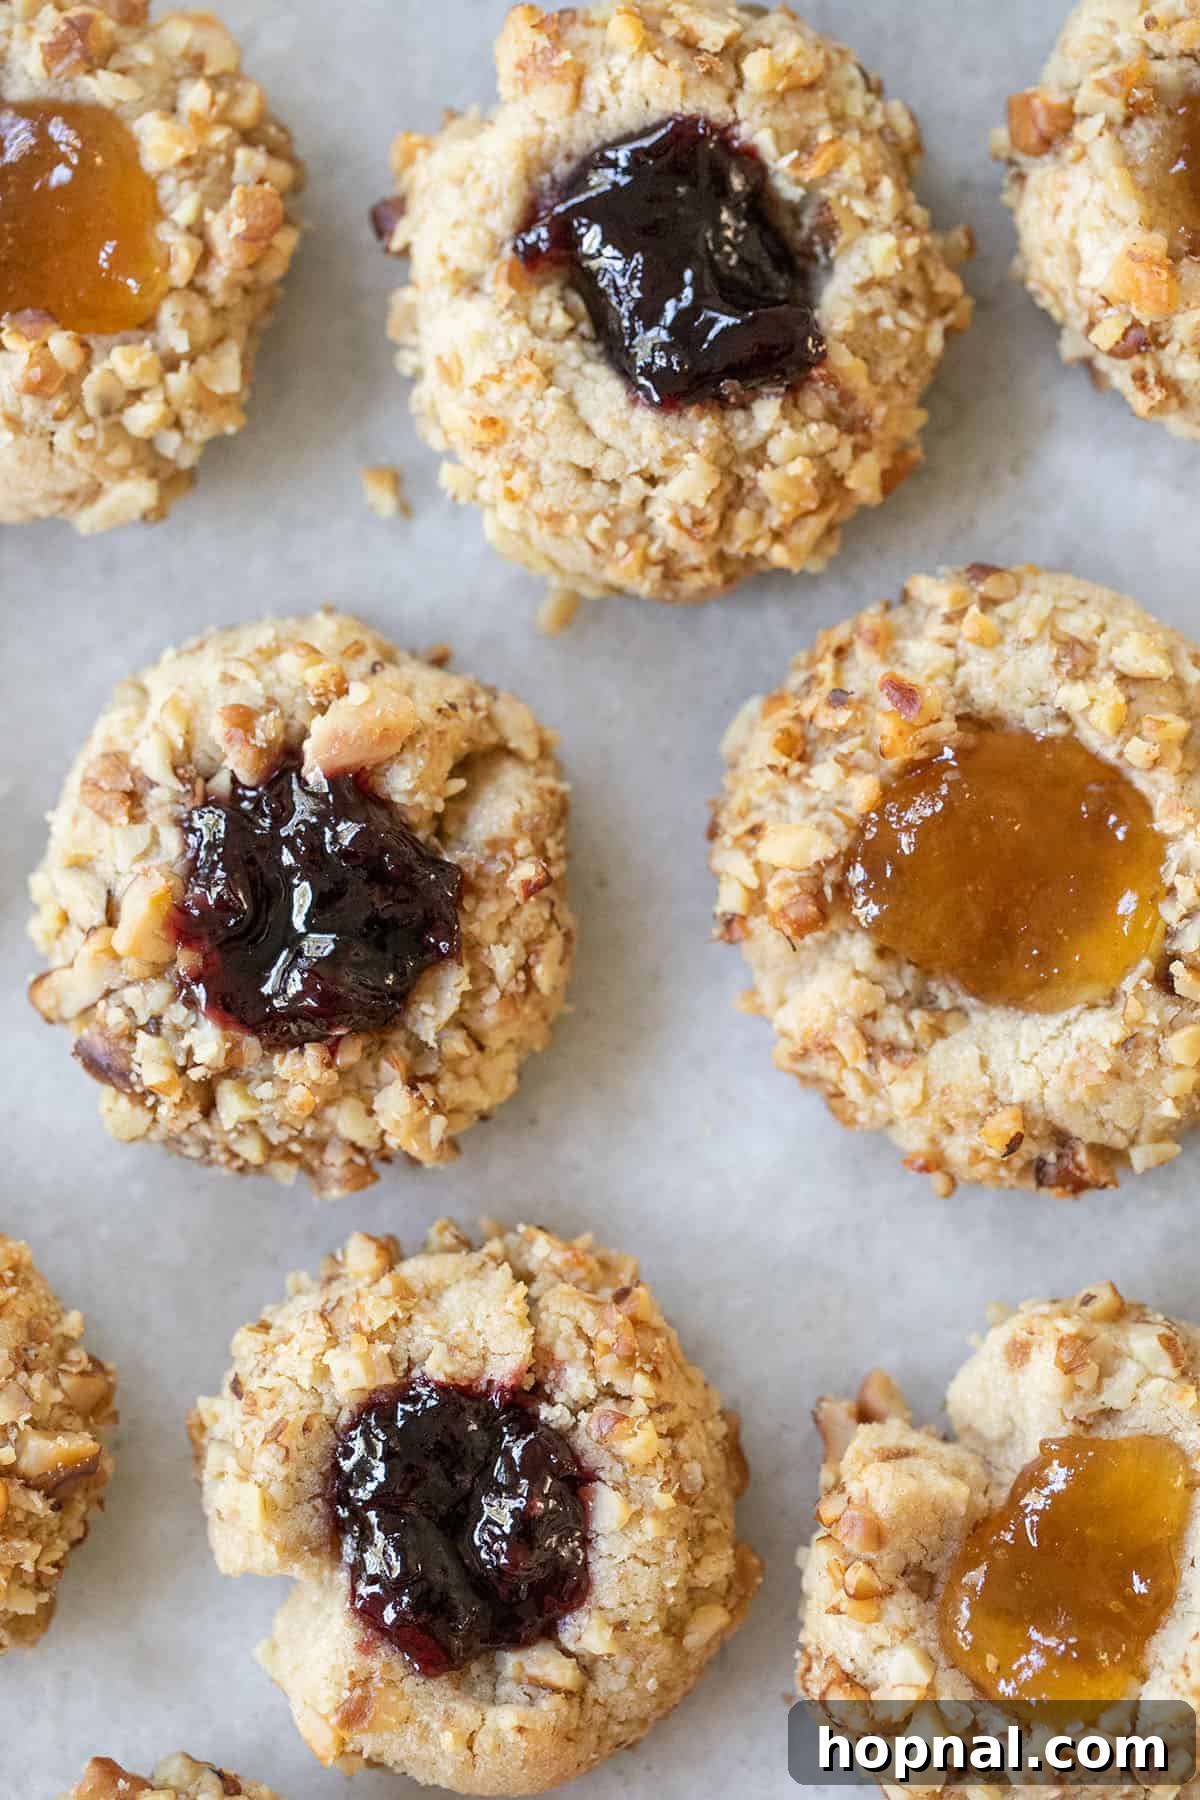
Classic Jam Thumbprint Cookies: The Ultimate Buttery Delight
There’s a special place in my heart, and certainly in my recipe box, for these exceptional thumbprint cookies. This treasured recipe was passed down to me by my mother-in-law, and it has since become an indispensable part of our family traditions. Every year, without fail, they grace our holiday tables as my absolute favorite Christmas cookies, bringing warmth, nostalgia, and an undeniable sweetness to the season. The simplicity, combined with their irresistible taste, makes them a highlight of any celebration, and I guarantee they’ll quickly become a cherished part of your family’s baking repertoire too.
Why You’ll Fall in Love with These Thumbprint Cookies
These jam-filled delights aren’t just another cookie; they’re an experience. Here’s why they’ll capture your heart and palate:
- Effortlessly Simple Ingredients: Forget long shopping lists! This recipe calls for just six basic pantry staples, making it incredibly accessible for bakers of all skill levels. You likely have most of what you need on hand already, allowing you to whip up a batch whenever a craving strikes.
- Unrivaled Buttery & Tender Texture: Each bite delivers a dream-like tenderness. The shortbread base is meticulously crafted to be perfectly buttery and crumbly, literally melting in your mouth and leaving behind a delightful richness that is simply unparalleled.
- Endless Versatility with Fillings: While classic raspberry is always a hit, the beauty of thumbprint cookies lies in their adaptability. You can fill them with virtually any jam or preserve you adore. Imagine vibrant apricot, luscious peach, sweet strawberry, tangy mixed berry, or even unique fig preserves. Feel free to experiment with a mix of flavors on one tray for an exciting assortment!
- A Guaranteed Crowd-Pleaser: From the youngest family members to the most discerning adult palates, these cookies are universally adored. Their inviting appearance, coupled with their delightful combination of textures and flavors, makes them the ideal treat for any occasion. They’re perfect for holiday parties, brunch gatherings, bake sales, or simply as a thoughtful gift.
- A Touch of Nostalgia and Tradition: For many, thumbprint cookies evoke fond memories of childhood and holiday baking. This recipe carries that same comforting, homemade charm, creating new traditions and sweet memories with every batch you bake.
- Perfect Balance of Sweet and Nutty: The delicate sweetness of the shortbread and jam is beautifully balanced by the earthy, crunchy texture of the finely chopped walnuts. This combination creates a sophisticated flavor profile that keeps you coming back for more.
Ingredients for Irresistible Jam Thumbprint Cookies
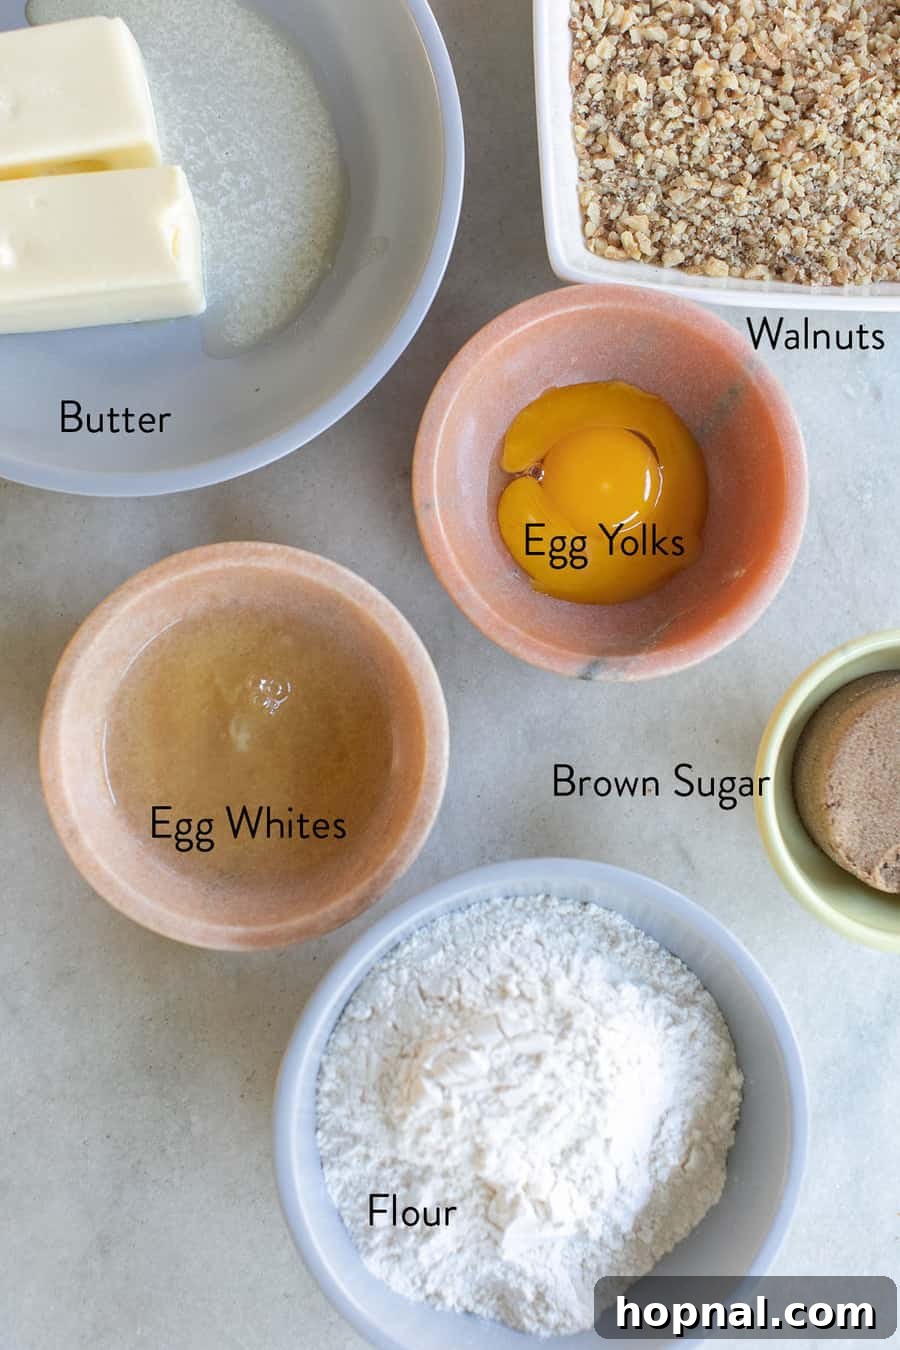
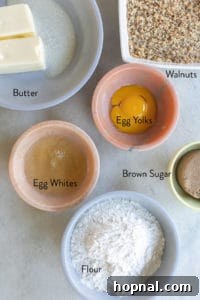
Creating these delightful cookies requires just a handful of quality ingredients. Here’s a closer look at what you’ll need and why each component is essential:
- Jam (or Preserves): The star of the show! Choose your absolute favorite flavor. Seedless raspberry, vibrant apricot, classic strawberry, or a robust mixed berry blend all work wonderfully. For best results, opt for thicker preserves to prevent excessive spreading and leaking during baking.
- All-Purpose Flour: This provides the foundational structure for our tender shortbread. We recommend a reliable brand like King Arthur All-Purpose Flour for consistent results, ensuring your cookies have the perfect texture without being too dense or too crumbly. Proper measurement is key!
- Large Eggs: Separated, they play distinct roles. The egg yolks lend incredible richness and a beautiful golden hue to the dough, contributing to its melt-in-your-mouth quality. The egg whites act as a natural adhesive, helping the crushed walnuts stick perfectly to the cookie balls, providing that essential crunchy coating.
- Unsalted Butter: The heart of any good shortbread, butter provides flavor, tenderness, and moisture. Always use unsalted butter at room temperature. Softened butter creams beautifully with sugar, resulting in a smooth, cohesive dough that bakes evenly. If you only have salted butter, reduce any added salt in the recipe (though this recipe doesn’t explicitly call for salt beyond what might be in butter).
- Dark Brown Sugar: While many shortbread recipes use granulated sugar, dark brown sugar is our secret weapon. It imparts a delightful depth of flavor, a subtle caramel note, and helps create a slightly chewier, more moist cookie than granulated sugar alone, complementing the buttery base perfectly.
- Finely Chopped Walnuts: These provide the signature crunchy coating and a wonderful nutty flavor that contrasts beautifully with the soft interior and sweet jam. Using finely crushed walnuts ensures even coating and a pleasant texture in every bite. Feel free to substitute with pecans, almonds, or skip for a nut-free version.
How to Make the Best Thumbprint Cookies: Step-by-Step
Follow these detailed steps to create your batch of perfect jam thumbprint cookies:
-
1. Prepare Your Ingredients: Before you begin mixing, ensure all your ingredients are prepped. Separate the egg yolks from the whites, placing whites in a shallow bowl for rolling. Sift your all-purpose flour into a separate bowl to remove any lumps and ensure a light dough. Pack the dark brown sugar firmly into your measuring cup for an accurate amount. Have your butter softened to room temperature.

-
2. Cream Butter and Sugar: In a large mixing bowl, preferably using a stand mixer with a paddle attachment or a hand mixer, cream together the softened unsalted butter and dark brown sugar. Beat on medium speed until the mixture is light, fluffy, and visibly lighter in color. This process incorporates air, essential for a tender cookie.
-
3. Mix the Dough: Add the egg yolks to the creamed butter and sugar mixture and beat until well combined. Gradually add the sifted flour, mixing on low speed until just combined. Be careful not to overmix, as this can develop the gluten in the flour and lead to tough cookies. The dough should come together smoothly.
-
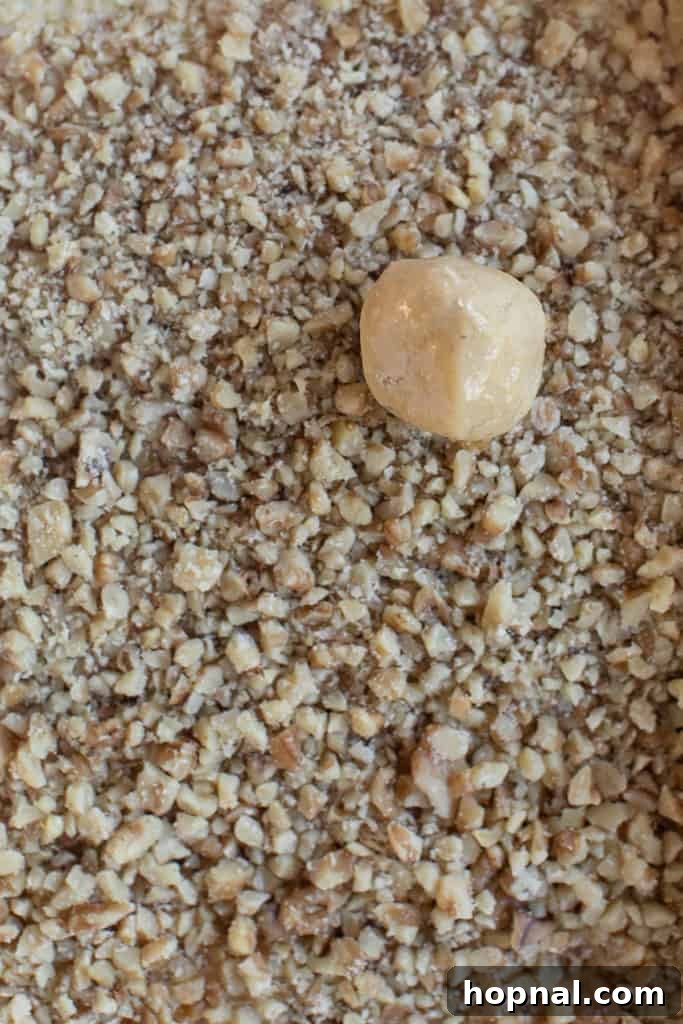
4. Crush the Walnuts: Place your walnuts in a food processor or blender and pulse until they are finely chopped. Alternatively, place them in a zip-top bag and crush them with a rolling pin. Pour the finely crushed walnuts onto a shallow plate or into a wide bowl, ready for coating.
-
5. Roll the Dough Balls: Using a melon baller or a small cookie scoop (about 1 tablespoon), scoop out portions of dough. Roll each portion between your palms to form smooth, uniform small balls. This ensures even baking.
-
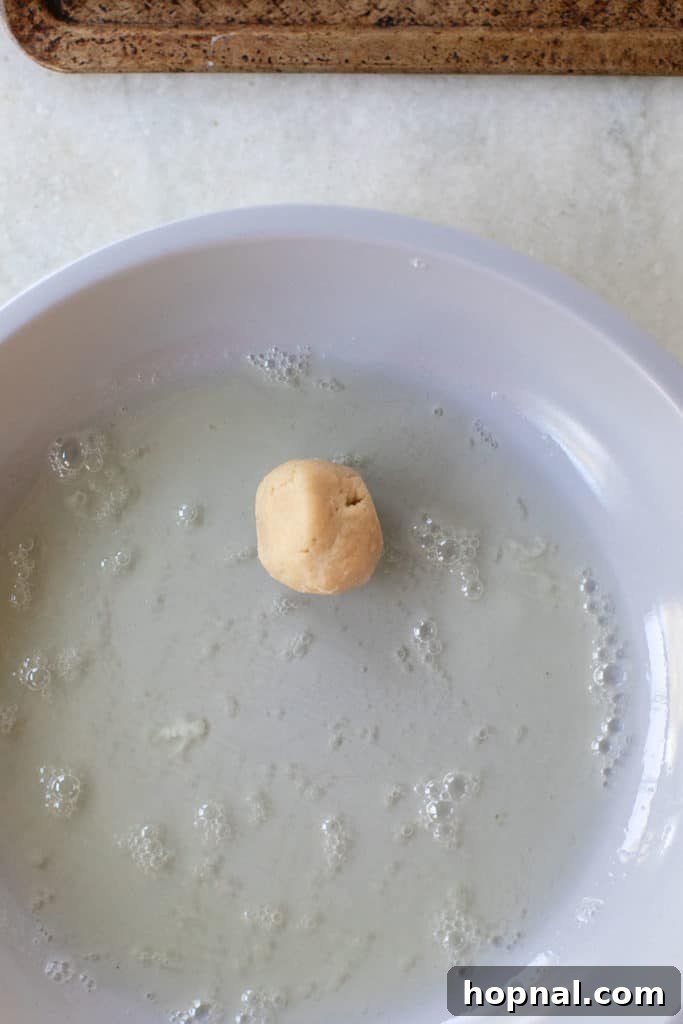
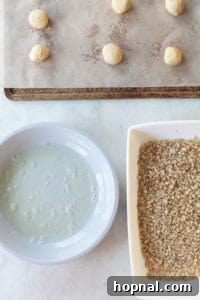
6. Coat the Cookies: Take each dough ball and first roll it thoroughly in the reserved egg whites, ensuring it’s fully coated. Then, transfer the egg-white-coated ball to the plate of finely chopped walnuts and roll until the entire surface is covered with nuts. Place the coated balls on a baking sheet lined with parchment paper, leaving about 2 inches between each cookie.
-
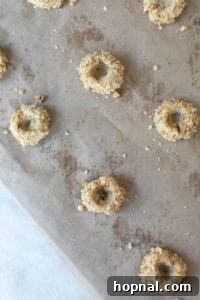
7. Create the Thumbprint: Once the cookies are on the baking sheet, use a small, rounded measuring teaspoon, a ½ teaspoon, or even your thumb (hence the name!) to press a deep indentation into the center of each cookie ball. Ensure the well is deep enough to hold a good amount of jam without overflowing, but not so deep it breaks through the bottom.
-
8. First Bake: Preheat your oven to 375°F (190°C). Bake the cookies for 10-12 minutes, or until the edges are lightly golden. The cookies will be slightly set but not fully baked through. Remove them from the oven.
-
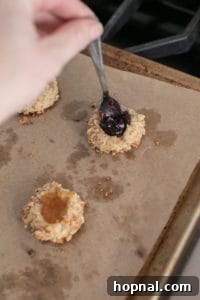
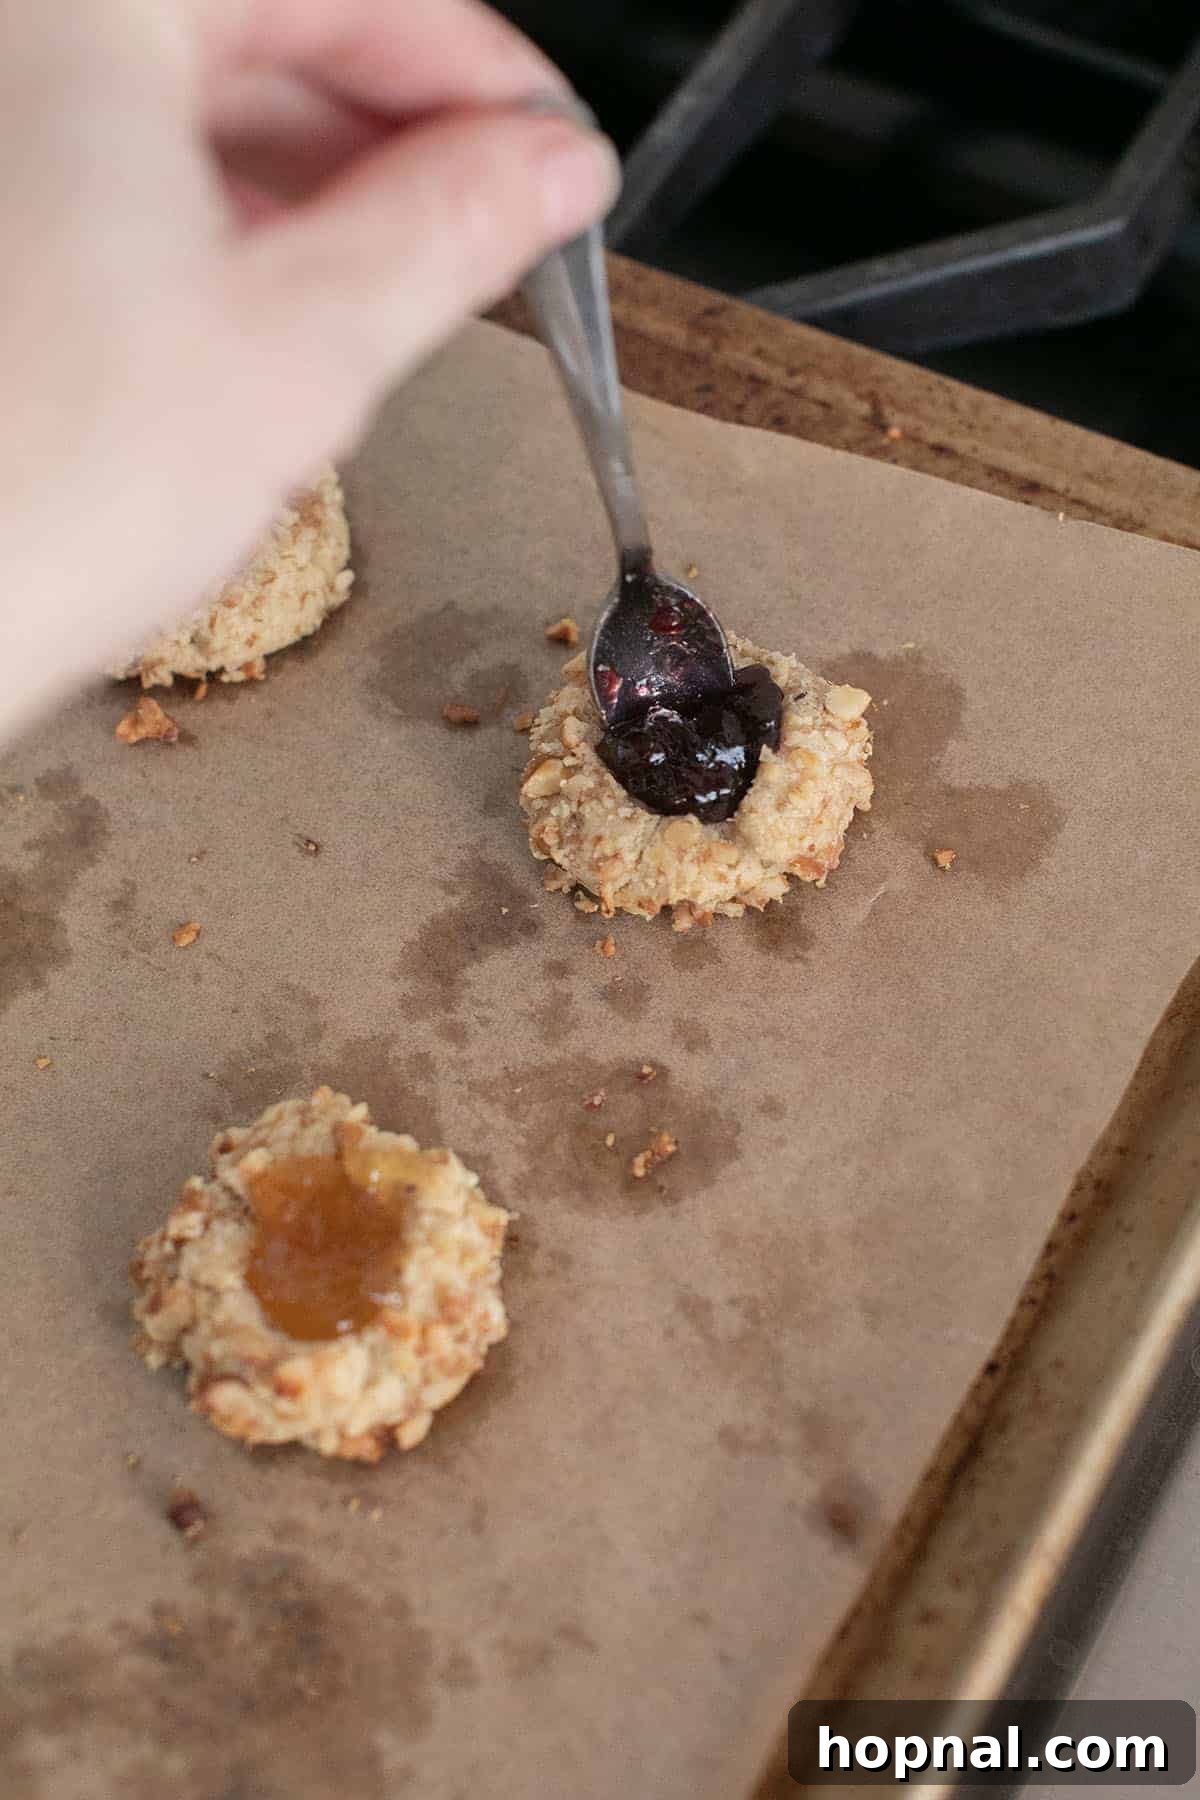
9. Add the Jam: While the cookies are still warm from the first bake, carefully fill each thumbprint indentation with your chosen jam. A small spoon works best for this. Don’t overfill, but ensure the well is adequately brimming with sweet goodness.
-
10. Second Bake: Return the jam-filled cookies to the oven for an additional 5 minutes. This second, shorter bake allows the jam to set and the cookies to finish baking to a perfect golden crispness.
-
11. Cool and Serve: Once baked, remove the cookies from the oven and let them cool on the baking sheet for a few minutes before transferring them to a wire rack to cool completely. The jam will firm up as it cools. Enjoy your homemade thumbprint cookies!
Eden’s Expert Tips for Perfect Thumbprint Cookies
Achieving bakery-quality thumbprint cookies at home is easier than you think with these insider tips:
- Chill the Dough if Too Soft: If your kitchen is warm or you’ve handled the dough extensively, it might become too soft to roll easily. Don’t hesitate to pop the dough into the refrigerator for 15-30 minutes. Chilled dough is much easier to work with and helps prevent spreading during baking.
- Always Use Room-Temperature Butter: This is a non-negotiable step for the best shortbread. Softened butter (but not melted!) creams smoothly with sugar, creating an emulsified, cohesive dough that yields a tender, uniform cookie. Cold butter won’t cream properly, and melted butter will result in a greasy, dense cookie.
- Avoid Over-mixing the Dough: Once you add the flour, mix only until the ingredients are just combined. Over-mixing develops gluten, which can make your cookies tough and less tender. A light hand here ensures a delicate, melt-in-your-mouth texture.
- Shape with Precision: For perfectly round, uniform thumbprints, use a small, rounded kitchen tool like a ½ teaspoon measuring spoon, the back of a small round handle, or even a wine cork. Dip the tool lightly in flour or sugar before pressing to prevent sticking. Press firmly enough to create a decent well, but avoid cracking the edges.
- Choose the Right Jam: Thicker jams and preserves work best. Thin, runny jams can bubble over and leak out during baking. Seedless varieties of raspberry or apricot are classic choices and tend to have a good consistency. If your jam is too thick, you can gently warm it slightly to make it easier to spoon.
- Don’t Skip the Double Bake: Baking the cookies for a short period before adding the jam helps to set the cookie structure and prevents the jam from over-baking and burning. The second bake then warms and sets the jam beautifully.
- Line Your Baking Sheets: Always use parchment paper or silicone baking mats. This prevents sticking, ensures even baking, and makes for easy cleanup.
- Quality Ingredients Matter: While the ingredient list is short, the quality of each ingredient makes a difference. Use good butter and a jam you genuinely love for the best flavor outcome.
Storing and Freezing Your Thumbprint Cookies
Want to enjoy these delicious cookies beyond baking day? Here’s how to store them effectively:
- Storing Baked Cookies: Keep your baked thumbprint cookies fresh by storing them in an airtight container at room temperature. They will remain wonderfully tender and flavorful for up to 3 days. If you prefer to extend their shelf life slightly, you can refrigerate them for up to a week. For optimal freshness, place a piece of parchment paper between layers of cookies in the container.
- Freezing Baked Cookies: Fully baked thumbprint cookies freeze beautifully! Once completely cooled, arrange them in a single layer on a baking sheet and freeze until solid (about 1-2 hours). Transfer the frozen cookies to an airtight freezer-safe container or a heavy-duty freezer bag, separating layers with parchment paper. They will keep well for up to 3 months. Thaw them at room temperature for about 30 minutes to an hour before serving for the best texture and flavor.
- Freezing Unbaked Dough Balls: For fresh-baked cookies anytime, prepare the dough, roll it into balls, coat them in egg white and walnuts, and create the thumbprint. Freeze the unbaked dough balls in a single layer on a parchment-lined baking sheet until firm. Then, transfer them to an airtight freezer-safe container or bag. When you’re ready to bake, place the frozen dough balls directly on a prepared baking sheet, add the jam, and bake as usual, adding a few extra minutes to the baking time if needed (check for golden edges).
Creative Variations to Elevate Your Thumbprint Cookies
While the classic jam thumbprint is perfect, don’t hesitate to get creative with these delicious variations:
- Decadent Chocolate Thumbprints: For chocolate lovers, fill the centers with melted chocolate (dark, milk, or white), a rich chocolate ganache, or a creamy chocolate hazelnut spread like Nutella after the cookies have cooled completely.
- Nut-Free Options: If you have nut allergies or simply prefer a different coating, roll the cookies in granulated sugar for a sparkling finish, or in colorful sprinkles for a festive touch. Finely shredded coconut (toasted or untoasted) is another fantastic alternative.
- Festive Colors & Flavors: Beyond sprinkles, consider using different colored jams to match holiday themes – red raspberry for Christmas, orange apricot for fall, or a mix of green and red jellies. A touch of citrus zest (lemon, orange, or lime) added to the dough can also brighten the flavor profile.
- Spice It Up: Add a pinch of cinnamon, cardamom, or nutmeg to your dough for a warm, spiced variation, especially delightful during cooler months.
- Caramel or Lemon Curd Fillings: Experiment with other sweet fillings! Homemade or store-bought caramel sauce, or a tangy lemon curd, can offer a delightful twist on the traditional jam. Ensure these fillings are thick enough to hold their shape.
Serving Suggestions and Perfect Pairings
These versatile cookies are perfect any time of year! While they’re a holiday staple, they shine in many settings. Here are some ideas for serving:
- Brunch Spreads: Elevate your breakfast or brunch table. They fit beautifully with Christmas Brunch, Easter Brunch, or any general Brunch menu, offering a sweet counterpoint to savory dishes.
- Afternoon Tea Parties: A classic pairing! Serve them alongside a selection of teas for an elegant afternoon treat.
- Coffee Break Companion: The rich butteriness and sweet jam make them an ideal accompaniment to your morning coffee or an afternoon pick-me-up.
- Dessert Platters: Include them on a varied dessert platter for gatherings. Their vibrant colors and unique texture stand out.
- Thoughtful Gifts: Pack them in a decorative tin or box as a homemade gift for friends, family, or neighbors.
- With a Grown-Up Twist: For a sophisticated pairing, consider serving them alongside my unique gin and jam cocktail! The fruity notes of the cocktail will beautifully complement the cookies.
Frequently Asked Questions About Thumbprint Cookies
Several factors can cause thumbprint cookies to spread. Ensure your butter is at room temperature (not melted) and that your oven is fully preheated to the correct temperature. Over-softened butter, a warm baking sheet, or incorrectly measured flour (too little flour or too much butter) can all contribute to excessive spreading. Chilling the dough before rolling and baking can also help them hold their shape better.
While these thumbprint cookies can stay fresh at room temperature in an airtight container for up to 3 days, refrigerating them can help extend their freshness for up to a week. The refrigeration also helps firm up the jam, which some people prefer. Always refrigerate if your kitchen is particularly warm or humid to prevent spoilage.
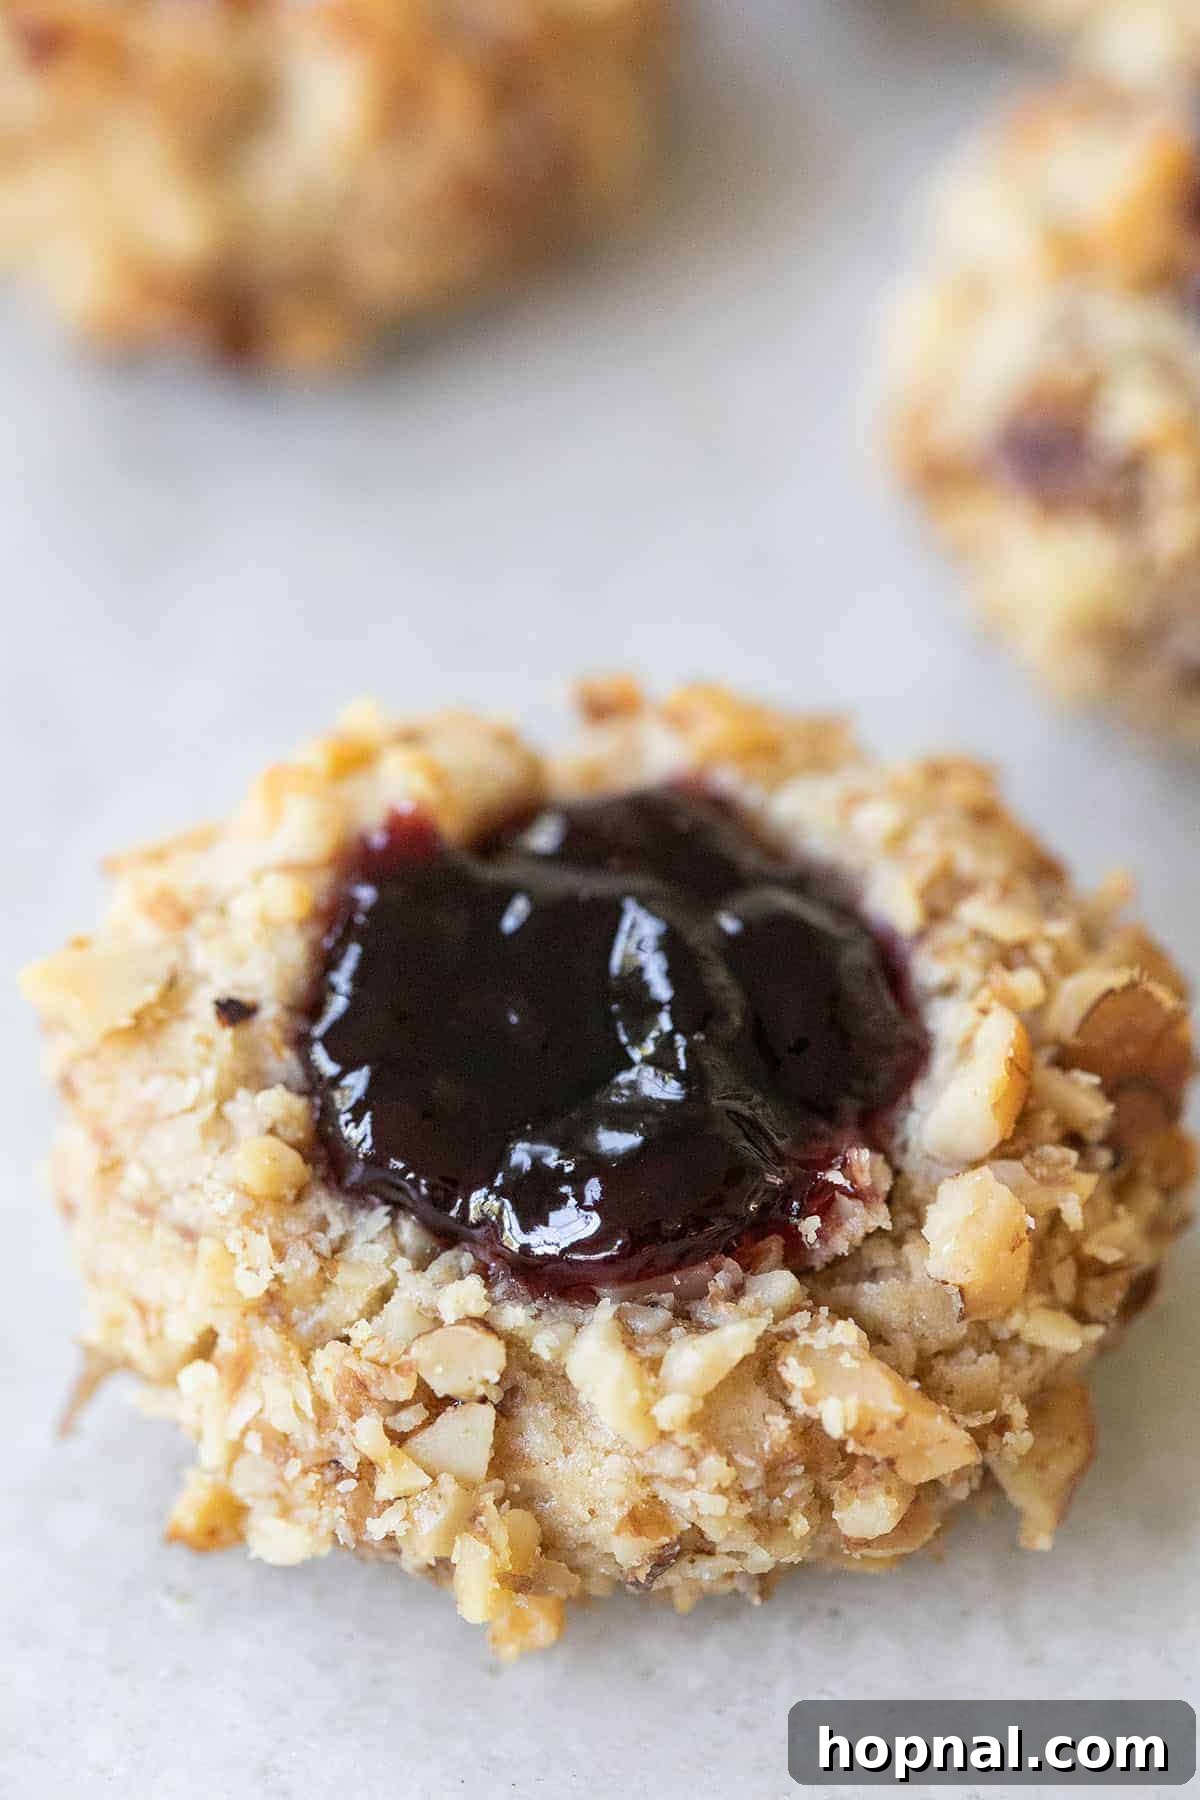
Thumbprint cookies are a classic and beloved type of shortbread-style cookie. They typically feature a tender, buttery dough, often rolled in finely chopped nuts (like walnuts or pecans), and then an indentation is made in the center (historically with a thumb, hence the name). This “thumbprint” is then filled with a sweet preserve or jam, which bakes along with the cookie, creating a delightful contrast of textures and flavors.
The best jams for thumbprint cookies are those with a thicker consistency to prevent them from becoming too runny or leaking during baking. Seedless varieties of raspberry, apricot, or strawberry preserves are excellent choices. Blueberry, cherry, or even fig jam can also work beautifully. Avoid very thin jellies or liquidy fruit spreads.
Cracking can occur if the dough is too dry or if you press too hard when making the indentation. Ensure your butter is properly softened and you don’t overmix the dough. If the dough feels a bit dry, you can add a tiny bit of milk or cream (half a teaspoon at a time) to bring it together. When making the thumbprint, press gently and rotate the cookie slightly to create a smooth, even well.
Absolutely! While walnuts are traditional, finely chopped pecans, almonds, or even pistachios make wonderful substitutions. Each nut will impart its own unique flavor profile, allowing you to customize the cookies to your preference.
More Irresistible Cookie Recipes You’ll Love
If you’re a cookie enthusiast, be sure to explore these other fantastic recipes from our collection:
- Spicy & Sweet Gingersnap Cookies
- Our Favorite Chocolate Cherry Chunk Cookies
- The Best Ever Chocolate Crinkle Cookies
- Chewy Chocolate Chip Walnut Cookies
- Classic Chewy Snickerdoodle Cookies
- Amazingly Buttery Chocolate Chip Cookie Recipe (Yes, really!)
- Elegantly Fragrant Rosemary Shortbread Cookies
Thumbprint cookies remain one of my most cherished and easy-to-make treats. Their inherent simplicity and the joy of customizing them with an array of flavors make them endlessly appealing. Whether you stick to the traditional jam or venture into creative variations, these cookies are sure to bring smiles and satisfy any sweet craving.
FOLLOW ME on FACEBOOK, INSTAGRAM, and PINTEREST to discover more delicious recipes, inspiring cocktails, delightful desserts, and creative party ideas!

Thumbprint Cookies
Eden
15 minutes mins
15 minutes mins
33 minutes mins
24 Cookies
Print Recipe
Ingredients
- 2 cups all-purpose flour
- 2 large eggs, separate the egg yolks and whites
- 1 cup unsalted butter, 2 sticks, at room temperature
- 1/2 cup dark brown sugar, packed
- 1 cup walnuts, finely chopped
- 12 ounces thick preserves, any flavor you want!
Instructions
-
1. Measure your ingredients – Separate the egg yolks and whites, placing whites in a shallow dish. Sift the flour into a bowl to remove lumps. Measure brown sugar by packing the measuring cup. Ensure butter is at room temperature.
-
2. Cream – In a mixing bowl, cream the butter and dark brown sugar together on medium speed until light and fluffy.
-
3. Mix Dough – Add the egg yolks to the creamed mixture, then gradually add the sifted flour, mixing on low speed until just combined without overmixing.
-
4. Crush the walnuts – Finely chop walnuts using a food processor or blender. Pour them onto a shallow plate or bowl.
-
5. Roll and Coat – Scoop dough with a melon baller or 1-tablespoon scoop. Roll each ball in egg whites, then in the finely chopped walnuts until fully coated.
-
6. Create Thumbprints – Place coated cookies on a parchment-lined baking sheet. Using a small round measuring spoon (e.g., ½ teaspoon), press a deep well into the center of each cookie.
-
7. First Bake – Preheat oven to 375°F (190°C). Bake for 10-12 minutes, or until edges are lightly golden. Remove from oven.
-
8. Fill with Jam – While cookies are still warm, fill each thumbprint with a small amount of your chosen jam using a tiny spoon.
-
9. Second Bake – Return cookies to the oven and bake for an additional 5 minutes to set the jam and finish baking the cookies.
-
10. Cool and Serve: Let cookies cool on the baking sheet for a few minutes, then transfer to a wire rack to cool completely before enjoying.
Notes
Measure your flour correctly by either weighing it or using the spoon-and-level method to avoid dense cookies.
Whenever possible, use whole, organic ingredients for the best flavor and quality.
Remember, these cookies undergo a two-stage baking process: an initial bake to set the dough, and a second short bake after adding the jam to warm and set the filling.
Using a small, rounded kitchen tool like a measuring teaspoon will help create perfectly circular and uniform “thumbprints.”
Nutrition
Calories: 200kcal,
Carbohydrates: 23g,
Protein: 2g,
Fat: 11g,
Saturated Fat: 5g,
Trans Fat: 1g,
Cholesterol: 36mg,
Sodium: 80mg,
Potassium: 58mg,
Fiber: 1g,
Sugar: 11g,
Vitamin A: 260IU,
Vitamin C: 1mg,
Calcium: 18mg,
Iron: 1mg
Nutrition information is automatically calculated, so should only be used as an approximation.
Like this? Leave a comment below!