
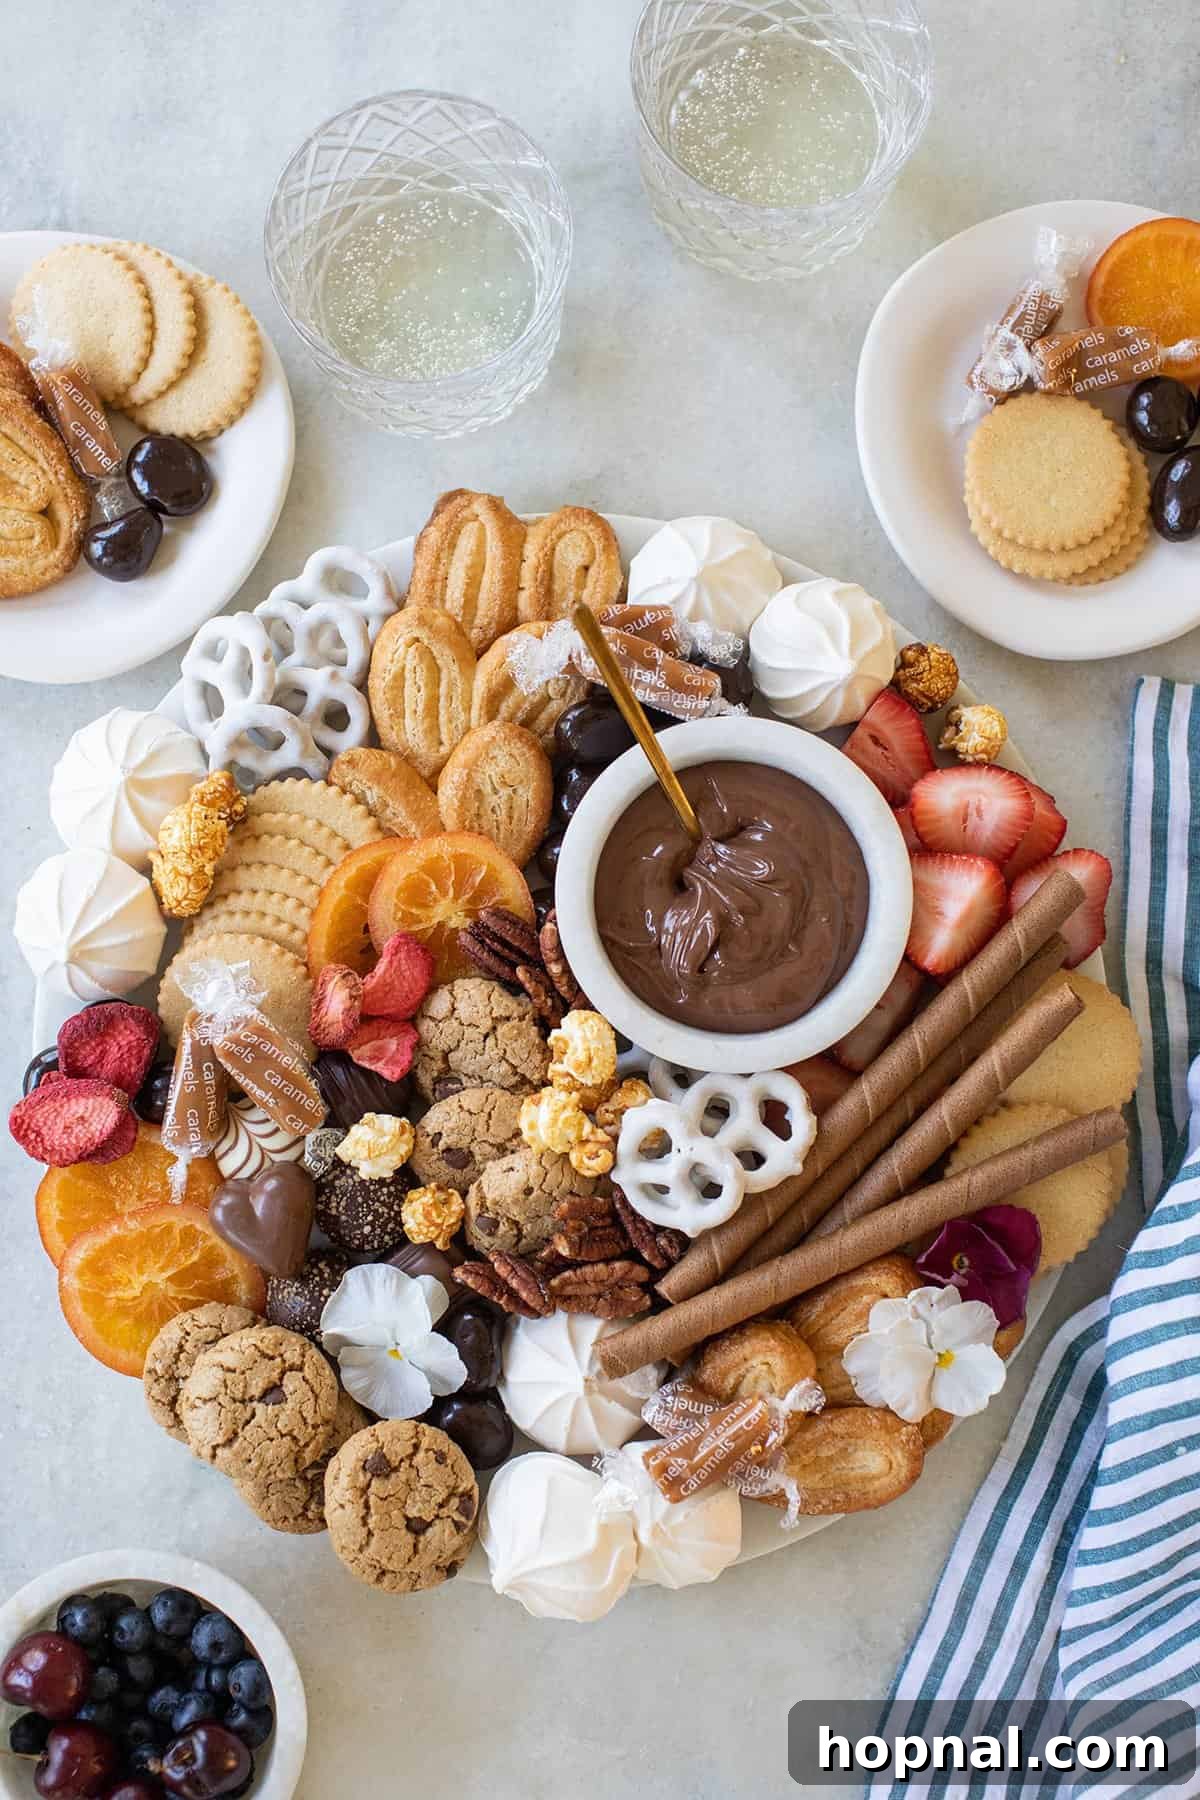
Crafting the Ultimate Dessert Charcuterie Board: Sweet Ideas for Every Occasion
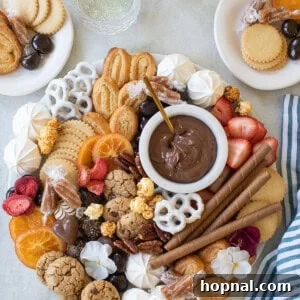
A dessert charcuterie board is the quintessential stress-free treat, perfect for any gathering, big or small! Imagine a beautiful spread piled high with an array of cookies, decadent truffles, vibrant candies, and refreshing fresh fruit. This isn’t just a dessert; it’s a gorgeous centerpiece, a conversation starter, and a delightful experience that you can easily customize for birthdays, holiday celebrations, game nights, or simply a cozy evening spent with friends and family.
The beauty of a sweet grazing board lies in its versatility and effortlessness. It allows hosts to spend more time enjoying their guests and less time in the kitchen. Whether you’re a seasoned entertainer or just starting, a dessert board is your secret weapon for creating an unforgettable sweet finale.
Craving more charcuterie inspiration? Explore our other popular boards like the Hot Chocolate Charcuterie Board for winter festivities, a festive Christmas Dessert Charcuterie Board, or a classic Fruit and Cheese Platter for savory delights!
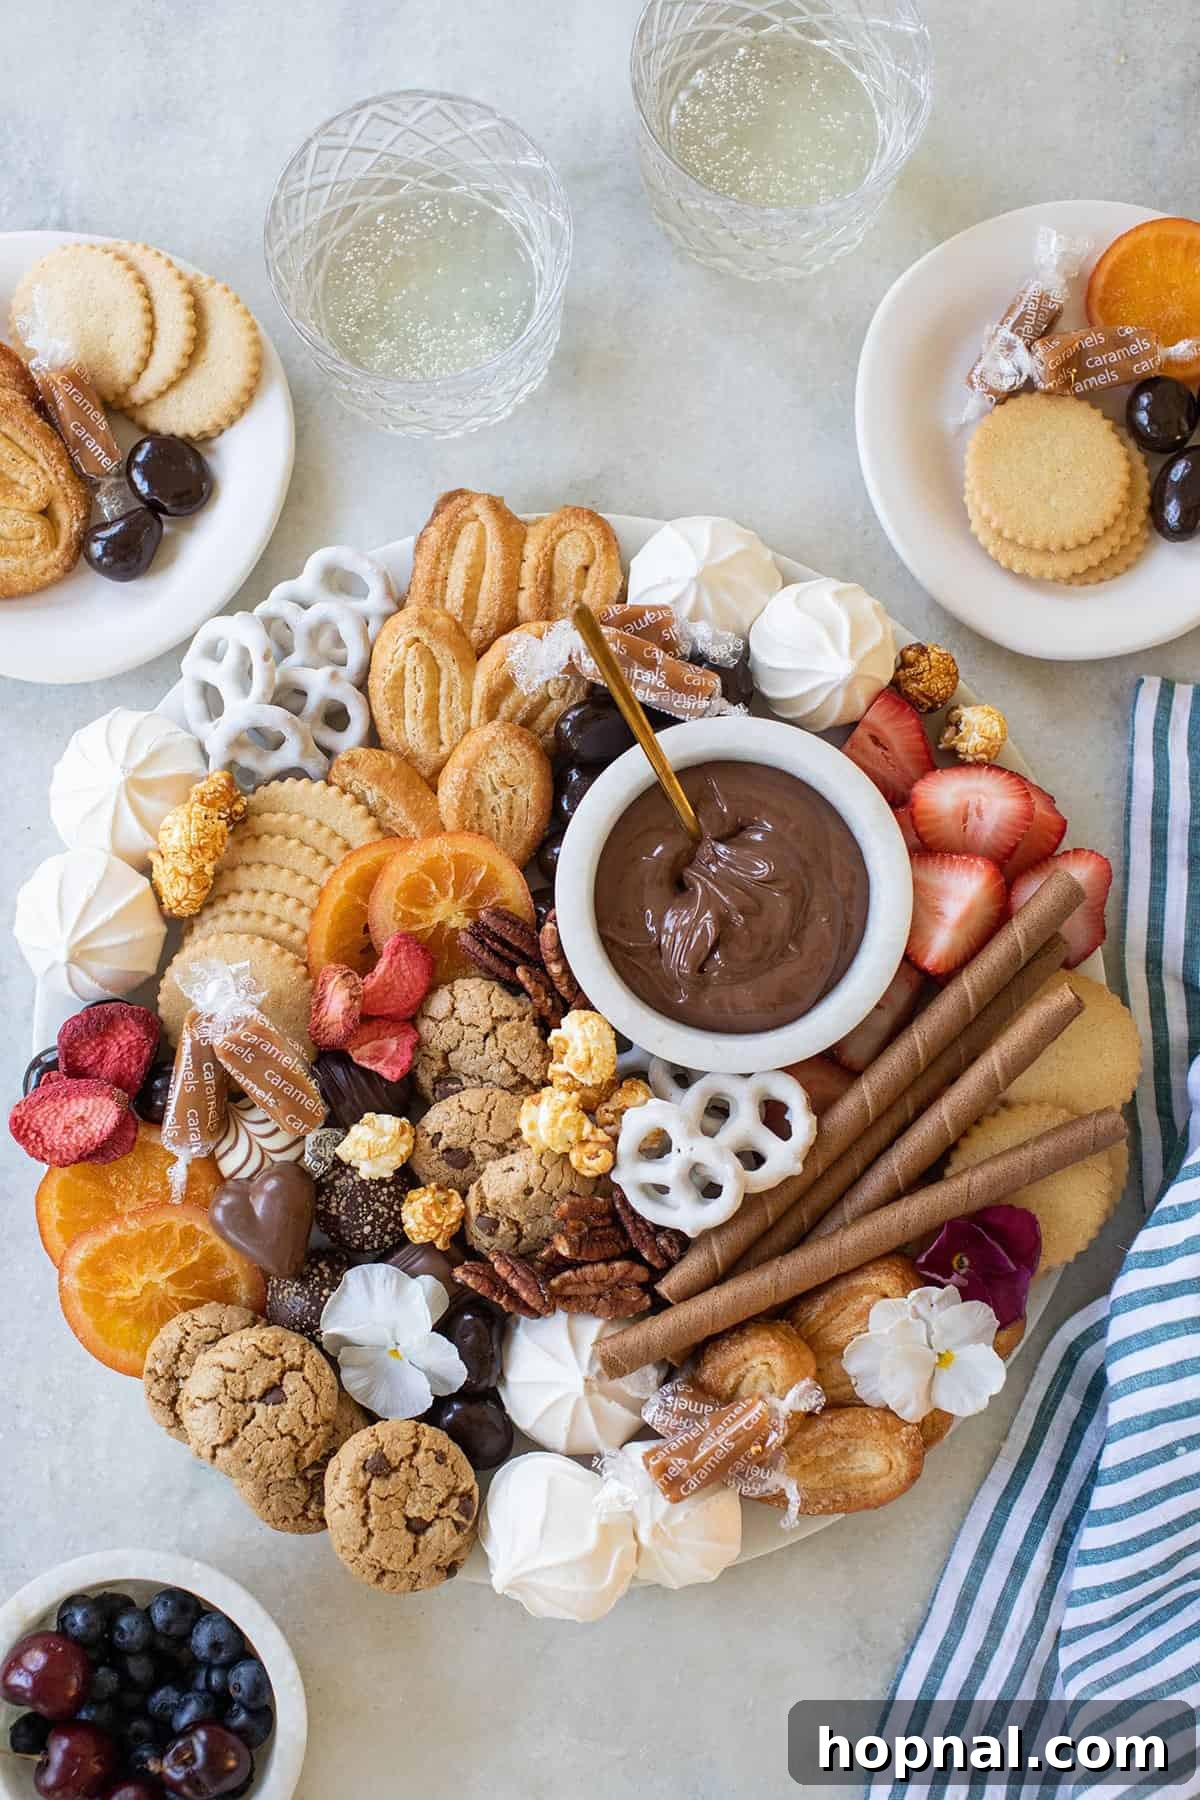
The Best Sweet Grazing Board for Parties
I’ve always found that a thoughtful spread, whether sweet or savory, is the ultimate key to a great party atmosphere, and dessert charcuterie boards truly take the cake! They are incredibly simple to put together, offer endless customization possibilities, and consistently become the showstopper of any event. They are perfect for milestone birthdays, festive holidays, casual game nights, or even as a spontaneous “just because” treat to brighten someone’s day. The visual appeal alone invites guests to gather, chat, and discover new favorite sweet combinations, making for a truly interactive dessert experience.
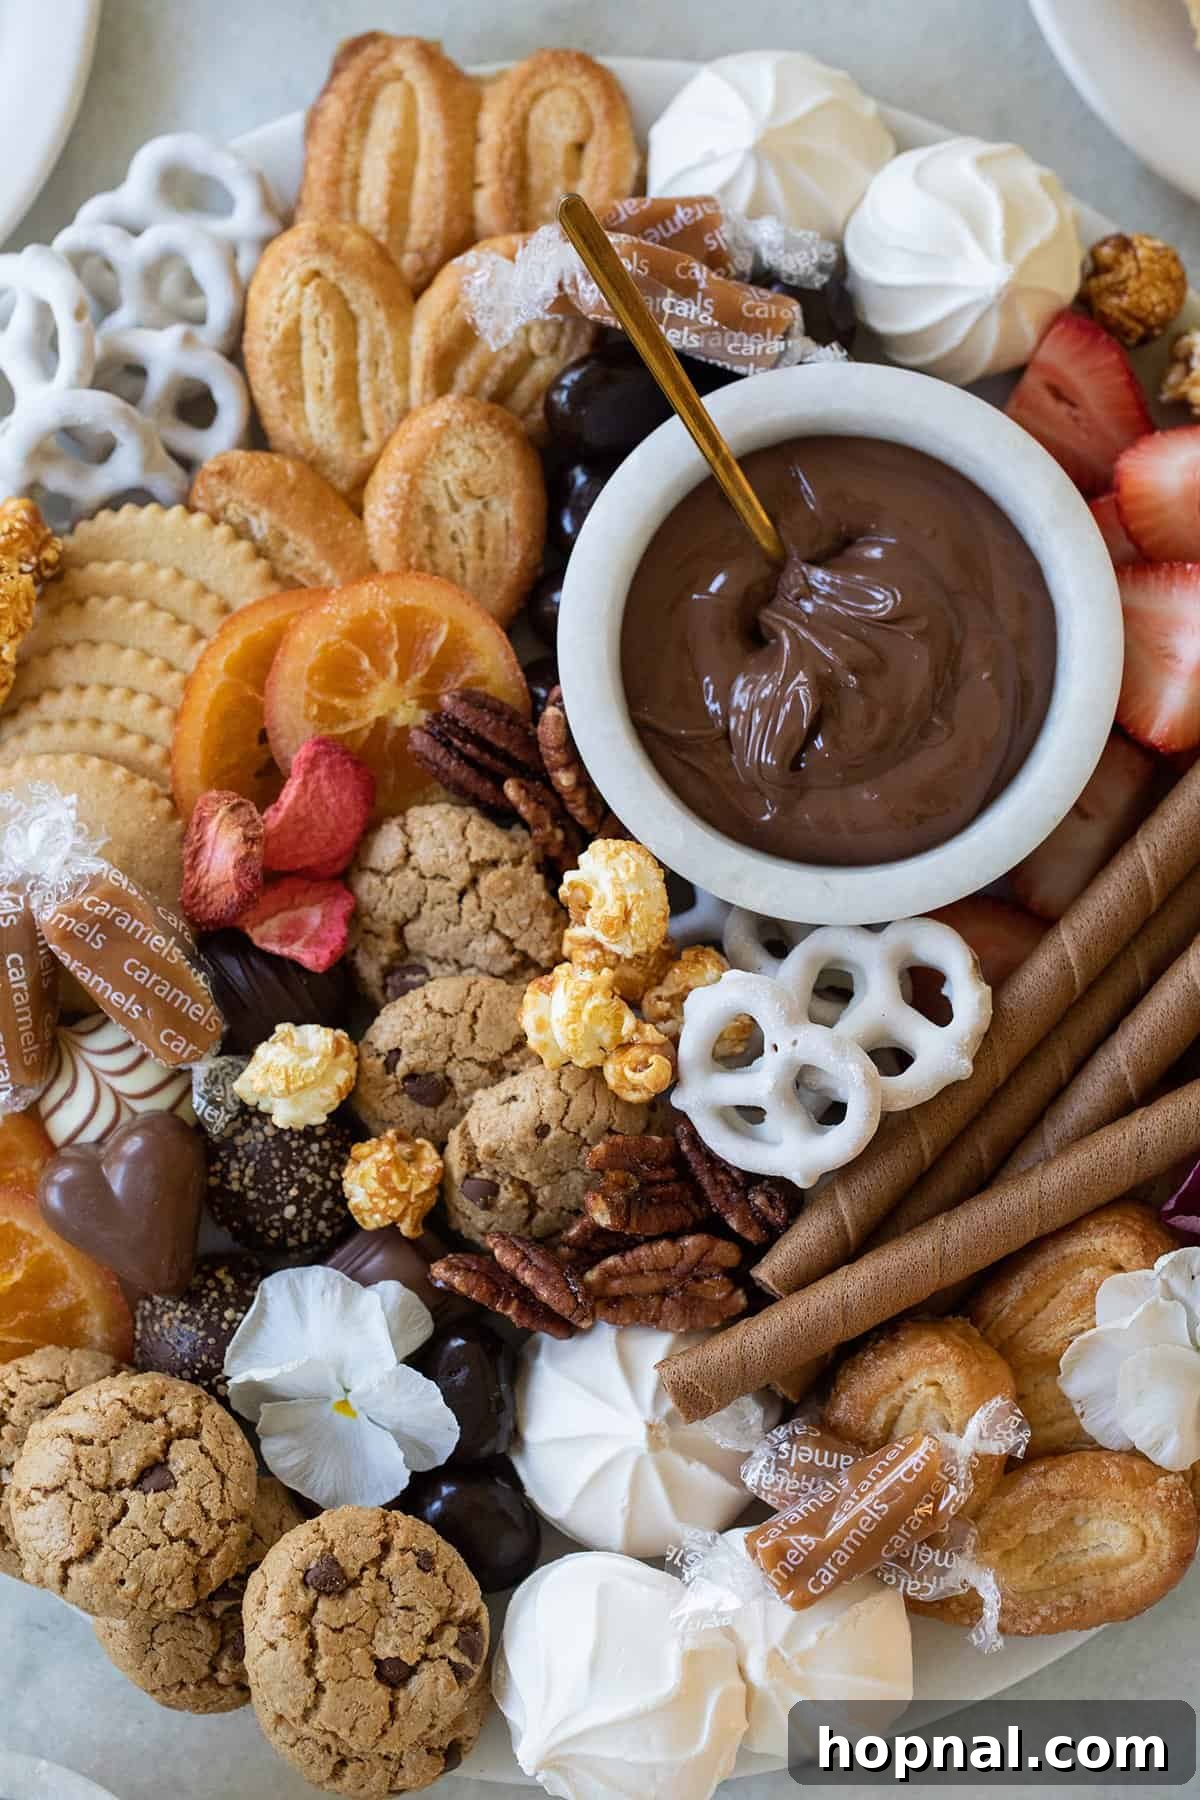
Curating Your Sweet Selection: What to Include on Your Dessert Charcuterie Board
The magic of a dessert board comes from mixing store-bought favorites with a few homemade goodies to create a diverse and exciting spread that caters to every palate. Here are some of my top picks and ideas to inspire your own sweet creation:
- Chocolates & Candies: Offer a variety to satisfy every sweet tooth. Think classic chocolate bars broken into tempting pieces, delicate truffles, fun mini candy bars, chewy gummy bears, or fluffy marshmallows. For an extra touch, include specialty chocolates like dark chocolate-covered espresso beans or artisanal caramel squares.
- Cookies & Baked Goods: A wide range of textures and flavors makes this category exciting. Include classic sugar cookies, buttery shortbread cookies, beloved chocolate chip cookies, light-as-air meringues, or playful Strawberry Rice Krispie treats. Don’t forget elegant wafer cookies, macarons, or even mini cupcakes for added flair.
- Popcorn & Pretzels: These add a crucial savory and crunchy element, balancing the sweetness. Delight your guests with chocolate-covered pretzel rods, gourmet caramel corn, or creamy yogurt pretzels. You can also offer plain salted pretzels or popcorn for a simpler, yet equally satisfying contrast.
- Chocolate-Covered Fruit: Elevate fresh fruit by dipping it in chocolate. Juicy chocolate-covered strawberries are always a hit. Also consider chocolate-dipped cherries, raspberries, or even banana slices for a refreshing bite.
- Fresh Fruit: A vital component for freshness and color. Seedless grapes, an assortment of vibrant berries (strawberries, blueberries, raspberries, blackberries), thinly sliced apples, and beautifully crafted candied oranges are excellent choices. Seasonal fruits can make your board feel extra special.
- Sweet Dips & Spreads: Dips add an interactive and indulgent element. Creamy marshmallow dip, rich caramel sauce, or glossy chocolate ganache are fan favorites. Consider also a fruit coulis or a whipped cream cheese spread for variety.
- Cheese (for a Sweet-and-Savory Twist!): Don’t shy away from incorporating a touch of savory. A creamy brie, a tangy goat cheese dip, or a sharp cheddar can provide a delightful contrast that enhances the sweet flavors and offers a sophisticated edge to your dessert board. Pair these with crackers or crusty bread on the side.
- Nuts: Toasted almonds, candied walnuts, pecans, or pistachios add crunch and a touch of elegance.
Remember, the key is variety in flavor, texture, and color to create a truly appealing and satisfying dessert experience.
Designing Your Dream Dessert Platter: An Expert Assembly Guide
Assembling a dessert charcuterie board is an art form that’s surprisingly easy to master. Follow these steps to create a visually stunning and utterly delicious sweet masterpiece that will impress all your guests:
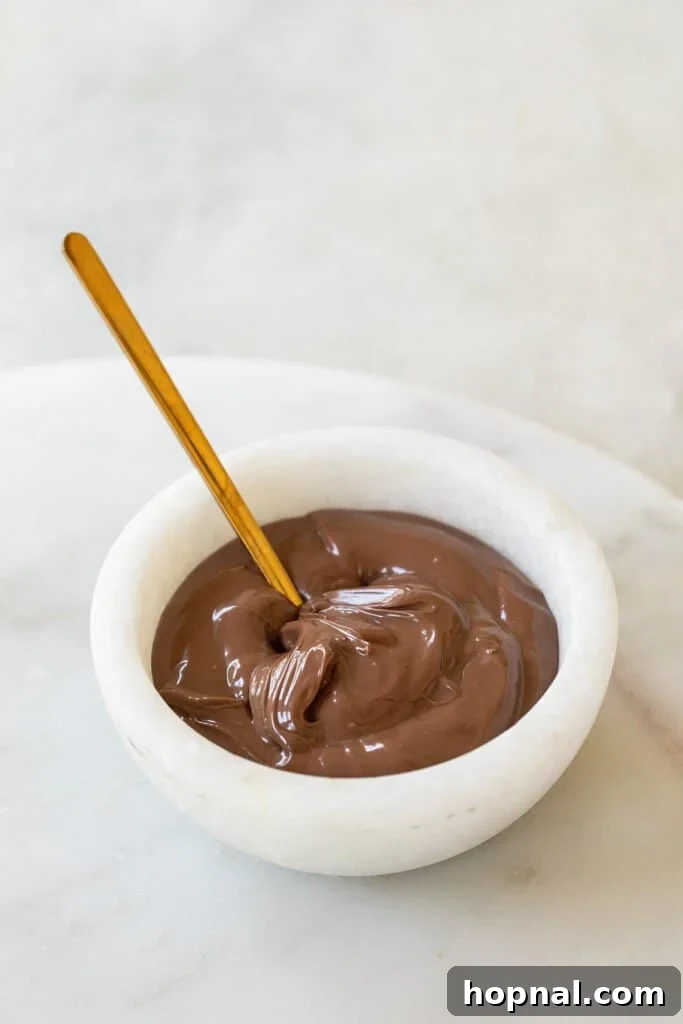
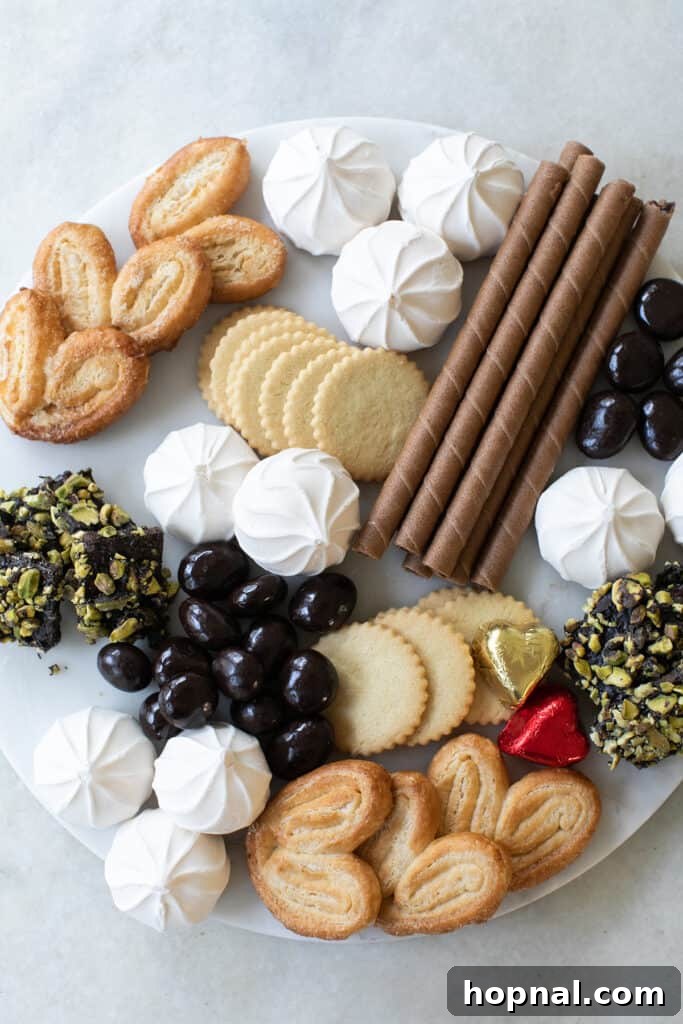
1. Choose Your Foundation: The right base sets the stage. A large wooden board, an elegant marble slab, or a festive-shaped platter (like a heart for Valentine’s Day or a pumpkin for Halloween) works best. Ensure it’s large enough to accommodate all your planned treats and allows for easy access by guests.
2. Anchor with Dips and Larger Items: Begin by placing any small bowls of sweet dips (like caramel or chocolate ganache) on your board. These act as anchors and help define the initial layout. Next, add your larger treats, such as small cakes, pies, or generous clusters of cookies, creating focal points. Use small cake stands or elevated bowls to introduce varying heights, adding dynamic interest to your display.
3. Arrange by Color and Texture: This is where your artistic eye comes in! Group items by color to create visually appealing segments or scatter them for a more playful look. Crucially, mix textures to keep every bite exciting. Combine smooth truffles with crunchy cookies, chewy candies with crisp fruit slices, and creamy dips with airy meringues.
4. Fill Gaps with Smaller Items: Once the main components are in place, start filling in any empty spaces. Use smaller candies, bite-sized chocolates, nuts, dried fruits, or popcorn to bridge gaps and create a cohesive, abundant look. Don’t be afraid to let items touch or slightly overlap – a truly “grazing” board should look plentiful and inviting.
5. Add Freshness and Finishing Touches: Integrate fresh fruit strategically, adding bursts of color and lightness. Finally, elevate your presentation with garnishes. A sprinkle of cocoa powder, a dusting of powdered sugar, fresh mint leaves, or a few edible flowers can add an elegant and professional touch that makes your dessert charcuterie board truly pop.
Remember, there’s no single “right” way to arrange your board. Experiment and have fun with it!
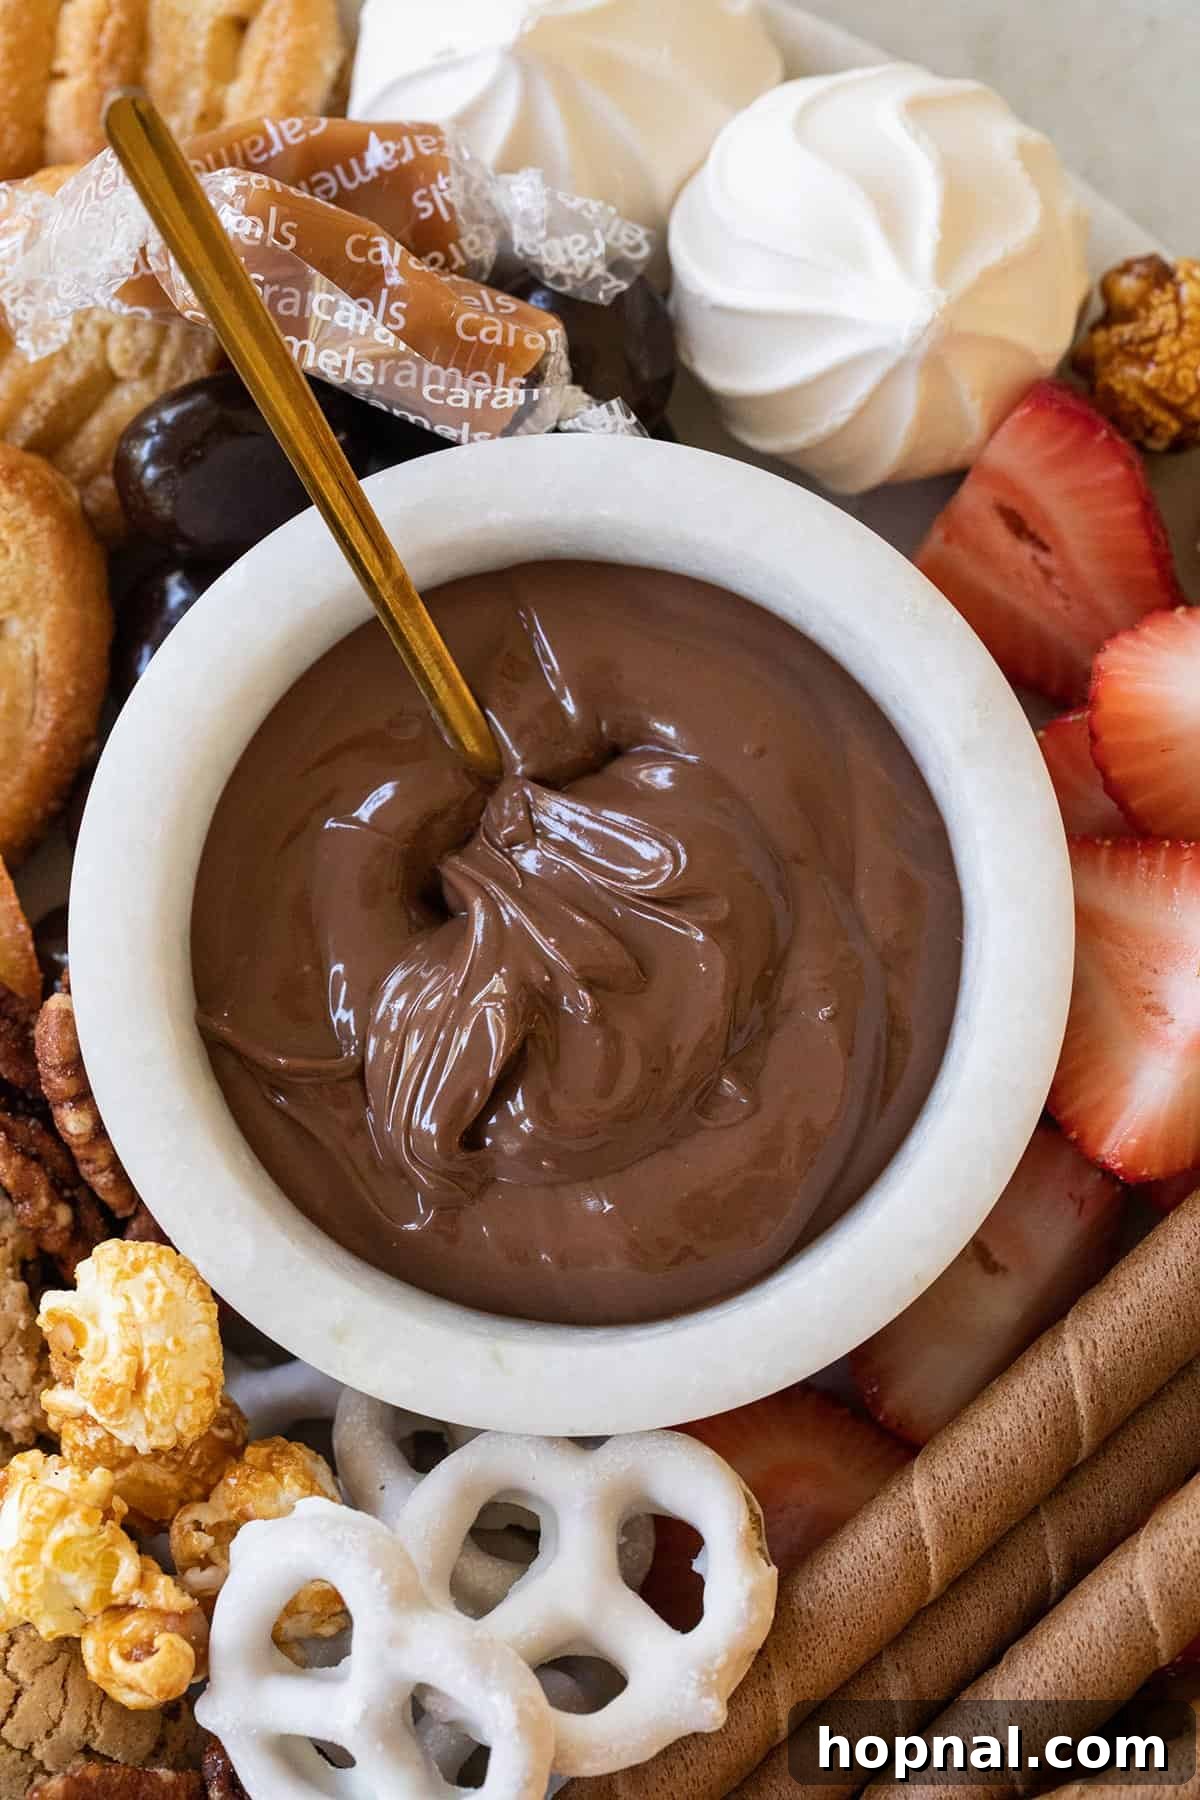
Smart Shopping: Best Store-Bought Treats for Your Dessert Charcuterie Board
One of the greatest advantages of a dessert charcuterie board is how easily you can assemble it using a mix of store-bought and homemade items. Adding a selection of gourmet or healthier store-bought treats can significantly reduce prep time while still ensuring your board looks and tastes incredible. Look for quality ingredients and interesting flavors to elevate your spread without extra effort. Here are some of my favorite convenient and often healthier options to include:
- SmartSweets: A fantastic choice for those looking for candy options with less sugar, but still bursting with flavor. Their gummy bears or peach rings are always a hit.
- UNREAL Dark Chocolate: High-quality dark chocolate options that are often made with simple, real ingredients. Their dark chocolate coconut bars or almond butter cups are deliciously indulgent.
- Hu Chocolate Bars: Known for their paleo-friendly and dairy-free options, Hu chocolate bars offer rich, deep chocolate flavors. Break them into pieces for easy grazing.
- UNREAL Chocolate Covered Pretzels: A perfect blend of sweet and salty, these are always devoured quickly. The crunch of the pretzel combined with the smooth chocolate is irresistible.
- Tate’s Bake Shop Cookie Bark: Thin, crispy, and delightful, Tate’s cookie bark adds a gourmet touch with minimal effort. It’s an elevated cookie experience that’s ready to serve.
- YumEarth Sour Littles: For those who enjoy a tangy kick, these organic sour candies are a great addition, providing a burst of fruity flavor and a fun chewy texture.
Don’t hesitate to visit your local bakery for artisan cookies or macarons, or your specialty food store for unique chocolates and confections. The goal is to create a diverse and appealing spread with ease.

Planning Ahead: Make-Ahead and Storage Tips for Your Dessert Board
One of the many reasons dessert charcuterie boards are perfect for entertaining is their flexibility. You can prepare many elements in advance, reducing stress on the day of your event. Here’s how to manage your time effectively and keep everything fresh:
- Prep Non-Perishables Early: Items like cookies, hard candies, chocolates, and nuts can be arranged on your board up to 24 hours before your event. Once assembled, cover the board tightly with plastic wrap or aluminum foil and keep it at cool room temperature. This protects the items from drying out or absorbing unwanted odors.
- Handle Fresh Fruit on the Day Of: For optimal flavor, texture, and appearance, wash and slice all fresh fruit (berries, grapes, apple slices) on the day of your event, ideally just a few hours before serving. Store them in airtight containers in the refrigerator until ready to place on the board. This prevents browning and keeps them vibrant.
- Prepare Dips in Advance: Sweet dips such as chocolate ganache, caramel sauce, or marshmallow dip can be prepared 1–2 days ahead of time. Store them in sealed containers in the refrigerator. Before serving, allow them to come to room temperature for easier dipping and best flavor. You might need to gently warm caramel or ganache if they’ve solidified too much.
- Add Last-Minute Items: Reserve delicate or melt-prone items like chocolate-covered fruit, fresh berries, and any frozen treats for placement just before your guests arrive. This ensures they look their best and maintain their temperature.
- Storing Leftovers:
- Cookies and Candy: Store any leftover cookies and hard candies in airtight containers at room temperature. They should remain fresh for several days.
- Dips: Refrigerate leftover sweet dips in airtight containers. They typically last for up to 5 days.
- Chocolate-Dipped Fruit: For the best texture and freshness, consume chocolate-dipped fruit within 24 hours.
- Fresh Fruit: Any remaining fresh fruit should be stored separately in the refrigerator and consumed within 1-2 days.
With these tips, you can enjoy a beautifully prepared dessert board without the last-minute rush!
Serving with Style: Portioning for Every Gathering
Understanding how much dessert to provide ensures everyone gets to enjoy the sweet feast without excessive leftovers or, worse, running out! Here’s a quick guide to help you plan the perfect quantity for your dessert charcuterie board:
- For 6 guests: Aim for 6–8 cups of assorted treats.
- For 10 guests: Plan for 10–12 cups of assorted treats.
- For 20 guests: Prepare 20–25 cups of assorted treats.
Is the Dessert Board the Main Attraction? If your dessert board is intended to be the primary dessert offering, I recommend planning for a more generous 1–2 cups of treats per guest. This allows ample opportunity for sampling and second helpings.
Serving Alongside Other Sweets? If your dessert board is just one of several sweet options (perhaps alongside a cake or pie), then a lighter ½–1 cup of treats per person is usually perfect. It provides variety without overwhelming guests.
For a beautifully balanced and appealing board, aim to include a thoughtful mix of categories:
- 3–4 types of cookies or small baked goods: Offer a range of textures like chewy, crunchy, and soft.
- 2–3 chocolate or candy varieties: Mix milk, dark, and white chocolate options, along with different candy textures (gummy, hard, chewy).
- 1–2 types of fresh fruit: Provide a refreshing counterpoint to the richness of other sweets.
- 1–2 sweet dips: These add an interactive element and extra indulgence.
- A handful of nuts or salty snacks: Crucial for contrast, these cleanse the palate and enhance the sweet flavors.
Remember, bite-sized treats are key! They make it incredibly easy and inviting for guests to sample a little bit of everything without feeling overly full or messy. Presentation is everything, so make it effortless for your guests to enjoy.
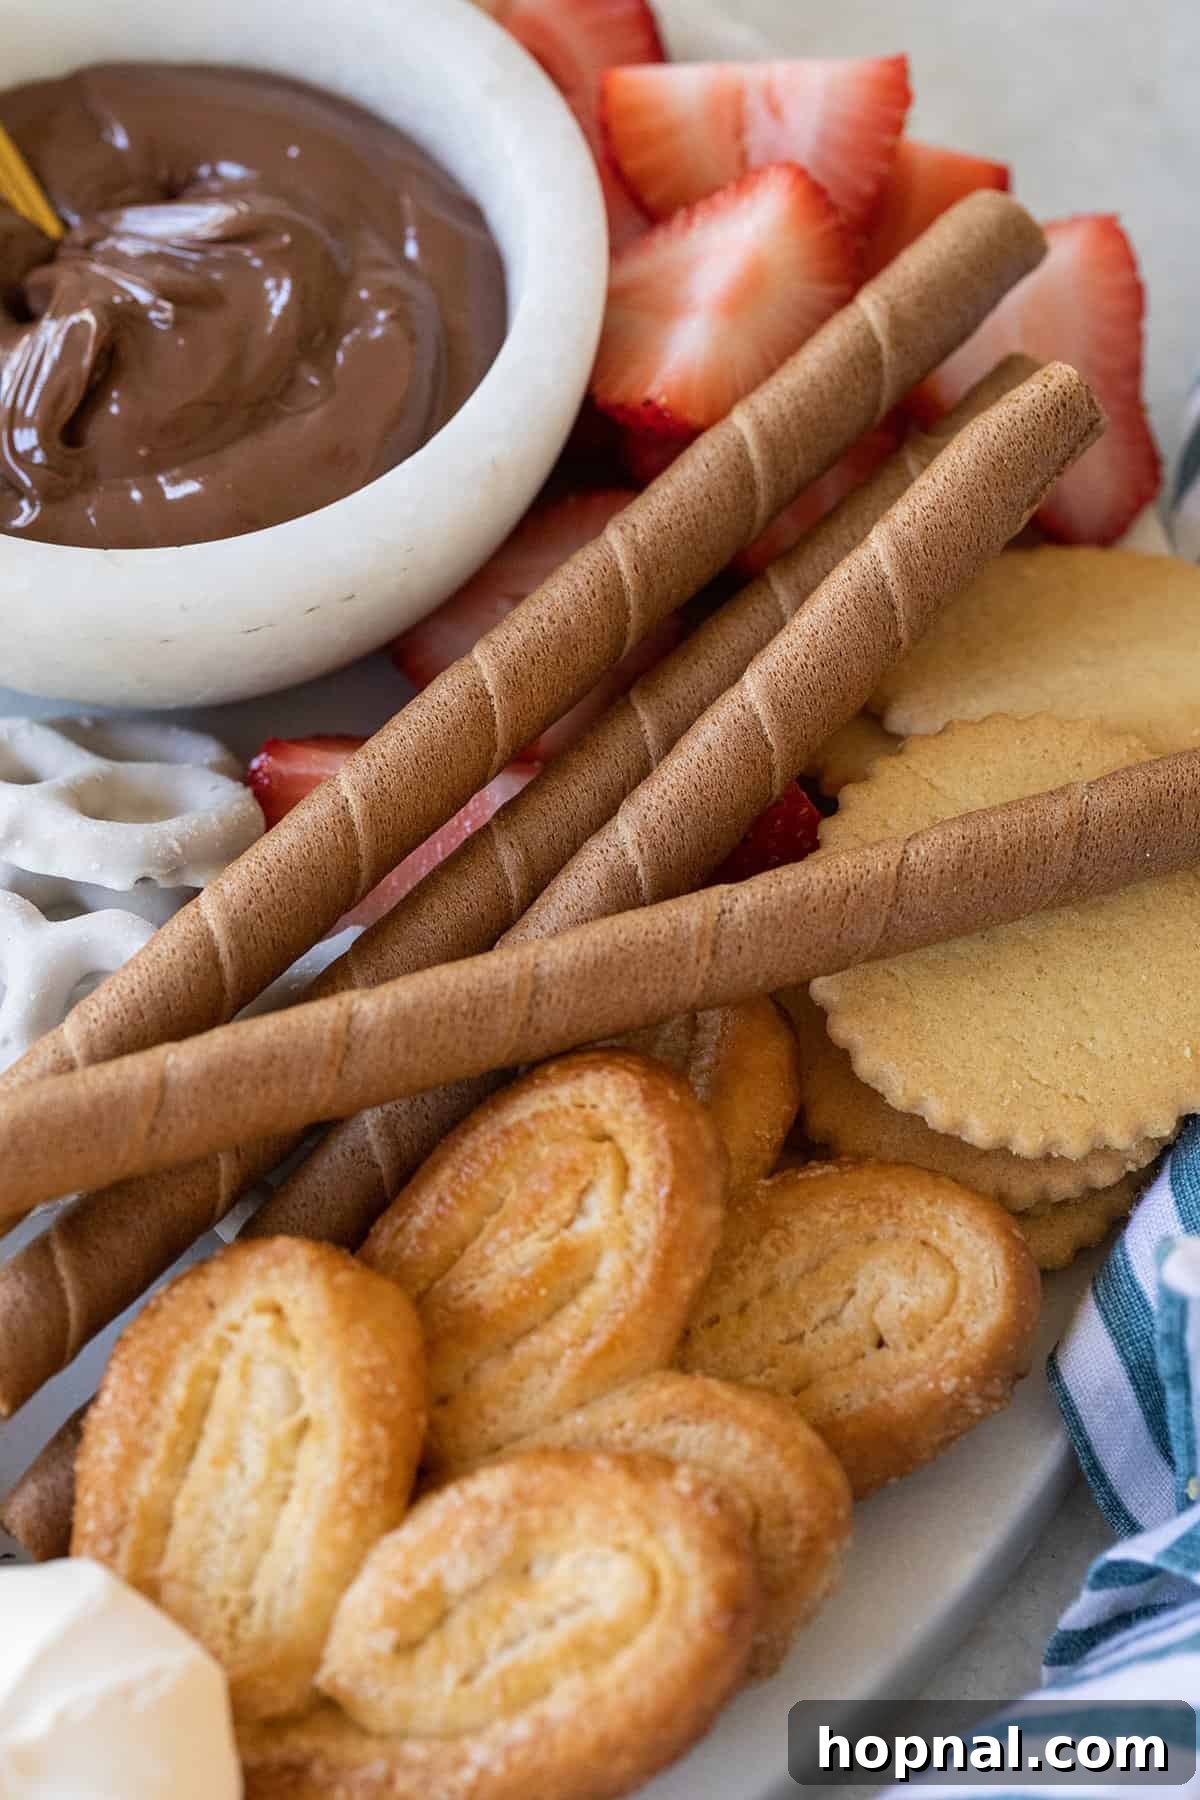
Eden’s Expert Tips for a Stunning Dessert Board
Creating a show-stopping dessert charcuterie board is all about thoughtful planning and presentation. Here are my top tips to ensure your sweet spread is both beautiful and delicious:
1. Pick the Right Board and Serveware: Your foundation is crucial. Use a large wooden board, a elegant marble slab, or a festive-shaped platter (like a heart for Valentine’s Day or a leaf for fall) that’s big enough to comfortably hold all your treats without looking sparse. Also, gather small bowls for dips, and mini tongs or spoons for serving sticky items.
2. Mix Textures and Heights: Variety is the spice of life, and dessert boards are no exception! Combine crunchy cookies, soft truffles, chewy candies, and crisp fruit to keep every bite interesting. Don’t lay everything flat; use small bowls, ramekins, or mini cake stands to create height and dimension, making your board visually appealing and dynamic.
3. Stick to a Cohesive Color Scheme: While a mix of colors is lovely, a deliberate color palette can make your board truly stunning. For instance, lean into seasonal colors: pastels for spring, bright and bold hues for summer, warm oranges, reds, and browns for fall, or classic red, green, and white for winter. This creates a harmonious and festive look.
4. Balance Sweet and Salty Elements: A touch of salt is essential to cut through the sweetness and enhance flavors. Add pretzels, salted nuts, or even a few savory crackers to the board. This contrast keeps guests coming back for more and prevents the board from tasting overly saccharine.
5. Make It Easy to Serve: Convenience is key for guests. Provide small tongs for grabbing cookies or larger candies, spoons for dips, and picks or toothpicks for delicate or sticky treats like fruit or truffles. This minimizes mess and encourages guests to sample everything freely.
6. Watch the Temperature: Be mindful of the environment. If serving outdoors or in a warm room, save melt-prone treats like chocolate-covered fruit, certain truffles, and fresh berries for last-minute placement. Consider chilling the board itself beforehand if possible, or using ice packs underneath if absolutely necessary for prolonged display.
7. Label When Necessary: If you’re including homemade goodies with unique ingredients, or items that contain common allergens like nuts, it’s a thoughtful gesture to provide small labels. This helps guests with allergies or dietary preferences feel safe and informed while enjoying your delicious spread.
8. Garnish for Flair: Simple garnishes can make a huge difference. A sprinkle of cocoa powder, a dusting of powdered sugar, fresh mint leaves, or a few edible flowers can add a professional and beautiful finishing touch to your board.
Dessert Charcuterie Board Ideas and Themes for Every Celebration
Choosing a theme for your dessert board not only makes the process of curation more fun but also creates a more cohesive and visually impactful presentation. Here are some inspiring ideas to get you started, perfect for any time of year or special occasion:
- Thanksgiving Harvest: Embrace the rich colors and flavors of autumn. Fill your board with adorable chocolate-covered turkey cookies, pumpkin spice truffles, warm-toned fall candies, and luscious caramel-dipped apples. Add candied pecans, mini pumpkin pies, and cranberry-studded shortbread for an abundant harvest feel.
- Springtime Easter Delight: Celebrate the freshness of spring with light and cheerful treats. Incorporate pastel-colored candies, fluffy marshmallow bunnies, and edible “nest” elements made from shredded coconut. Use fresh berries, lemon bars, and floral-decorated sugar cookies to create a vibrant springtime feel.
- Romantic Valentine’s Day: Craft a board that speaks of love and sweetness. Focus on a palette of pink and red candies, decadent chocolate hearts, and elegantly shaped heart-shaped cookies. Include chocolate-dipped strawberries, red velvet mini cupcakes, and raspberry macarons for an utterly romantic spread.
- Spooky Halloween Bash: Get ghoulishly creative with eerie and fun treats. Use spooky candies like gummy worms and candy corn, add gummy brains for a creepy touch, and feature Halloween-themed cookies (ghosts, pumpkins, spiders). Stick to a vibrant and mysterious color scheme of orange, purple, green, and black to enhance the haunted vibe.
- Elegant Mother’s Day Brunch: Honor mom with a beautifully arranged board centered around mini cakes or cupcakes. Surround them with delicate, colorful sweets, an assortment of fresh berries, and elegant macarons. Intersperse with fresh edible flowers or small bouquets for a truly special and heartfelt presentation.
- Summer Fun/Beach Party: Think bright and fruity! Blue candies (ocean), yellow gummies (sun), fruit slices like pineapple and kiwi, mini key lime pies, and coconut clusters.
- Movie Night Mania: Popcorn (caramel, cheese, plain), various chocolate bars, candy boxes, mini pretzels, and maybe some candy-covered nuts.
- Birthday Celebration: Use candies and cookies in the birthday person’s favorite colors, mini cupcakes, cake pops, and a sprinkle of edible glitter for extra festivity.
The possibilities are truly endless, limited only by your imagination!
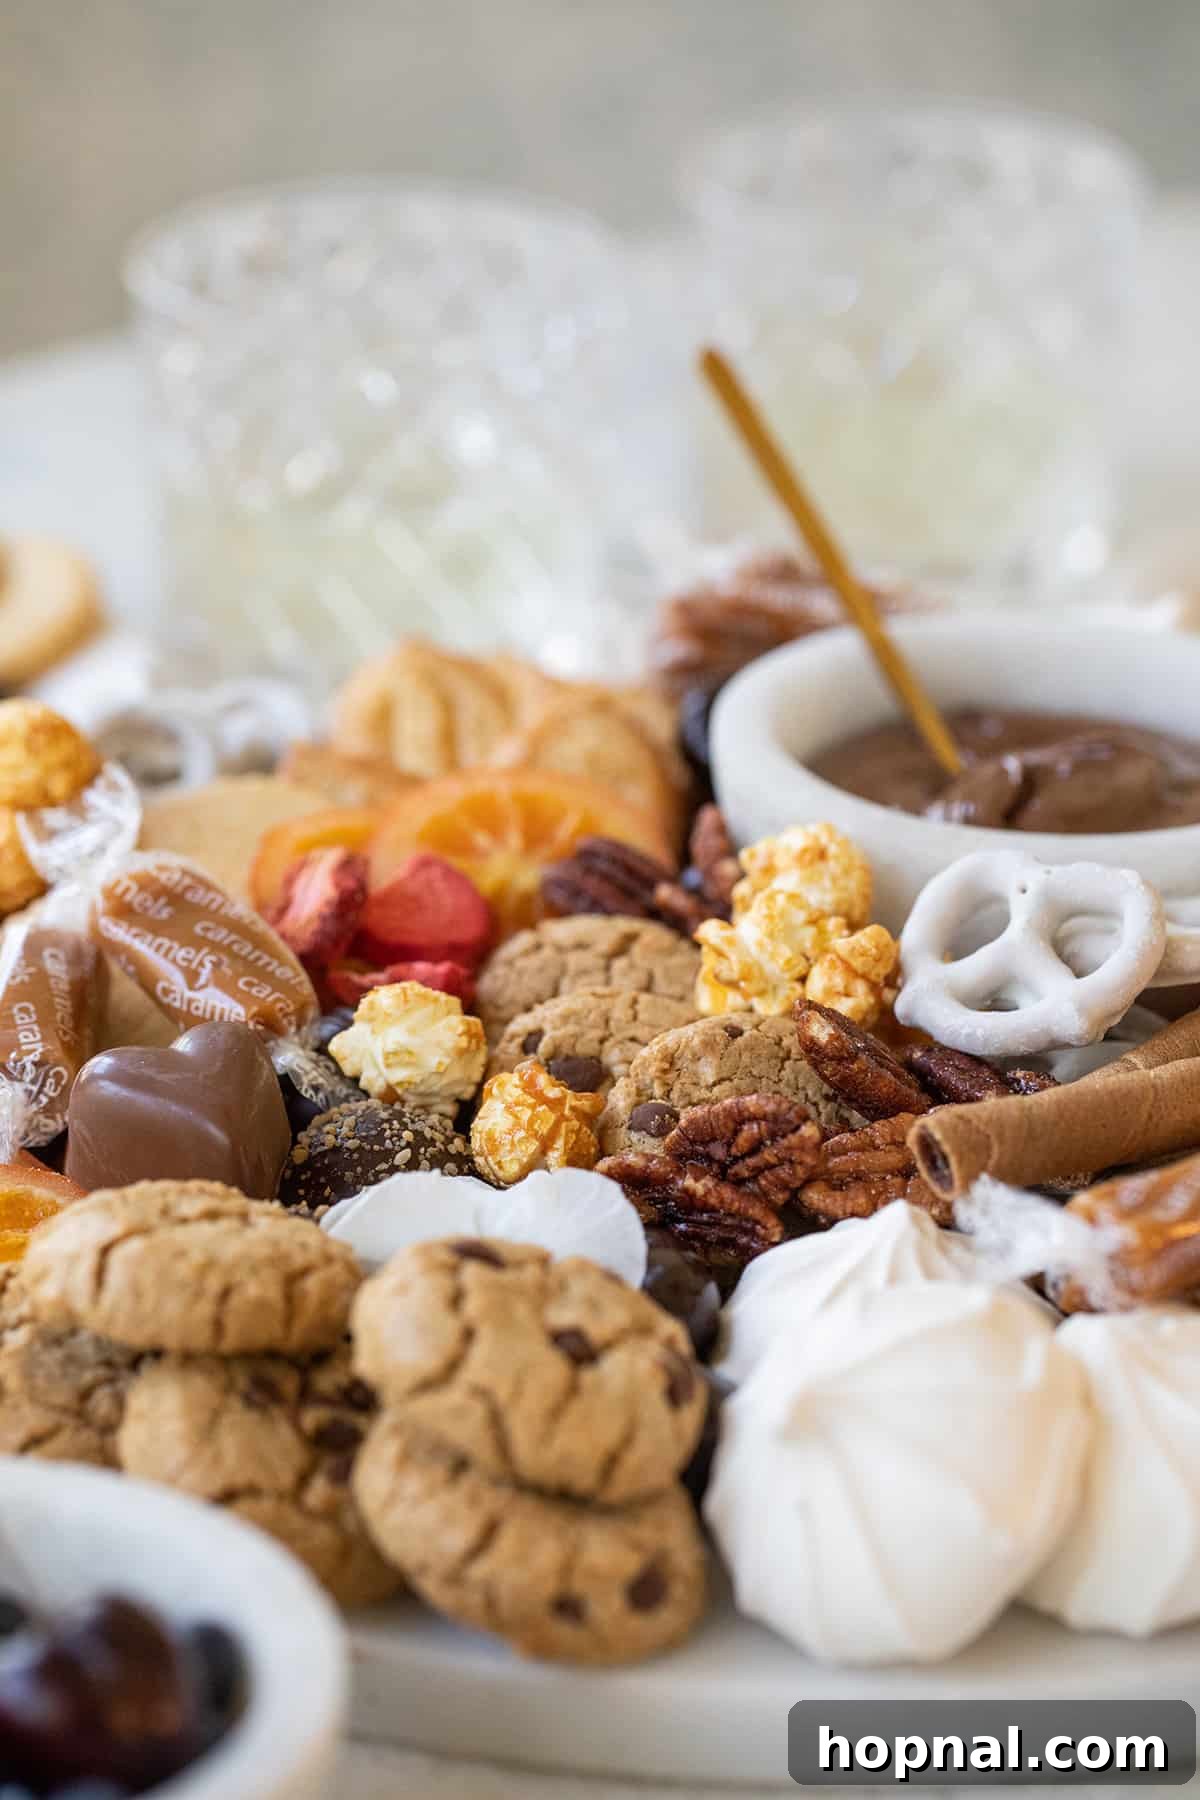
More Boards and Platters Inspiration
Snacks & Appetizers
How to Make a Sophisticated Cheese Platter
Recipes
Crafting an Exquisite Caviar Appetizer Platter
Snacks & Appetizers
Delightful Burrata Platter with Marinated Tomatoes
Snacks & Appetizers
The Ultimate Greek Mezze Platter
I absolutely adore seeing your creative dessert charcuterie board creations! There’s nothing more satisfying than knowing these tips have helped you host beautifully. Please share your favorite treat combinations and unique ideas in the comments below. Don’t forget to tag me on social media @sugarandcharm so I can celebrate your beautiful and delicious masterpieces!
Dessert Charcuterie Board Recipe
20
0
20
12 people
Print Recipe
Ingredients
Candy
- 1/4 cup chocolate-covered cherries
- 8 truffles
- 6 caramels
Cookies
- 10 chocolate chip cookies
- 10 lemon cookies
- 10 wafer cookies
- 6 meringue cookies
- 15 chocolate covered pretzels
- 6 palmier cookies
Fruit
- 6 whole candied orange slices
- 8 whole strawberries, sliced
- 8 dehydrated strawberries
- 1/4 cup blueberries
- 1/4 cup blackberries
Nuts
- 1/4 cup candied walnuts
- 1/4 cup pecans
Instructions
-
1. Set your base: Choose a large wooden board, platter, or marble slab as your canvas.
-
2. Add dips first: Spoon caramel sauce, marshmallow dip, or chocolate ganache into small, attractive bowls and strategically place them on the board. These bowls will serve as anchors for your layout.
-
3. Layer larger items: Begin arranging your bigger treats, such as various cookies, small cakes, or larger clusters of candies, around the dips. Aim to create focal points and varying heights using smaller stands if available.
-
4. Fill with smaller treats: Once the main elements are positioned, artfully fill in the empty spaces with smaller delights. This includes chocolate truffles, mini peanut butter cups, a vibrant mix of fresh berries, and dried fruits to create a lush, abundant look.
-
5. Add salty elements: Introduce a crucial contrast by sprinkling in pretzels, assorted nuts, or salty popcorn. These elements cleanse the palate and enhance the overall sweet experience.
-
6. Finish with fresh elements: Place fresh fruits like crisp grapes, juicy strawberries, or thinly sliced apples last. This ensures they remain vibrant and refreshing, adding bursts of color and lightness.
-
7. Garnish: Elevate your presentation with a final flourish! Add fresh herbs (like delicate mint sprigs) or edible flowers for a beautiful, elegant touch that makes your board truly special.
Video
A video demonstrating the assembly of a beautiful dessert board for easy entertaining is available. It covers tips for arrangement and selection.
Notes
You can prepare most of your dessert board in advance! I highly recommend arranging all the non-perishable items, such as dips (in their bowls), candies, chocolates, and most cookies on the board up to a day before your event.
Wash and prep your berries and other fresh fruits ahead of time, but store them separately in the refrigerator. Wait to add these delicate items to the board until you’re just about ready to serve, ensuring they remain fresh and vibrant.
When assembling ahead of time, cover the prepared board tightly with plastic wrap or aluminum foil to keep everything fresh and protected. Store it at room temperature if it contains no highly perishable items. Keep the prepped fruit in the refrigerator and simply add it to the platter right before your guests arrive.
Nutrition Information (Approximate per serving)
Calories: 240kcal
,
Carbohydrates: 36g
,
Protein: 3g
,
Fat: 10g
,
Saturated Fat: 3g
,
Polyunsaturated Fat: 3g
,
Monounsaturated Fat: 3g
,
Trans Fat: 0.03g
,
Cholesterol: 2mg
,
Sodium: 151mg
,
Potassium: 231mg
,
Fiber: 3g
,
Sugar: 20g
,
Vitamin A: 38IU
,
Vitamin C: 66mg
,
Calcium: 37mg
,
Iron: 1mg
Nutrition information is automatically calculated, so should only be used as an approximation.
Enjoyed this recipe? Please leave a comment below and share your thoughts!