
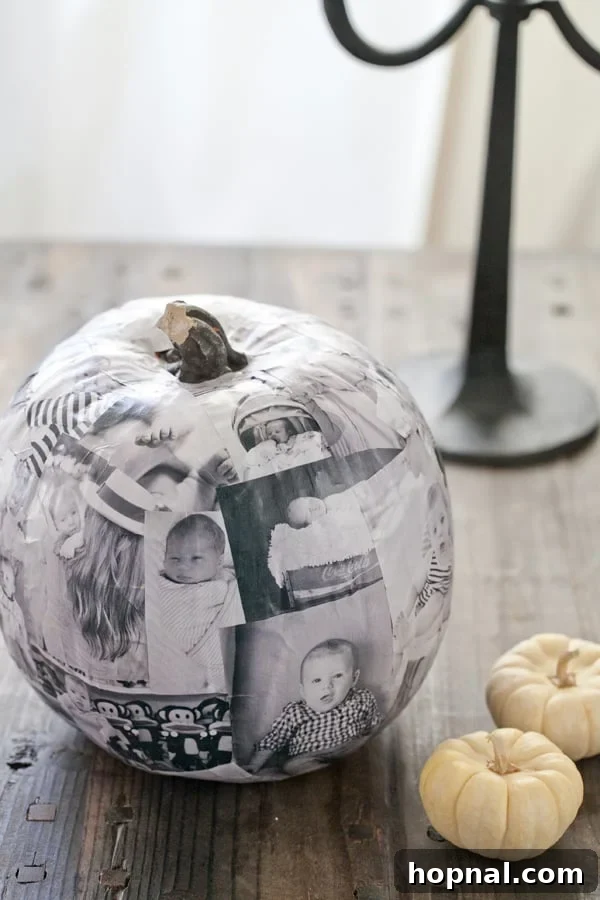
Transform a simple faux pumpkin into a cherished heirloom with our easy-to-follow decoupage photo craft tutorial! Imagine decorating your home every Halloween with a pumpkin adorned with your most beloved memories. This unique project creates a lasting keepsake you’ll treasure for years to come. Be sure to explore our other creative Halloween ideas below for more spooky inspiration!
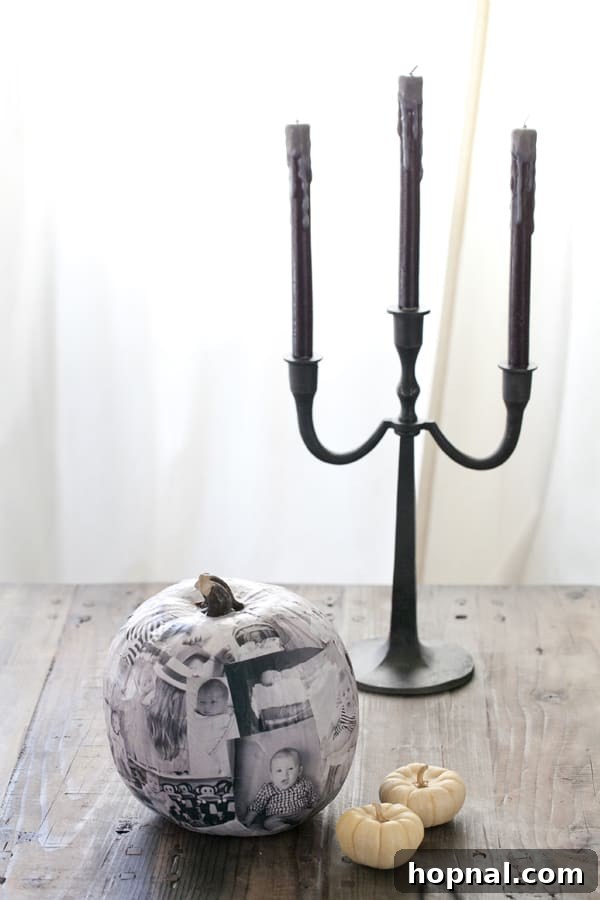
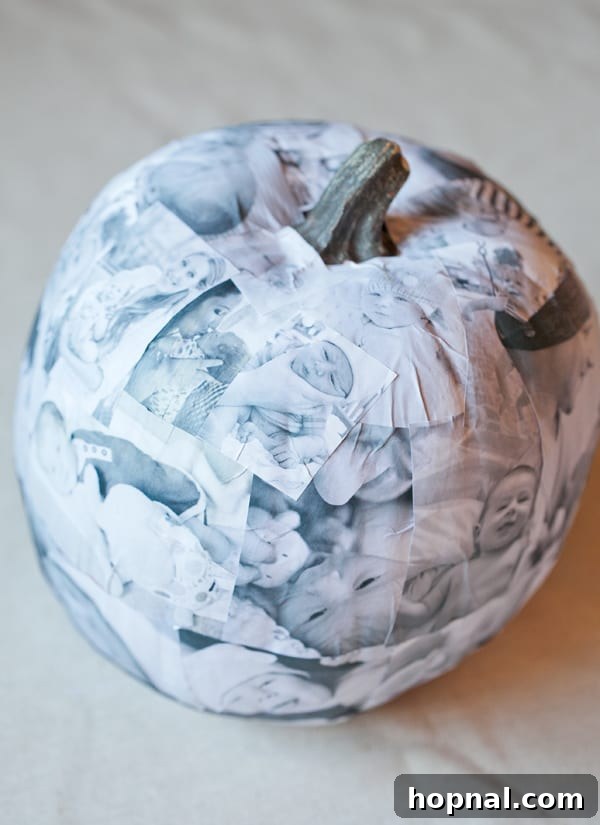
This year, I decided to craft something truly special and personal: a decoupage photo pumpkin featuring some of my favorite pictures of my son, Romeo. While it might seem a little sentimental, the result is absolutely charming and incredibly unique! The best part? By using a faux pumpkin, this delightful decoration isn’t just for one season. It’s a durable, reusable piece that can become a yearly Halloween tradition, perfect for his room or as a heartwarming display in your home.
Decoupage is an art form that allows you to adorn surfaces with paper cutouts, sealing them with multiple layers of varnish or glue to create a smooth, durable finish. It’s a fantastic technique for adding a personal touch to everyday objects, and a pumpkin provides the perfect canvas for your family photos. This project is not only fun but also incredibly rewarding, offering a beautiful way to display your cherished moments.
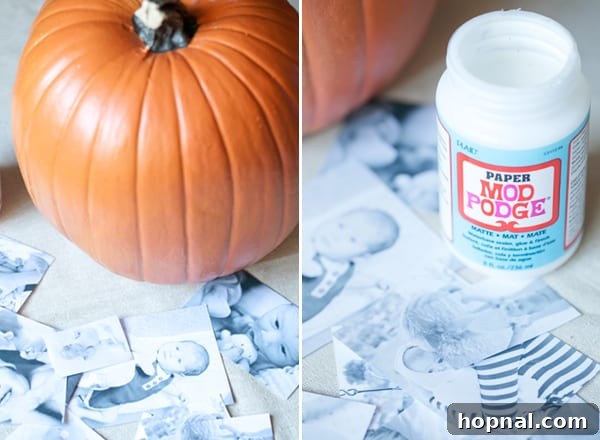
How To Create Your Decoupage Photo Pumpkin: A Step-by-Step Guide
Creating your own decoupage photo pumpkin is a rewarding and straightforward process. Follow these detailed steps to transform a plain faux pumpkin into a unique, personalized piece of Halloween decor that tells your family’s story.
Materials You’ll Need:
- **A Faux Pumpkin**: Choose a craft pumpkin made from foam or plastic. These are ideal for decoupage as they are lightweight, durable, and can be reused year after year. Their smooth surface makes them perfect for applying photos.
- **Black and White Photos**: Print approximately 50 of your favorite pictures. Black and white photos lend a classic, timeless, and slightly rustic aesthetic that beautifully complements the decoupage technique.
- **Mod Podge (Water-Based Glue, Sealer & Finish)**: This essential craft adhesive acts as both the glue to secure your photos and a sealer to protect them. You can opt for different finishes like matte, gloss, or satin depending on your desired look.
- **Paintbrush**: A soft-bristle paintbrush, preferably synthetic, will be your best tool for applying the Mod Podge smoothly and evenly.
- **Scissors or Craft Knife**: For cutting out your photos.
Detailed Step-by-Step Instructions:
- **Prepare Your Photos**: Print around 50 of your favorite photographs in black and white. For added visual interest, print them in a variety of sizes. Carefully cut them out, or for a softer, more organic edge, try tearing them gently. This variety will create a dynamic and appealing collage.
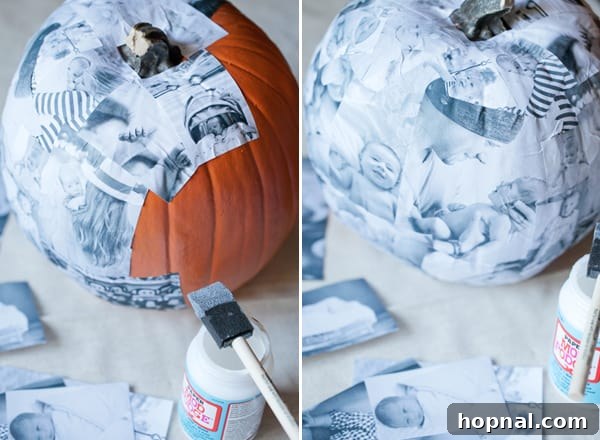
- **Initial Photo Placement**: Begin by painting a thin, even layer of Mod Podge on the back of your first photo. Place it firmly on the top of your faux pumpkin. There’s no need for a strict pattern; allow your creativity to guide you. An organic, free-flowing arrangement often yields the most artistic results. Start from the top and work your way down.
- **Build Your Collage**: Continue to add pictures, overlapping them slightly as you move downwards until the entire pumpkin surface is covered. As you place each photo, use your paintbrush to smooth out any air bubbles from the center outwards. Don’t worry if some photos develop slight crinkles; this is a natural characteristic of decoupage and adds to its charming, rustic appeal.
- **First Sealing Layer**: Once all your photos are in place and you’re happy with the collage, allow the pumpkin to dry for at least one hour. This ensures the photos are securely adhered. After an hour, paint a generous, even layer of Mod Podge over the entire pumpkin, covering all the photos and exposed pumpkin surface. This layer seals your design.
- **Subsequent Sealing Layers**: Let the first sealing layer dry for at least two hours. Patience is key here, as proper drying prevents stickiness and ensures durability. After two hours, apply another layer of Mod Podge. Continue to add layers (I recommend at least 3-4 total) until you achieve your desired texture and a protective, uniform finish on the outside. Each layer adds durability and a beautiful sheen.
- **Final Drying**: Allow your finished decoupage pumpkin to dry completely for 24-48 hours before handling extensively or displaying. This ensures the Mod Podge has fully cured and hardened.
Enjoy your beautifully personalized photo decoupage pumpkin!
Craft Pumpkins: The Ideal Canvas
When embarking on a decoupage project, the choice of pumpkin is crucial. While a fresh pumpkin is charming for carving, a craft or faux pumpkin is the superior choice for a lasting decoration. Here’s why:
- **Durability and Reusability**: Unlike real pumpkins that rot, faux pumpkins are designed to last. This means your beautifully decoupaged creation can be enjoyed year after year, becoming a treasured part of your Halloween decor collection.
- **Ease of Use**: Faux pumpkins offer a smooth, clean surface, which is much easier to work with when applying photos and Mod Podge compared to the sometimes bumpy and uneven texture of a real pumpkin.
- **Variety**: Craft pumpkins come in a wide array of sizes, shapes, and finishes. Standard “craft pumpkins” often have an idealized, smooth surface, making them perfect for decoupage. Other types, like “Funkins,” are molded from real pumpkins, retaining natural imperfections and offering a more realistic texture. Choose the type that best suits your aesthetic preference.
- **No Mess, No Fuss**: Skip the messy carving and the worry of spoilage. Faux pumpkins allow for a clean crafting experience.
A Fun & Nostalgic Project For the Whole Family!
This decoupage photo pumpkin project is more than just a craft; it’s an opportunity for quality family time. Gather everyone around the table, lay out your favorite photos, and share the stories behind each memory as you cut and place them on the pumpkin. It’s a wonderful way to reminisce, laugh, and connect, all while creating a beautiful piece of art. This blend of creativity and nostalgia makes for a truly unforgettable crafting experience and a decoration that holds deep sentimental value.
Applying Mod Podge: Tips for a Flawless Finish
The success of your decoupage project largely depends on the proper application of Mod Podge. Here are some tips for achieving a smooth and professional finish:
- **Choose the Right Brush**: For applying Mod Podge, a flat paintbrush with firm, yet smooth, synthetic bristles (like taklon) is highly recommended. These brushes allow for an even spread and minimize brush marks. Avoid stiff boar-bristle brushes, which can leave noticeable streaks, and overly soft camelhair brushes, which may not provide enough control.
- **Thin, Even Coats**: Always aim for thin, even layers of Mod Podge. Thick layers can take longer to dry, become tacky, or even trap air bubbles.
- **Smooth Out Air Bubbles**: As you apply each photo, gently smooth it out from the center to the edges using your fingers or the paintbrush. This helps remove air bubbles and ensures a strong bond.
- **Embrace Imperfections**: Remember that slight crinkling is characteristic of decoupage and adds to its charm. Don’t strive for absolute perfection, but rather for a beautifully textured, handcrafted look.
Expert Tips For Decorating Your Craft Pumpkin
- **Quantity is Key**: Print around 50 photos to ensure you have plenty of material to cover your pumpkin completely, allowing for overlapping and varied arrangements.
- **Mix Up Sizes**: Utilize different sized photos. This creates a dynamic and visually interesting collage, adding depth and appeal to your finished pumpkin.
- **Appreciate the Crinkles**: Don’t fight the natural crinkling that occurs with decoupage. These subtle textures give the pumpkin a wonderful, rustic, and aged look, enhancing its handcrafted charm.
- **Consider Layering Over Time**: For a truly evolving keepsake, you can continue to add new photos and layers of Mod Podge each year, chronicling new memories and celebrating your family’s journey.
- **Protect Your Workspace**: Mod Podge can be sticky, so lay down newspaper or a protective sheet before you begin.
- **Clean Brushes Immediately**: Wash your brushes thoroughly with warm water and soap immediately after use to prevent the Mod Podge from hardening on the bristles.
Explore More Spooktacular Halloween DIY Projects
Looking for more creative ways to celebrate Halloween? Dive into these other fun DIY projects and ideas:
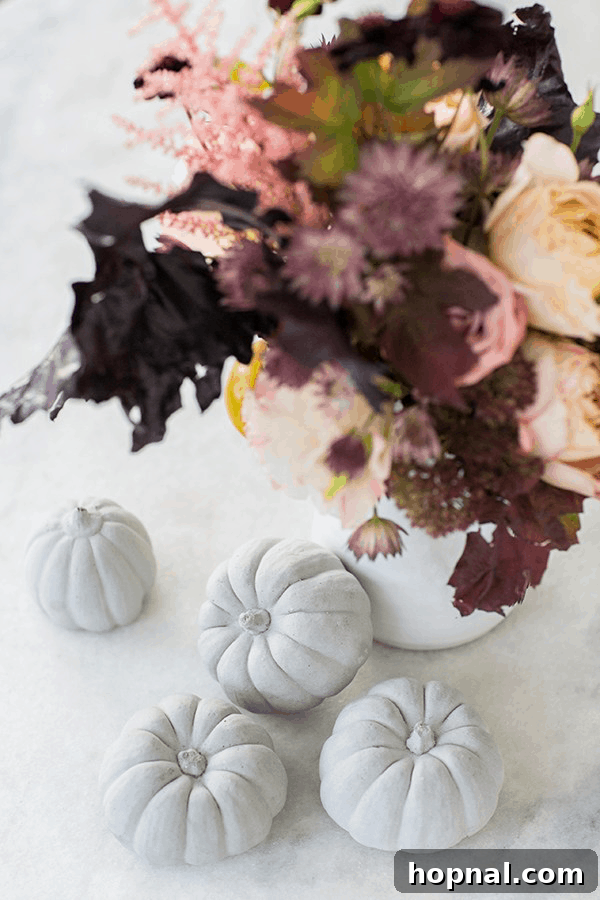
- DIY Concrete Pumpkins
- No-Sew DIY Mummy Pillow
- DIY Halloween Cheese Board
- Marble Candy Apples
- Halloween Ideas for Kids
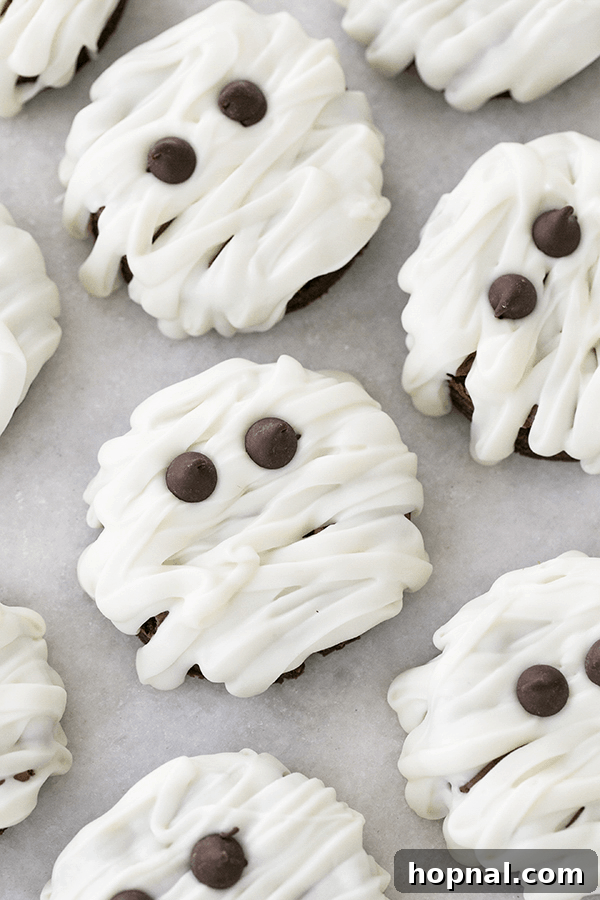
- Easy Mummy Brownies
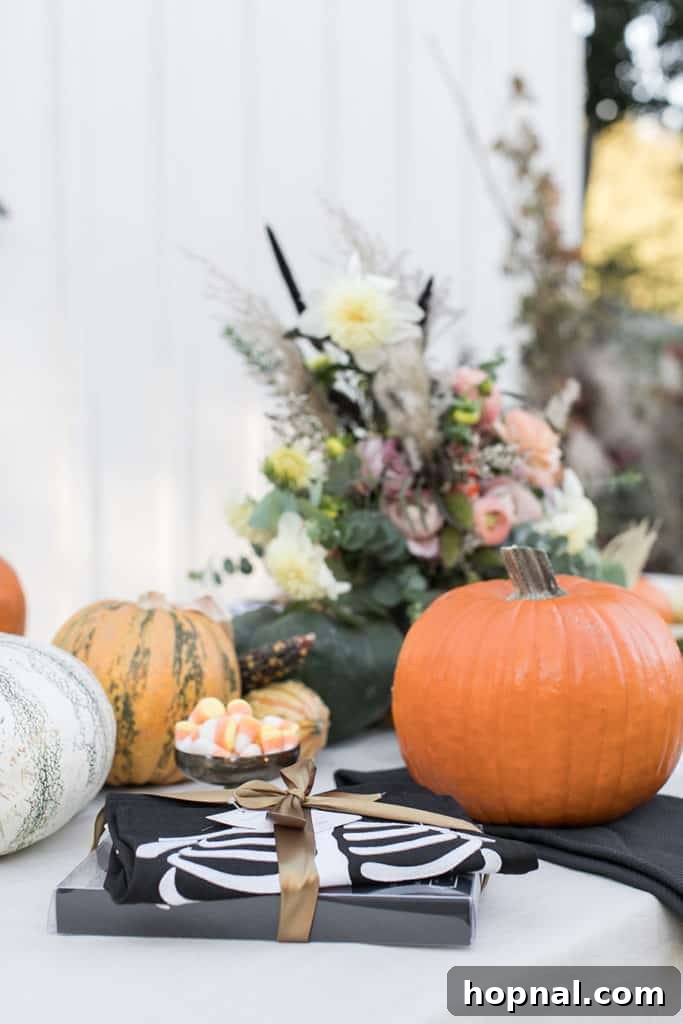
- Pumpkin Carving Party Ideas
- Candy Corn Vodka Shots
- 29 Spooktacular Halloween Centerpieces by diys.com
- Quick & Easy Halloween Crafts For Kids by Happiness is Homemade
Share Your Decoupage Pumpkin Creation!
We’d love to see your personalized decoupage photo pumpkins! If you’ve tried this craft project or any other idea from Sugar and Charm, please leave a comment below to let us know how it turned out. Your feedback and creations inspire us!
You can also follow us on FACEBOOK, INSTAGRAM, and PINTEREST for more delightful recipes, cocktails, desserts, and party planning tips!
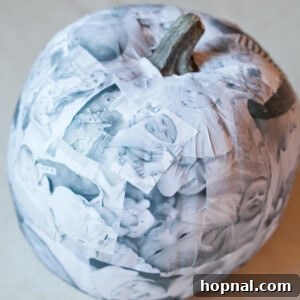
Photo Decoupage Pumpkin
15 minutes
1 hour
2 hours per layer
1 hour 15 minutes (active) + drying time
Yield:
1 pumpkin
Eden
Ingredients
- 1 faux pumpkin
- Approx. 50 black and white photos (various sizes)
- Water-based glue, sealer, and finish (e.g., Mod Podge)
- 1 paintbrush (synthetic, flat, smooth bristles)
- Scissors or craft knife
Instructions
-
Print about 50 of your favorite photos in black and white on regular paper. Print them in various sizes and carefully cut them out.
-
Paint a thin layer of Mod Podge on the back of a photo, then carefully place it on the top of the pumpkin. Begin from the top and work your way downwards, arranging photos in an organic, free-flowing pattern.
-
Continue adding pictures, layering them as you cover the entire pumpkin. Smooth out any air bubbles with your paintbrush. Embrace any crinkles that appear; they are part of the decoupage charm and add a cool rustic look!
-
Allow the pumpkin to dry for one hour. Then, paint a layer of Mod Podge over the entire pumpkin to seal the photos. Let this layer dry for at least two hours before applying another. Continue to paint layers (3-4 layers recommended) until you achieve your desired texture and a durable, protective finish.
Notes
Tried this Recipe? Tag us Today!
Mention @sugarandcharm or tag us #sugarandcharm!