
Vibrant Party Decorations: 4 Creative Paper Craft Ideas with Astrobrights Paper
Planning a party and looking for unique, budget-friendly decorations that truly pop? You’re in for a treat! We’re thrilled to share an exciting collaboration with Astrobrights Paper to bring you four simple yet incredibly vibrant paper craft ideas. These DIY projects are designed to add a splash of color and personality to any celebration, proving that you don’t need to spend a fortune to create stunning party aesthetics.
The world of paper crafting offers an endless canvas for creativity, especially when it comes to party details. From elegant garlands to whimsical centerpieces, paper is a versatile medium that allows for complete customization. Our carefully selected four ideas aim to inspire you to unleash your inner crafter and transform ordinary paper into extraordinary party decor. Get ready to dive into a world where imagination meets color, all powered by the exceptional quality of Astrobrights paper.
One of the greatest advantages of crafting with paper is its accessibility and affordability. You can easily create a vast array of party embellishments – from eye-catching signs and decorative letters to intricate backdrops, playful confetti, artistic wall hangings, and charming bunting – all without breaking the bank. What makes these projects even more special is the choice of material. Astrobrights Paper, with its impressive palette of 26 bold and beautiful colors, is truly a game-changer for any crafter. Its vibrant hues are perfect for getting creative, designing unique elements, printing crisp details, and crafting your very own special decorations. For a constant stream of awesome paper inspiration, make sure to check out their Tumblr page!
Why Choose Astrobrights Paper for Your Party Crafts?
Before we dive into the specific craft ideas, let’s talk about what makes Astrobrights paper the ideal choice for your party projects. Its signature vibrant colors are unmatched, ensuring that your creations stand out and capture attention. Imagine a birthday party with confetti in electric pinks and sunny yellows, or a baby shower adorned with pastel blues and greens that truly pop. Beyond aesthetics, Astrobrights paper is also known for its quality and versatility. It’s thick enough to hold its shape for structural crafts like cones and origami, yet pliable enough for intricate cuts and folds. Whether you’re printing custom labels, cutting detailed shapes, or simply folding and gluing, this paper performs beautifully, making your crafting experience enjoyable and your final products stunning.
Creative Paper Party Ideas for Your Next Celebration
Now, let’s explore these four fantastic paper craft ideas that promise to elevate your party decor from ordinary to extraordinary. Each project is designed to be simple, fun, and highly customizable, allowing you to tailor them to any party theme or color scheme.
1. DIY Origami Paper Pineapple Straws
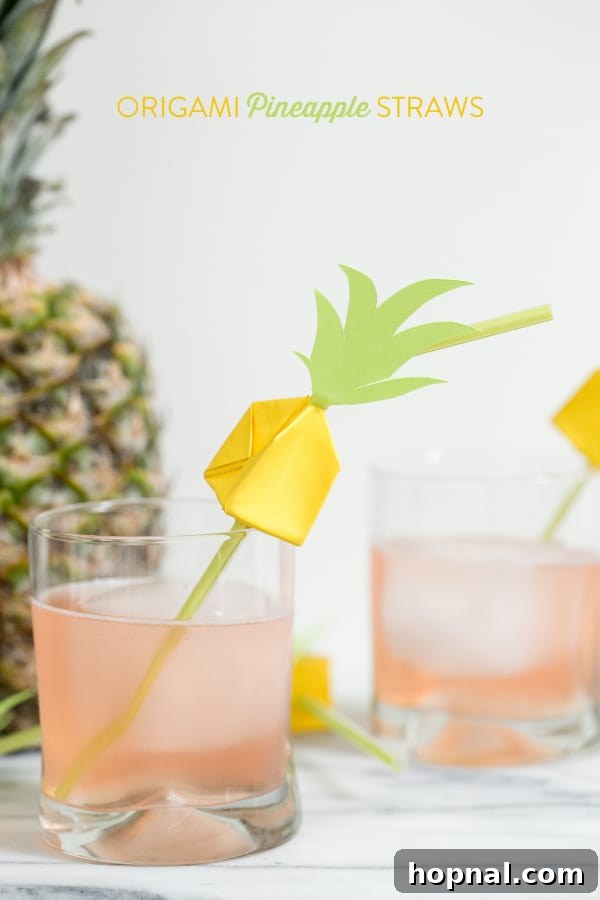
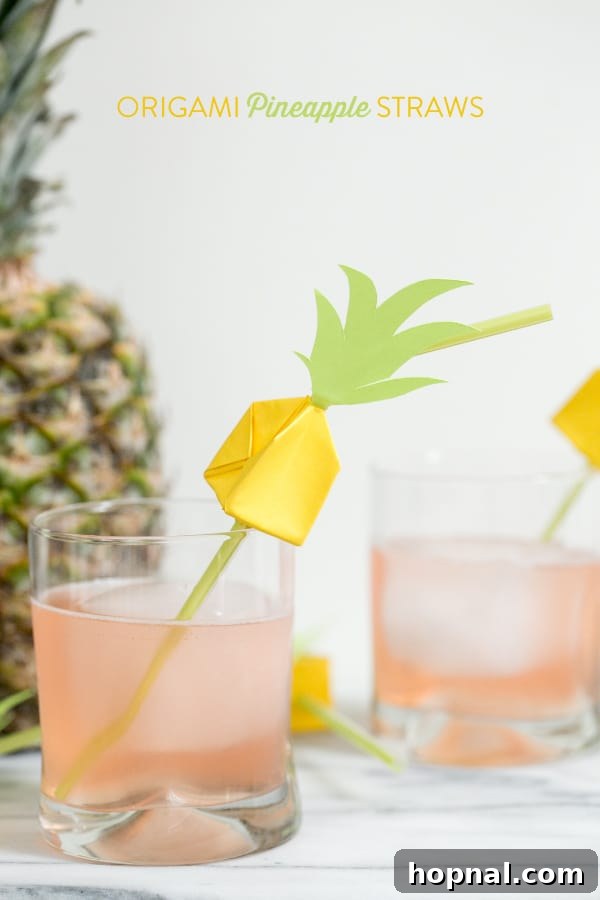
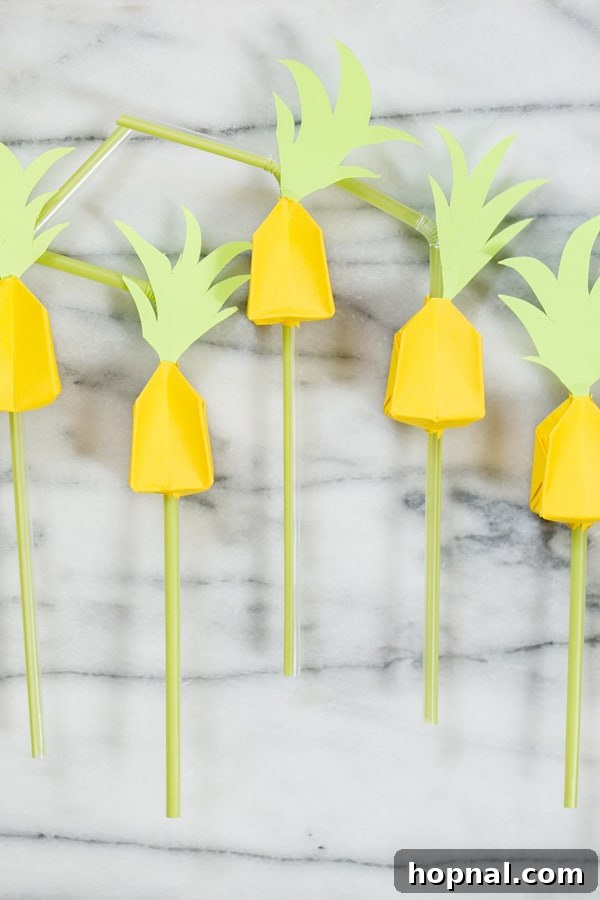
Ummm, hello adorable pineapples! These miniature origami pineapples are an absolute delight and will instantly add a tropical, whimsical touch to your drink station. They were incredibly fun to create, and once you get the hang of the basic origami folds, you’ll find them surprisingly easy to mass-produce. They are perfect for summer parties, luau themes, or any event needing a splash of sunny cheer.
How to Make Your Own Origami Pineapple Straws:
- Materials: Astrobrights paper in green (for leaves) and yellow/orange (for pineapple body), drinking straws, glue stick or hot glue.
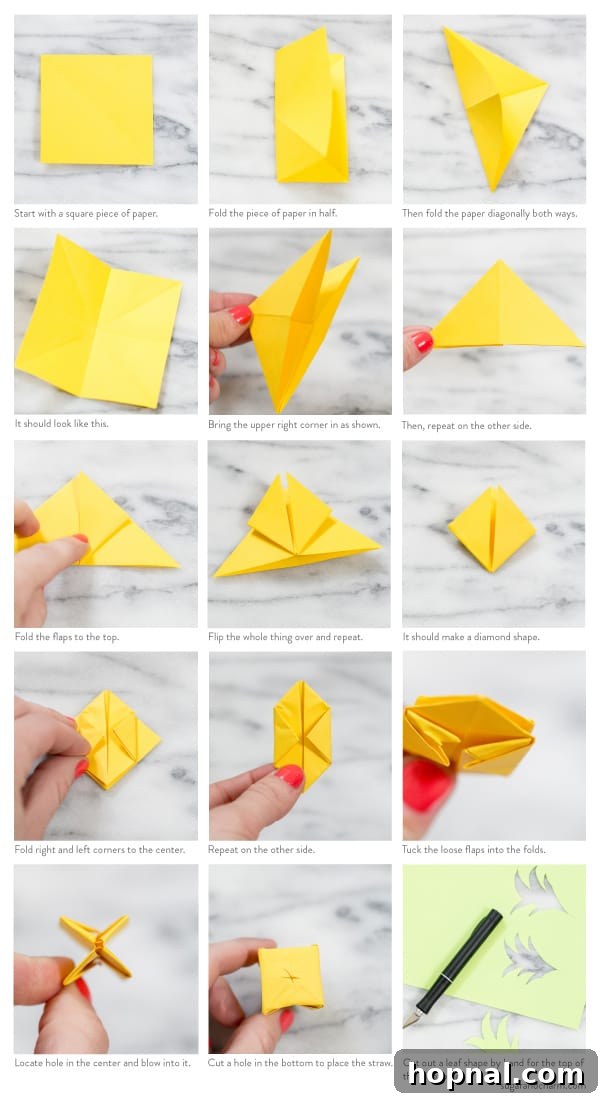
- Step 1: The Pineapple Body. Start with a square piece of yellow or orange Astrobrights paper (e.g., 3×3 inches). Follow the instructions for making an origami balloon (the base shape for these pineapples). While our instruction sheet provides guidance, watching a video tutorial can be incredibly helpful for visual learners. We highly recommend this video on how to make an origami balloon – it clarifies the steps beautifully!
- Step 2: The Leaves. Once your “balloon” is complete and slightly inflated (you’ll fold it mostly flat for this purpose), cut thin strips of green Astrobrights paper. Fold and cut these strips into jagged leaf shapes.
- Step 3: Assembly. Glue the green leaves to the top of your origami pineapple shape. Once dry, carefully attach the pineapple to your drinking straw using a dab of hot glue or a strong adhesive.
These tiny pineapples are not just decorative; they serve as unique conversation starters and make every sip feel like a mini-vacation. Experiment with different shades of yellow and orange for a varied fruit basket effect!
2. Adorable Mini-Candy Cones
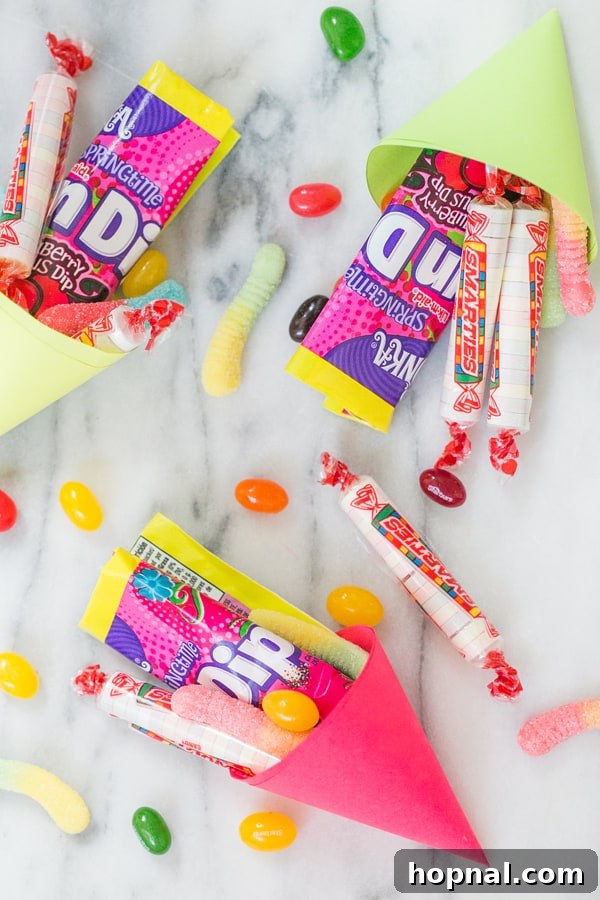
If you’re looking for the simplest yet most effective party favor or snack holder, these mini-candy cones are your answer. They are probably the easiest of all the crafts featured today, making them perfect for last-minute party prep or for involving younger helpers. Fill them with small candies, popcorn, trail mix, or even tiny trinkets for a personalized touch.
Crafting Your Mini-Candy Cones:
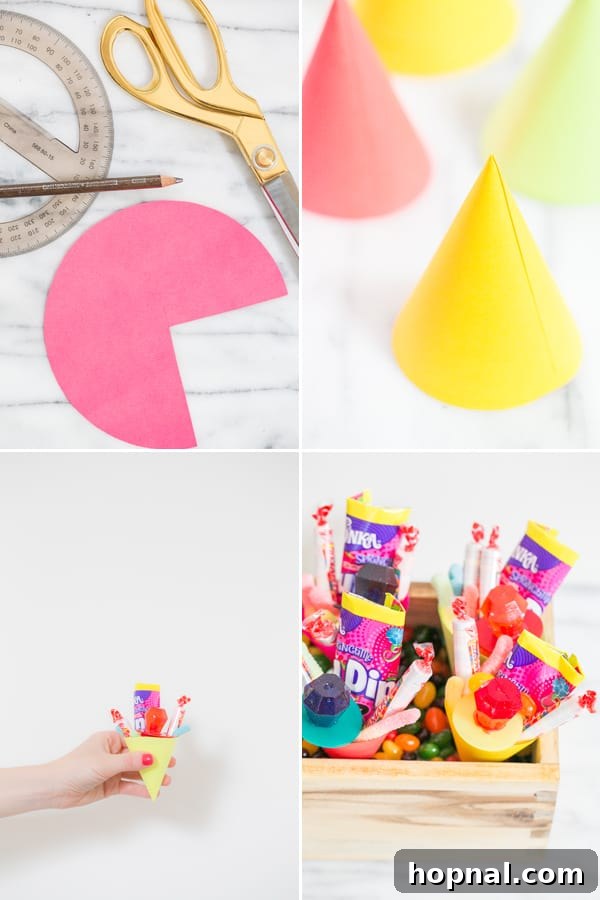
- Materials: Astrobrights paper (various colors), scissors, pencil, a round object (like a plate or a compass) to trace a 6-inch circle, glue or double-sided tape.
- Step 1: Cut Your Circles. Using a round object or a compass, trace a 6-inch diameter circle onto your chosen Astrobrights paper colors. Carefully cut out each circle.
- Step 2: Make the Cut. Imagine your circle is a pizza. Cut out approximately 1/4 of a slice from the circle. This creates the opening and allows for the cone shape.
- Step 3: Form and Secure. Take the remaining larger piece of the circle and gently fold it into a cone shape. Overlap the straight edges slightly. Use glue or tape to secure the seam firmly.
- Step 4: Fill ’em Up! Once the glue or tape has set, your mini-candy cones are ready to be filled with your favorite treats.
These cones are fantastic for dessert tables, individual serving portions, or as charming take-home party favors. Mix and match Astrobrights colors to create a rainbow of sweetness!
3. Charming Paper Fruit Art
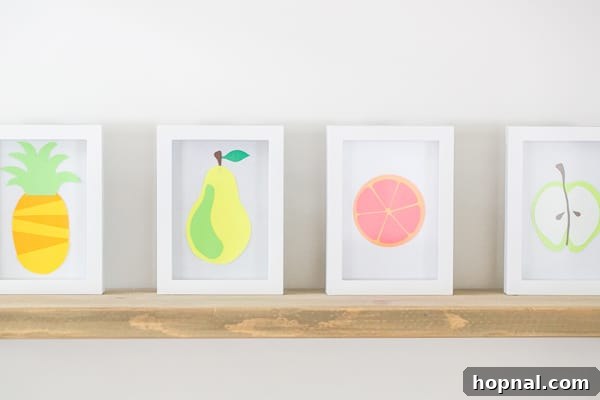
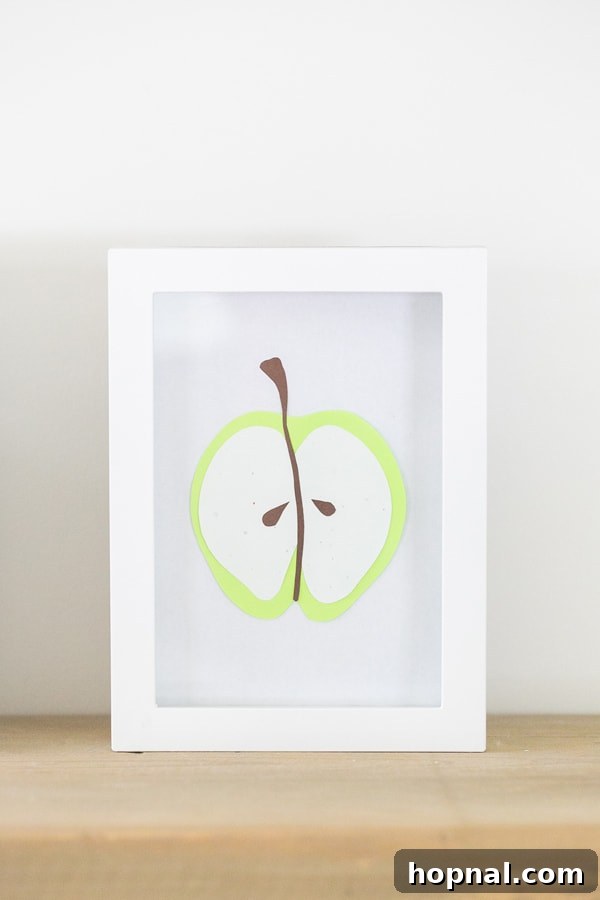
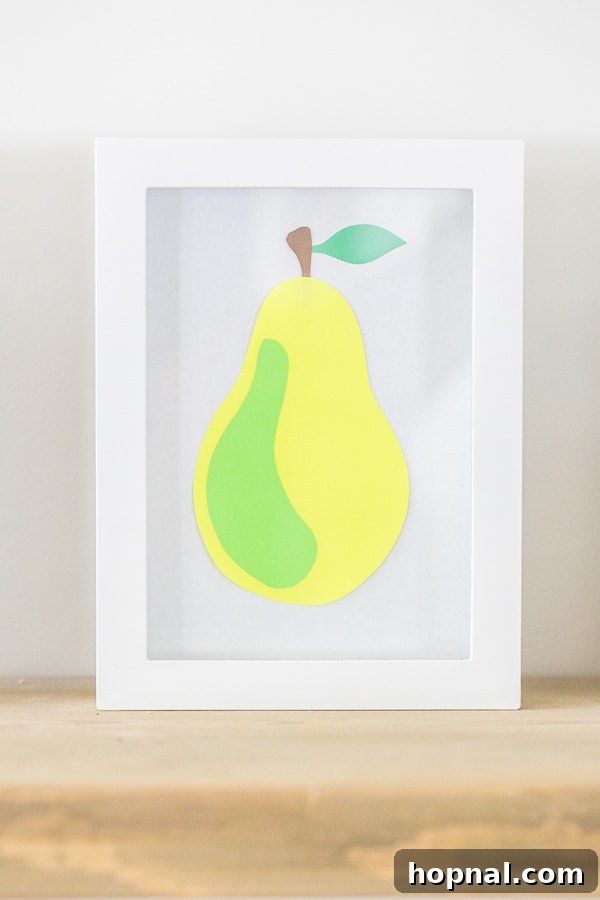
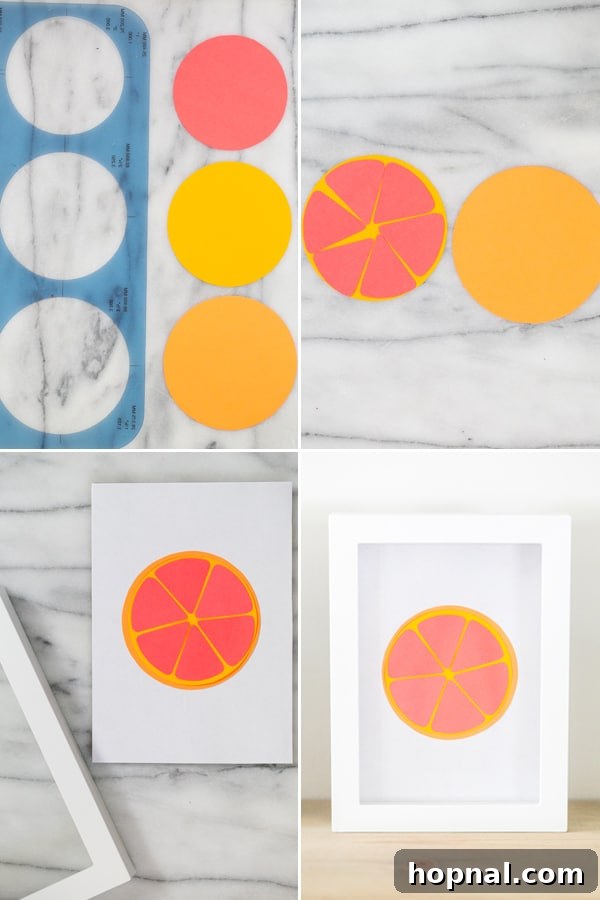
I absolutely adore how these paper fruit art pieces turned out! They are surprisingly simple to make, yet incredibly impactful, making them ideal for adding a playful, artistic flair to your party decor or even a child’s room. The layered effect of the Astrobrights paper creates a beautiful depth and dimension that truly makes the fruit designs pop.
Creating Your Own Paper Fruit Art:
- Materials: Astrobrights paper in various fruit-appropriate colors (e.g., red for apples, yellow for lemons, green for pears), plain white shadow box frames (easily found at craft stores like Michaels), white cardstock or paper for the background, scissors or a craft knife, glue stick or liquid glue.
- Step 1: Prepare Your Frame. Remove the backing from your shadow box frame. Glue a piece of plain white cardstock or paper to the inside back of the frame. This provides a clean, neutral background for your colorful fruit.
- Step 2: Design Your Fruit. Decide on your fruit designs – apples, pears, lemons, oranges, strawberries, or even a whimsical watermelon slice. Sketch out your fruit shapes onto different colors of Astrobrights paper. For example, use bright red for apples, sunny yellow for lemons, and a vivid green for leaves or pear bodies.
- Step 3: Cut and Layer. Carefully cut out your fruit shapes. For more complex designs (like a lemon with a white pith or a strawberry with green leaves), cut out separate pieces and layer them. This is where Astrobrights’ wide color range really shines, allowing you to create realistic yet vibrant representations.
- Step 4: Assemble and Display. Arrange your cut-out paper fruit pieces onto the white background inside the shadow box. Once you’re happy with the composition, glue them down securely. Place the backing back into the frame, and your charming paper fruit art is ready to be displayed!
This project is incredibly versatile; you can create any design you want, from abstract shapes to animals. It’s also a fantastic, fun project to do with kids, encouraging their creativity and fine motor skills. Hang them individually or group them for a gallery wall effect.
4. Whimsical 3D Confetti Stars
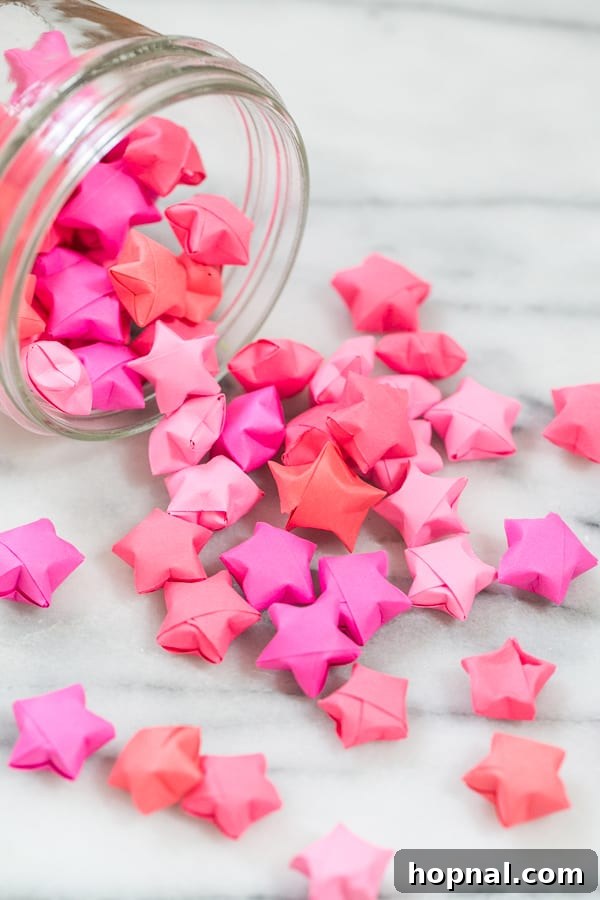
You might recall making these charming little puffy stars in middle school, but today they’re making a stylish comeback as sophisticated party decor! These 3D confetti stars are absolutely perfect for scattering around a table as festive decor, filling clear vases, or even incorporating into party invitations. The best part? You can make them in any Astrobrights color imaginable to perfectly match your party theme.
Crafting Your Own 3D Confetti Stars:
- Materials: Astrobrights paper (any colors), scissors, ruler (optional).
- Step 1: Prepare Paper Strips. Start by cutting long, thin strips of Astrobrights paper. A good size to aim for is about 1/2 inch wide and 11 inches long (the length of a standard sheet of paper). The thinner the strip, the smaller and more intricate your star will be.
- Step 2: Form a Knot. Take one strip and carefully tie it into a loose knot. Flatten the knot gently, pressing out any wrinkles. You should have a pentagon shape in the center.
- Step 3: Wrap the Strip. Take the longer end of the strip and begin wrapping it around the pentagon, following the edges. Continue wrapping until you have a small tail left. Tuck the remaining tail into one of the folds to secure it. If the other end had a small tail, tuck that one in too.
- Step 4: “Puff” Your Star. Now for the magic! Use your fingernail or the blunt edge of a ruler to gently push in the middle of each of the five sides of the pentagon. This action will cause the star to “puff” out and become three-dimensional. Be gentle to avoid tearing the paper.
These tiny stars are not only adorable but also a relaxing and meditative craft. If you have crafty kids, friends, or spouses, enlist their help – it’s a great group activity! For detailed visual instructions on how to create these delightful 3D stars, click here for the step-by-step tutorial! (Note: Original link was missing, so a placeholder is used. Please replace with an actual tutorial link if available.)
Unleash Your Creativity with Astrobrights Paper
As you can see, the potential for stunning, personalized party decorations is limitless when you combine a little creativity with the vibrant palette of Astrobrights Paper. These four craft ideas are just the beginning. Imagine garlands made of colorful paper circles, custom place cards, unique gift tags, or even intricate paper flower backdrops – all made possible with the same versatile material.
Opting for DIY paper crafts not only saves money but also infuses your celebration with a truly personal touch that store-bought decorations simply can’t replicate. It’s an opportunity to create memorable moments even before the party begins, as you enjoy the process of crafting. So grab your favorite Astrobrights colors, a pair of scissors, and some glue, and start bringing your party visions to life. Your guests will be amazed by the thoughtful details and vibrant atmosphere you’ve created!
We hope these ideas inspire you to embark on your own colorful crafting journey. Don’t forget to visit Astrobrights Paper’s Tumblr for more fantastic inspiration and ideas to brighten up every occasion. Happy crafting and happy partying!