
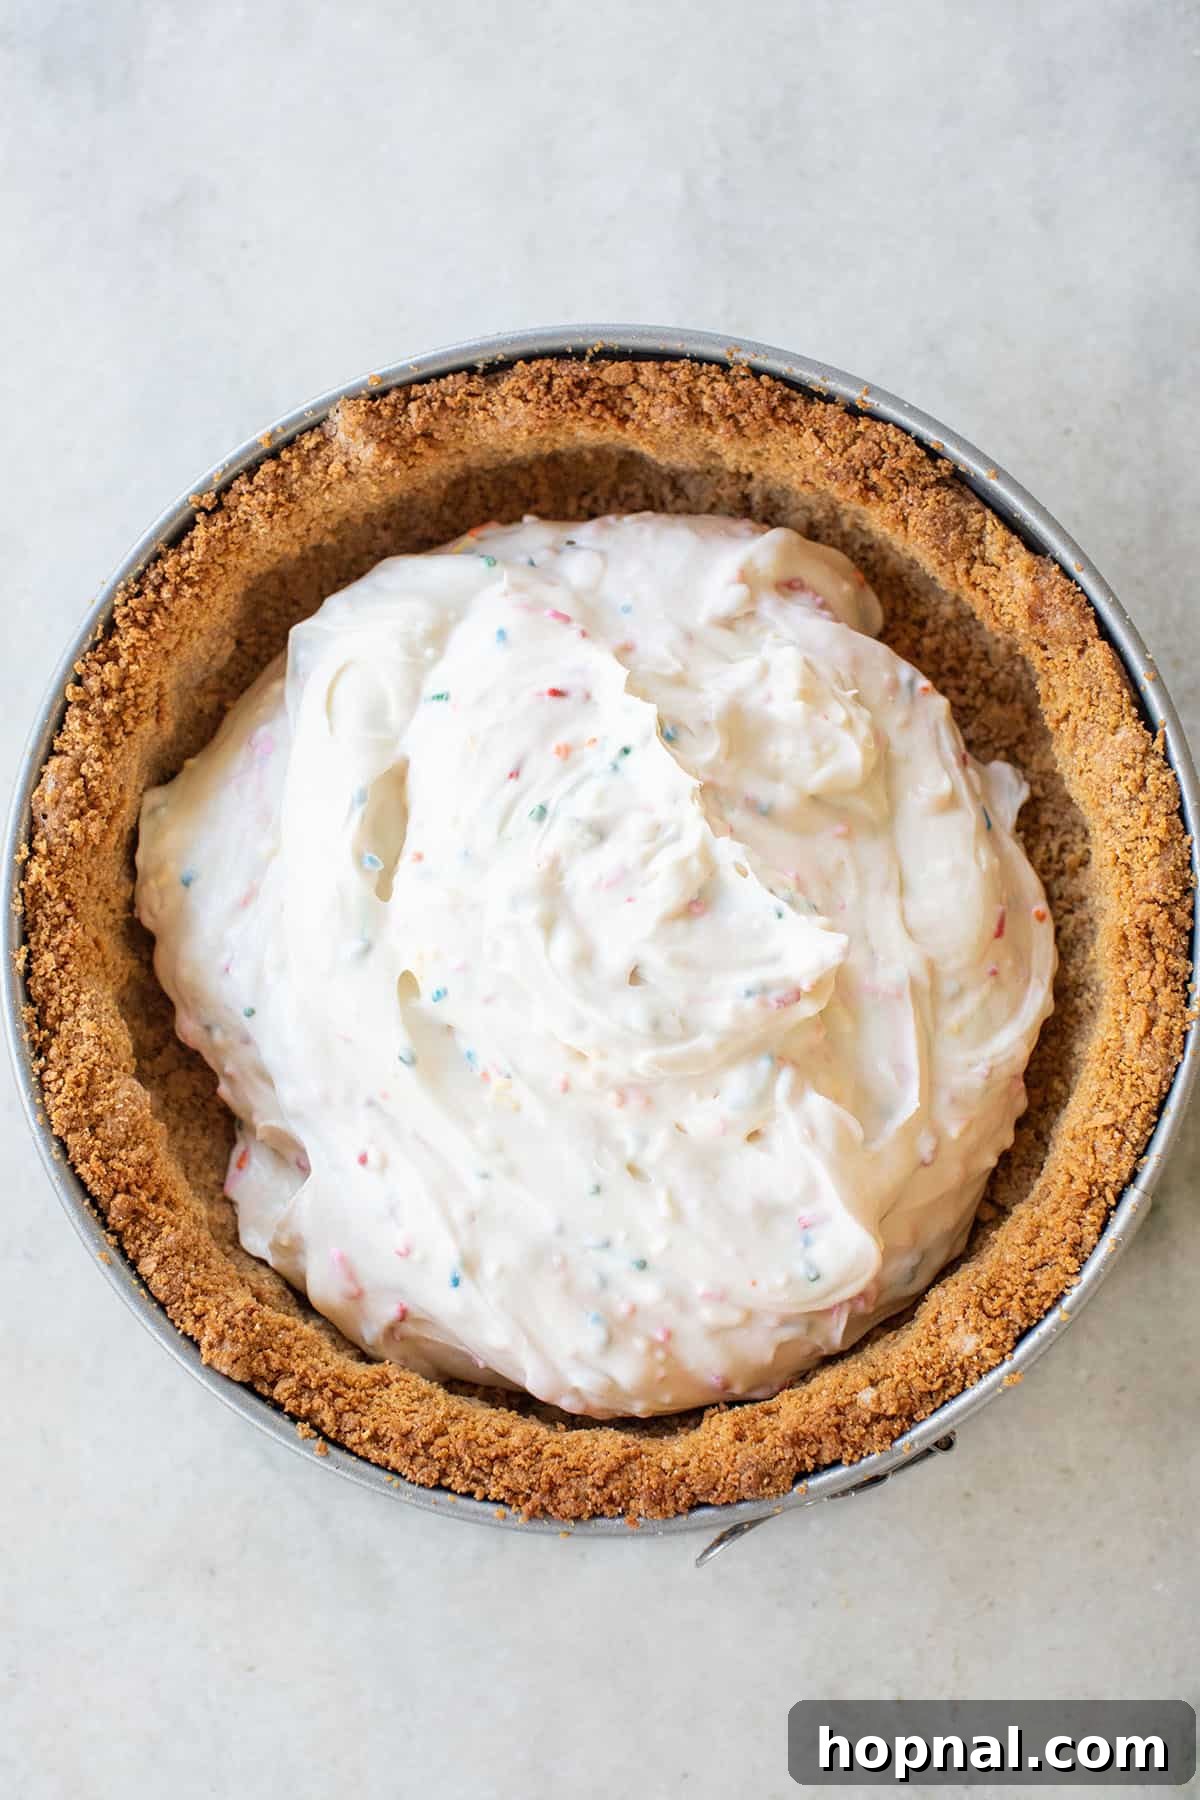
Welcome to the ultimate guide for crafting the perfect homemade graham cracker crust! This recipe is a true kitchen staple, celebrated for its simplicity, versatility, and irresistible buttery flavor. With just four common ingredients, you can create a golden, crisp base that elevates any pie, cheesecake, or tart. For years, this tried-and-true method has been our go-to, consistently delivering a flawless crust that’s quick to prepare and incredibly adaptable for a variety of desserts across all seasons.
While this graham cracker crust holds a special place in our hearts, we also love exploring other delightful dessert bases. If you’re keen to experiment, consider trying our classic flaky pie crust for traditional fruit pies or our popular sweet shortbread crust recipe for an elegant, tender alternative. Each offers a unique texture and flavor profile, but for sheer ease and widespread appeal, the graham cracker crust remains unparalleled.
Why This Graham Cracker Crust Recipe Stands Out
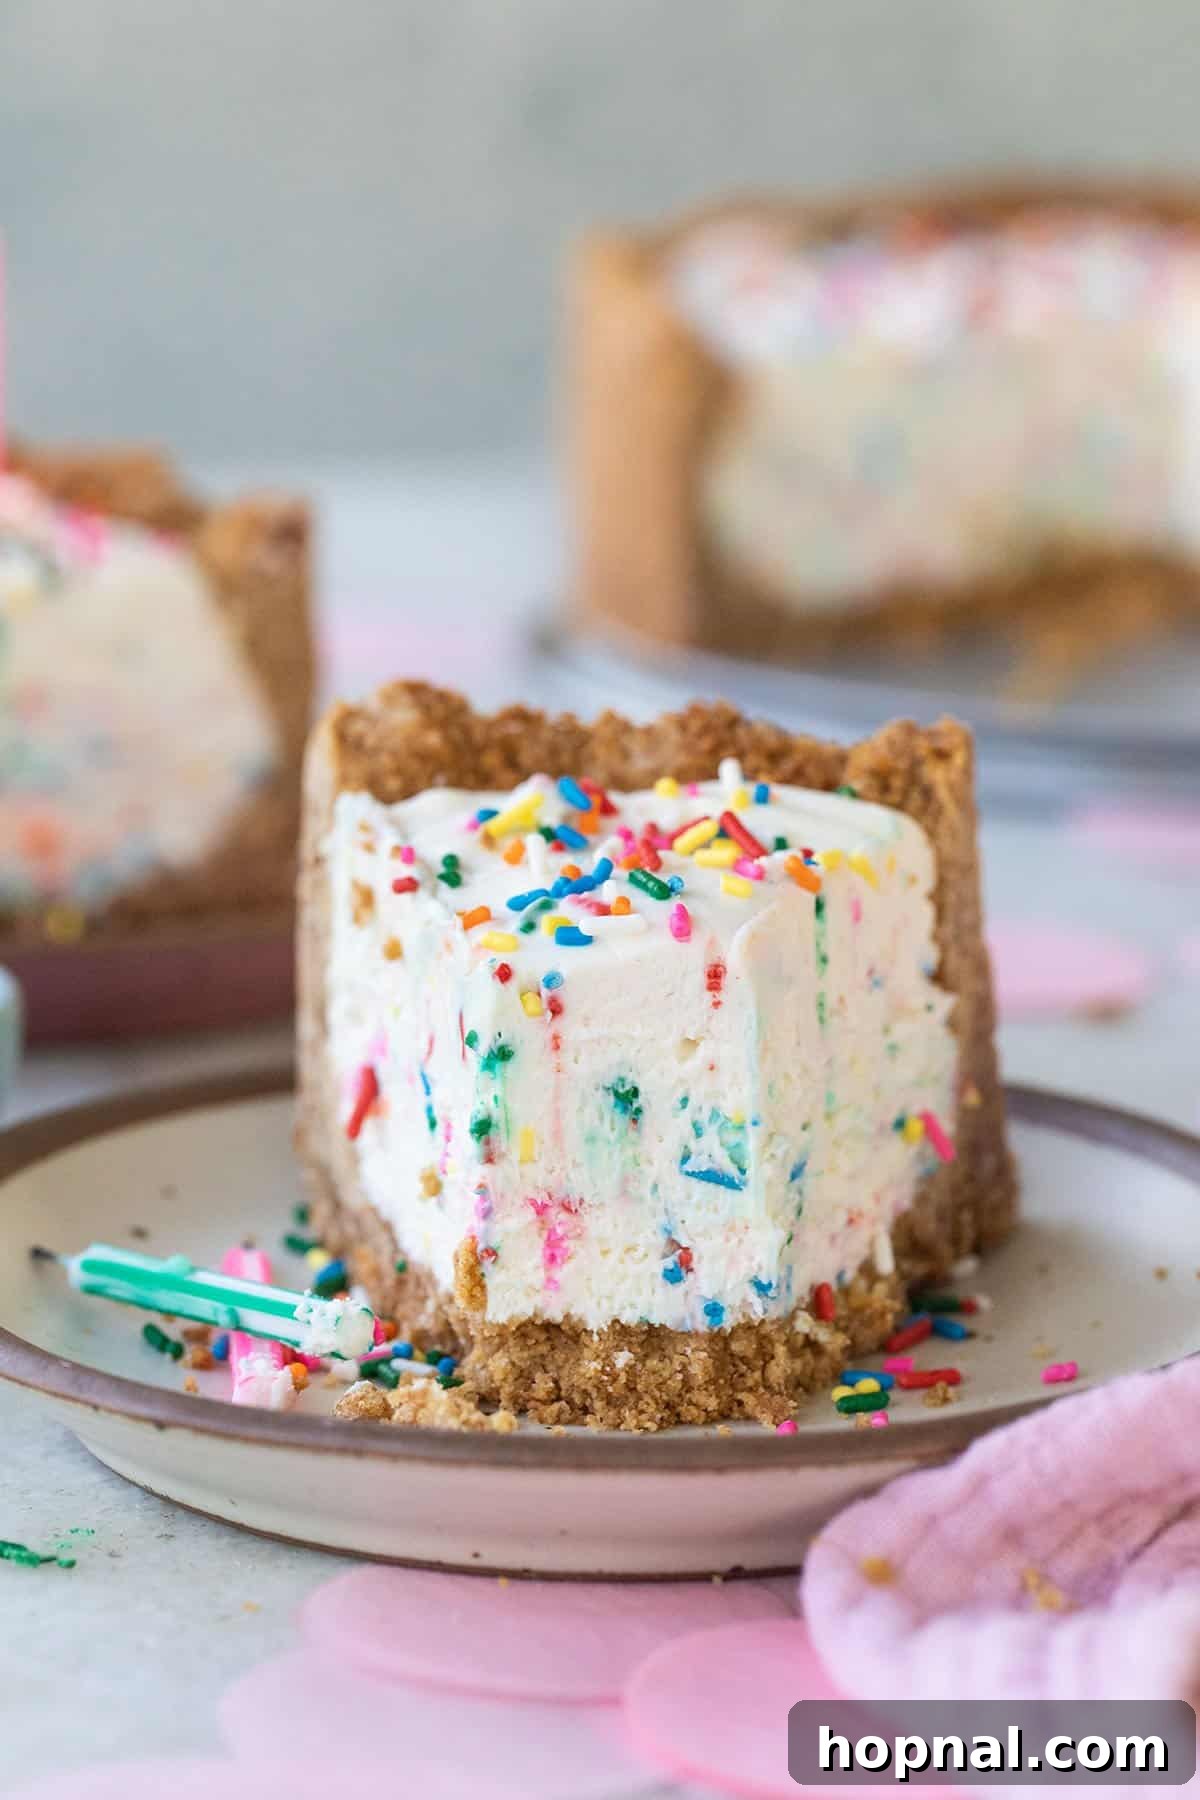
When it comes to the foundation of truly exceptional pies and cheesecakes, a well-made graham cracker crust is, without a doubt, a dessert hero. Its charm lies in its inherent simplicity and incredible versatility, making it suitable for any occasion, from light summer fruit tarts to rich, decadent holiday cheesecakes. This recipe is more than just a crust; it’s a buttery, slightly sweet canvas ready to complement an endless array of fillings.
The beauty of this particular recipe is how effortlessly it comes together. Unlike traditional pie crusts that require precise temperature control and delicate handling, a graham cracker crust is remarkably forgiving. It’s the perfect choice for busy bakers or anyone looking for a foolproof base that always delivers. Its subtle sweetness and distinct graham flavor pair exquisitely with creamy fillings like those found in cheesecakes, as well as the bright, tangy notes of refreshing fruit pies and custards. Whether you’re a novice baker or a seasoned pro, you’ll appreciate how this crust consistently provides a sturdy yet tender foundation that holds up beautifully to every slice.
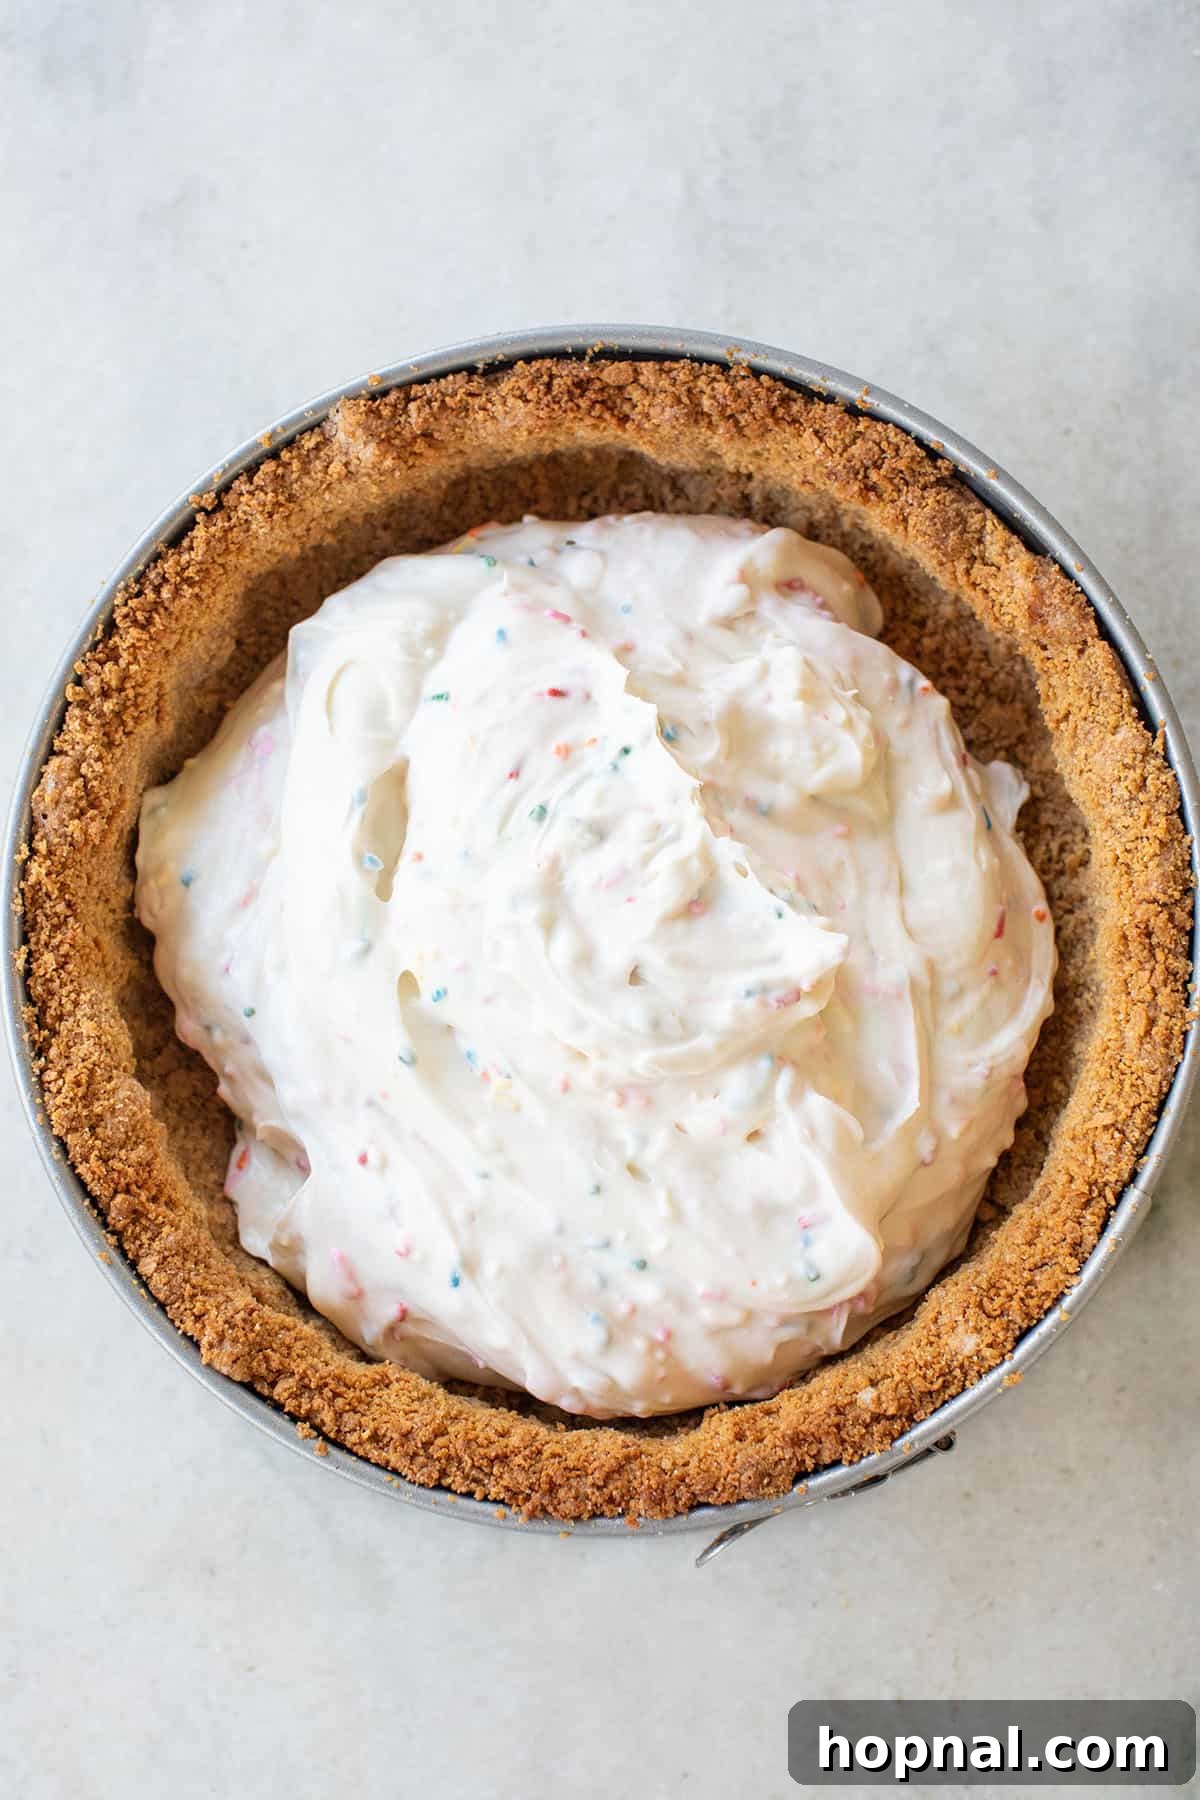
One of the most exciting aspects of a graham cracker crust is its incredible adaptability. While the classic honey graham cracker provides a universally loved flavor, don’t hesitate to get creative. Imagine a rich chocolate cheesecake nestled in a crust made from chocolate graham crackers, or a zesty key lime pie with a hint of cinnamon from spiced grahams. You can also experiment with other cookie varieties like vanilla wafers, gingersnaps, or even shortbread cookies for unique twists. The possibilities truly are endless, making this recipe a fundamental building block in any baker’s repertoire.
When you need a dessert base that is not only fast and flavorful but also consistently reliable, this homemade graham cracker crust recipe will quickly become your trusted ally in the kitchen. It sets the stage for unforgettable desserts every single time, proving that sometimes, the simplest recipes yield the most impressive results.
Essential Graham Cracker Crust Ingredients
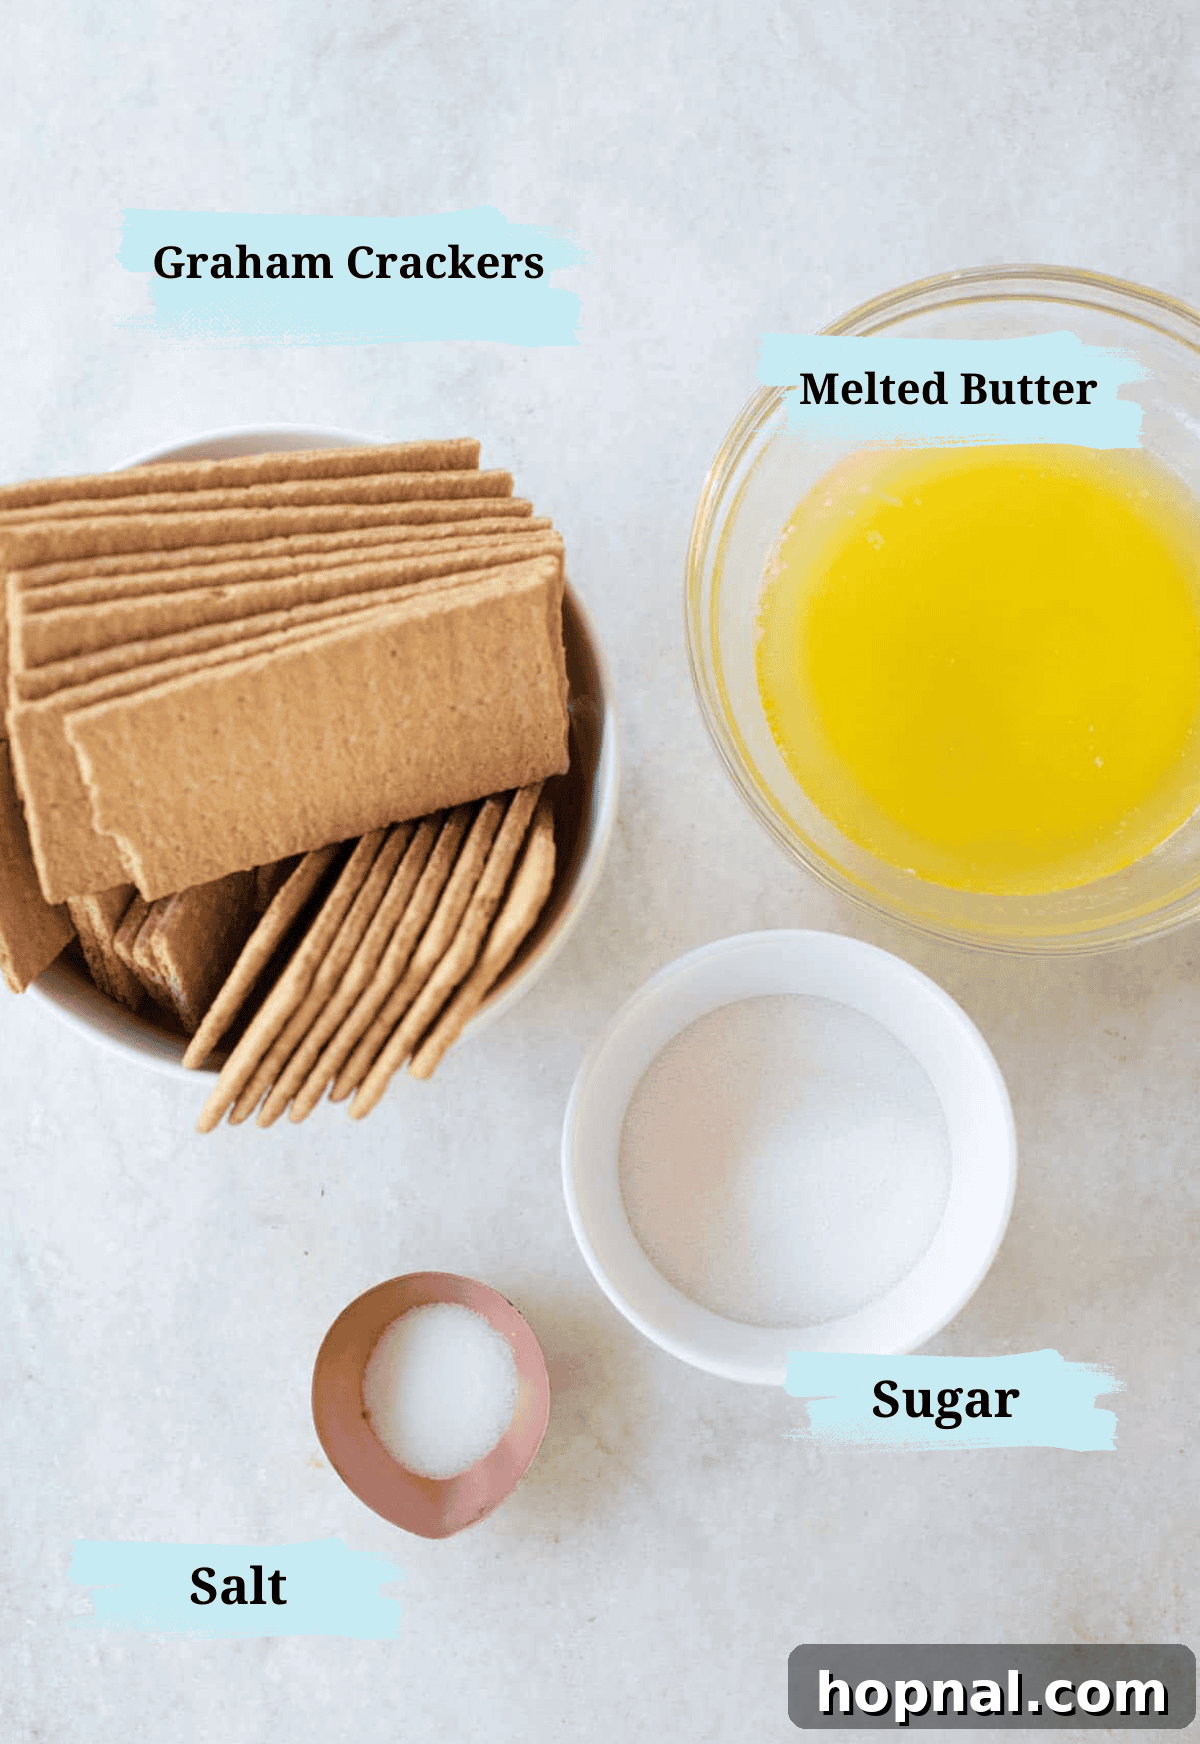
Creating this perfect graham cracker crust requires only four basic ingredients, each playing a crucial role in achieving that ideal balance of flavor and texture:
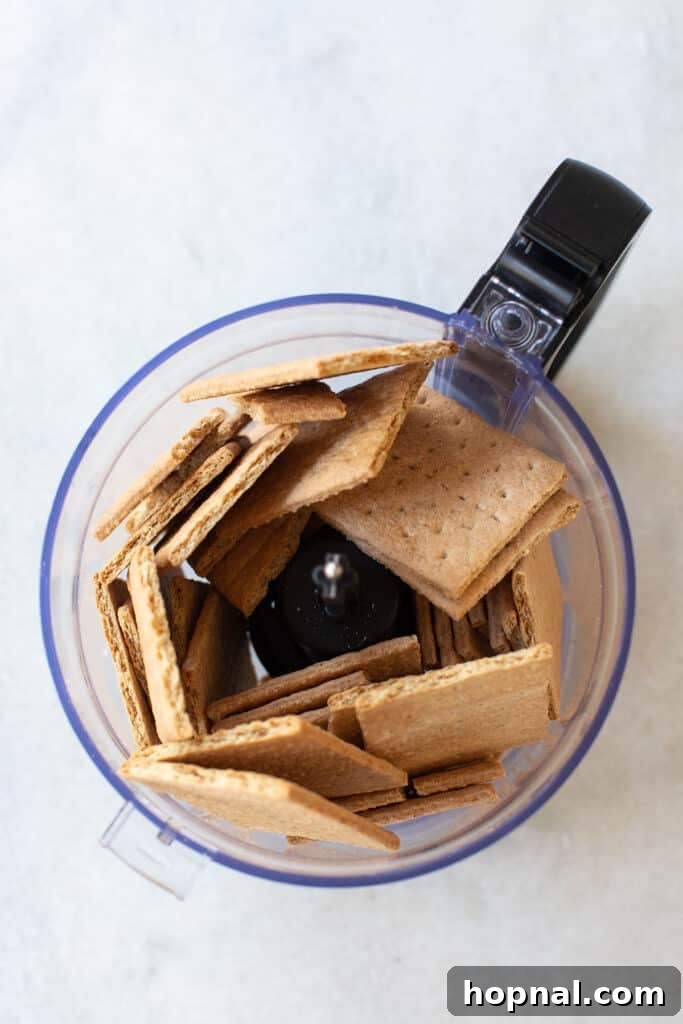
- Graham Crackers: The star of the show! For consistency and a classic flavor, a brand like Honey Maid is often recommended. You have the option to purchase pre-made graham cracker crumbs, which saves a step, or crush whole crackers yourself. Crushing them yourself offers greater control over the fineness of the crumbs. To yield approximately 3 cups of fine graham cracker crumbs, you’ll typically need about 22-24 full sheets of standard graham crackers. Ensure they are finely crushed to help the crust bind together effectively.
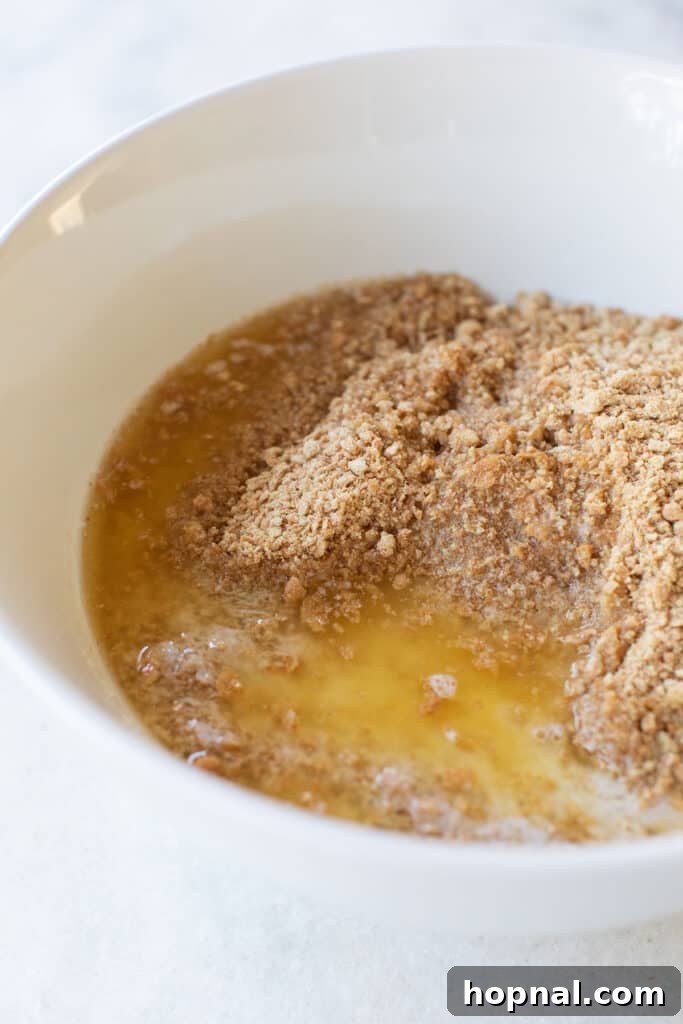
- Butter: High-quality unsalted butter is absolutely essential. It not only acts as the primary binder, holding the crumbs together firmly, but also contributes significantly to the rich, buttery flavor that makes this crust so appealing. Melting the butter thoroughly before combining it with the crumbs ensures even distribution and proper saturation.
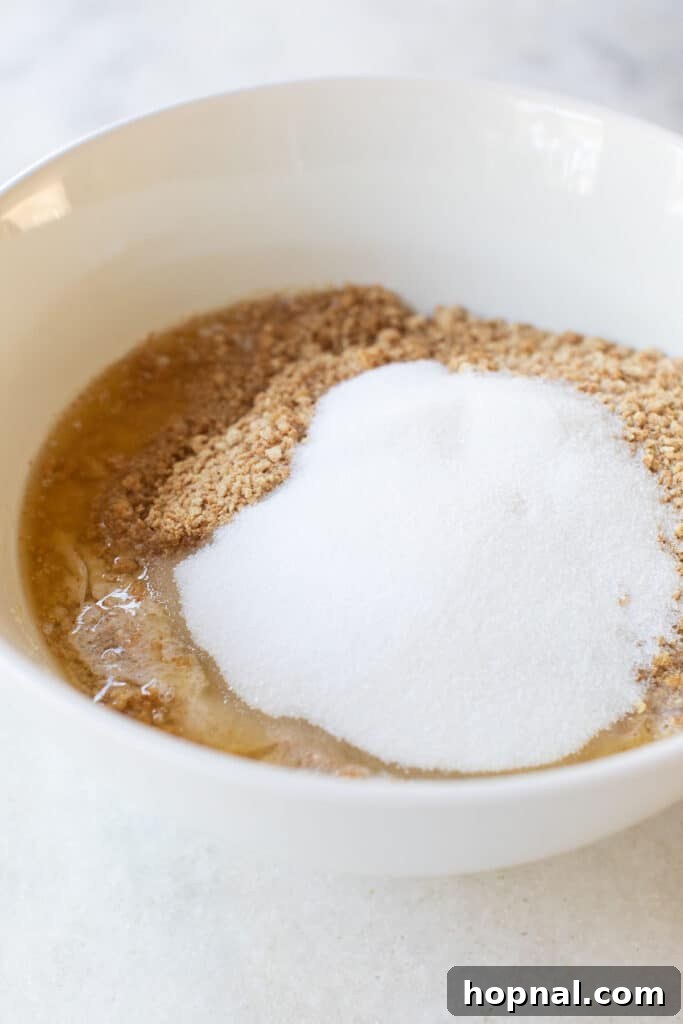
- Sugar: A modest amount of granulated sugar is added to enhance the natural sweetness of the graham crackers. It also aids in creating a slightly caramelized flavor, especially if you choose to pre-bake your crust, and contributes to the crisp texture. You can adjust the amount slightly based on your preference and the sweetness of your filling.
- Salt: Just a pinch of salt is all it takes to elevate and balance all the flavors in the crust. It counteracts the sweetness and brings out the nutty, earthy notes of the graham crackers, preventing the crust from tasting flat. Don’t skip this small but impactful addition!
How to Make the Perfect Graham Cracker Crust
Crafting this simple yet spectacular graham cracker crust is a breeze. Follow these steps for a consistently perfect dessert base:
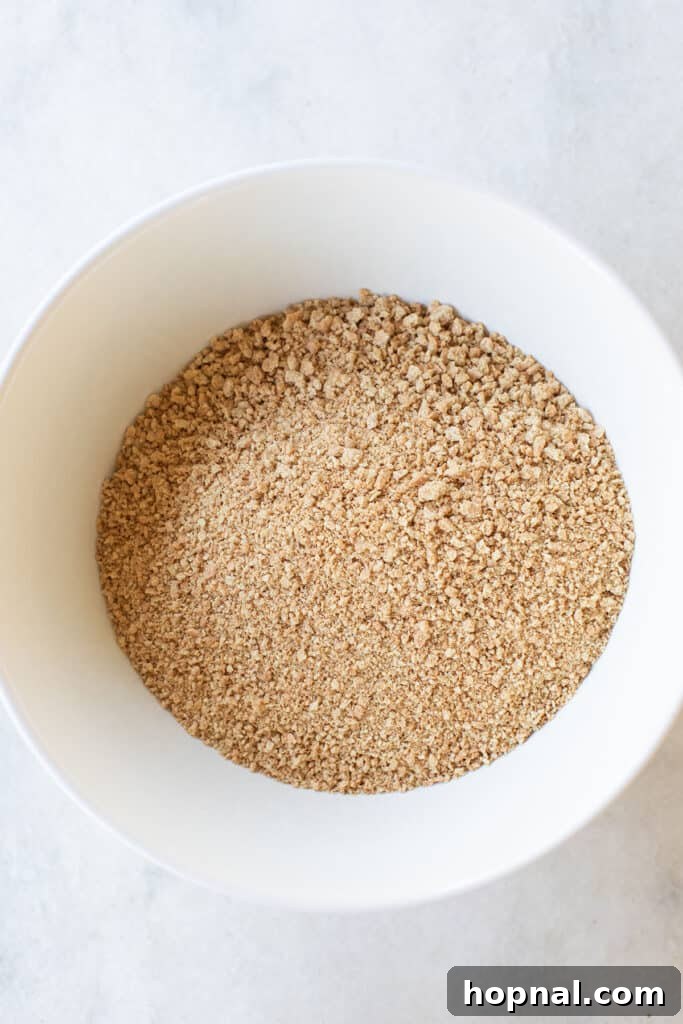
- Prepare Your Crumbs: If you’re starting with whole graham crackers, the first step is to crush them into fine crumbs. The easiest way is to use a food processor: simply break the crackers into pieces and pulse until you achieve a fine, even crumb consistency. Alternatively, you can place the crackers in a large Ziploc bag, seal it, and crush them with a rolling pin or the bottom of a heavy glass. Aim for a texture similar to coarse sand – no large chunks should remain, as this helps the crust bind better.
- Combine Ingredients: In a medium mixing bowl, combine your finely crushed graham cracker crumbs, melted unsalted butter, granulated sugar, and a pinch of salt. Ensure the butter is fully melted to evenly coat all the crumbs.
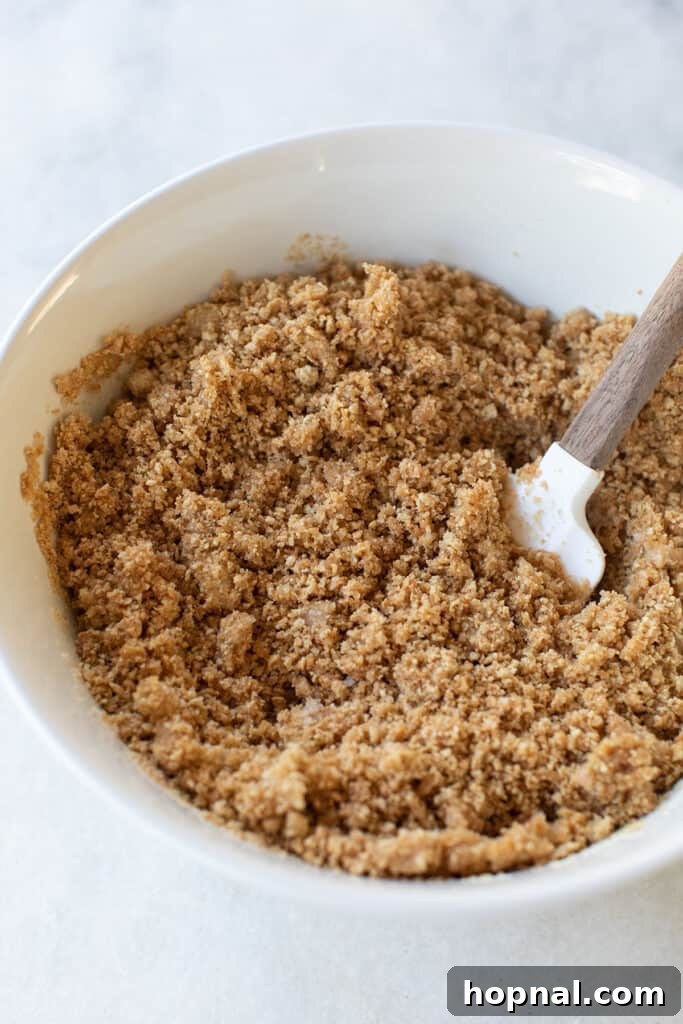
- Mix Thoroughly: Using a spatula or your hands, mix all the ingredients until they are fully incorporated. The mixture should resemble wet sand and hold together when you press a small amount between your fingers. If it feels too dry and crumbly, add an extra tablespoon of melted butter at a time until the desired consistency is reached.
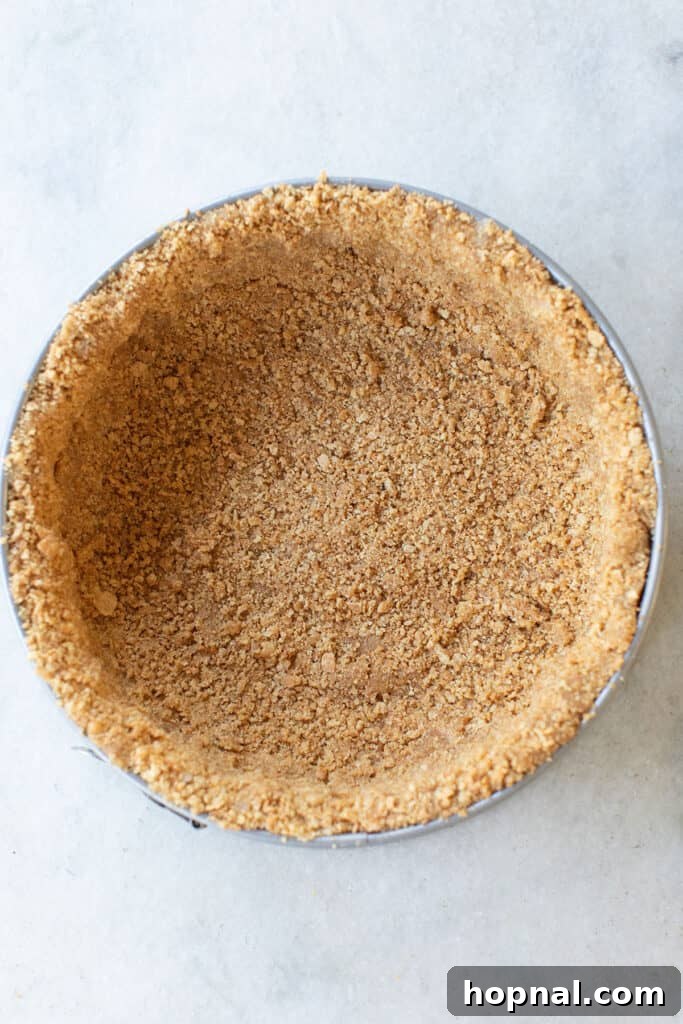
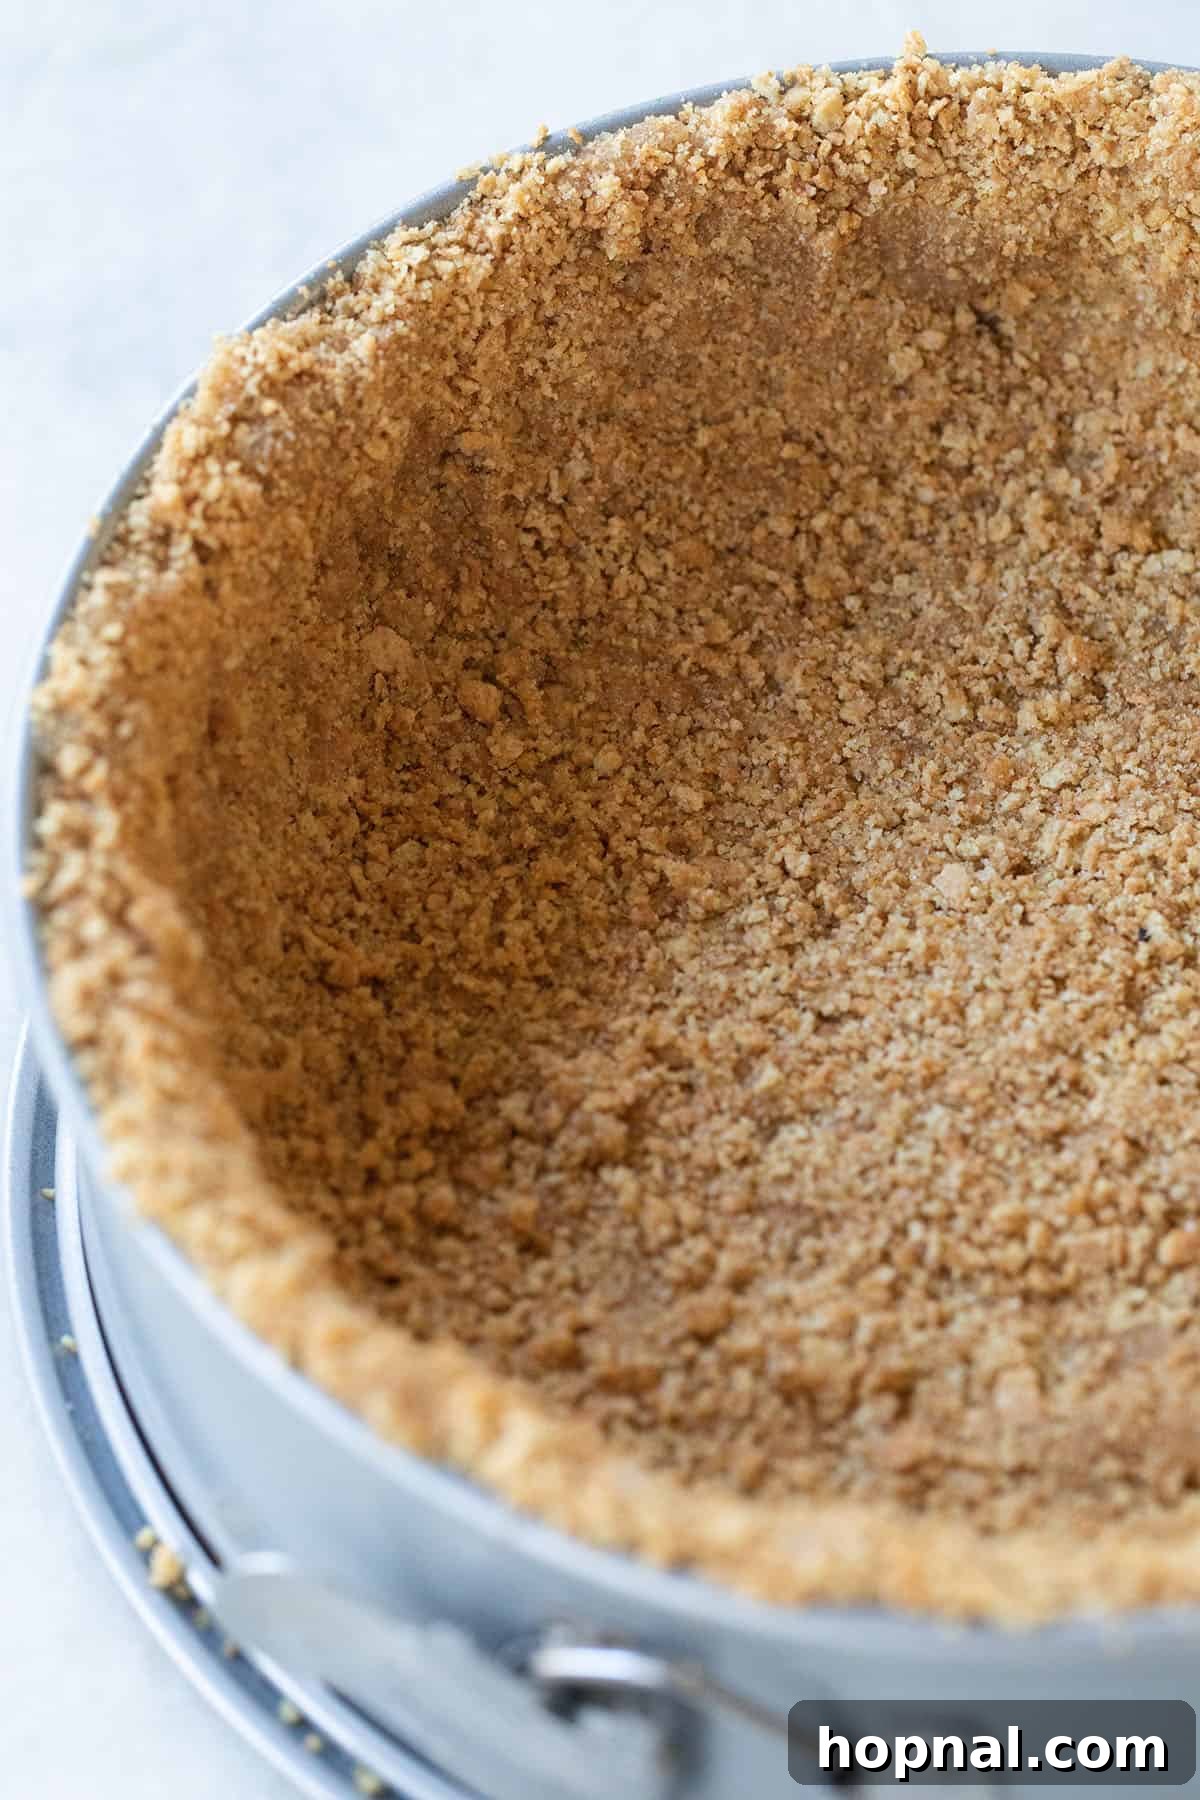
- Press into Pan: Transfer the mixture into your chosen pan (a springform pan for cheesecakes or a standard pie dish for pies works wonderfully). Begin by pressing the crumbs firmly and evenly into the bottom of the pan. Then, if your recipe calls for it, work your way up the sides, creating a consistent thickness. You can use the bottom of a flat glass or a measuring cup to help compact the crumbs tightly for a sturdy crust.
- Chill or Bake: Your next step depends on your dessert. For no-bake recipes, simply chill the crust in the refrigerator for at least 30 minutes (or ideally 1-2 hours) to allow the butter to solidify and set the crust. For baked desserts, pre-bake the crust in a preheated 350°F (175°C) oven for 8-10 minutes. This step creates a crisper, more stable crust that won’t get soggy from wet fillings.
- Cool Completely: Whether chilled or baked, allow the crust to cool completely before adding your filling. This is crucial for preventing your filling from melting or curdling and ensures the crust maintains its structure.
How to Store Your Graham Cracker Crust
Preparing a graham cracker crust in advance can be a fantastic time-saver. Here’s how to store it effectively:
- Refrigerator: A prepared, unbaked crust can be stored in the refrigerator for up to 3 days. Simply cover the pan tightly with plastic wrap to prevent it from absorbing any fridge odors. This method is perfect for no-bake recipes or when you want to get a head start on assembling your dessert. If your crust is baked, let it cool completely, then cover and refrigerate for up to 3 days.
- Freezer: For longer storage, the freezer is your best friend. An unbaked or baked graham cracker crust can be frozen for up to 3 months.
- To Freeze Unbaked Crust: Press the mixture into your pan, then wrap the entire pan tightly in plastic wrap, followed by a layer of aluminum foil. Label with the date. When ready to use, thaw in the refrigerator for a few hours before filling or baking as directed.
- To Freeze Baked Crust: Allow the baked crust to cool completely. Wrap it securely in several layers of plastic wrap and then a layer of aluminum foil. For extra protection against freezer burn, you can also place it in a large freezer-safe bag. Thaw in the refrigerator overnight before filling.
This makes meal prep for desserts incredibly convenient, allowing you to have a ready-made crust whenever inspiration strikes.
Frequently Asked Questions About Graham Cracker Crust
Yes, absolutely! Digestive biscuits are an excellent and widely available alternative to graham crackers, especially popular outside the U.S. They offer a similar texture and a slightly less sweet, more wholesome flavor that works wonderfully in many desserts. Simply use the same quantity of crushed digestive biscuits as you would graham cracker crumbs, and follow the rest of the recipe as written. Other great substitutes include vanilla wafers, gingersnaps, or even shortbread cookies, each lending a distinct flavor profile to your finished dessert.
Technically, a graham cracker crust doesn’t *have* to be baked if your recipe is for a no-bake dessert. It can set beautifully in the refrigerator as the butter hardens, providing a perfectly acceptable base. However, I personally strongly recommend pre-baking your crust for 8-10 minutes, and here’s why:
- Enhanced Structure: Pre-baking helps the crust hold its shape much better, preventing it from crumbling or falling apart when you slice into your finished dessert. It creates a firmer, more stable foundation.
- Superior Flavor and Texture: Baking the crust briefly imparts a delightful slightly toasted, nutty flavor to the graham crackers. This subtle caramelization deepens the overall taste and contributes to a wonderfully crisp, less crumbly texture that contrasts beautifully with creamy fillings.
- Prevents Soggy Bottoms: For fillings with higher moisture content, pre-baking acts as a barrier, helping to prevent the crust from becoming soggy.
A quick bake for just 8-10 minutes in a preheated 350°F (175°C) oven before adding your filling makes a significant difference in the quality and enjoyment of your dessert. Let it cool completely after baking before filling.
A crumbly graham cracker crust is a common frustration, but it’s usually easy to fix! Here are the most common culprits and how to address them:
- Crumbs too coarse: If your graham cracker crumbs are too chunky, they won’t bind together properly. Ensure they are finely crushed, resembling coarse sand, so they can compact and adhere well with the butter. Use a food processor for the best results.
- Not enough butter: Butter is the glue that holds the crust together. If your mixture feels too dry and doesn’t hold its shape when pressed, you likely need more melted butter. Add it a tablespoon at a time, mixing well, until the mixture feels adequately moistened and clumps together.
- Not pressed firmly enough: Gentle pressing won’t create a sturdy crust. You need to press the mixture *very firmly* into the pan, using the bottom of a flat-bottomed glass or a measuring cup. The harder you press, the more compact and stable your crust will be.
- Not properly chilled or baked: For no-bake crusts, adequate chilling time (at least 30 minutes, ideally longer) in the refrigerator allows the butter to re-solidify and set the crust. For baked crusts, the brief pre-bake helps to fuse the ingredients and create a robust structure. Ensure these setting steps are followed properly.
Absolutely! Many brands now offer delicious gluten-free graham crackers. Simply substitute them for traditional graham crackers in this recipe, using the same measurements. The results will be equally delicious and suitable for those with gluten sensitivities.
This recipe is incredibly flexible for various pan sizes and types. For cheesecakes, a 9-inch or 10-inch springform pan is ideal, as the removable sides make serving easy. For pies, a 9-inch pie dish or tart pan works perfectly. You can also use individual ramekins for mini cheesecakes or tarts. This recipe yields a thick crust suitable for a springform, but for a thinner crust or a standard pie plate, you might want to halve the recipe.
Desserts That Shine with Graham Cracker Crust
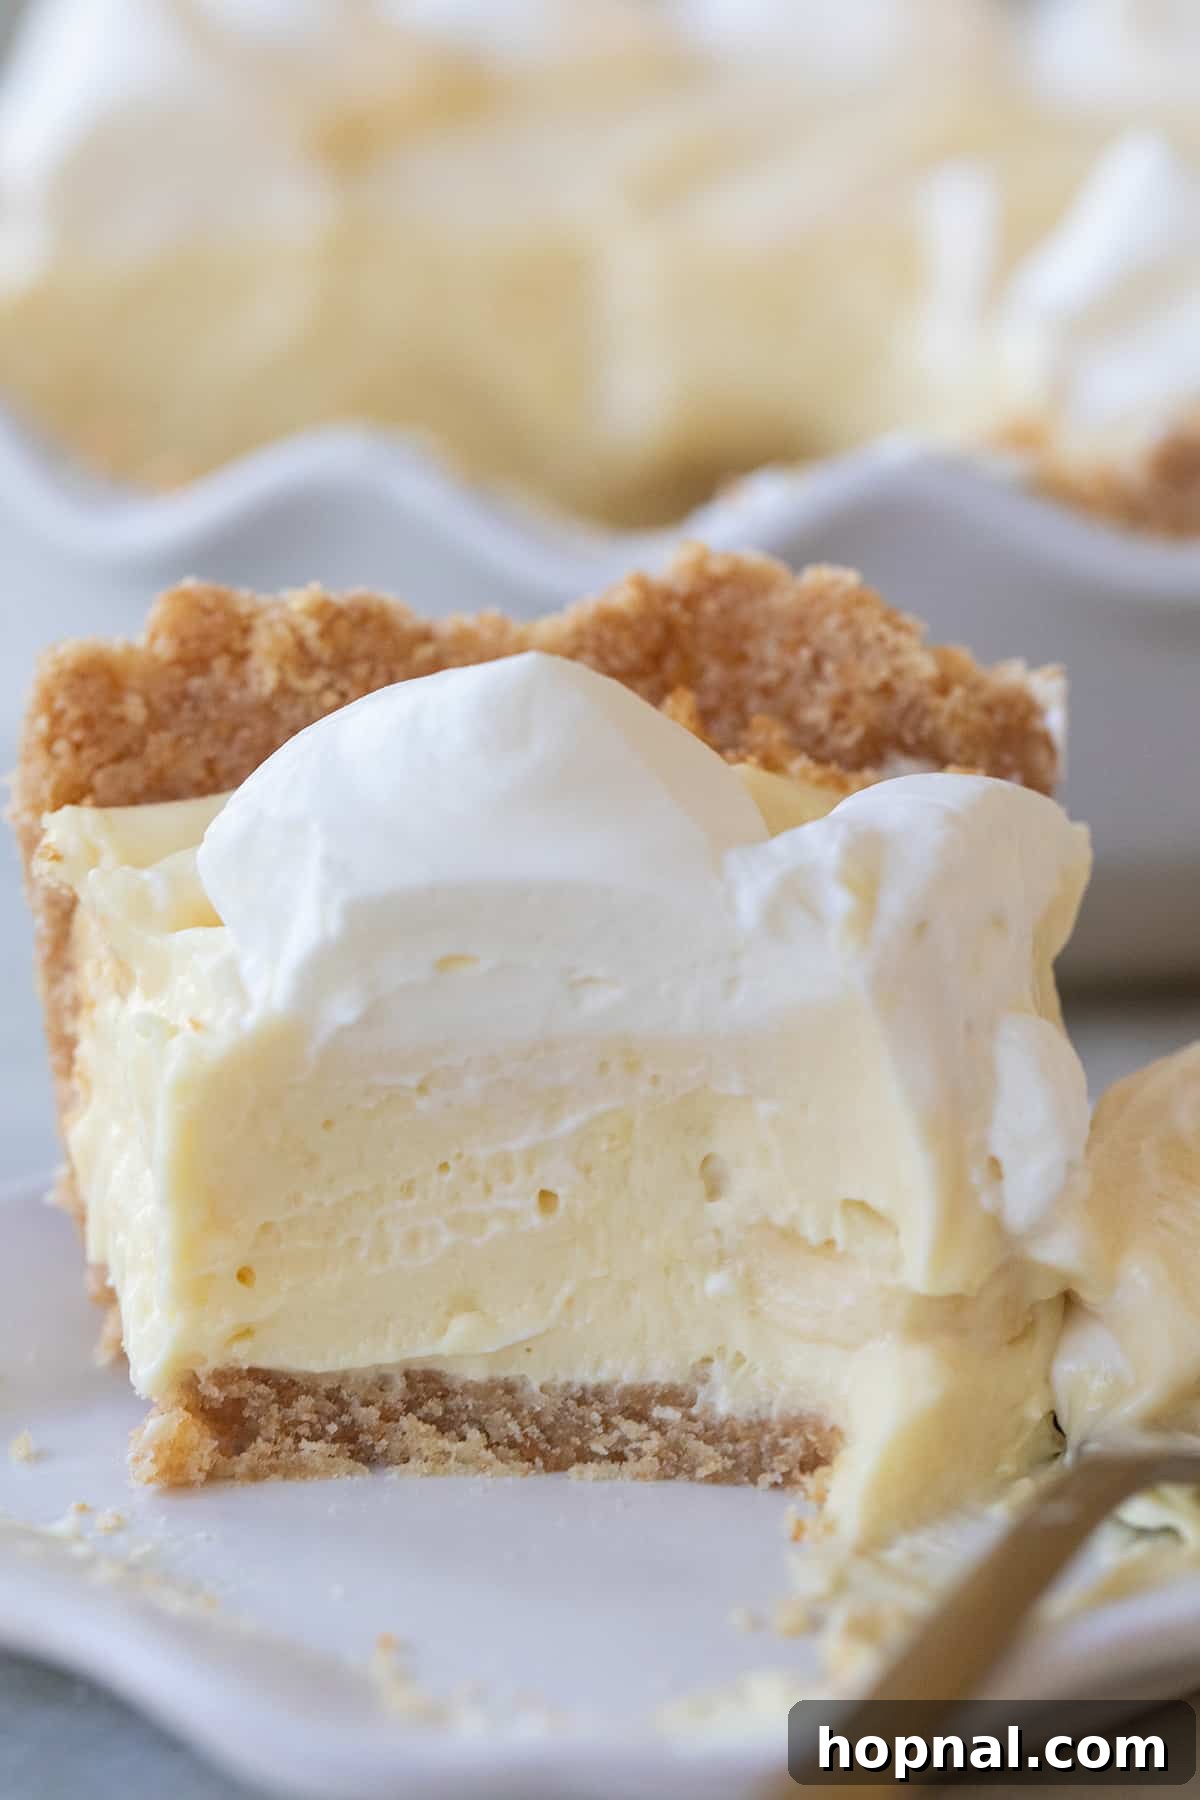
The beauty of a graham cracker crust is its incredible adaptability, making it the perfect foundation for a vast array of sweet treats. Its buttery, slightly sweet profile complements both rich and tangy fillings, allowing it to shine in countless dessert creations. Here are some beloved recipes that truly sing when paired with this classic crust:
- Decadent Chocolate Cream Pie: The sweet graham cracker base is the ideal contrast to a rich, silky chocolate filling.
- Refreshing Strawberry Lemonade Pie: The tartness of the strawberry and lemon filling finds a harmonious balance with the subtle sweetness of the crust.
- Zesty Key Lime Pie: The classic pairing of tangy key lime and a sweet, crisp graham crust is simply unbeatable.
- Vibrant Blood Orange Cheesecake: The bright, citrusy notes of blood orange are beautifully grounded by the buttery crumb.
- Light Whipped Ricotta Cheesecake: A delicate ricotta filling gets a lovely texture boost from this firm base.
- The Best Classic Cheesecake: A sturdy graham cracker crust is the traditional and arguably best foundation for a rich, creamy baked cheesecake.
- Effortless No-Bake Cheesecake: For a quick and easy dessert, this crust sets perfectly in the fridge, making it ideal for no-bake creations.
This graham cracker crust is truly my secret weapon in the kitchen – it’s effortlessly easy, wonderfully buttery, and always a guaranteed hit with family and friends. I encourage you to try it out for your next dessert creation! Please leave a comment and review when you make it; I love hearing about your baking adventures!
FOLLOW ME on FACEBOOK, INSTAGRAM, and PINTEREST to see more delicious recipes, cocktails, desserts, and party inspiration!
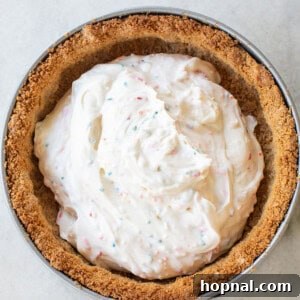
Graham Cracker Crust
Rate Recipe
Print Recipe
Ingredients
- 3 cups graham cracker crumbs
- 12 tbsp unsalted butter, melted
- 1/3 cup granulated sugar
- 1 tsp salt
Instructions
-
In a medium bowl, combine the finely crushed graham cracker crumbs, melted unsalted butter, granulated sugar, and salt.
-
Using a spatula or your hands, mix until the crumbs are thoroughly moistened and the mixture holds together like wet sand.
-
Press the mixture firmly and evenly into a buttered springform pan (or pie dish), covering the bottom and extending up the sides if desired. Use the bottom of a glass or measuring cup to compact it tightly.
-
For a firmer, crispier crust, bake for 10 minutes in a preheated 350°F (175°C) oven. (For no-bake desserts, simply chill for 30-60 minutes instead.)
-
Allow the crust to cool completely before adding your cheesecake mixture or other filling. This prevents melting and ensures a stable dessert.
Notes
Recipe Tips
- This recipe is designed to create a wonderfully thick and sturdy graham cracker crust, perfect for deep-dish pies or springform pans, especially for rich cheesecakes.
- If you’re making a standard pie in a shallower dish or prefer a thinner crust, we recommend cutting the recipe ingredients in half.
- Depending on your specific dessert, some recipes call for the crust to extend up the sides of the pan, while others only require a bottom crust. You may have extra crust mixture if you’re only doing the bottom.
- For the best binding and a smooth texture, always use finely crushed graham cracker crumbs. Large chunks can lead to a crumbly crust.
- If the graham cracker mixture feels too dry and doesn’t hold its shape when pressed, add a small amount (about a tablespoon) more melted butter until it reaches the consistency of wet sand.
- Using high-quality butter and fresh graham crackers will significantly enhance the flavor and overall texture of your homemade crust.
Nutrition
Carbohydrates: 259g,
Protein: 19g,
Fat: 162g,
Saturated Fat: 90g,
Polyunsaturated Fat: 6g,
Monounsaturated Fat: 44g,
Trans Fat: 6g,
Cholesterol: 361mg,
Sodium: 4005mg,
Potassium: 488mg,
Fiber: 9g,
Sugar: 125g,
Vitamin A: 4198IU,
Calcium: 242mg,
Iron: 10mg
Nutrition information is automatically calculated, so should only be used as an approximation.
Like this? Leave a comment below!