
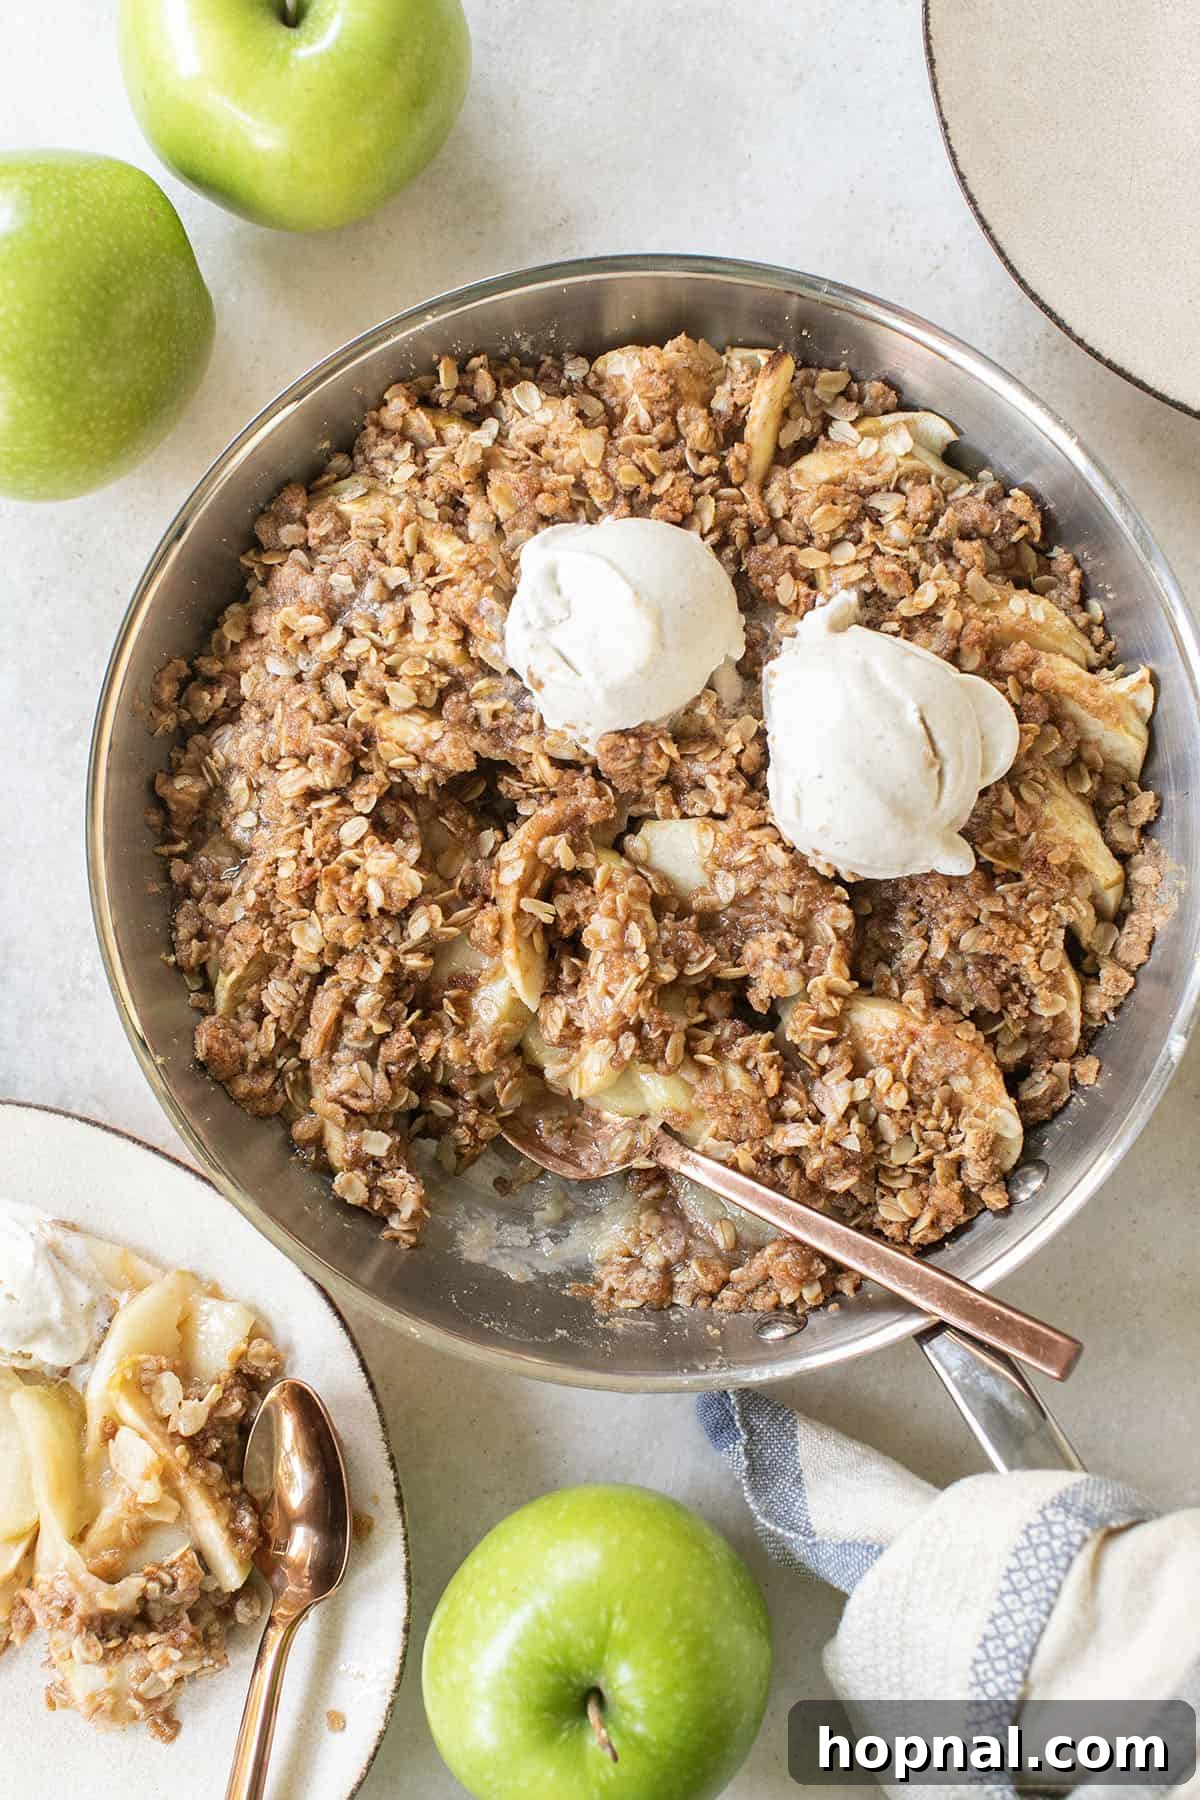
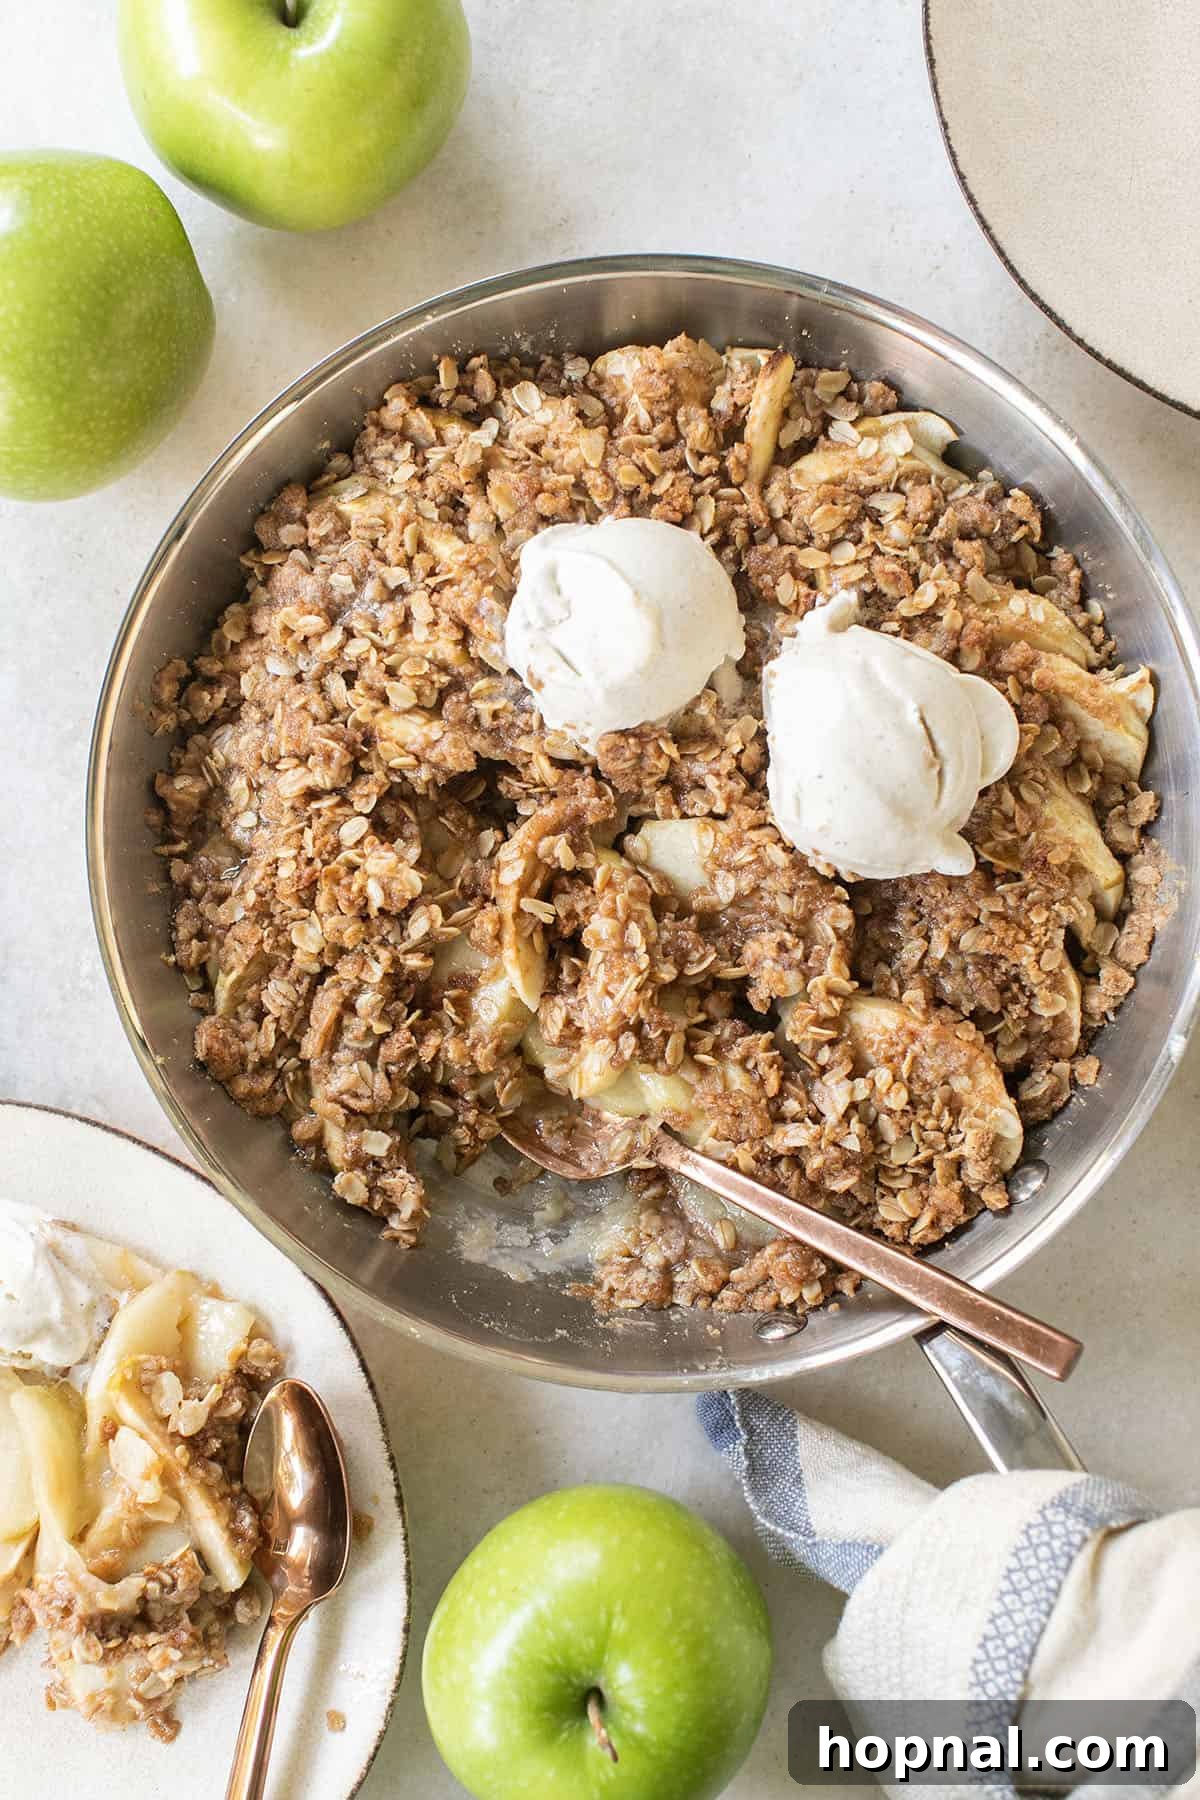
This easy homemade apple crisp recipe is undoubtedly one of the coziest fall desserts you can bake! Imagine tender, warm cinnamon-spiced apples perfectly nestled beneath a sweet, golden, and incredibly buttery oat crumble that delivers the ideal crunch in every bite. Forget complicated pie crusts; this classic autumn treat is effortlessly simple to prepare. Just slice, layer, bake, and savor every gooey, crunchy, and utterly delightful mouthful.
If you’re as passionate about fruit crisps as we are, be sure to explore our easy cherry crisp and delightful canned peach crisp recipes for more irresistible options!
⭐⭐⭐⭐⭐
“This recipe was absolutely incredible—the best comfort food dessert I’ve ever made! I served it with coffee ice cream, and my family couldn’t get enough. I’ll definitely be making this again and again.”
– Lily
Why This Homemade Apple Crisp Will Become Your New Favorite
Prepare to fall in love with this apple crisp, a dessert that truly embodies the warmth and comfort of the season. It’s more than just a recipe; it’s an experience that fills your home with incredible aromas and your belly with pure joy.
Easier Than Pie, Pure Comfort: Say goodbye to the stress of rolling out pie dough! This apple crisp offers all the comforting flavors of a classic apple pie without any of the fuss. It’s incredibly simple to prepare—just slice, layer, and bake. This makes it a perfect choice for both novice bakers and seasoned pros looking for a quick yet impressive fall treat. It’s truly cozy, classic, and wonderfully straightforward.
Irresistible Buttery Oat Topping Bliss: The star of any great crisp is its topping, and ours is no exception. This brown sugar-oat crumble bakes to a magnificent golden crisp, offering a delightful textural contrast to the soft, tender apples beneath. The secret? A generous drizzle of melted butter over the top, which takes this crumble from delicious to utterly divine, creating pockets of rich, caramelized goodness.
Smells Like Fall, Tastes Like Home: The moment this apple crisp starts baking, your kitchen will be enveloped in the most enchanting aroma of warm cinnamon and sweet apples. It’s a smell that instantly evokes feelings of nostalgia, comfort, and the magic of autumn. Each bite delivers that same comforting embrace, making it a perfect dessert for family gatherings or a quiet evening in. For another comforting favorite that captures the essence of fall, don’t miss our easy apple cake; it’s like a slice of autumn itself.
Flexible & Foolproof: This recipe is incredibly forgiving and versatile, ensuring delicious results every time. Whether you use a single apple variety or a delightful mix, add crunchy nuts for extra texture, or infuse it with an extra splash of vanilla, this apple crisp consistently turns out scrumptious and crowd-pleasing. It’s a recipe you can truly make your own!
Essential Ingredients for the Perfect Apple Crisp
Crafting the perfect apple crisp starts with selecting high-quality ingredients. Each component plays a vital role in achieving that balance of sweet, tart, and crunchy that makes this dessert so irresistible.
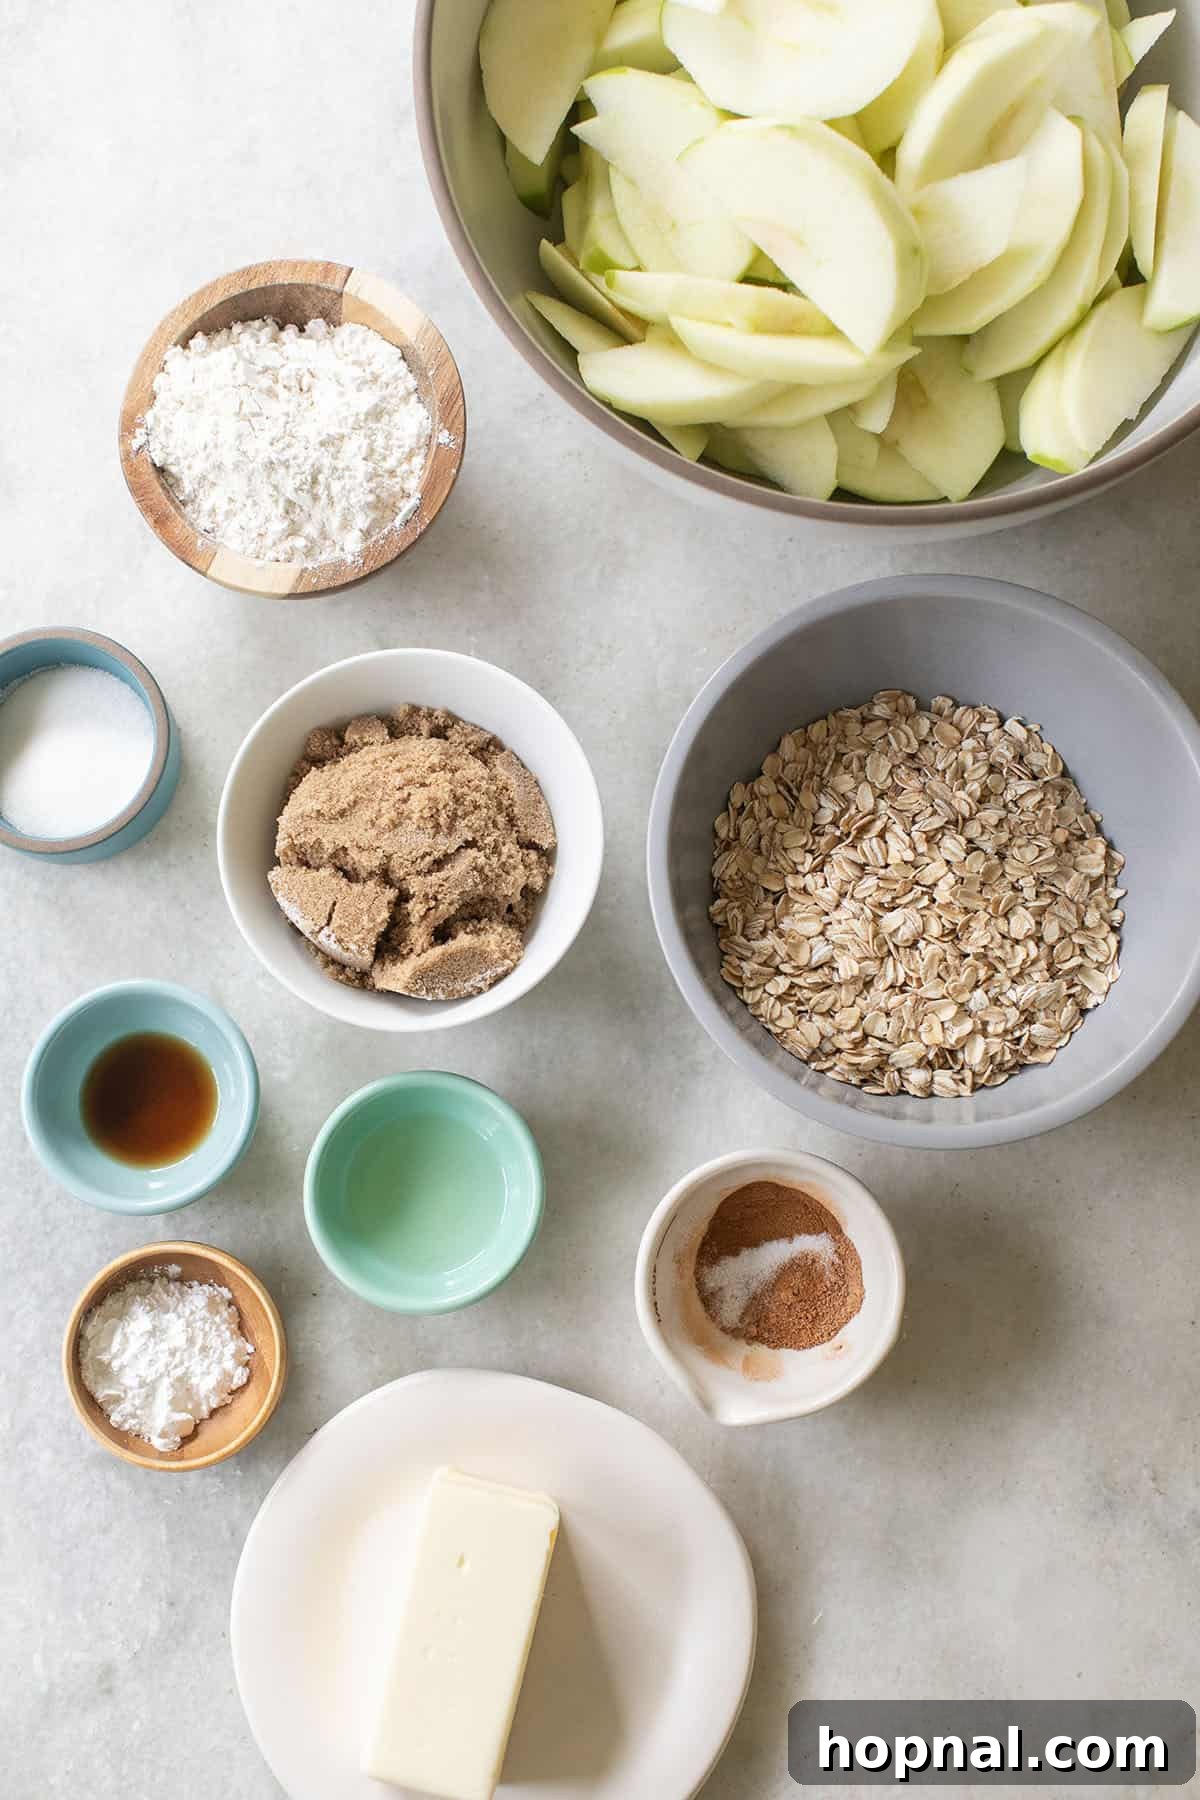
Apples: While any apple variety can work, the magic truly happens when you use a mix. We highly recommend a combination of tart Granny Smith and sweeter varieties like Honeycrisp or Fuji. The Granny Smiths provide a wonderful tang that cuts through the sweetness, while Honeycrisp or Fuji apples offer a delightful natural sweetness and firm texture that holds up beautifully during baking. Peel and thinly slice them to ensure they cook down evenly and become perfectly tender. Variation: Feel free to experiment with thinly sliced pears or mix in a handful of fresh or frozen cranberries for an extra burst of flavor and color!
Cornstarch: This acts as our secret weapon for thickening the apple filling, preventing it from becoming a watery mess. It ensures your crisp has a luscious, gooey base. Swap: If cornstarch isn’t available, a small amount of all-purpose flour or arrowroot powder can be used as an alternative thickener.
Granulated Sugar: Used in the apple filling to enhance the natural sweetness of the fruit without overpowering it. The goal is to complement, not mask, the apples’ flavor.
Vanilla Extract: A splash of pure vanilla extract adds a layer of warmth and depth, elevating the overall flavor profile of the apple filling. Always opt for pure vanilla extract for the most authentic and rich taste.
Lemon Juice: A bright touch of fresh lemon juice is crucial. It brightens the apple filling, balances the sweetness, and adds a subtle zesty note. Pro tip: Lemon juice also acts as a natural antioxidant, preventing your sliced apples from browning while you prepare the rest of your ingredients.
Brown Sugar: This provides a rich, caramel-like, molasses-infused sweetness to the crisp topping. Its deep flavor pairs exquisitely with the warm spices and apples, creating a truly comforting taste.
Rolled Oats: The undeniable star of our crisp topping! Old-fashioned rolled oats are essential for achieving that signature golden, crunchy, and chewy texture. They transform into an irresistible layer during baking. No oats? For a different texture, you could use crushed graham crackers or finely chopped nuts.
All-Purpose Flour: Helps bind the topping ingredients together, giving it structure and ensuring it bakes into a uniform, crumbly layer.
Cinnamon & Nutmeg: These are the quintessential cozy fall spices. Ground cinnamon and a hint of fresh nutmeg infuse both the apples and the topping with their aromatic magic, making your kitchen smell divine and your crisp taste like autumn itself. Consider adding a pinch of ground ginger or allspice for even more complex flavor.
Butter: Cold, cubed unsalted butter is absolutely key for creating that perfectly crumbly and tender topping. When cut into the dry ingredients, it melts slowly, creating pockets of steam that result in a flaky, crunchy texture. And that little extra melted butter poured over the top after baking? That’s what gives it an undeniably rich, “chef’s kiss” finish.
How to Bake the Best Homemade Apple Crisp
Creating this delightful apple crisp is a straightforward and rewarding process. Follow these simple steps to achieve a perfectly balanced, warm, and comforting dessert that will impress everyone.
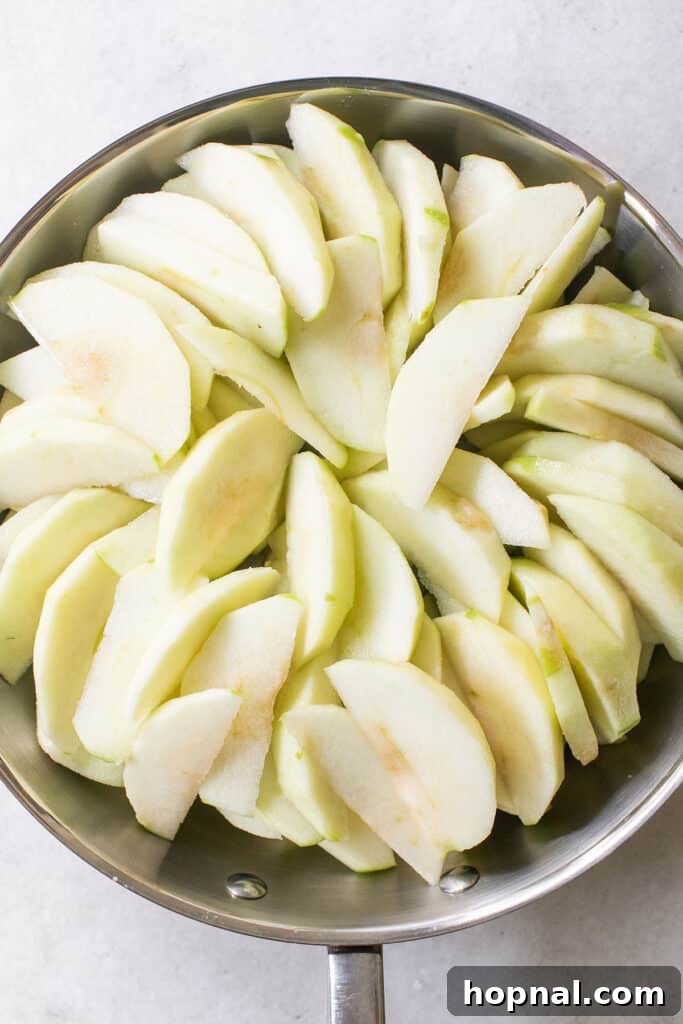
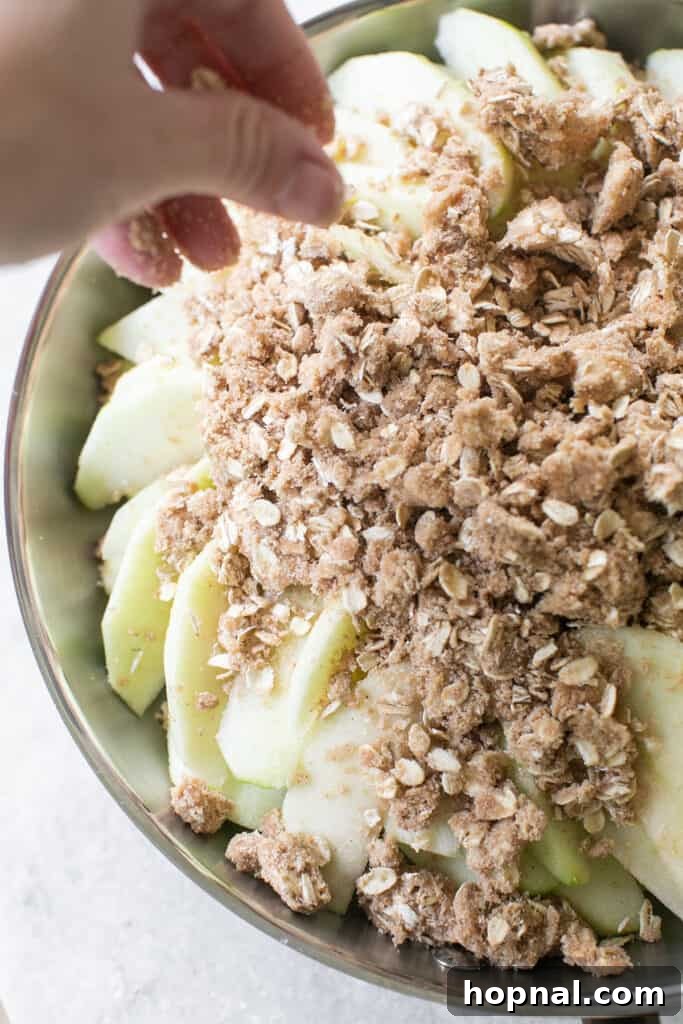
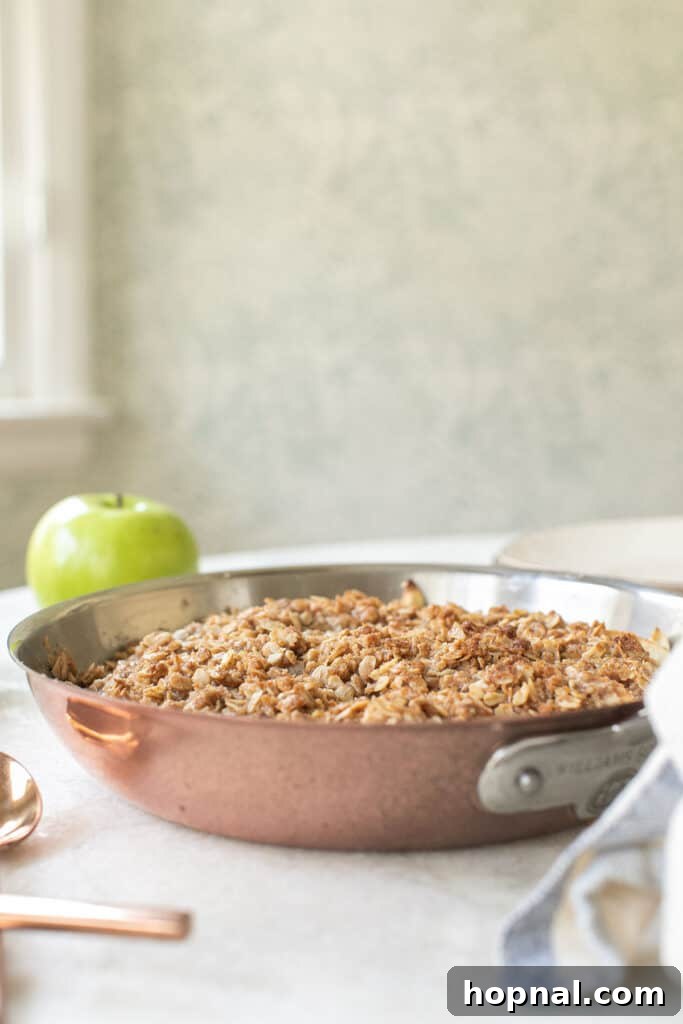
Step 1: Preheat the oven to 350°F (175°C). Always start by preheating your oven. This ensures it’s consistently hot and ready when your crisp goes in, guaranteeing even baking and that perfect golden crust.
Step 2: Prepare Your Apples. Begin by peeling, coring, and thinly slicing your chosen apples. For the best flavor and texture, we recommend a mix of tart Granny Smith and sweet Honeycrisp or Fuji apples. Aim for slices about ¼-inch thick so they bake evenly and become wonderfully tender without turning to mush.
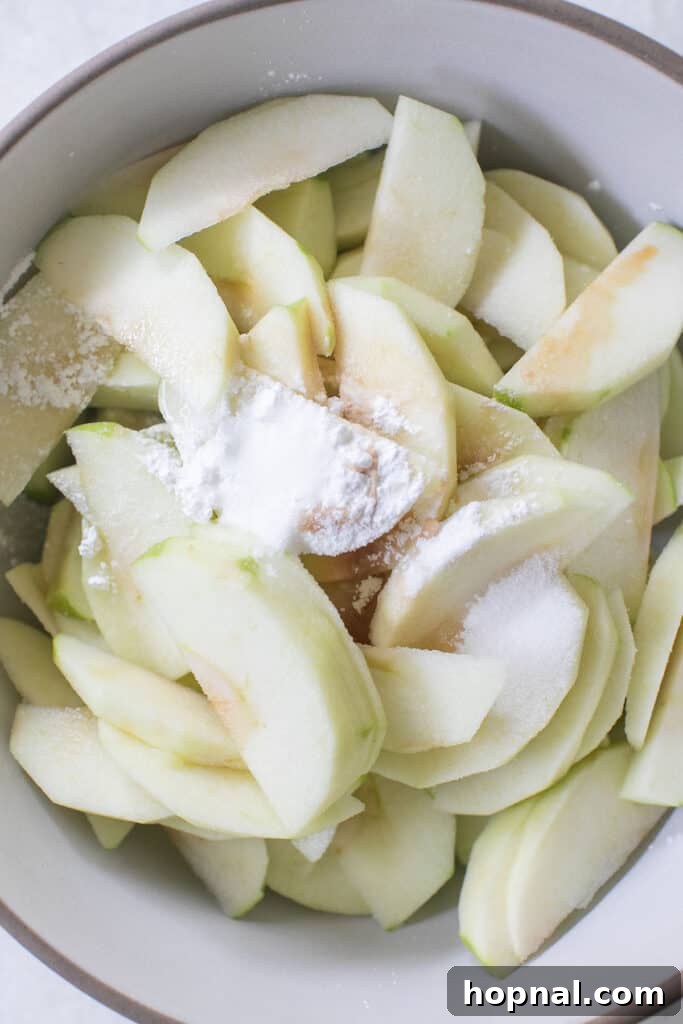
Step 3: Make the Apple Filling. In a large mixing bowl, gently toss the sliced apples with cornstarch (which will thicken the juices), granulated sugar, a bright splash of fresh lemon juice, and a teaspoon of pure vanilla extract. Mix until all the apple slices are evenly coated. The aroma alone will have you excited!
Step 4: Mix the Crisp Topping. In a separate bowl, combine the dry ingredients for the topping: rolled oats, all-purpose flour, rich brown sugar, ground cinnamon, a hint of nutmeg, and a pinch of salt. Next, add the cold, cubed butter. Use your fingertips or a pastry blender to work the butter into the dry mixture until it resembles coarse crumbs with some pea-sized pieces remaining. It’s a bit messy, but this technique is crucial for a perfectly crumbly texture.
Step 5: Assemble the Crisp. Lightly butter your baking dish or oven-safe skillet. Spread the prepared apple filling evenly across the bottom. Then, generously sprinkle the oat crumble topping over the apples, making sure to cover them completely. Don’t press the topping down; a loose sprinkle creates the best crisp texture.
Step 6: Bake to Perfection. Place your skillet or baking dish on a larger baking sheet (to catch any potential bubbly overflows) and bake in the preheated oven for approximately 40-45 minutes. The crisp is ready when the topping is beautifully golden brown and crispy, and the apple filling is tender and bubbling gently around the edges.
Step 7: Finish with Melted Butter. This is our little secret for an utterly irresistible, buttery finish! Once the crisp comes out of the oven, immediately pour about ½ cup of melted unsalted butter evenly over the hot topping. This simple step adds an extra layer of richness and flavor that truly takes this apple crisp over the top.
Expert Tips for a Flawless Apple Crisp
Prevent Apple Browning: While you’re busy peeling and thinly slicing all those apples, place them in a large bowl filled with cold lemon water. This simple trick, using just a tablespoon of lemon juice per quart of water, will effectively prevent your apples from oxidizing and turning brown, ensuring they look fresh and appealing when it’s time to bake.
The Post-Bake Butter Drizzle: Don’t skip pouring that extra melted butter over the crisp immediately after it comes out of the oven. This crucial step adds a luscious richness and depth of flavor that deeply permeates the warm topping and softens it just enough to create an incredibly moist and tender crumb.
Choose Your Baking Vessel: This is a forgiving and easy dessert, so don’t fret too much about the specific pan! You can successfully bake this apple crisp in a variety of dishes, including a cast-iron skillet, a traditional square baking pan, or even a sheet pan for a thinner crisp. The choice of pan won’t significantly alter the delicious flavor or comforting texture of your dessert.
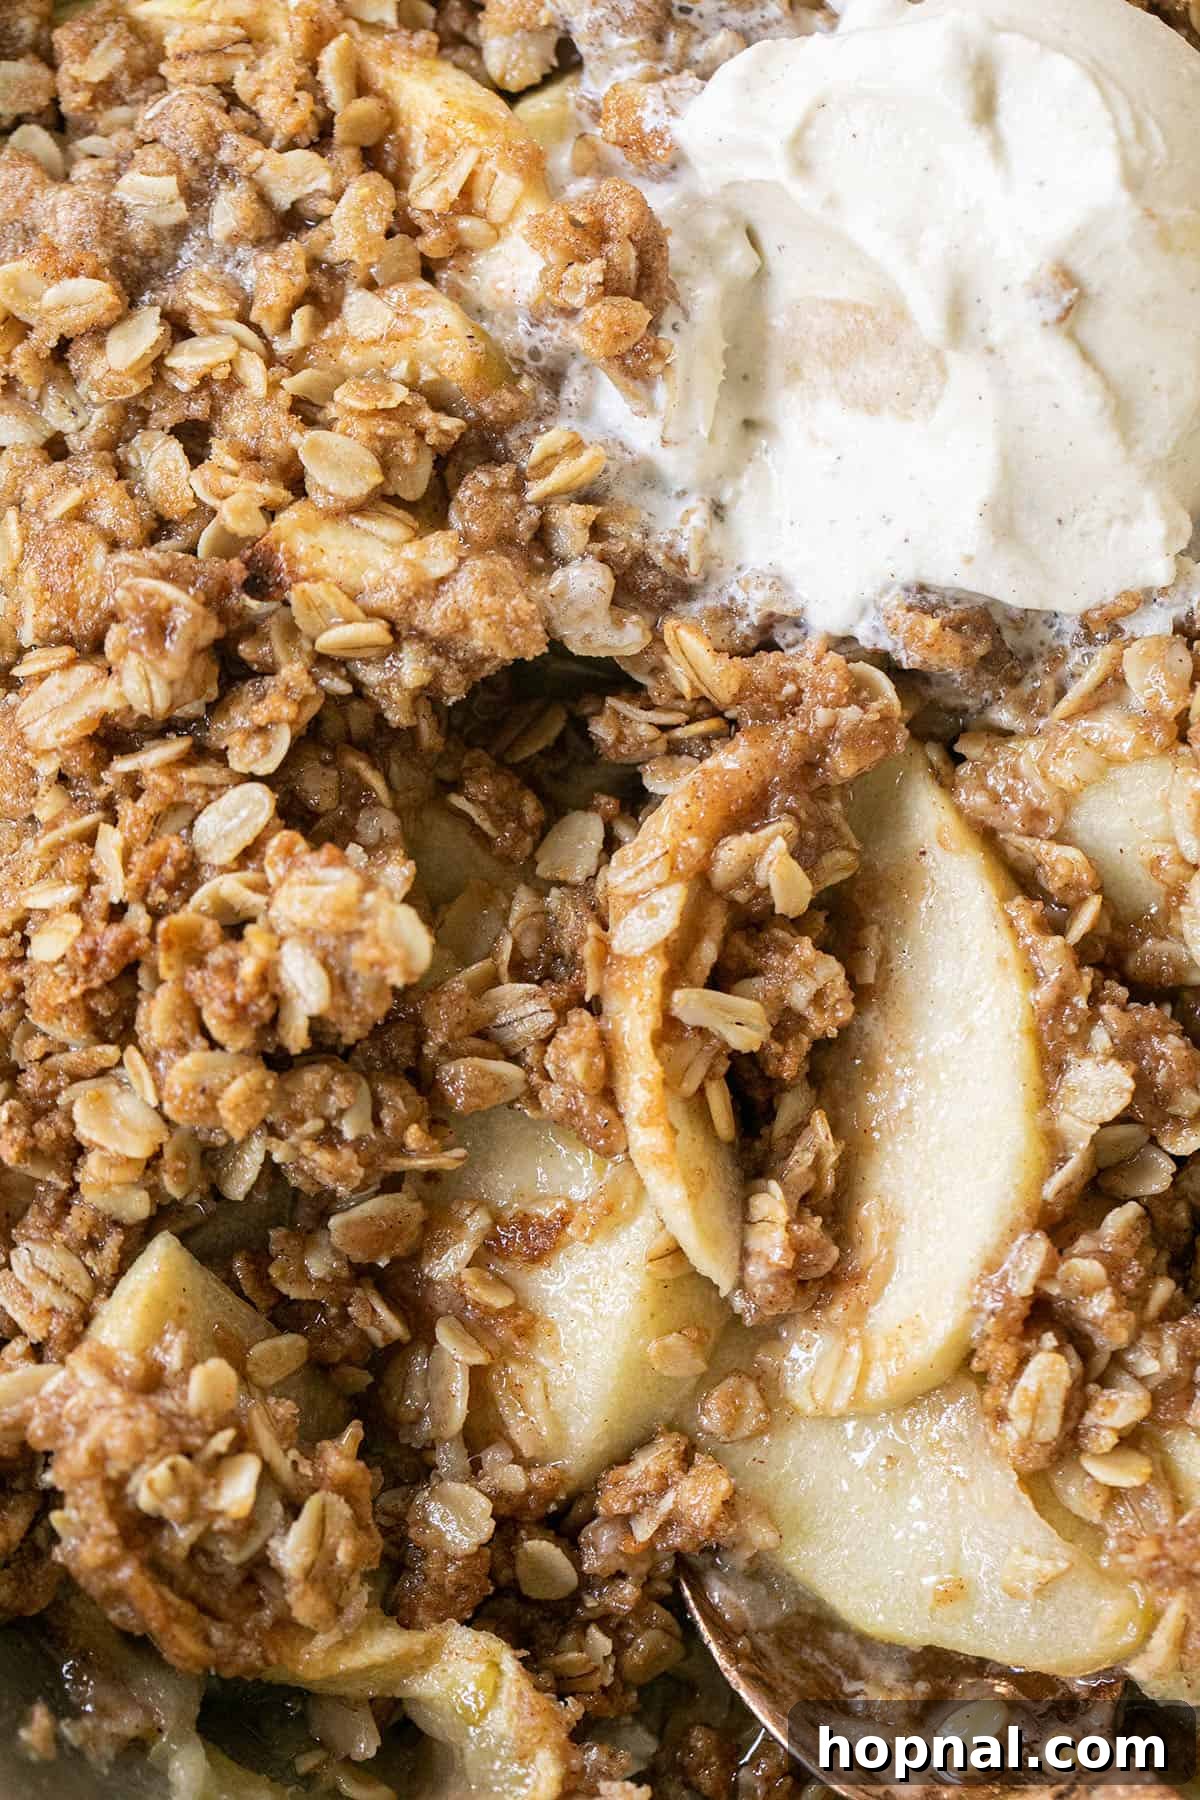
Serve Warm with the Right Companions: Apple crisp is best enjoyed warm, straight from the oven! It pairs perfectly with a scoop of vanilla bean ice cream that slowly melts into the warm apples, a dollop of freshly whipped cream, or a drizzle of homemade caramel sauce for an extra touch of indulgence.
Make-Ahead Options: To save time, you can prepare the apple filling and the crumble topping separately up to a day in advance. Store the apple mixture in an airtight container in the refrigerator and keep the crumble topping in a separate sealed container at room temperature. Assemble and bake just before serving for the freshest results.
Frequently Asked Questions About Apple Crisp
For the best apple crisp, you want apples that offer a balance of sweet and tart flavors, along with a firm texture that holds its shape during baking. Excellent choices include tart varieties like Granny Smith, which provide a bright counterpoint to the sweetness. For sweetness and texture, Honeycrisp, Fuji, Braeburn, and Jonathan apples are highly recommended. Using a mix of two or three varieties often yields the most complex and delicious results.
The main distinction lies in their toppings! A crisp traditionally features a topping made with oats (and sometimes nuts), which bakes up wonderfully crunchy and golden. A crumble typically skips the oats, opting for a streusel-like topping made from flour, sugar, and butter. A cobbler, on the other hand, is topped with a biscuit-like dough or small dollops of batter, creating a more cake-like or scone-like texture. So, our recipe, with its delicious oat topping, is a classic apple crisp!
If your crisp appears too soupy or watery, it’s most likely because it’s still warm. Fruit crisps need time to cool and set. As the crisp cools, the cornstarch (or other thickener) in the apple filling fully activates and thickens the juices. Allow your crisp to cool for at least 30-60 minutes after baking, and you’ll find the filling will thicken up beautifully.
While apple crisp is best enjoyed warm and fresh from the oven, leftovers are still fantastic! You can refrigerate covered apple crisp for about 2-4 days. Store it in an airtight container to maintain freshness. Let’s be honest, though—it rarely lasts that long in our homes!
Yes, you can! If using frozen apples, it’s best to thaw them first and drain any excess liquid to prevent the crisp from becoming too watery. You might also consider increasing the amount of cornstarch slightly (by about half a tablespoon) to account for any extra moisture released during baking.
To reheat, the oven is your best friend for maintaining that crispy topping! Place individual servings or the entire dish (if covered loosely with foil) in an oven preheated to 300°F (150°C) for 15-20 minutes, or until warmed through. For a quicker option, you can microwave individual servings, but the topping may lose some of its crispness.
Absolutely! To make it gluten-free, simply swap the all-purpose flour for a 1:1 gluten-free baking flour blend and ensure your rolled oats are certified gluten-free. For a vegan version, substitute the butter with a high-quality plant-based butter alternative, both for the topping and the final drizzle.
More Delicious Desserts You’ll Love
Pies
Easy Cherry Crisp Recipe
Pies
Easy Canned Peach Crisp Recipe
Cakes & Cupcakes
Orange Ricotta Cake Recipe
Recipes
Caramel Apple Crumble Bars Recipe
If you’re as obsessed with fall baking as I am, be sure to check out my favorite pumpkin cheesecake and incredibly moist pumpkin bread for more seasonal delights!
We absolutely adore hearing from you! Please let us know if you make this fantastic recipe for apple crisp by leaving a comment and review below. Your thoughts and feedback truly brighten our day! Happy Baking!
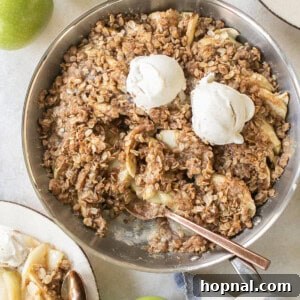
Easy Apple Crisp Recipe (with Buttery Oat Topping)
Eden
15 mins
40 mins
55 mins
8 people
Ingredients
Apple Crisp Filling
- 5 green apples, peeled and thinly sliced
- 1 tbsp cornstarch
- 2 tbsp granulated sugar
- 1 tbsp lemon juice
- 1 tsp vanilla extract
Apple Crisp Topping
- 1 cup rolled oats
- 1/2 cup all-purpose flour
- 1/2 cup brown sugar
- 1 tsp ground cinnamon
- 1/2 tsp ground nutmeg
- 1/2 tsp salt
- 5 tbsp unsalted butter, cubed
- 1/2 cup unsalted butter, melted
Instructions
-
Preheat the oven to 350 degrees Fahrenheit (175°C).
-
Peel and thinly slice the apples, about ¼-inch thick.
-
In a large mixing bowl, combine the sliced apples, cornstarch, granulated sugar, lemon juice, and vanilla extract. Toss gently with a spatula until the apples are evenly coated.
-
In a separate mixing bowl, combine the rolled oats, all-purpose flour, brown sugar, cubed cold butter, cinnamon, nutmeg, and salt.
-
Use your hands to mix the topping ingredients together until the butter is incorporated and the mixture resembles a coarse crumble.
-
Lightly butter a round skillet or baking dish. Layer the prepared apples evenly on the bottom, then add a second layer until all apples are used.
-
Generously crumble the oat topping evenly over the entire surface of the apples, ensuring they are fully covered.
-
Place the skillet on a baking sheet and bake in the preheated oven for 40-45 minutes at 350 degrees Fahrenheit. The crisp is ready when the apples are tender, and the topping is golden brown and crispy.
-
Melt the 1/2 cup of unsalted butter and pour it evenly over the top of the hot apple crisp immediately after removing it from the oven.
-
Serve warm, ideally with a scoop of vanilla ice cream or a dollop of whipped cream.
Notes
Alternatively, you can refrigerate the apple crisp in an airtight container for 5 to 6 days. When ready to enjoy, reheat gently in the oven to restore some of its crispness.
This apple crisp freezes beautifully! Once completely cooled to room temperature, store it in an airtight, freezer-safe container. It can be frozen for up to 3 months. Thaw in the refrigerator overnight and reheat in the oven until warm.
Nutrition
Carbohydrates: 31g,
Protein: 2g,
Fat: 19g,
Saturated Fat: 12g,
Polyunsaturated Fat: 1g,
Monounsaturated Fat: 5g,
Trans Fat: 1g,
Cholesterol: 49mg,
Sodium: 153mg,
Potassium: 73mg,
Fiber: 1g,
Sugar: 17g,
Vitamin A: 574IU,
Vitamin C: 1mg,
Calcium: 24mg,
Iron: 1mg
Nutrition information is automatically calculated, so should only be used as an approximation.
Like this? Leave a comment below!