
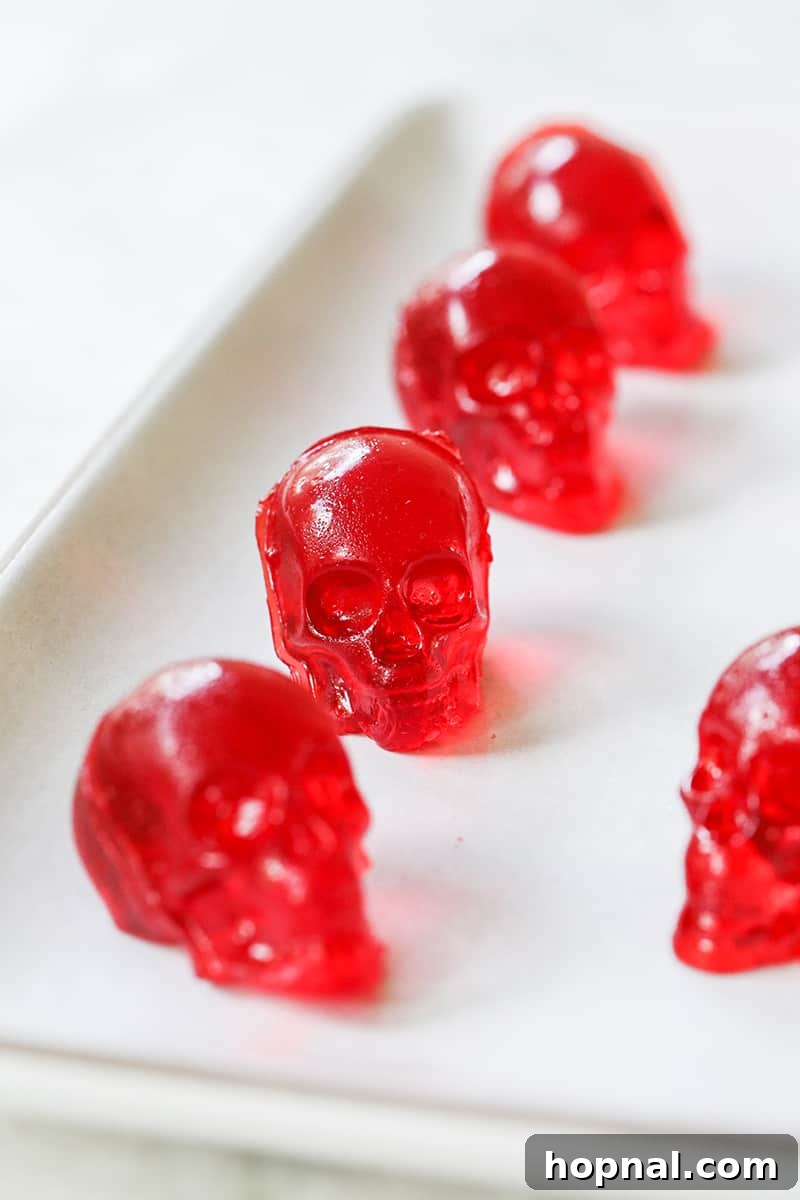
Get ready to bewitch your guests this Halloween with a truly show-stopping treat:
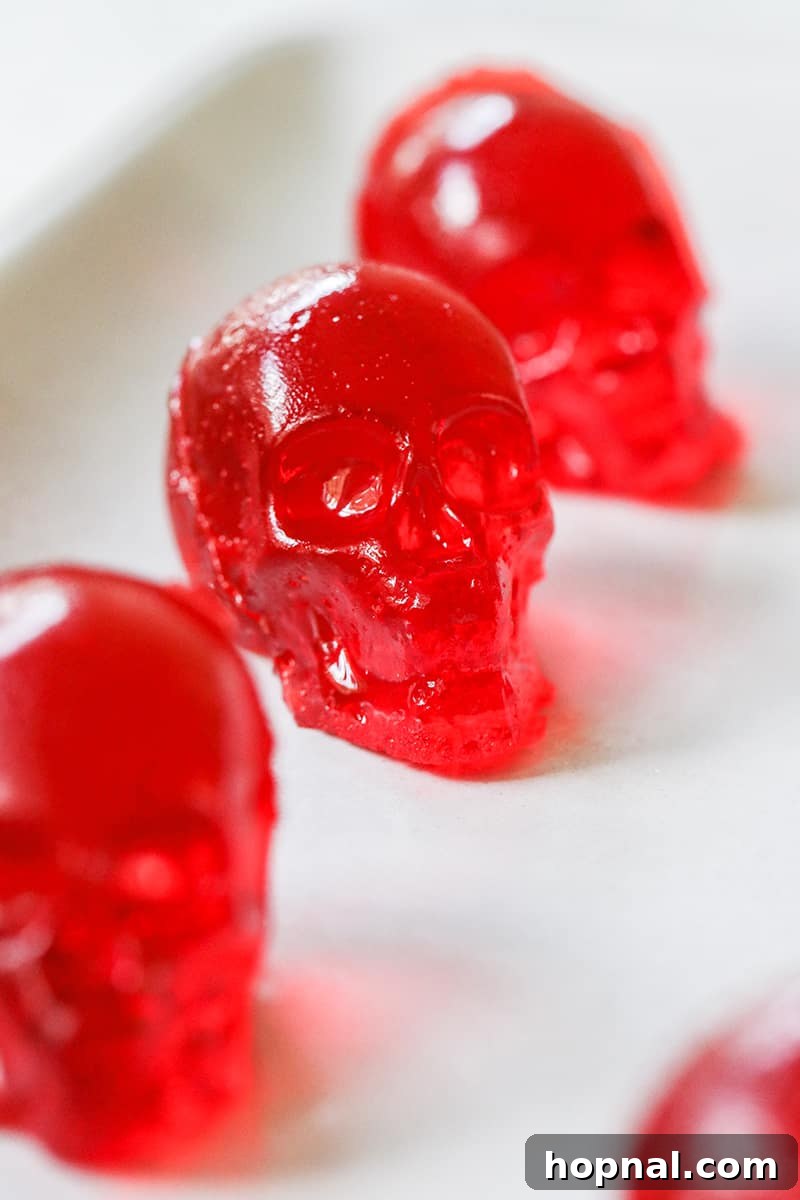
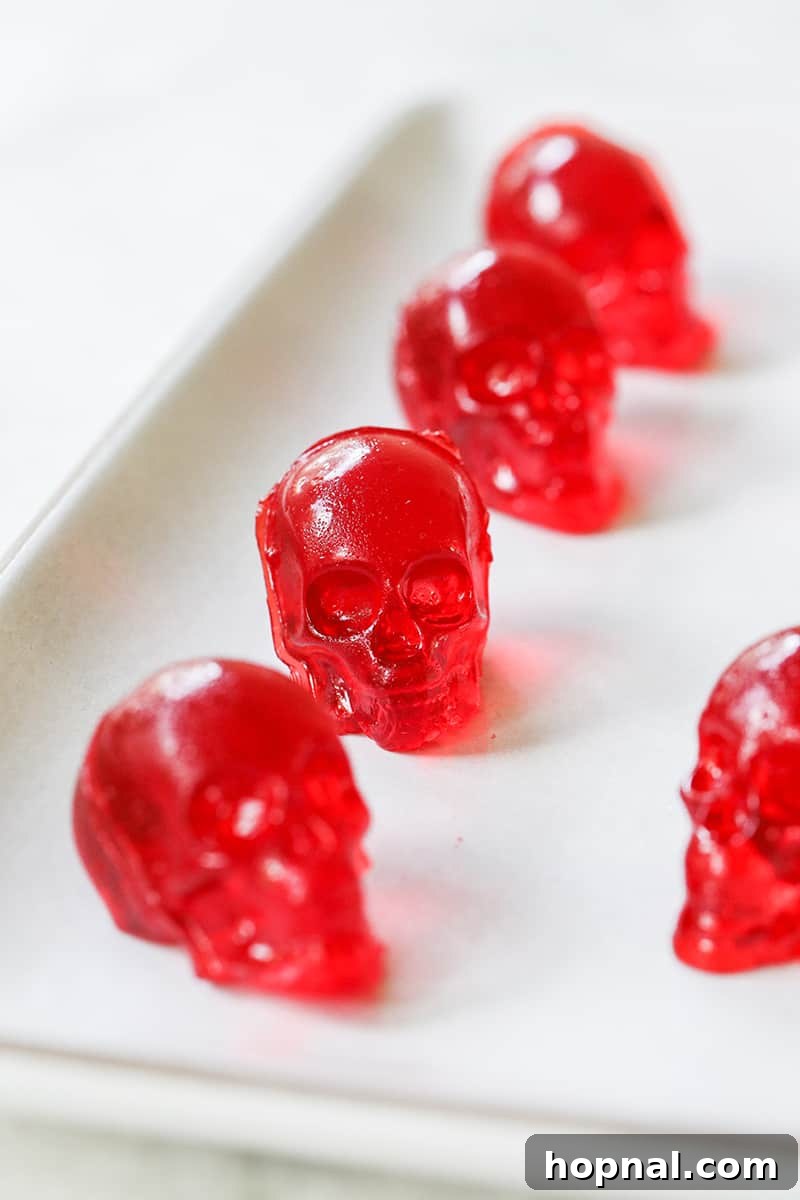
Three-Dimensional Skull Vodka Jello Shots! These aren’t just any ordinary jello shots;
they’re miniature, edible works of spooky art that are guaranteed to be the life (or undeath!) of your party.
Whether you’re hosting a ghoulish gathering, attending a costume party, or simply looking for a fun and festive
adult beverage to kick off your trick-or-treating adventures, these skull-shaped delights are the perfect choice.
The best part? They are incredibly easy to make, highly customizable in both color and flavor,
and offer a unique presentation that regular jello shots simply can’t match.
Imagine a platter filled with vibrant red, chilling blue, or even mysterious black skull jello shots –
the possibilities for creating a memorable Halloween ambiance are endless.
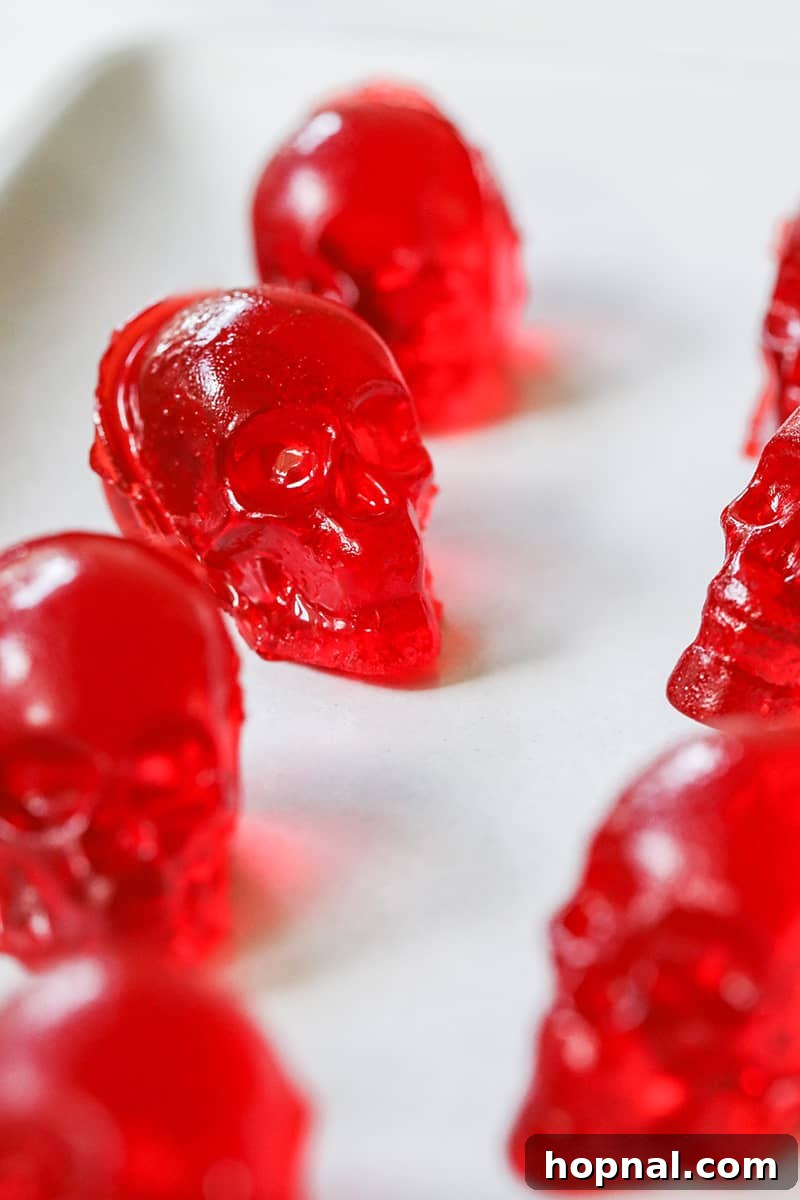
Crafting these spooky skull jello shots has become a cherished Halloween tradition for us,
adding an exciting and playful element to the holiday festivities.
There’s something uniquely satisfying about transforming simple ingredients into such festive and fun adult treats.
The process is surprisingly straightforward, making it an ideal project for even novice home bartenders.
Not only do they look incredibly impressive, but their burst of fruity, boozy flavor makes them irresistible
and a guaranteed hit with guests. From vibrant cherry red, mimicking fresh blood, to ghostly green or electric blue for an eerie glow,
you can tailor your skull jello shots to perfectly match your Halloween decor or party theme.
These aren’t just a dessert or a drink; they’re an interactive experience,
adding an unforgettable touch of frightful fun to any adult celebration.
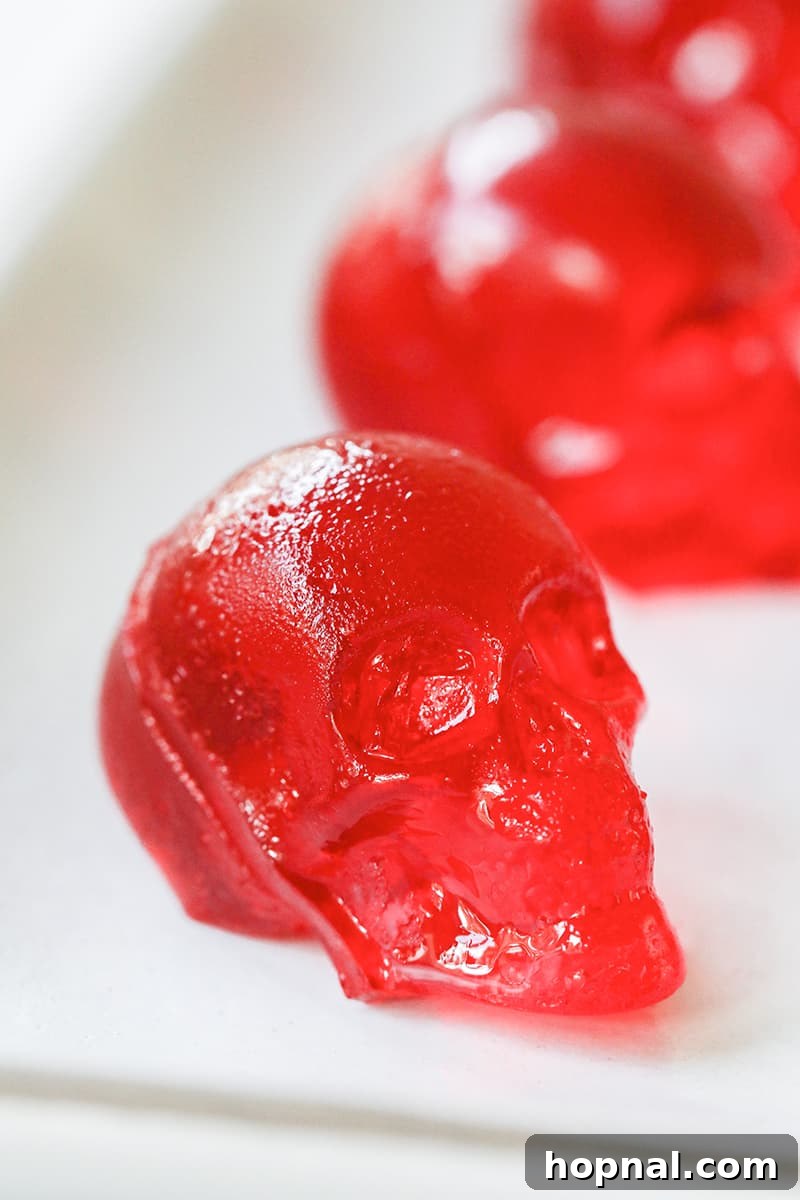
How to Make the Ultimate Skull Vodka Jello Shots
Ready to create your own batch of terrifyingly tasty skull jello shots?
This comprehensive, step-by-step guide will walk you through everything you need, from gathering your supplies
to mastering the art of mixing, filling, and delicately unmolding these intricate shapes.
Making jello shots in the shape of a skull adds an extra layer of creativity and undeniable fun,
elevating them from a simple party favor to a true conversation starter and a memorable highlight of your event.
Let’s dive into the essential components and techniques to ensure your Halloween treats are a resounding success and perfectly spooktacular.
Essential Supplies for Crafting Skull Jello Shots
Having the right tools on hand is absolutely critical for a smooth and enjoyable jello shot-making experience.
Each item plays a specific role in achieving those perfect, detailed skull shapes.
Here’s what you’ll need to get started:
- Medium Mixing Bowl: A sturdy, generously sized bowl is essential for thoroughly combining your gelatin mixture. Choose one that provides ample space for vigorous whisking without the risk of spills, making the preparation process much cleaner.
- 3D Skull Silicone Molds: These are undeniably the stars of this recipe! For optimal results and to efficiently create a substantial batch of these intricate treats, we highly recommend acquiring 2-3 molds. Silicone molds are preferred for their flexibility, durability, and non-stick properties, which are crucial for achieving and preserving the delicate three-dimensional skull shape. They are also incredibly versatile, doubling as excellent tools for making skull-shaped ice cubes, chocolates, or even small soaps for other themed events throughout the year. When purchasing, look for molds specifically designed for 3D shapes, often featuring two halves that clip or fit together to form the complete skull.
- Cooking Spray: This non-negotiable item is vital for ensuring easy and clean unmolding. A light, even coat of cooking spray prevents the delicate jello from sticking to the intricate details of the mold, allowing your skull jello shots to release cleanly and perfectly preserve every macabre detail.
- Liquid Measuring Cup with a Spout: An indispensable tool, a heat-proof liquid measuring cup with a well-defined pour spout is crucial for precision. It significantly simplifies the task of accurately transferring the hot jello mixture into the small, intricate openings of the skull molds, minimizing mess and enhancing safety in the kitchen by preventing splashes.
- Medium Pot: You’ll need a suitable pot to safely bring water to a rolling boil, a critical step in effectively dissolving both the unflavored gelatin and the flavored jello powder, ensuring a smooth, lump-free mixture.
- Whisk or Fork: An efficient whisk or a sturdy fork is necessary for thoroughly combining all ingredients, ensuring an even consistency, and preventing any undesirable lumps in your jello mixture.
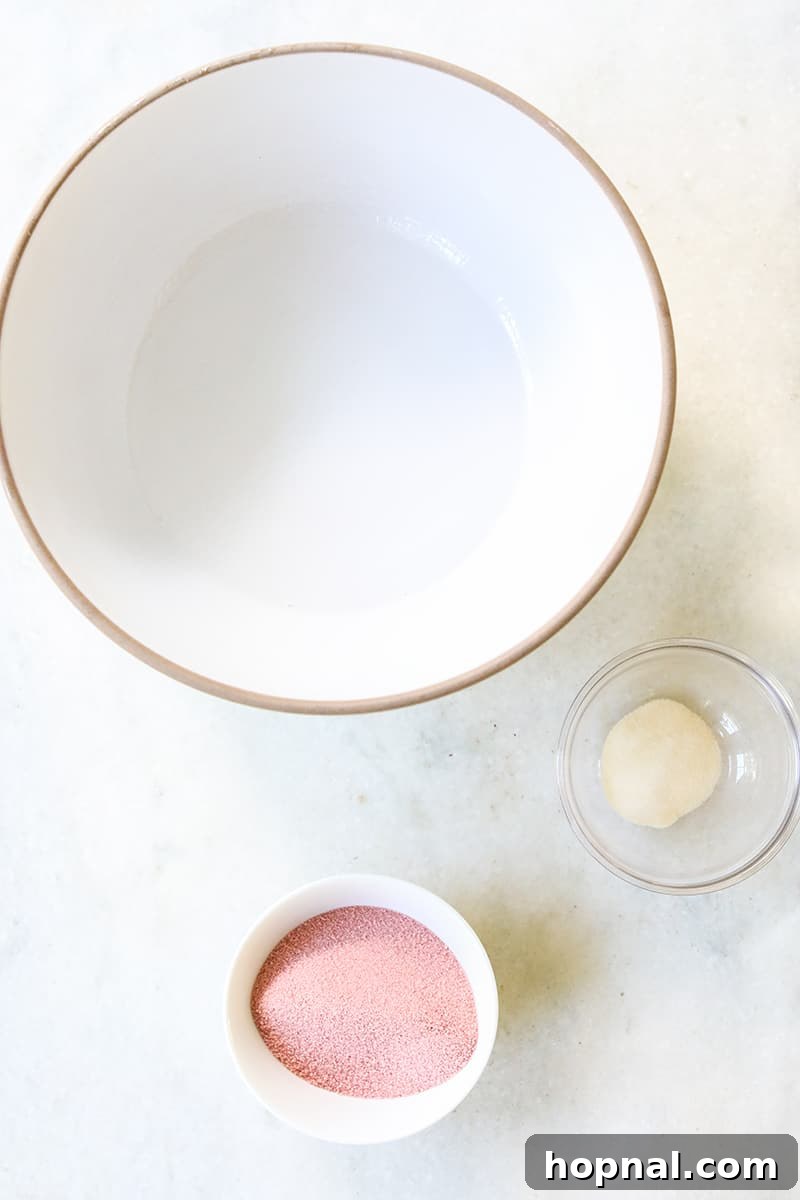
High-Quality Ingredients for Spookily Delicious Jello Shots
The quality of your ingredients directly influences both the taste and the desired texture of your skull jello shots.
Choosing fresh, high-quality components will ensure your treats are not only visually impressive but also delightfully palatable.
Here’s what you’ll need for a standard batch, along with some insightful tips for optimal selection:
- Vodka: As the alcoholic base, a good quality, unflavored vodka works exceptionally well, allowing the chosen jello flavor to truly shine without any conflicting notes. For an added layer of complexity and customization, consider experimenting with flavored vodkas (you’ll find some fantastic suggestions in our flavor combinations section below!). Ensure your vodka is chilled before use for optimal results and a smoother consistency in the final product.
- Unflavored Gelatin: This is a crucial ingredient for providing the necessary structure. Standard gelatin packets, typically weighing 1/4 oz each, are ideal for creating a firm yet appealingly wobbly jello shot. This specific ratio helps the intricate skull shapes hold their form perfectly without becoming overly rubbery or too soft to handle.
- Jello Pack (flavored gelatin): We opted for a vibrant red cherry flavor, which provides a classic spooky aesthetic, but the true beauty of this recipe lies in its remarkable adaptability. Feel free to choose any flavor and corresponding color that sparks your creativity – popular choices include strawberry, electric orange, zesty lime, rich grape, or even specialty flavors designed for specific themes. This is where you can truly make your skull jello shots unique!
- Hot Water: More specifically, actively boiling water is absolutely essential for this recipe. The intense heat ensures that both the unflavored gelatin and the flavored jello powder fully dissolve into a homogenous mixture. This crucial step prevents any undesirable grainy texture in your finished jello shots and is fundamental to ensuring they set perfectly and hold their intricate shape.
Detailed Step-by-Step Directions for Skull Jello Shots
Follow these detailed instructions carefully to ensure your skull jello shots turn out perfectly shaped, firm, and absolutely delicious.
Precision and patience are key, especially when working with three-dimensional molds to capture every intricate detail.
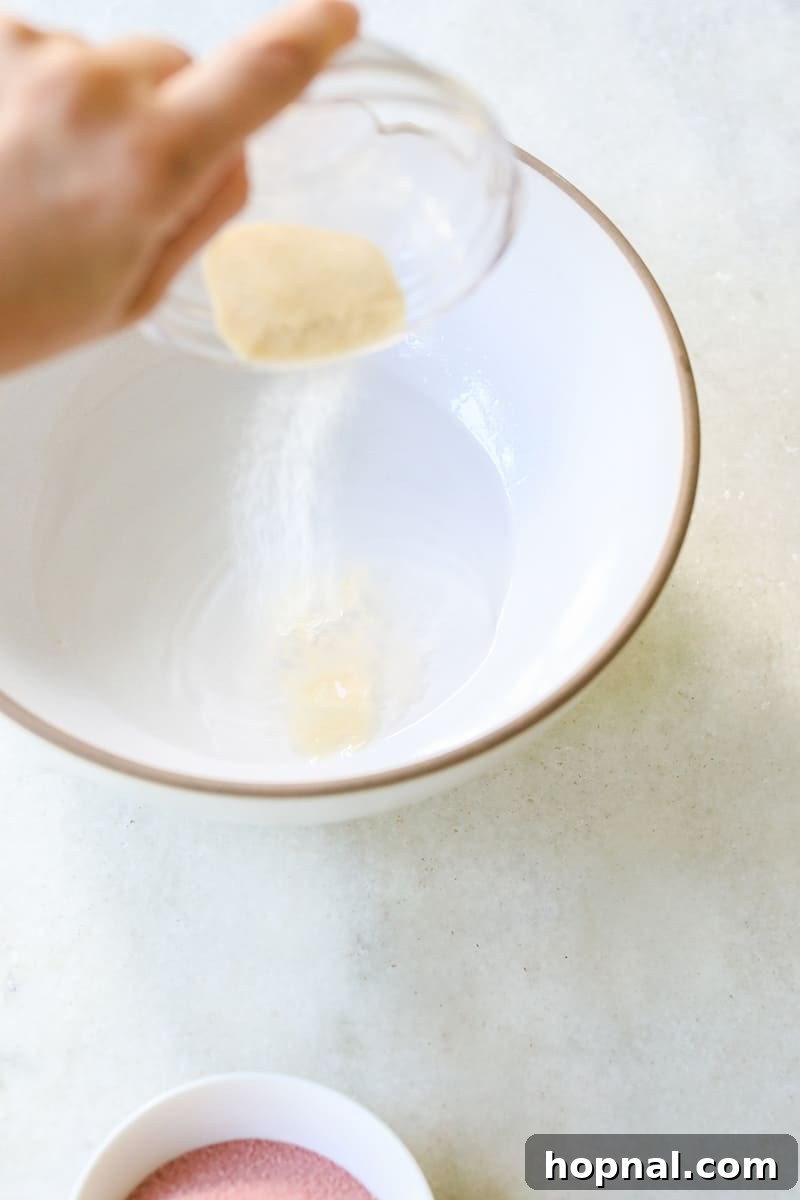
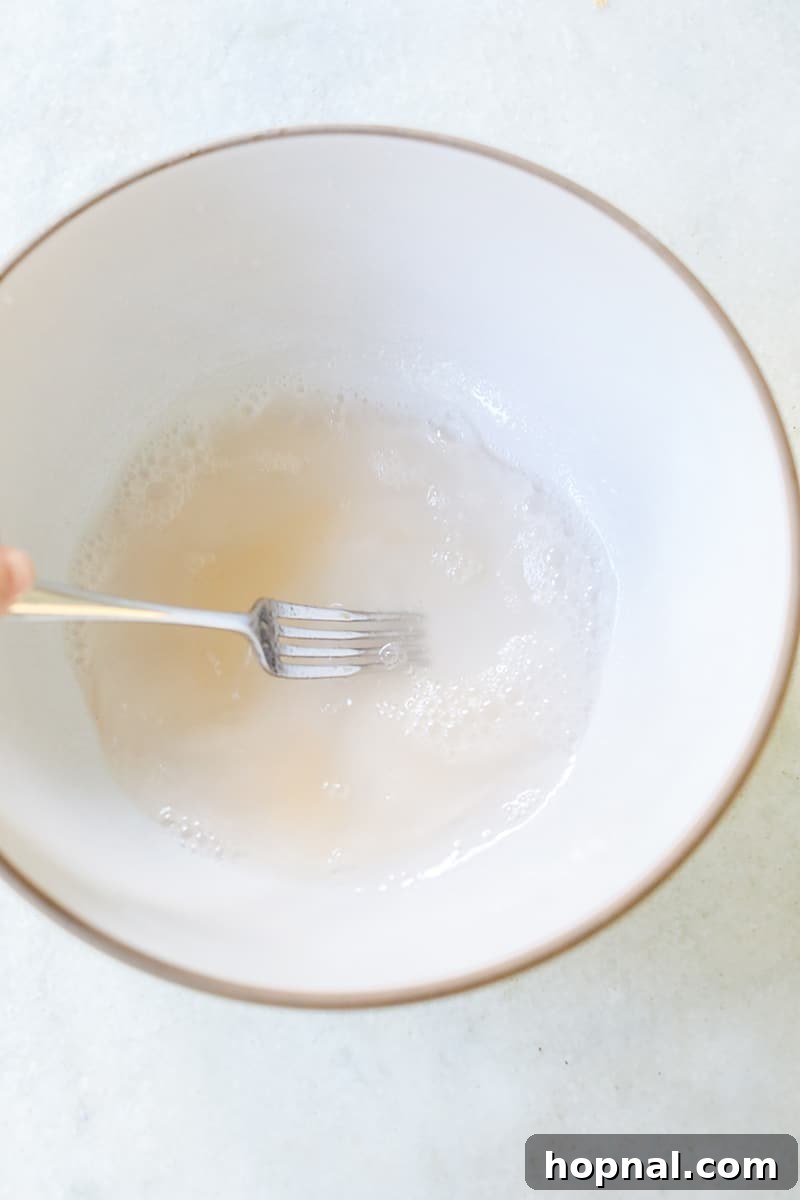
- 1. Prepare the Vodka and Gelatin (Blooming): In your medium mixing bowl, pour 1 cup of chilled vodka. Evenly sprinkle one packet (1/4 oz) of unflavored gelatin over the entire surface of the vodka. This crucial “blooming” process allows the gelatin granules to slowly absorb the liquid, making them much easier to dissolve fully later and effectively preventing any unsightly clumps. Let this mixture sit undisturbed for about 1-2 minutes, then whisk vigorously with a fork for approximately one minute until the gelatin appears to be thoroughly combined with the vodka and has started to soften.
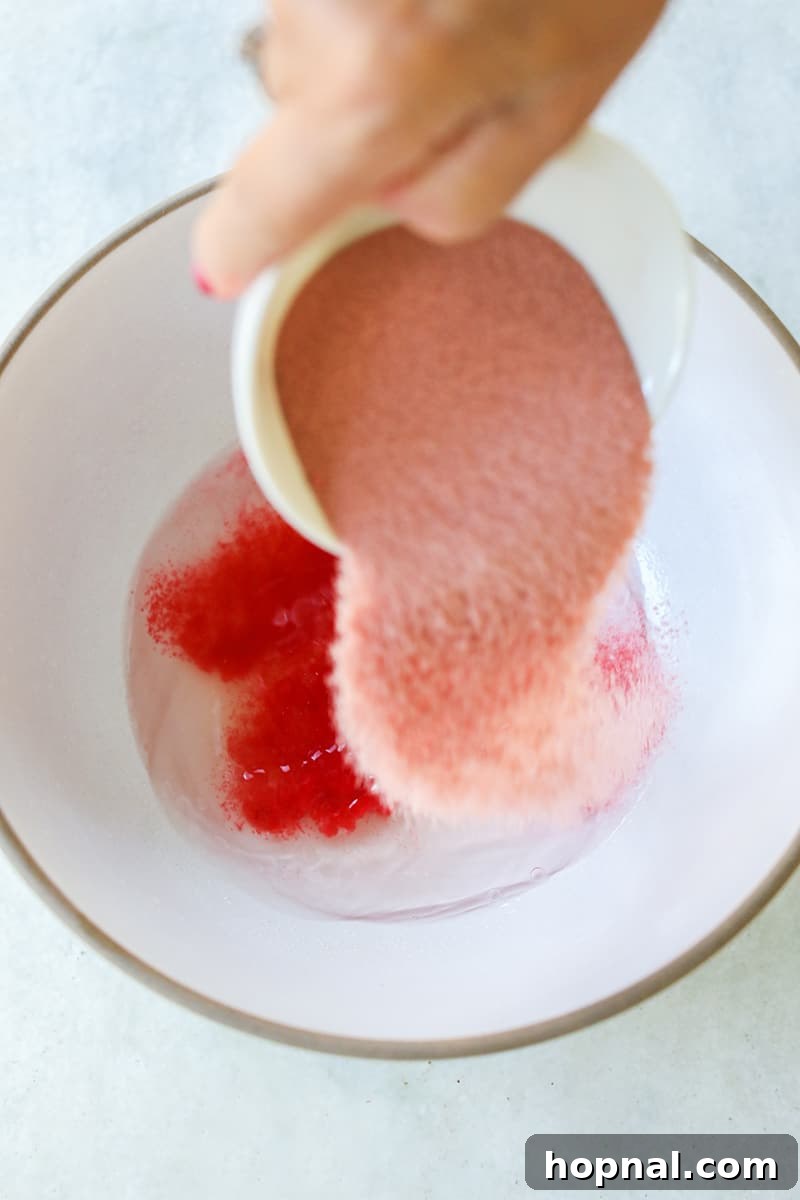
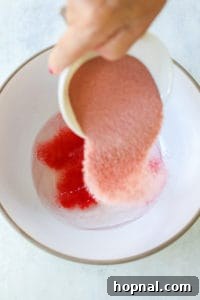
- 2. Incorporate Flavored Jello: Now, add the entire packet (3 oz) of your chosen flavored jello powder to the bowl. Again, whisk well with the fork to thoroughly incorporate it with the vodka-gelatin mixture. This ensures an even and consistent distribution of both flavor and vibrant color throughout your jello shots.
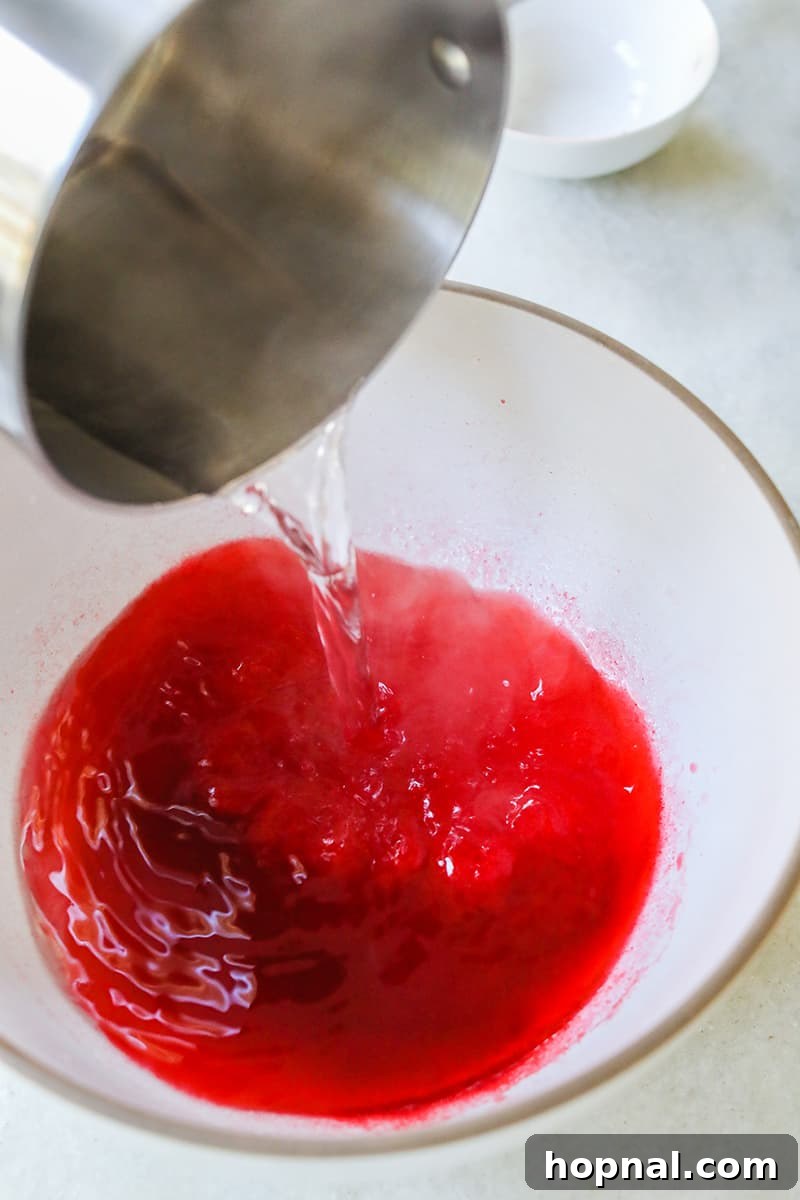
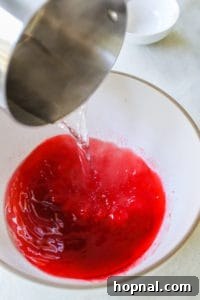
- 3. Add Boiling Water and Dissolve: Carefully pour 1 cup of actively boiling hot water into the bowl. Immediately begin whisking continuously and vigorously. It’s absolutely crucial to whisk for at least 2-3 minutes, or until you are absolutely certain that both the unflavored gelatin and the flavored jello powder have completely dissolved. Any undissolved granules will regrettably result in a grainy texture and will prevent your jello shots from setting properly, ruining the desired consistency.
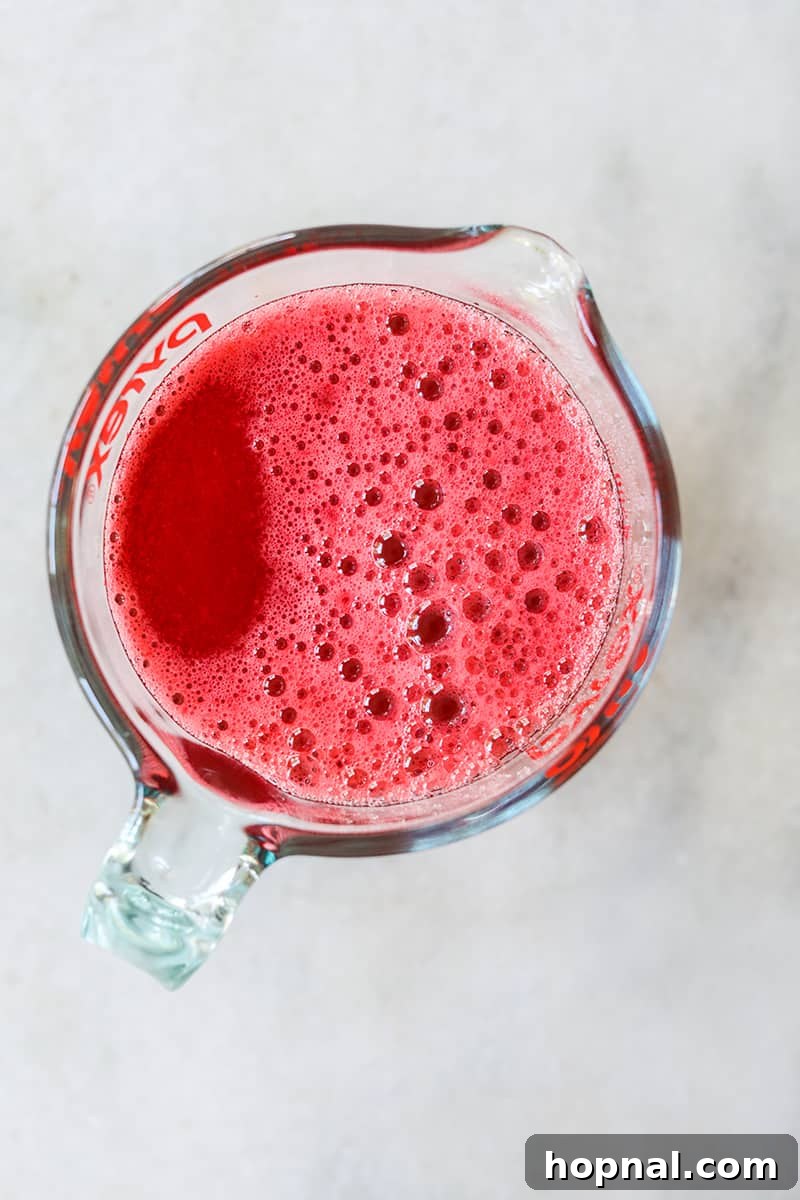
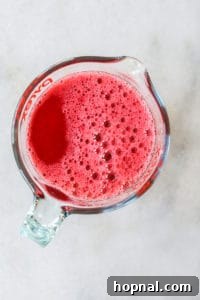
- 4. Prepare for Pouring: Once fully dissolved and the mixture is smooth, carefully transfer the hot liquid into a heat-proof, clear liquid measuring cup that is equipped with a convenient pour spout. This thoughtful step will make the intricate task of precisely filling the skull molds significantly easier and much cleaner, effectively minimizing spills and reducing waste.
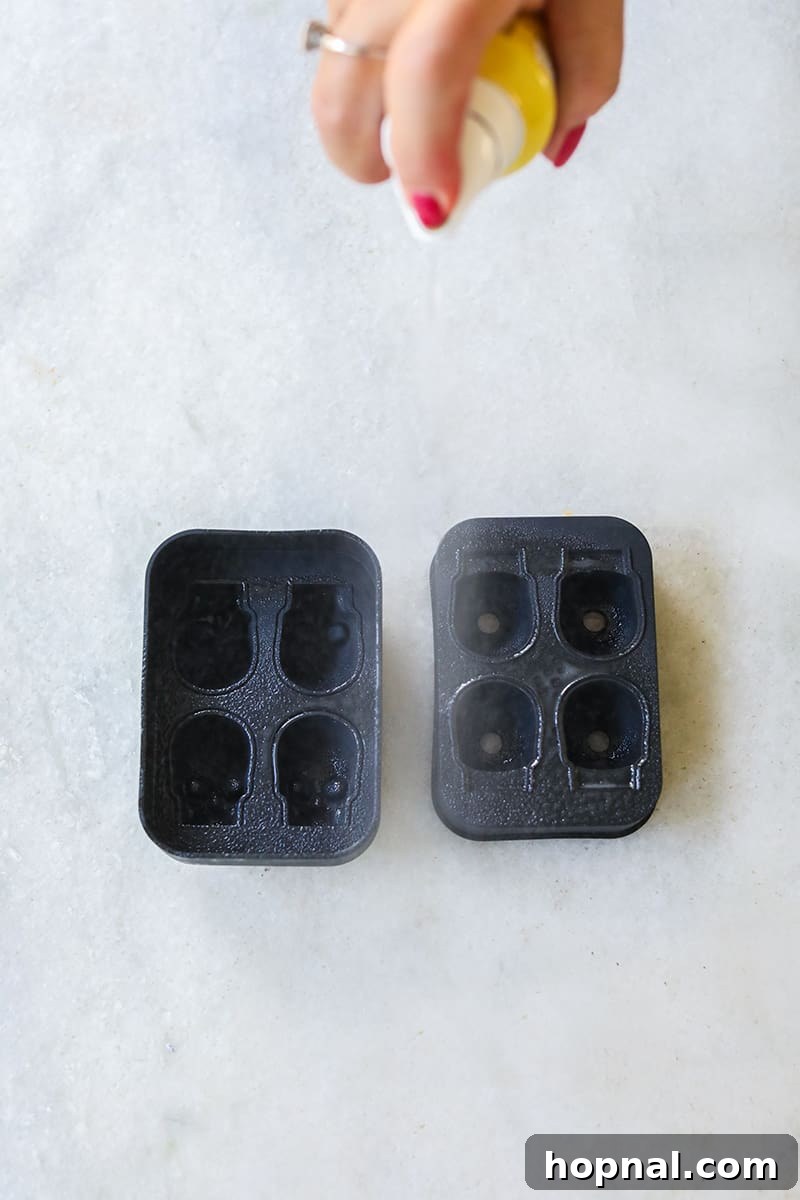
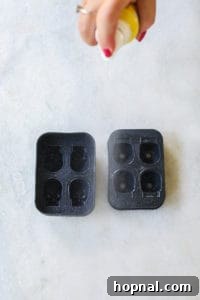
- 5. Grease the Molds: Liberally spray the entire inside surface of your skull silicone molds with cooking spray. This step is absolutely critical for the successful release of your delicate jello shots. Without adequate lubrication, the intricate details of the skull can tear, stick, or break upon removal, unfortunately ruining the aesthetic. Ensure every crevice, indent, and corner is lightly and evenly coated.
- 6. Fill the Molds with Care: Close the skull molds securely. Since these are three-dimensional, they typically consist of two halves that fit together, creating a small opening or hole at the top for filling. The easiest and cleanest method for filling is to place the closed molds in a clean sink or on a large baking sheet (to effectively catch any potential spills). Gently pour the jello mixture slowly through the small hole at the top of each mold. Continue filling until the liquid reaches the very top of the hole, indicating it’s full. You won’t be able to see inside clearly, so trust this visual cue. If you accidentally overfill and the mold starts to bulge or push apart, carefully pour a small amount of liquid back out until the mold retains its shape.
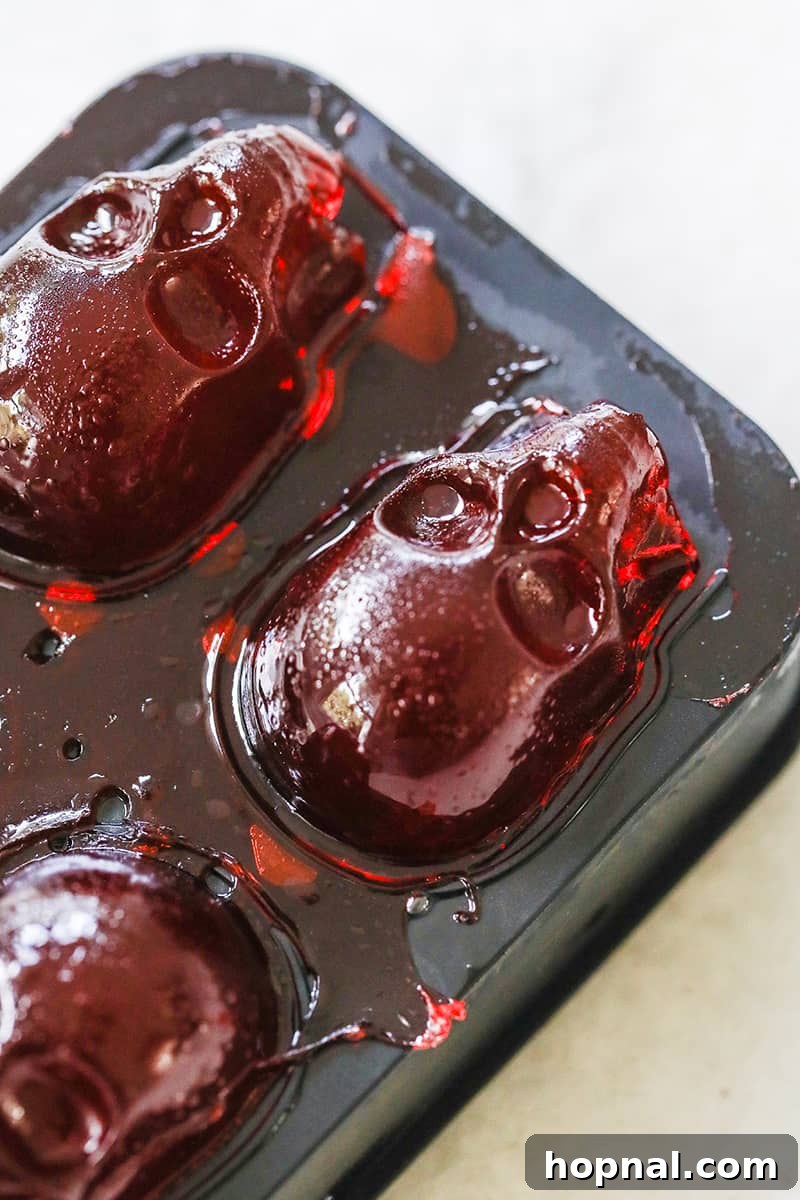
- 7. Chill and Set: Once all molds are carefully filled, gently transfer them to the refrigerator. Allow the jello shots to set completely for a minimum of 3-5 hours. For optimal firmness, a more robust texture, and especially for easier handling with intricate shapes, leaving them to chill overnight (6-8 hours) is highly recommended. Patience at this stage will be generously rewarded with perfectly formed, durable skull jello shots!
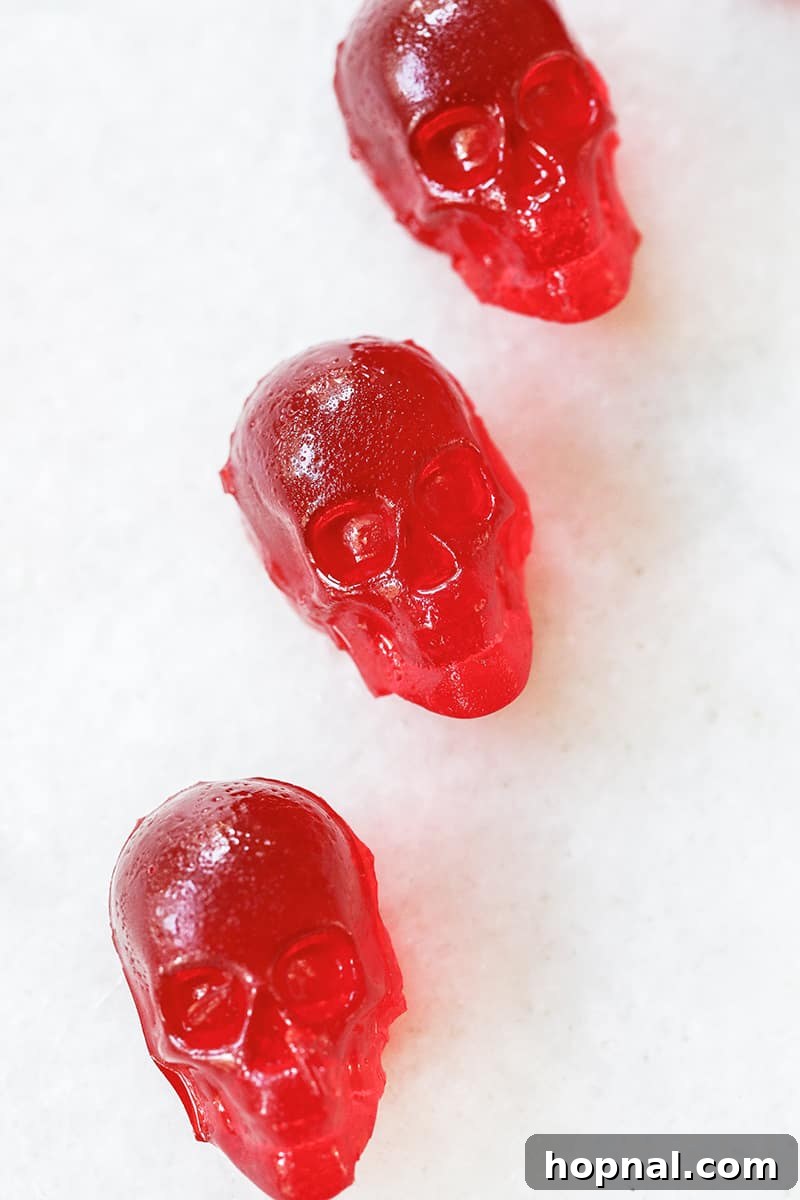
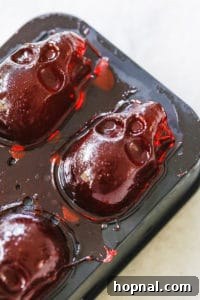
- 8. Unmolding the Skulls: This is the exciting moment of truth! When the jello shots are fully set and you’re ready to serve, slowly and very gently peel back the top half of the silicone mold from each skull. Take your time to avoid tearing the delicate jello, especially around the detailed facial features. Then, carefully push each skull up from the bottom of the mold. The cooking spray you diligently applied earlier will make this process significantly smoother and reduce sticking.
- 9. Serve with Flair: Arrange your impressive three-dimensional skull jello shots on a small serving platter. For an even more dramatic and thematic presentation, you can place them on a bed of dry ice (ensuring it’s used safely and not consumed), or garnish the platter with additional spooky decorations like gummy worms, candy spiders, or edible glitter. Guests will absolutely love grabbing these unique, delicious, and eerily charming treats!
Creative Jello Shot Flavor Combinations
The versatility of this basic skull jello shot recipe is truly amazing! By simply swapping out the flavored jello and/or the type of vodka or other liquor, you can unlock an endless array of exciting and delicious combinations to suit any palate, party theme, or season. Here are some fun and inspiring ideas to spark your creativity beyond the classic cherry or strawberry skull jello shots:
- Limoncello or Lemon Drop Jello Shot: For a zesty, tropical, and delightfully tangy twist, combine crisp Coconut Vodka with vibrant Lemon Jello. Garnish each skull with a tiny lemon wedge or a sprinkle of lemon zest for an extra pop of flavor.
- Malibu or Tropical Jello Shots: Evoke sunny beach vibes, even on a spooky Halloween night, by pairing smooth Coconut Vodka with tropical Pineapple Jello. A tiny paper umbrella could add a whimsical touch!
- Spiked Jolly Rancher Jello Shots: For a nostalgic and intensely sweet treat that’s incredibly popular, use crisp Apple Vodka with bright Watermelon Jello. This combination perfectly mimics the beloved hard candy flavor, making them a huge hit at any party. You can even try other Jolly Rancher-inspired flavors like grape jello with grape vodka.
- Orange Creamsicle Jello Shots: A truly delightful and creamy classic, these are made by expertly blending sweet Vanilla Vodka with bright Orange Jello. The result is a smooth, deliciously sweet, and comforting flavor reminiscent of your favorite frozen childhood treat.
- Margarita Jello Shots: For a zesty and refreshing alternative, skip the vodka entirely and use Tequila with tart Lime Jello. To achieve an authentic and sophisticated touch, add a dash of coarse salt to the top of each skull before serving. So incredibly good and perfectly suited for a festive occasion!
- Rum Jello Shots: Don’t limit yourself to vodka! Experiment with rum as your alcohol base. Dark rum paired with cola-flavored jello or light rum with a tropical fruit jello like mango, passionfruit, or even berry can create delightfully rich and complex variations.
- Sour Apple Jello Shots: For those who love a pucker-inducing kick, use green apple flavored vodka and green apple jello for a delightfully tart and vibrant shot. A sprinkle of sour sugar on top would be amazing.
- Grape Gummy Jello Shots: Combine grape vodka with grape jello for a super sweet, candy-like experience that transports you back to childhood treats, but with an adult twist!
- Non-Alcoholic Options: For a mixed crowd or designated drivers, you can easily make virgin skull jello shots by simply replacing the vodka with an equal amount of cold water or a non-alcoholic flavored sparkling beverage.
Don’t be afraid to experiment with different flavored vodkas, various types of rum, tequila, or even whiskey for unique creations. You can also mix two different jello flavors to create intriguing taste profiles and visually stunning color swirls. The possibilities truly are endless, making our easy skull jello shot recipe a fantastic and versatile foundation for all your boozy gelatin creations!
How Long Does It Take for Jello Shots to Set Completely?
For perfectly firm, structurally sound, and easily handled jello shots, especially when creating intricate shapes like these skulls,
it typically takes about 3-4 hours for them to completely set in the refrigerator. This minimum time ensures the gelatin fully solidifies.
However, to be 100% confident in their firmness and to guarantee the easiest unmolding experience without any risk of breakage or stickiness,
we highly recommend allowing them to chill overnight, or for a generous minimum of 6-8 hours.
Rushing the setting process can unfortunately result in overly soft jello shots that may not hold their delicate shape effectively
or can be messy and frustrating to unmold and consume. Always err on the side of giving them ample chilling time for the absolute best, most impressive results!
The Best Way to Enjoy Skull Jello Shots
One of the many delightful charms of these three-dimensional skull jello shots is their incredible ease and fun in consumption!
Once they are fully set and carefully unmolded, you can simply grab a miniature skull from the serving platter and pop it right into your mouth.
The firm yet appealingly wobbly texture makes them a perfect bite-sized treat that requires no spoons, cups, or extra fuss,
allowing your guests to fully enjoy the party atmosphere.
If you’re making traditional jello shots in small plastic cups, or if you desire to make your jello shots a little stronger (and thus potentially softer),
the consumption method changes slightly. For plastic cups, you would typically run your finger or a small, thin knife around the edge of the jello to loosen it,
then gently squeeze the cup to slide the jello shot directly into your mouth.
Another popular and very festive option for Halloween, especially if you’re serving a larger crowd or want to add an interactive element,
is to use jello shot syringes.
These are particularly fun for themed parties, allowing guests to “inject” their jello shot, adding to the theatricality and playful spookiness of the occasion.
Whichever method you choose, these skull jello shots are absolutely sure to bring smiles, laughter, and plenty of spooky cheer to your Halloween gathering!
Pro Tips for Perfect Skull Jello Shots
Achieving perfect, photo-worthy skull jello shots requires a few insider tricks. Here are some pro tips to ensure your batch is a screaming success:
- Chill Your Vodka: For optimal results, use vodka that has been pre-chilled in the refrigerator. Cold vodka can help the gelatin mixture set slightly faster and contributes to a more stable and desirable consistency in the final jello shot.
- Don’t Skimp on Cooking Spray: When dealing with intricate molds like these skull shapes, a generous, even coating of cooking spray is your absolute best friend. It’s the ultimate secret to perfectly detailed, easy-to-release jello shots that don’t tear or stick.
- Work on a Sturdy Baking Sheet: Always place your flexible silicone molds on a sturdy baking sheet before you begin filling them. This simple step makes transferring them to and from the refrigerator much easier and more stable, effectively preventing spills from wobbly molds.
- Patience During Unmolding: While silicone is wonderfully flexible, jello itself can be quite delicate. When unmolding, gently peel back the mold rather than pulling forcefully, paying special attention to detailed areas such as the eye sockets, nose cavity, or teeth to preserve every intricate feature.
- Adjust Alcohol Content Wisely: The provided recipe offers a standard and balanced alcohol-to-jello ratio. If you desire stronger shots, you can slightly reduce the amount of hot water (e.g., to 3/4 cup) and replace that exact amount with additional cold vodka after the gelatin has fully dissolved in the initial boiling water. Be extremely careful not to add too much alcohol, as an excessive amount can significantly hinder the jello’s ability to set properly, resulting in a liquidy mess. A good rule of thumb is to generally not exceed 1.5 cups of total liquid (water + alcohol) per standard 3 oz jello packet.
- Experiment with Layers: For an advanced and visually stunning presentation, try creating two-tone or even multi-layered skull jello shots. Pour one color, let it partially set (about 1 hour), then carefully add another contrasting color layer. This creates a mesmerizing effect!
- Garnish for Extra Flair: Consider elevating your presentation by garnishing your platter. Spooky edible glitter, tiny candy eyeballs, a dusting of cocoa powder for a “dirt” or “grime” effect (perfect for a graveyard theme), or even small sugar skulls can add a dramatic finish.
Storage and Make-Ahead Tips
These skull jello shots are absolutely fantastic for preparing in advance, which is a huge bonus when you’re planning for a busy Halloween party or any themed gathering! Proper storage ensures they remain fresh, firm, and ready to impress.
- Refrigeration is Key: Once your jello shots are fully set and carefully unmolded, store them in a single layer in an airtight container in the refrigerator. This crucial step prevents them from drying out, becoming sticky, or absorbing undesirable odors from other foods in your fridge.
- How Long Do They Last? Properly stored, vodka jello shots can maintain their quality for up to 5-7 days in the refrigerator. The alcohol content acts as a mild preservative, but for the best texture, freshest flavor, and optimal appearance, they are best enjoyed within the first 2-3 days after preparation.
- Perfect for Make-Ahead: You can confidently prepare a large batch of these skull jello shots 1-2 days before your event. This provides ample time for them to set perfectly and significantly reduces stress and last-minute preparation on the day of your party, allowing you to focus on other festivities. Just remember to keep them well-covered until serving.
- Avoid Freezing: We strongly advise against freezing jello shots. Freezing will fundamentally alter the delicate texture of the gelatin, causing it to become icy, grainy, and much less pleasant to eat. Always store them exclusively in the refrigerator.
More Spooky and Delicious Jello Shot Recipes You’ll Love!
If you’ve enjoyed the creative process and delicious results of making these skull jello shots, you’ll be thrilled to discover other fantastic and unique jello shot recipes perfect for any occasion, from holidays to casual get-togethers. Expand your repertoire and continue to impress your guests with these other fantastic ideas from our collection:
- Jameson Jello Shots
- Red, White and Blue Jello Shots
- Hard Apple Cider Jello Shots
- Champagne + Chambord Jello Shots
We hope you have an absolute blast creating and sharing these unique 3D skull vodka jello shots!
They are a surefire way to elevate your Halloween celebration, add an element of playful fright,
and leave a lasting, delicious impression on all your guests.
Don’t forget to let us know how your spooky creations turned out by leaving a comment and review below! We love hearing your experiences and seeing your creative twists.
You can also FOLLOW US on FACEBOOK,
INSTAGRAM,
and PINTEREST
to see even more delicious recipes, innovative cocktails, tempting desserts, and inspiring party ideas! Happy Haunting!
Spooktacular Skull Vodka Jello Shots
Rate Recipe
Print Recipe
Equipment
- Silicone Skull Molds (2-3 recommended for a full batch)
- Medium Mixing Bowl
- Liquid Measuring Cup with Spout (heat-proof)
- Medium Pot
- Whisk or Fork
Ingredients
- 1 cup vodka (chilled is preferred for best results)
- 1/4 ounce unflavored gelatin, 1 packet (standard size, typically 7g)
- 3 ounces strawberry jello, or cherry (1 standard box, typically 85g)
- 1 cup boiling water
Instructions
-
In a medium mixing bowl, pour 1 cup of chilled vodka. Evenly sprinkle one packet of unflavored gelatin over the surface. Let stand for 1-2 minutes to allow the gelatin to bloom, then whisk vigorously with a fork for about a minute until thoroughly combined.
-
Add the entire 3-ounce packet of strawberry (or your chosen flavored) Jello to the bowl and whisk again until fully incorporated and no dry clumps remain.

-
Carefully pour 1 cup of actively boiling water into the bowl. Whisk continuously and vigorously for 2-3 minutes, ensuring all gelatin and jello powder are completely dissolved. It is crucial to have no grainy texture.
-
Transfer the hot liquid mixture into a heat-proof measuring cup with a pour spout. This will significantly simplify the process of filling the molds precisely and neatly.
-
Lightly and evenly spray the entire inside surface of your silicone skull molds with cooking spray. This is an essential step to ensure your delicate skull jello shots release easily and maintain their intricate shape.
-
Close the skull molds securely. Place the closed molds on a clean baking sheet (to catch any potential spills). Carefully pour the jello mixture through the small filling hole at the top of each mold until the liquid reaches the very top, indicating it is full.
-
Carefully transfer the filled molds to the refrigerator. Allow the jello shots to set for a minimum of 3-5 hours, or ideally overnight, until they are completely firm and solid.
-
Once fully set, slowly and very gently peel back the top half of the mold from each skull. Then, carefully push each skull out from the bottom of the mold. The cooking spray will facilitate this process.
-
Arrange your spooktacular skull jello shots on a serving platter and enjoy responsibly!
Nutrition
Carbohydrates: 6g,
Protein: 1g,
Fat: 1g,
Sodium: 35mg,
Potassium: 1mg,
Sugar: 6g,
Calcium: 1mg,
Iron: 1mg
Nutrition information is automatically calculated and should only be used as an approximation. Individual results may vary based on exact ingredients and portion sizes.
Enjoyed this recipe? Share your thoughts below!
We love hearing from you! If you tried these spooktacular skull jello shots, please leave a comment and a review to let us know how they turned out. Your valuable feedback helps us create more delicious content and improve our recipes!