
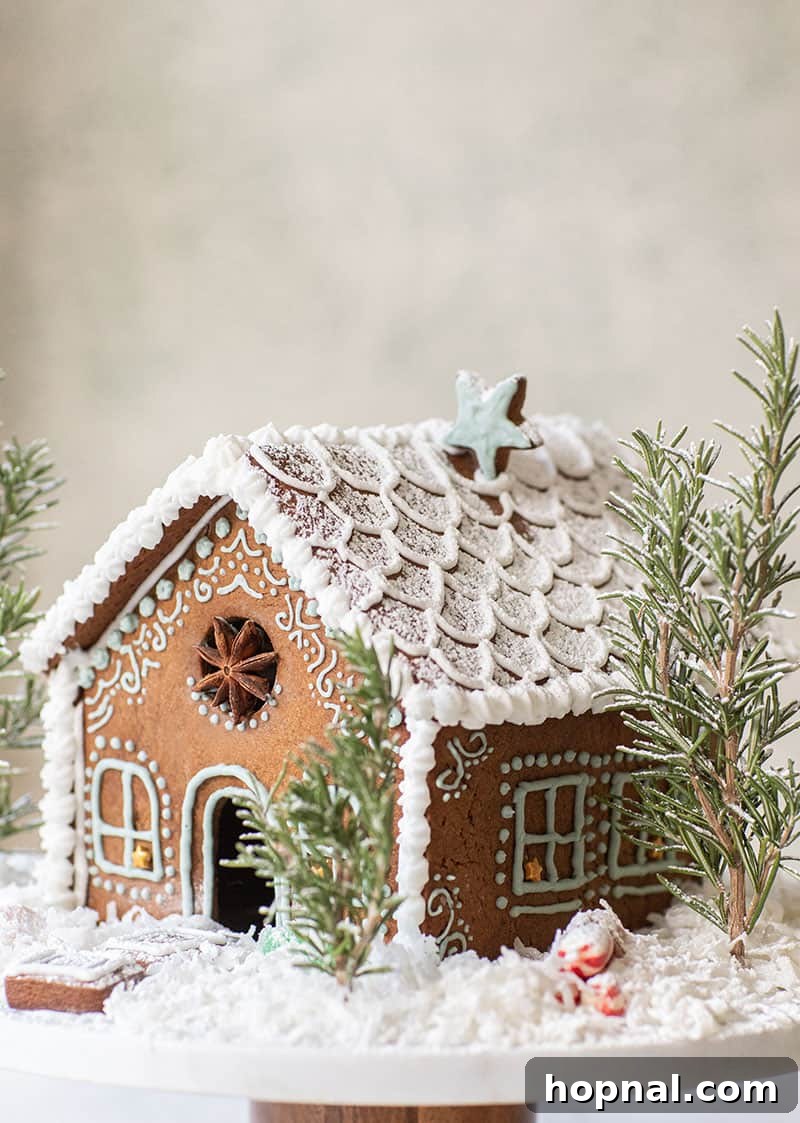
Craft Your Own Dream Gingerbread House This Holiday Season
Step into the festive spirit and prepare to create the most enchanting gingerbread house imaginable! This comprehensive guide provides an easy, homemade recipe perfect for crafting sturdy, delicious cookie houses that are not only fun to build and decorate but also a joy to behold throughout the holiday season.
Looking for more gingerbread inspiration? Don’t miss our delightful gingerbread tree recipe too!
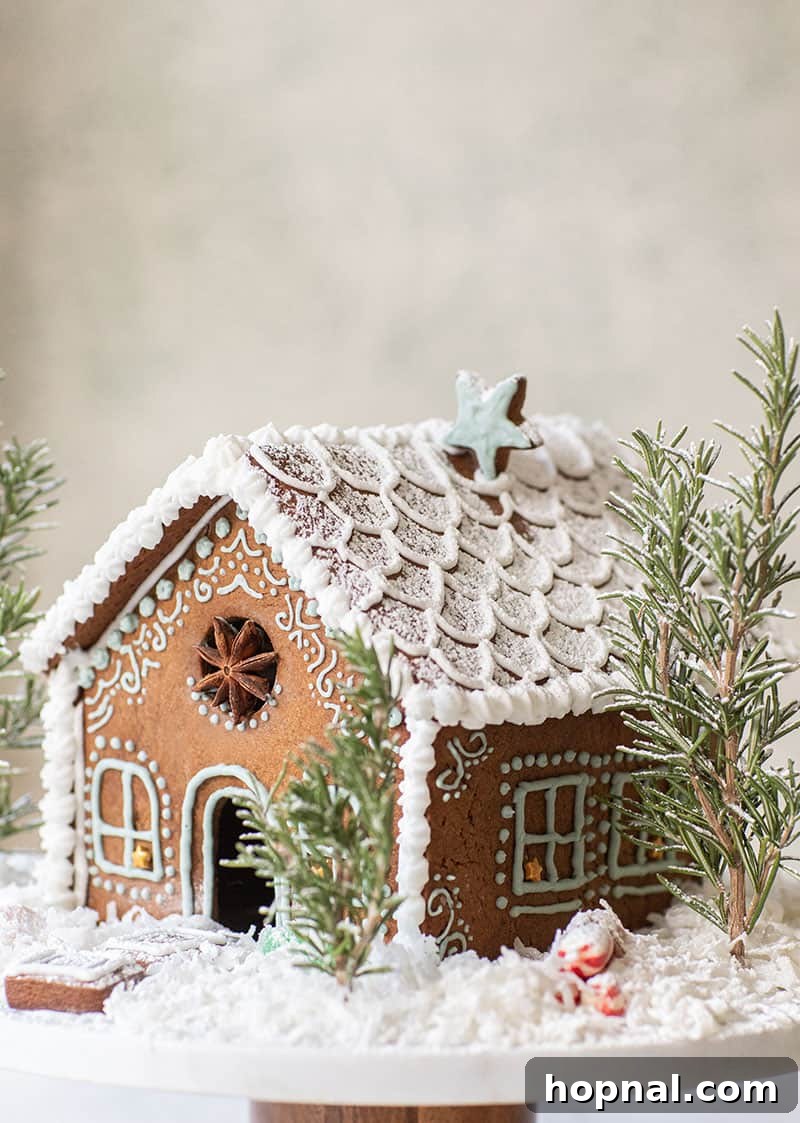
Embrace the Magic of Homemade Gingerbread
For many years, building a gingerbread house has been a cherished Christmas tradition in my home, a truly magical experience that marks the unofficial start of the festive season. There’s an undeniable charm in gathering an array of colorful candies, preparing a batch of sturdy gingerbread house royal icing, and watching a simple cookie house transform into a whimsical, edible masterpiece. It instantly infuses the air with coziness and a delightful sense of holiday wonder.
Beyond being a beautiful display, a homemade gingerbread house offers a unique opportunity for creativity and family bonding. It’s a project that brings smiles, laughter, and a wonderful aroma that fills your home, making memories that last long after the last candy has been placed.
Crafting the Perfect Gingerbread Dough: Essential Ingredients
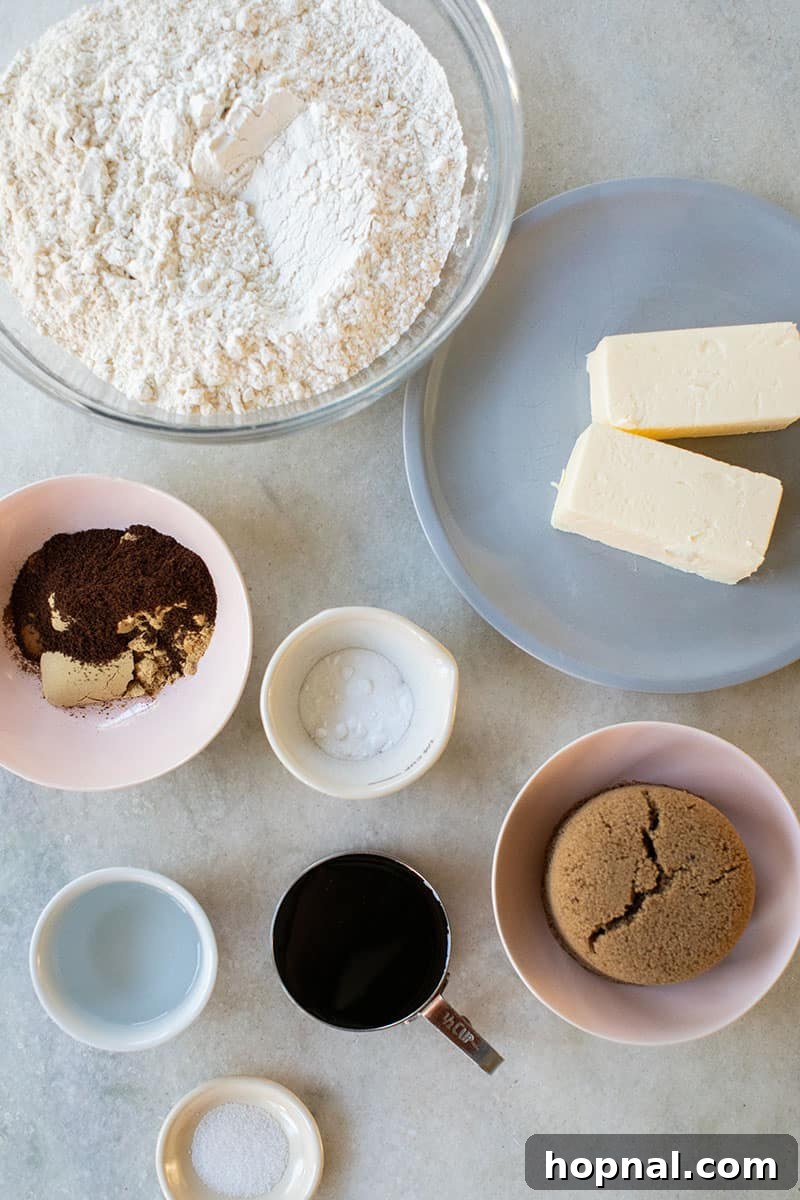
The foundation of any successful gingerbread house is a reliable, flavorful, and structurally sound dough. Here’s a closer look at the key ingredients that make our gingerbread truly exceptional:
Butter: Whether you opt for salted or unsalted, ensuring your butter is softened is crucial. This allows it to cream effortlessly with the sugar, creating a smooth base for your dough. Softened butter also helps the gingerbread bake more evenly, contributing to a tender yet firm texture essential for construction.
Brown Sugar: Dark brown sugar is the secret behind that classic, deep gingerbread flavor and its inviting rich color. Its molasses content adds moisture and chewiness, ensuring the cookie pieces aren’t too dry or brittle, which is vital for building.
Molasses: This ingredient is where the true magic of gingerbread lies! For a sweeter, milder taste, I always recommend unsulphured molasses. It provides that signature warmth, depth, and slight stickiness that gives gingerbread its unique character and helps bind the dough together for strength.
Spices (Cinnamon, Ginger, Cloves): This aromatic trio is the heart of any gingerbread recipe, creating that instantly recognizable, cozy Christmas scent. Ground cinnamon offers warmth and sweetness, ginger brings its distinctive spicy kick, and cloves provide a pungent, aromatic depth, making your entire kitchen smell like a holiday wonderland.
Baking Soda: A small amount of baking soda gives the gingerbread a subtle lift, preventing it from becoming excessively dense or rock-hard. It ensures the pieces are sturdy enough to stand upright yet still delightful to eat.
All-Purpose Flour: Good quality all-purpose flour forms the structural backbone of your gingerbread dough. It’s essential for building a dough that is robust enough to hold its shape during rolling, cutting, and baking, ultimately supporting all your delightful candy decorations.
Water: A touch of water helps bring the dough together, especially if it’s too dry. It ensures a consistent, workable texture that’s neither too crumbly nor too sticky.
Step-by-Step Guide to Making Your Gingerbread House Components
Creating the individual pieces for your gingerbread house is a fun and rewarding process. Follow these detailed steps to ensure perfectly baked and sturdy components:
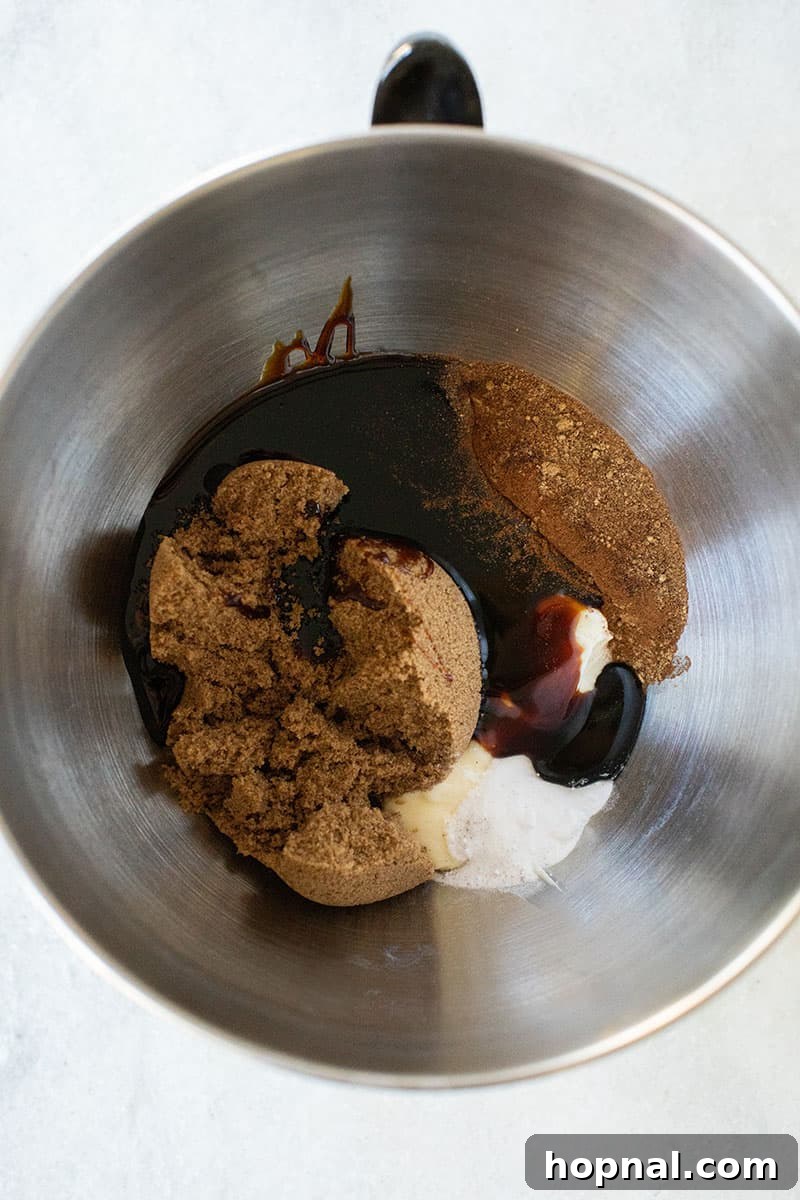
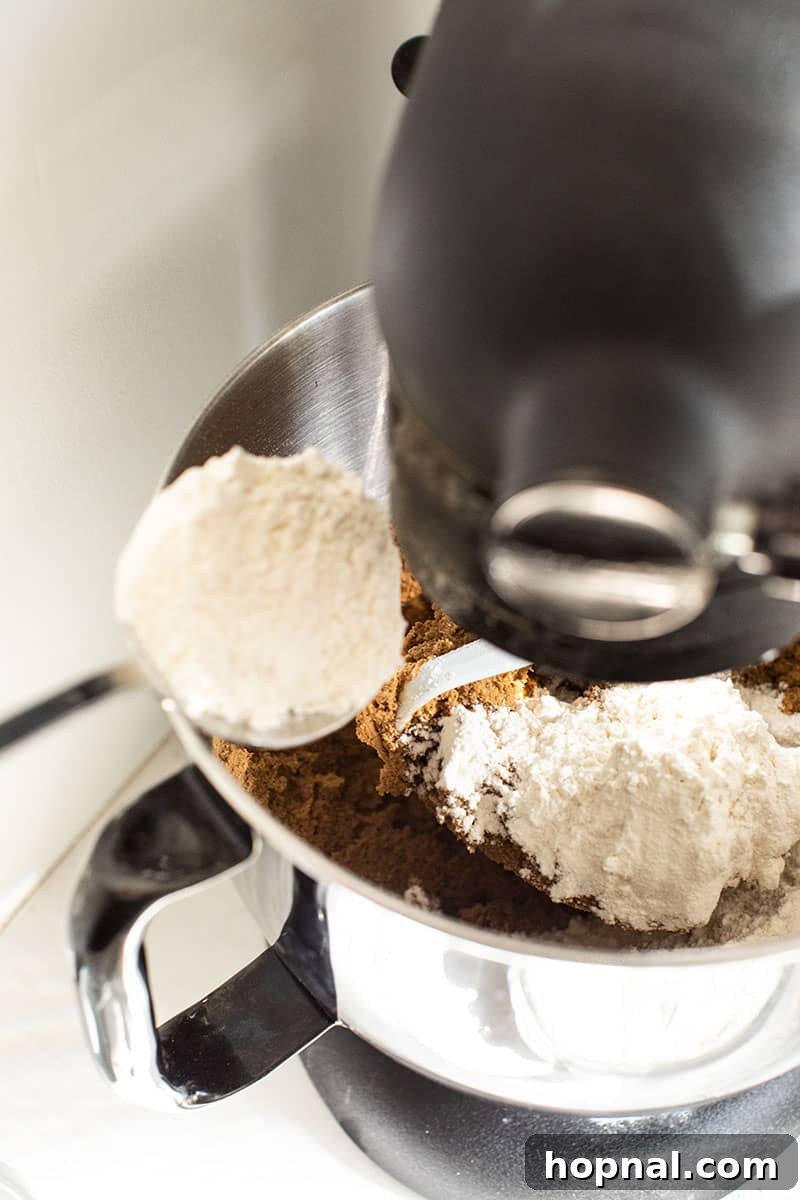
1. Prepare the Dough with Precision: In a spacious mixing bowl, ideally with a paddle attachment on your electric mixer, combine the softened butter, rich brown sugar, aromatic molasses, ground cinnamon, warming ginger, fragrant cloves, and baking soda. Cream these ingredients together on medium speed until the mixture becomes wonderfully smooth, light, and thoroughly combined. This initial creaming sets the stage for a tender yet firm dough.
2. Gradually Mix in the Flour: Reduce your mixer speed to low. Begin to gradually incorporate the all-purpose flour, alternating with small amounts of water, until a stiff, cohesive dough forms. It’s crucial not to overmix the dough, as this can lead to tough gingerbread. Stop mixing as soon as the flour is fully incorporated and the dough comes together.
3. Chill for Structural Integrity: Once your dough is ready, wrap it tightly in plastic wrap or seal it in an airtight bag. Place it in the refrigerator to chill for a minimum of 30 minutes, or longer if time permits. This chilling step is vital: it allows the butter to firm up, making the dough much easier to roll out without sticking and preventing the cookie pieces from spreading excessively in the oven, thus maintaining their intricate shapes for easier assembly.
4. Preheat Your Oven: While the dough is chilling, preheat your oven to 375°F (190°C). Ensuring your oven is at the correct temperature before baking is key for consistent results and perfectly golden gingerbread.
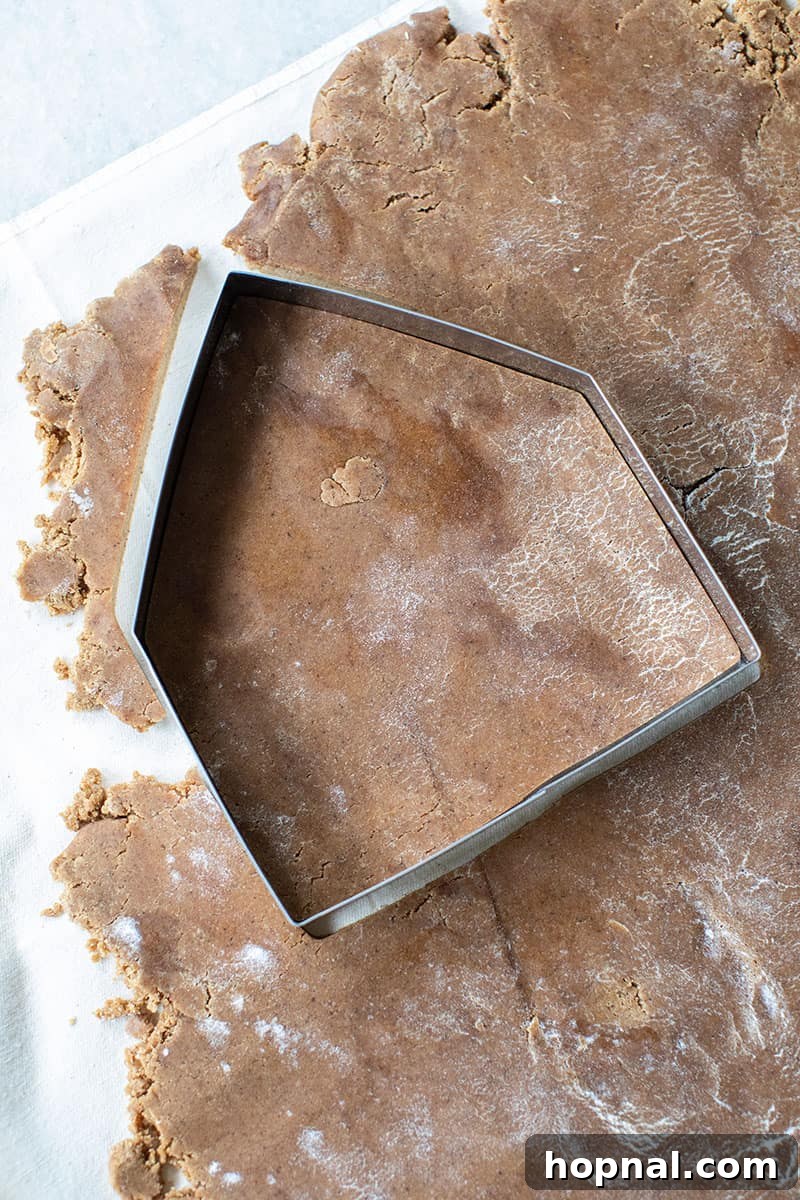
5. Roll and Cut with Care: Lightly flour a clean work surface and your rolling pin. Take portions of the chilled dough and roll them out evenly to a thickness of approximately ¼-inch. This thickness is ideal for creating sturdy house components. Using your chosen gingerbread house cookie cutters, carefully cut out all the necessary wall, roof, and accessory shapes. Re-roll any scraps of dough gently until all dough is used.
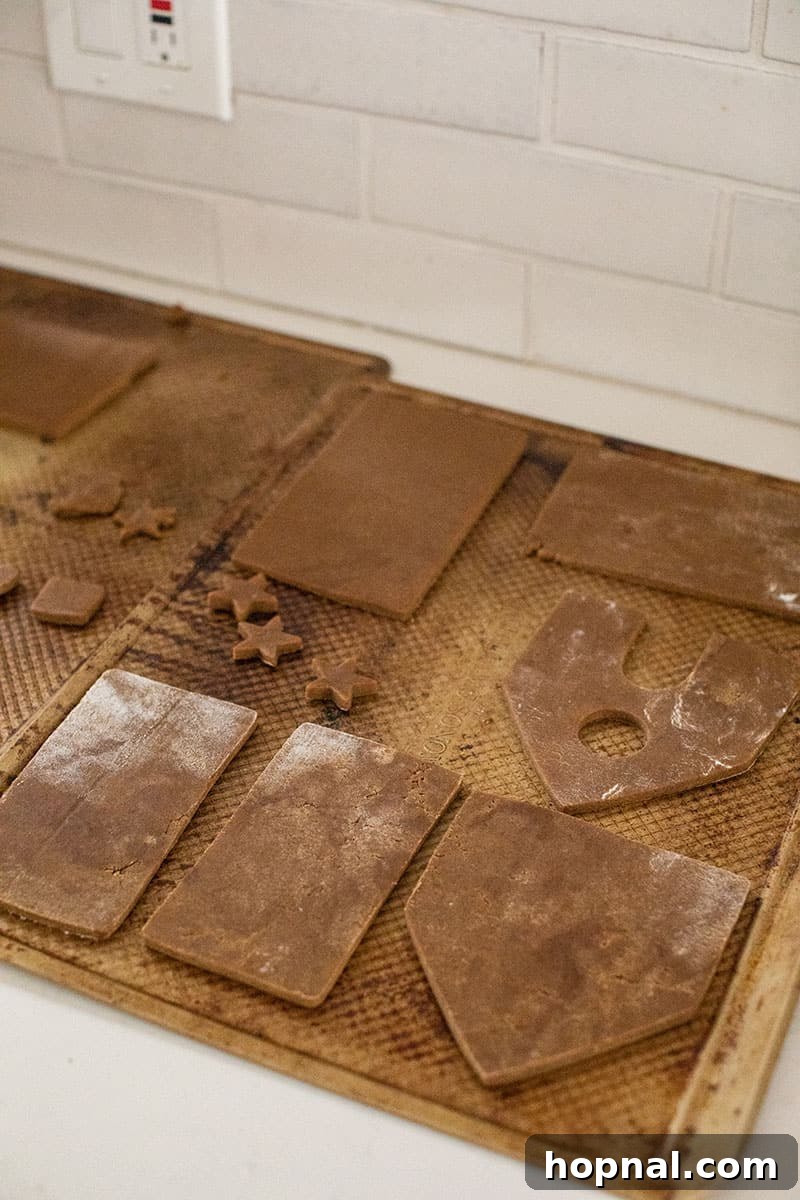
6. Bake to Golden Perfection: Gently transfer your cut gingerbread pieces to a baking sheet lined with parchment paper, ensuring you leave adequate space between each piece to allow for even baking. Bake for about 10 minutes. The exact baking time may vary based on your oven and the thickness of your dough, so keep a close eye on them. The edges should appear golden brown and crisp, while the centers can be slightly softer; they will continue to firm up as they cool.
7. Cool Completely for Stability: Once baked, remove the gingerbread pieces from the oven and let them cool on the baking sheet for a few minutes. This initial cooling helps them firm up before handling. Then, carefully transfer them to a wire rack to cool completely. It’s absolutely essential that your gingerbread pieces are fully cooled and hardened – at least 20 minutes, or even longer – before you attempt to assemble your house. Warm or even slightly warm pieces will crumble or warp under the weight of the icing and other components.
How to Master the Art of Gingerbread House Assembly
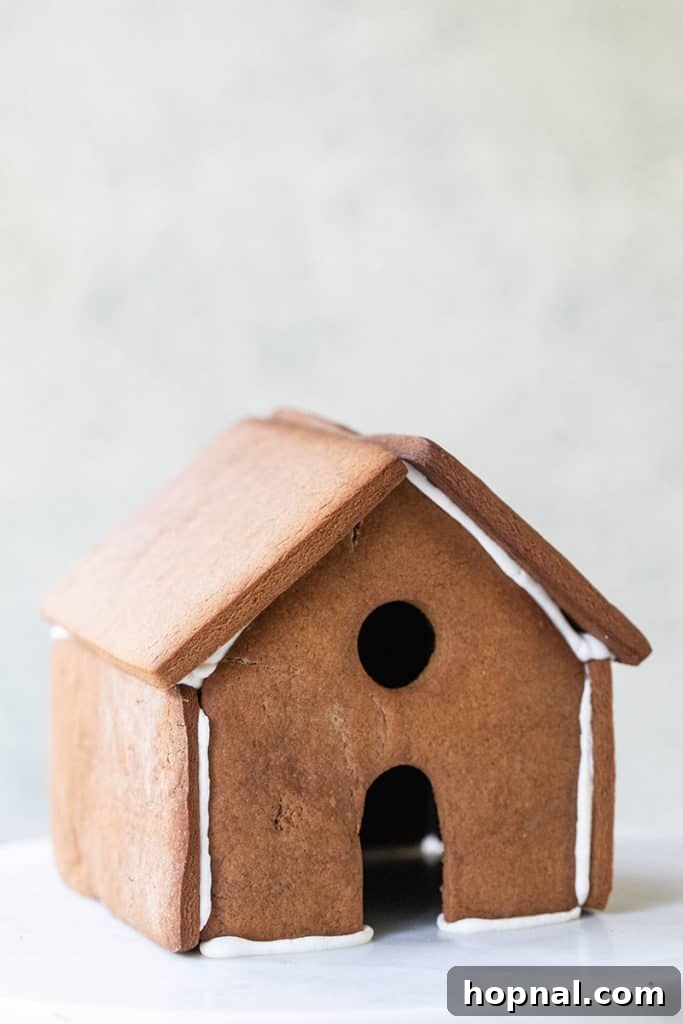
Building a gingerbread house from scratch might seem daunting, but it’s a surprisingly straightforward and incredibly rewarding process – and certainly much more fun than any pre-made kit! Before you begin, gather all your supplies to ensure a smooth assembly. You’ll need a sturdy platter, cake stand, or a large cutting board as your base, reliable gingerbread house cookie cutters (if you’re cutting your own), piping bags with various tips, and, of course, a delightful assortment of festive candies for decorating!
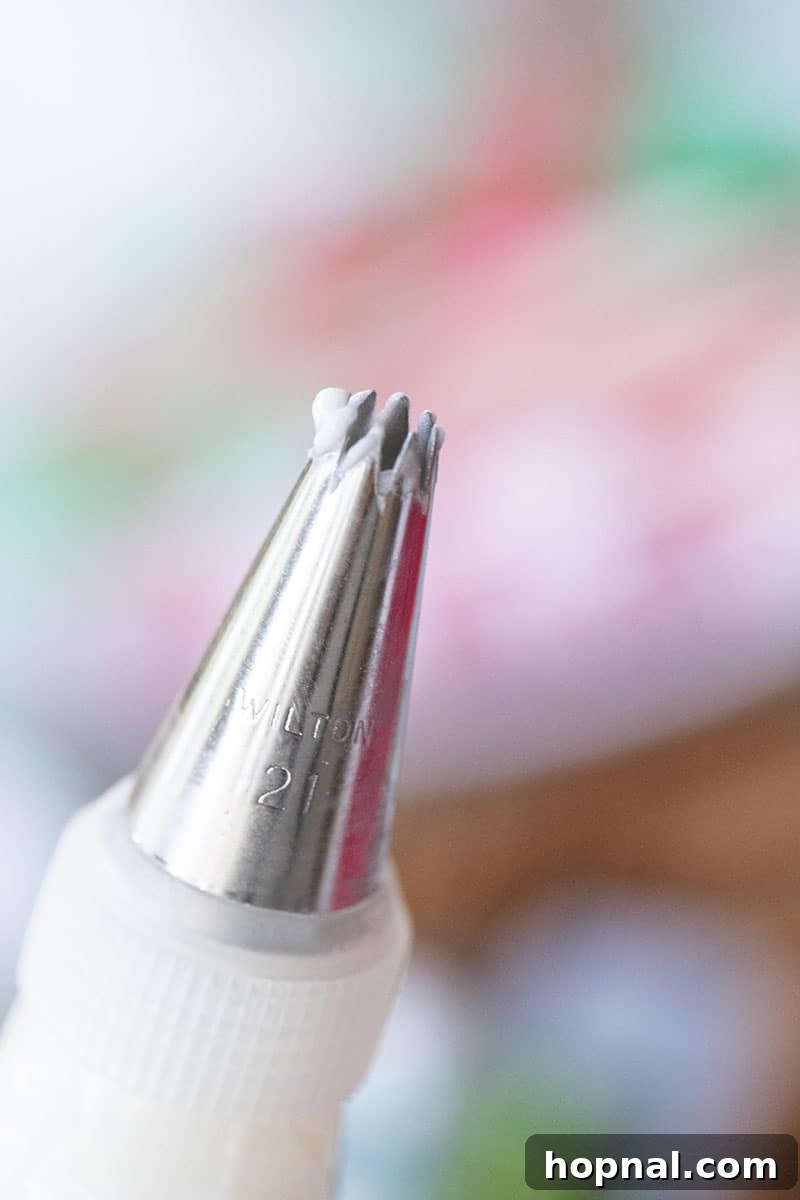
1. Prepare Your Royal Icing: The absolute key to a stable gingerbread house is royal icing. Prepare a fresh batch of your royal icing (recipe provided below or linked). Transfer the icing into a piping bag fitted with a round tip (a Wilton 10 or similar works well for structure). Ensure the icing is thick enough to hold its shape but still pipeable – think toothpaste consistency.
2. Establish a Strong Base: Position your sturdy platter, cake stand, or chosen base exactly where you intend to display your finished house. This prevents you from having to move a fragile, freshly assembled structure later.
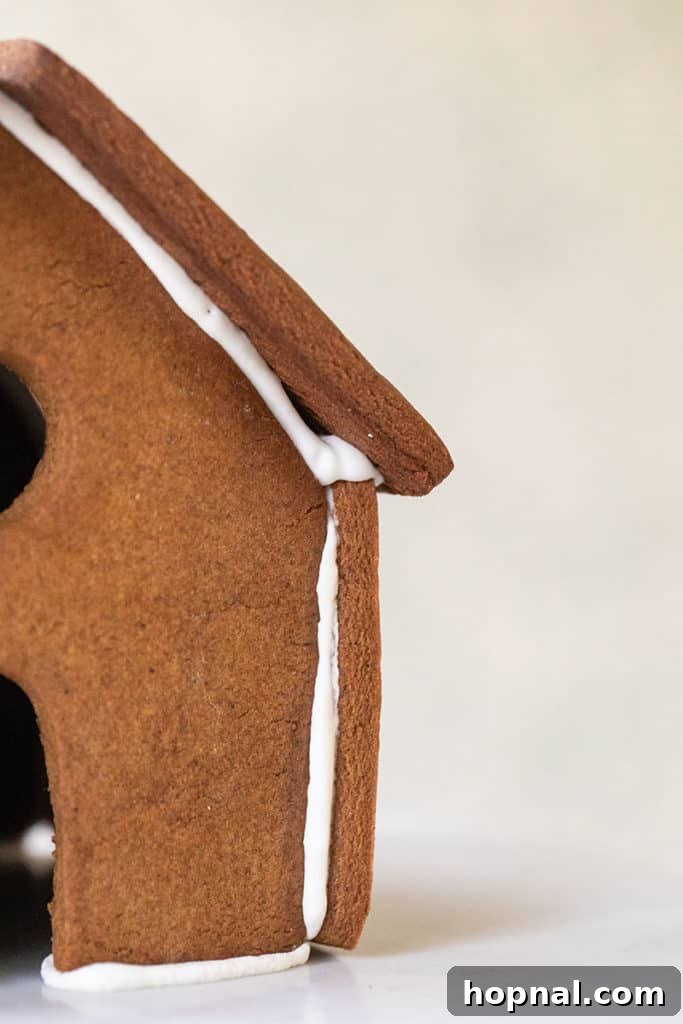
3. Begin with the Front Panel: Take one of your gingerbread front wall pieces. Pipe a generous, even line of royal icing along the entire bottom edge and up both side edges. Carefully stand this panel upright on your chosen base. Hold it firmly in place for at least a full minute (60 seconds) to allow the icing to begin setting and create a strong bond.
4. Attach the Side Walls: Next, take a side wall panel. Pipe icing along the bottom edge and along the front edge where it will meet the previously placed front panel. Press the side panel firmly against the front wall, ensuring the edges align perfectly. Hold both pieces together for another minute or so until the icing feels secure enough to hold its own weight.
5. Secure the Second Side and Back: Repeat the process for the second side wall, attaching it to the front panel. Once both side walls are in place, take your back wall piece. Pipe icing along its bottom edge and along both side edges where it will connect with the previously assembled side walls. Press it firmly into place, holding each seam until stable.
6. Let the Walls Set: This is a crucial step for preventing collapses. Once all four walls are upright and connected, walk away! Allow the entire wall structure to dry and set for at least 15-20 minutes. For even greater stability, you can let it dry for up to an hour. This ensures the walls are completely firm before the weight of the roof is added.
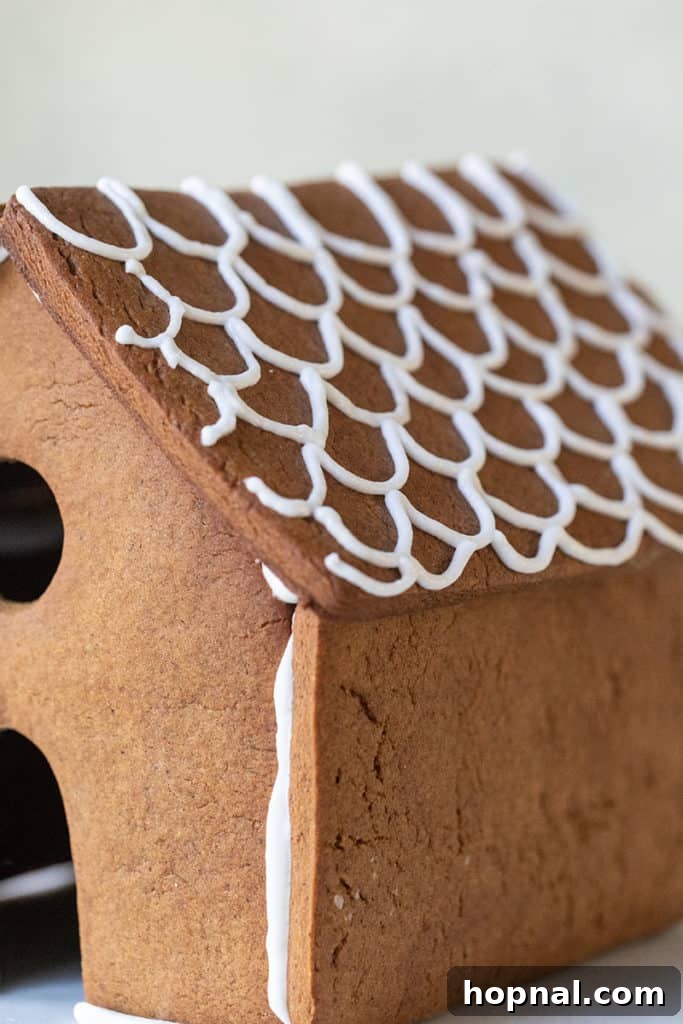
7. Add the Roof Panels: With your walls firmly set, it’s time for the roof. Pipe thick lines of royal icing along the top edges of all four walls. Carefully take one roof piece and gently position it onto the iced wall tops. Repeat with the second roof piece. Hold both roof pieces in place, pressing them together at the peak, for a minute or two until the icing begins to bond and the roof feels stable.
8. Seal the Roof Peak: For extra strength and a neat finish, pipe a continuous line of royal icing along the seam where the two roof pieces meet at the very top. This not only reinforces the structure but also creates a beautiful “snow” effect.
9. Allow for Complete Drying: Patience is truly a virtue here. Let your entire gingerbread house dry and set completely for at least an hour. Ideally, allow it to dry overnight (8-12 hours) before proceeding with any extensive decoration. A fully dried house is a sturdy house, ready for all the embellishments you can dream of.
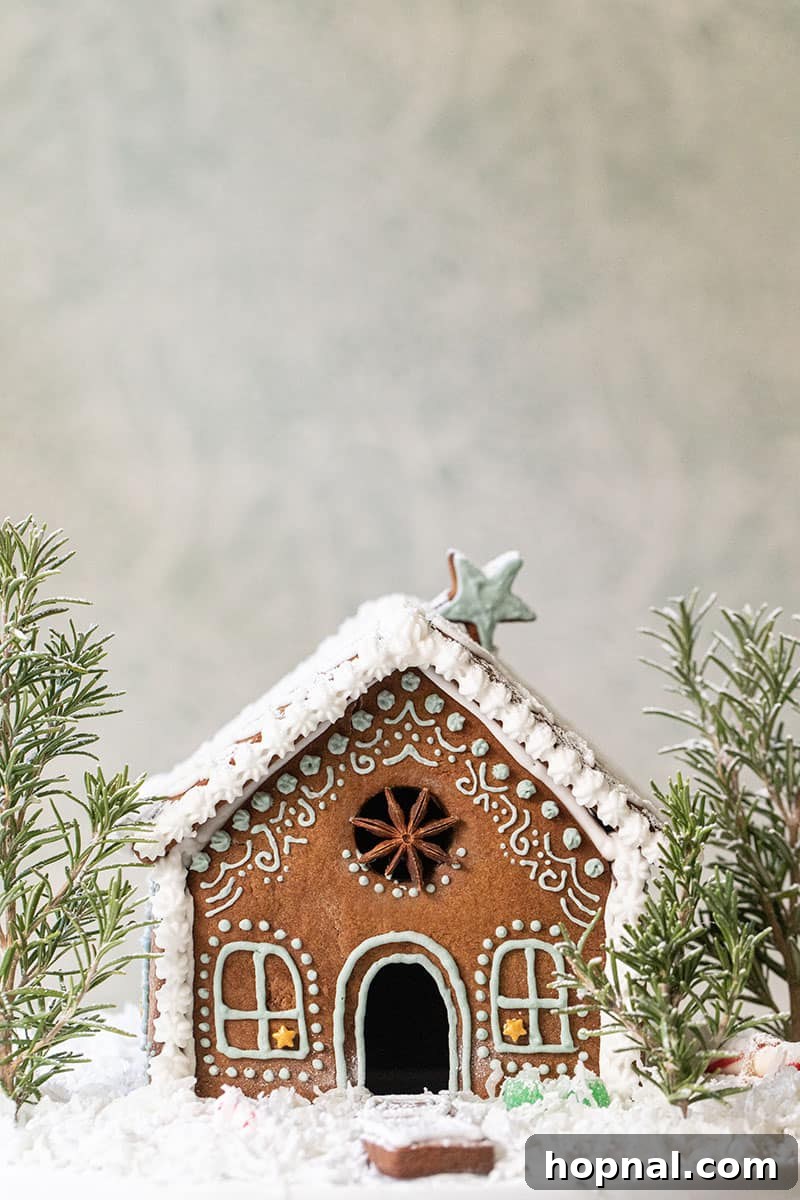
10. Time to Decorate! Once your gingerbread house is perfectly dry and structurally sound, it’s time for the most exciting part: unleashing your creativity with candies, sprinkles, and more icing! This is where your charming cookie house truly comes to life.
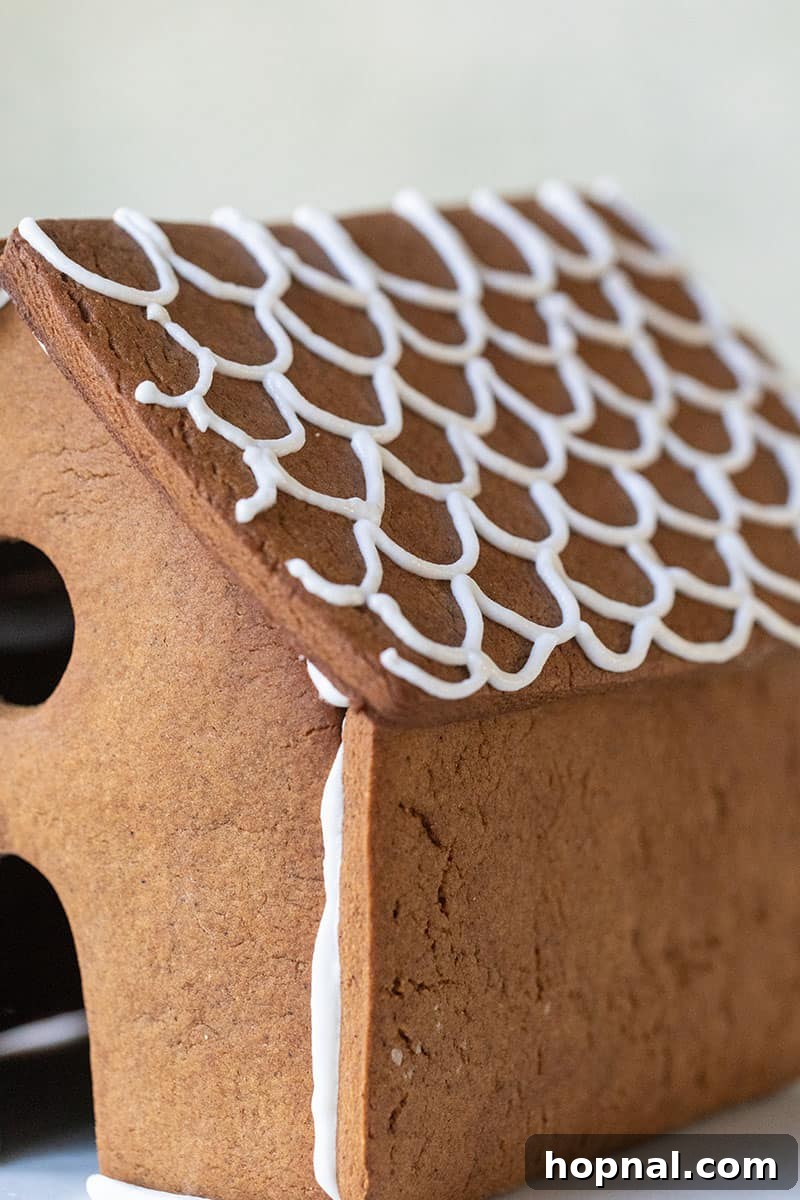
The Secret to Success: How to Stick a Gingerbread House Together (Without Collapsing!)
Building a gingerbread house that stands tall and proud can feel like a delicate balancing act, but with a few clever tricks and the right adhesive, you can prevent any heartbreaking collapses. The biggest secret to a stable gingerbread house? It all comes down to the icing.
The Unsung Hero: Royal Icing
Forget about basic butter frosting; it’s simply too soft and will never fully set hard enough to support the structure of your gingerbread house. The true champion you need for construction is homemade royal icing. Made primarily from egg whites (or meringue powder) and powdered sugar, royal icing dries quickly and hardens to an almost concrete-like consistency. This makes it an unparalleled adhesive, holding all your gingerbread pieces together like a dream and keeping your house sturdy and fresh for days, even weeks, as a decorative centerpiece.
Trust me, there’s nothing worse than investing time and effort only to watch your gingerbread house crumble like a sad Christmas tragedy! Using proper royal icing is the single most important step for a successful build.
Essential Pro Tips for a Stable Build:
- Hold Each Piece Firmly: After applying icing, hold each gingerbread piece in place for approximately 60 seconds (one full minute). This gives the royal icing enough time to create an initial bond, preventing slippage.
- Patience with Walls: Once all four walls are assembled, resist the urge to immediately add the roof. Let the wall structure dry and set for at least 15–20 minutes. This allows the foundational joints to solidify, providing a much stronger base for the roof.
- Overnight Drying for Optimal Stability: For ultimate strength and peace of mind, allow the entire assembled house to dry for at least 1 hour, or even better, overnight (8-12 hours) before you start decorating. A completely dry structure can withstand the weight of candies and enthusiastic decorators.
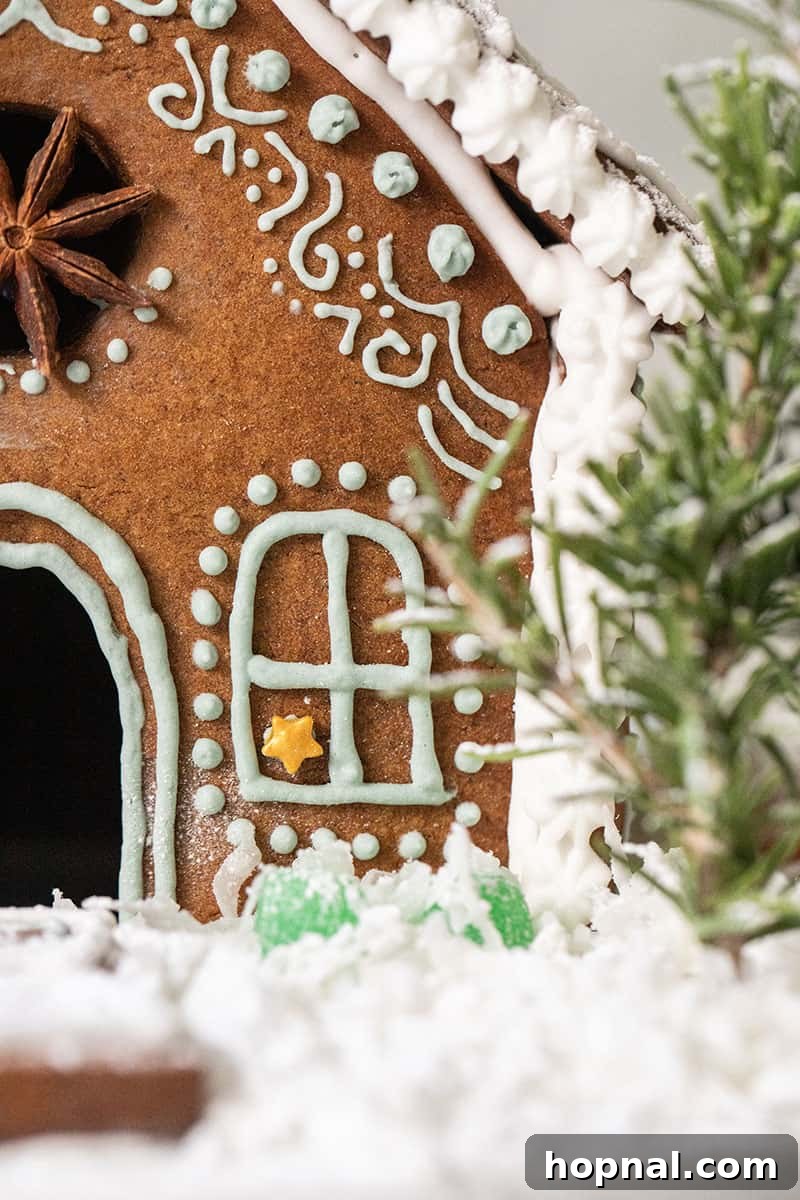
Advanced Gingerbread House Building & Decorating Tips
Elevate your gingerbread house from simple to spectacular with these tried-and-true tips:
Perfecting Your Icing Consistency: This is paramount! Your royal icing should be thick enough to hold its shape when piped, similar to the consistency of toothpaste, but still fluid enough to flow smoothly from the bag. If it’s too thin, your house will collapse; too thick, and it will be frustrating to pipe and may crack.
Patience is Your Best Tool: Seriously, rushing is the #1 cause of gingerbread house disasters. Allow each section, especially the walls and roof, to dry completely before moving on to the next step or adding heavy decorations. This might mean spreading the project over two days, but it’s worth it for a stable, beautiful result.
Invest in a Strong Base: Always build your gingerbread house on a sturdy, flat base such as a thick cake board, a robust serving platter, or a wooden cutting board. This ensures your creation is stable and easily portable without risking structural damage.
Plan Your Design Ahead: Before you start, take a few moments to sketch out your desired design. Envision where the windows, doors, and various candies will go. Lay out all your candies and decorating supplies. This makes the decorating process much more enjoyable and less chaotic, especially if you have little helpers.
Hot Glue for Non-Edible Accents: For decorative elements on the *platter* (not the gingerbread itself!) that are purely for display, like miniature rosemary trees or tiny figurines, hot glue can be a fantastic, fast-setting adhesive. Remember, this is only for non-edible items on the base, never directly on the gingerbread you intend to eat.
Troubleshooting Collapses: Don’t despair if a wall tumbles! It happens to the best of us. Simply re-pipe a fresh, generous line of royal icing along the broken seam, reposition the piece, and hold it firmly in place for at least two minutes. A second pair of hands from a helper can be incredibly valuable during these moments.
Make It a Collaborative Party: Gingerbread house building is a wonderful group activity. Assign different tasks to various participants: younger children can sort candies by color or shape, while older kids and adults can take charge of the more intricate piping and structural assembly. This transforms the project into a fun, memorable holiday event for everyone.
Creative Decorating Ideas:
- Roof Texture: Use shredded coconut for realistic snow, wafer cookies for shingles, or colorful candy melts for a glazed effect.
- Windows: Crush hard candies and melt them in the window cutouts of your gingerbread pieces for stained-glass windows.
- Pathways & Fences: Create paths with graham cracker crumbs or crushed cookies. Use pretzel sticks or candy canes for fences.
- Landscaping: Green food-colored coconut for grass, small candies for flowers, or even actual sprigs of rosemary for miniature evergreen trees.
- Character & Story: Add gummy figures, chocolate animals, or little marshmallow snowmen to tell a festive story around your house.
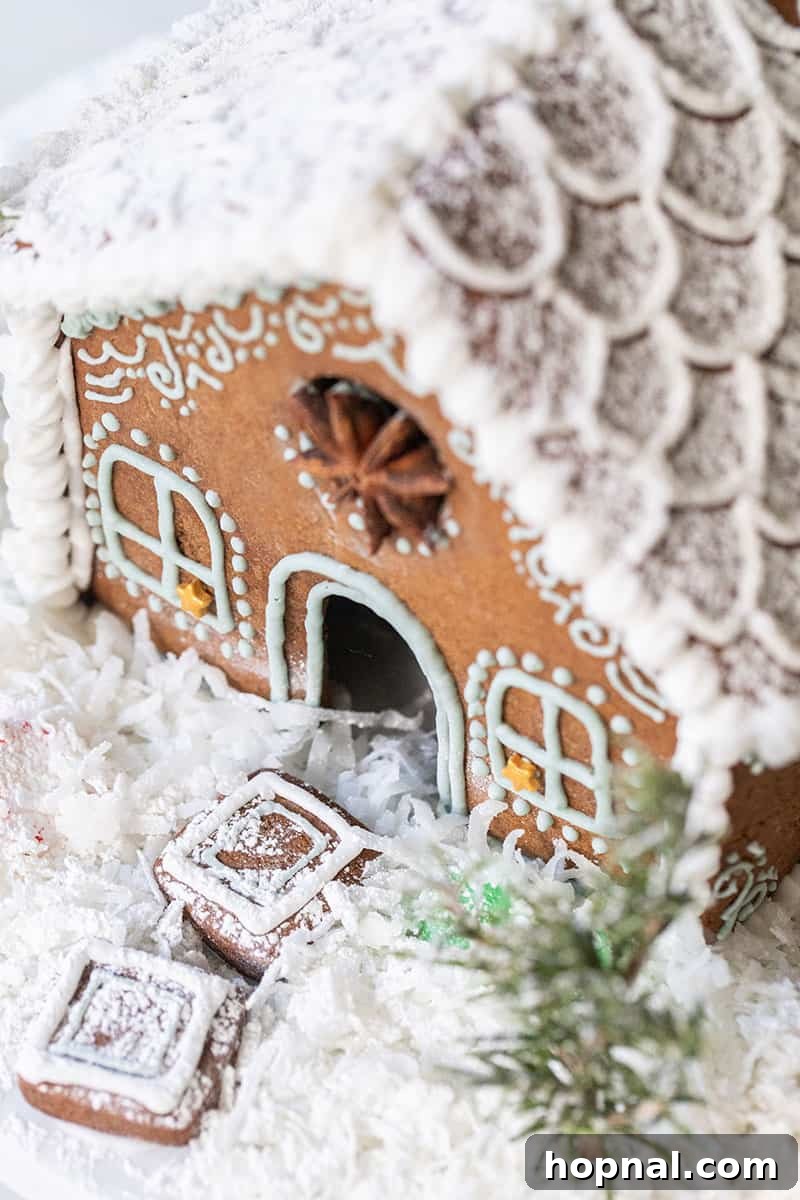
Caring for Your Gingerbread Creation: Storage Tips
Once your magnificent gingerbread house is complete, you’ll want to preserve its beauty and deliciousness for as long as possible. Here’s how to store it effectively:
Room Temperature Storage (for Display & Short-Term Consumption):
Keep your gingerbread house in a cool, dry place, safely away from direct sunlight, which can melt icing or fade colors. For decorative purposes, it can remain intact for several weeks or even months. If you intend to eat your gingerbread house, it’s best enjoyed within one week for optimal freshness. To protect it from dust, pet hair, and moisture, cover it gently with plastic wrap or, ideally, display it under a beautiful glass dome or in a large, clear container.
Freezer Storage (for Long-Term Preservation):
If you wish to preserve your gingerbread house for a longer period, perhaps for another year’s display or to enjoy later, you can freeze it. Carefully place the entire house (or individual pieces, if disassembled) into an airtight, freezer-safe container. It can be stored in the freezer for up to 6–8 months. While it will technically remain edible after thawing, freezing is generally more effective for preserving the structure and appearance rather than the original fresh flavor. Thaw it slowly at room temperature before handling.
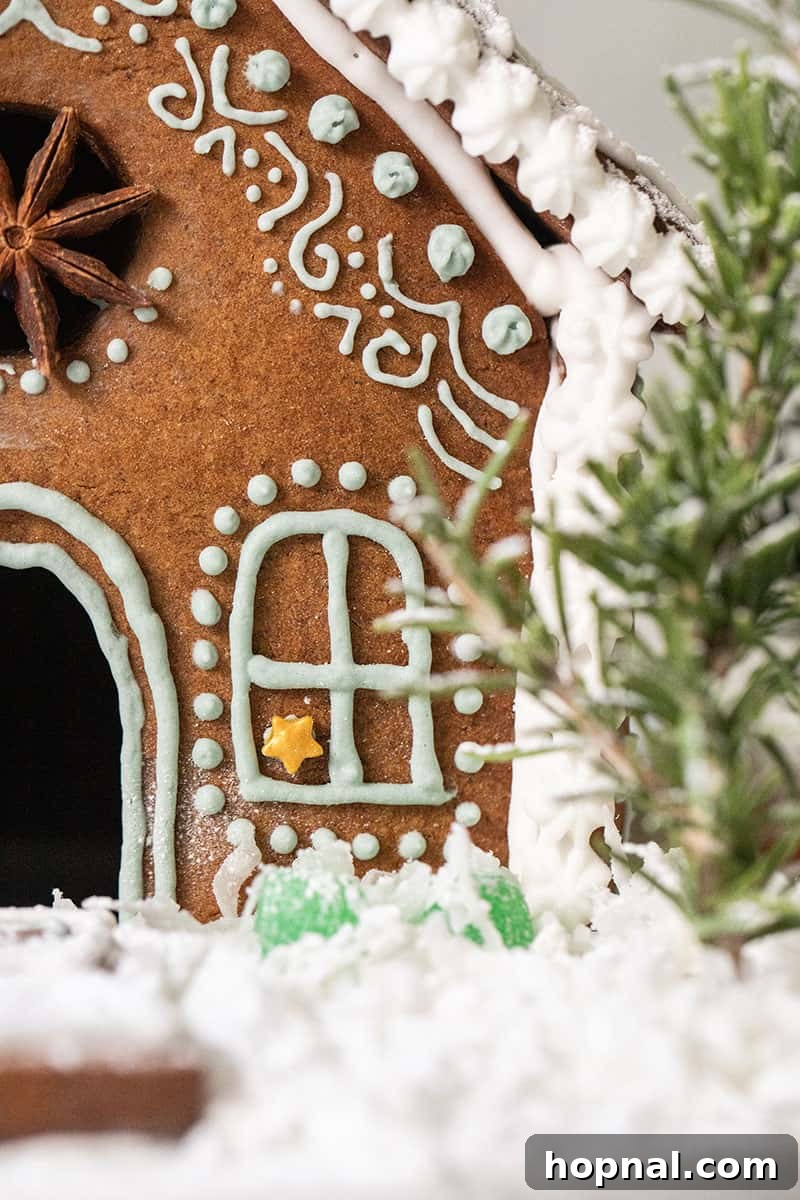
More Festive Christmas Recipes You’ll Love
Ready to dive deeper into the heartwarming flavors of the holiday season? Whether you’re looking for more gingerbread delights or other festive treats, here are a few cozy Christmas favorites to inspire your baking and celebrating:
- Fluffy Gingerbread Cake: A tender, moist cake bursting with classic gingerbread spices, perfect for a cozy dessert.
- The Best Gingerbread Buttercream: The ideal frosting to complement your gingerbread cakes or cupcakes, offering a sweet and spicy kick.
- Roly-Poly Santa Cookies: Adorable and delicious sugar cookies shaped like cheerful Santas, a delightful project for kids.
- A Comprehensive Guide to Christmas Cookies: Explore a wide array of classic and modern cookie recipes perfect for holiday platters and gift-giving.
- Reindeer Chow (Muddy Buddies): A fun, easy-to-make snack mix that’s a hit with both kids and adults, great for parties or movie nights.
- The Best Gingersnap Cookies: Crispy on the edges, chewy in the center, and packed with fiery ginger flavor—a true holiday classic.
- Homemade Gingerbread Syrup: Perfect for flavoring coffee, lattes, or drizzling over pancakes and desserts for an instant festive touch.
If you build a gingerbread house using this recipe and guide, I would absolutely love to see your magnificent creation! Please leave a comment below or tag @sugarandcharm on Instagram. I can’t wait to admire all your charming, festive masterpieces!
You can also FOLLOW US on FACEBOOK, INSTAGRAM, and PINTEREST to discover more delicious recipes, inspiring cocktails, delightful desserts, and creative party ideas!

Classic Homemade Gingerbread House Recipe
Eden
25
10
30
1 5
1 gingerbread house
Equipment
-
Gingerbread House Cookie Cutters (essential for consistent shapes)
-
Electric Mixer (stand mixer recommended for ease)
-
Large Mixing Bowl
-
Rolling Pin
-
Parchment Paper
-
Baking Sheets
-
Wire Cooling Rack
-
Piping Bags & Round Tips (for royal icing)
-
Sturdy Base (cake board, platter, or cutting board)
Ingredients
For the Gingerbread House Dough:
- 1/2 cup butter, softened (salted or unsalted, as preferred)
- 1/2 cup dark brown sugar
- 1/4 cup molasses (unsulphured for best flavor)
- 1 tbsp ground cinnamon
- 1 tbsp ground ginger
- 1 1/2 tsp ground cloves
- 1 tsp baking soda
- 2 cups all-purpose flour, plus more for dusting and if dough is too sticky
- 4 tbsp water
For the Gingerbread House Royal Icing
- Refer to our separate detailed recipe for royal icing, which is essential for a sturdy gingerbread house.
For Gingerbread House Decorations (as desired):
- Candy canes
- Gum drops
- Sprinkles (various shapes and colors)
- Chocolates (M&Ms, chocolate wafers, mini chocolate bars)
- Licorice (for borders or logs)
- Wafer cookies (for roof shingles)
- Shredded coconut (for snow effect)
- Pretzel sticks (for fences or log piles)
- Assorted hard candies
- Marshmallows or mini marshmallows
Instructions
-
In a large mixing bowl (using a stand mixer with a paddle attachment is ideal), cream together the softened butter, dark brown sugar, rich molasses, ground cinnamon, ground ginger, ground cloves, and baking soda until the mixture is smooth and fluffy.
-
On low speed, gradually blend in the all-purpose flour and water. Mix only until a stiff, cohesive dough forms and no dry streaks of flour remain. Be careful not to overmix.
-
Wrap the dough tightly in plastic wrap or place it in an airtight bag. Chill in the refrigerator for at least 30 minutes, or until the dough is firm and easy to handle. This prevents spreading during baking.
-
Preheat your oven to 375°F (190°C) and line a baking sheet with parchment paper.
-
On a lightly floured surface, roll out portions of the chilled gingerbread dough to an even thickness of approximately ¼-inch. Use your gingerbread house cookie cutters to cut out all the required shapes for your house walls, roof, and any additional decorative elements.
-
Carefully place the cut gingerbread pieces onto the prepared baking sheet, leaving some space between them. (Most cookie cutter sets come with a guide for the number of pieces needed, typically around 16-19 for a standard house, but always adjust to your design.)
-
Bake for about 10 minutes, or until the edges are firm and lightly golden brown. The centers may still be slightly soft but will harden upon cooling.
-
Remove from the oven and let the gingerbread pieces cool on the baking sheet for a few minutes before carefully transferring them to a wire rack to cool completely. Ensure they are completely cold and hardened before attempting assembly (at least 20-30 minutes, or longer).
-
While your gingerbread pieces cool, prepare a fresh batch of sturdy royal icing according to our recipe. Transfer the icing to a piping bag fitted with a strong round tip.
-
Once the gingerbread is completely cooled, you can begin to build your gingerbread house. Pipe generous lines of royal icing along the bottom and side edges of the house panels to join them together. Hold each piece firmly for at least 60 seconds until the icing begins to set. (Refer to the “How to Assemble” section above for detailed steps.)
-
After the house structure is fully assembled, allow it to dry undisturbed for at least 15-20 minutes, or ideally 1 hour (or even overnight for maximum stability), before you start decorating. This crucial drying time prevents collapses.
-
Now for the fun part! Decorate your gingerbread house using various piping tips for intricate designs and an abundance of festive candies. Let your creativity shine!
Recipe Video
Watch our video tutorial on how to build and decorate your gingerbread house!
Click here to watch the Gingerbread House tutorial video.
Notes on Storage
Display: For decorative purposes, cover your gingerbread house with a glass dome or large plastic wrap to protect it from dust and moisture. It can last for several months as a charming centerpiece.
Short-term Consumption: If you plan to eat your gingerbread house, store it in an airtight container at room temperature. It will remain fresh and delicious for a few weeks.
Freezer: To preserve your gingerbread house for longer, store it in an airtight, freezer-safe container. It can be frozen for 6-8 months. While it can still be eaten after thawing, this method is best for preserving its structure rather than fresh flavor.
Long-term Display: For purely decorative, long-term preservation, the house can be kept in an airtight container in a cool, dry place for up to a year.
Nutrition Information
Calories: 2431 kcal, Carbohydrates: 374g, Protein: 28g, Fat: 95g, Saturated Fat: 59g, Cholesterol: 244mg, Sodium: 2150mg, Potassium: 1716mg, Fiber: 13g, Sugar: 171g, Vitamin A: 2836IU, Calcium: 427mg, Iron: 18mg
Nutrition information is automatically calculated and should only be used as an approximation. It may vary based on specific ingredients and brands used.
Enjoyed this recipe? Share your thoughts below!
We’d love to hear from you.