
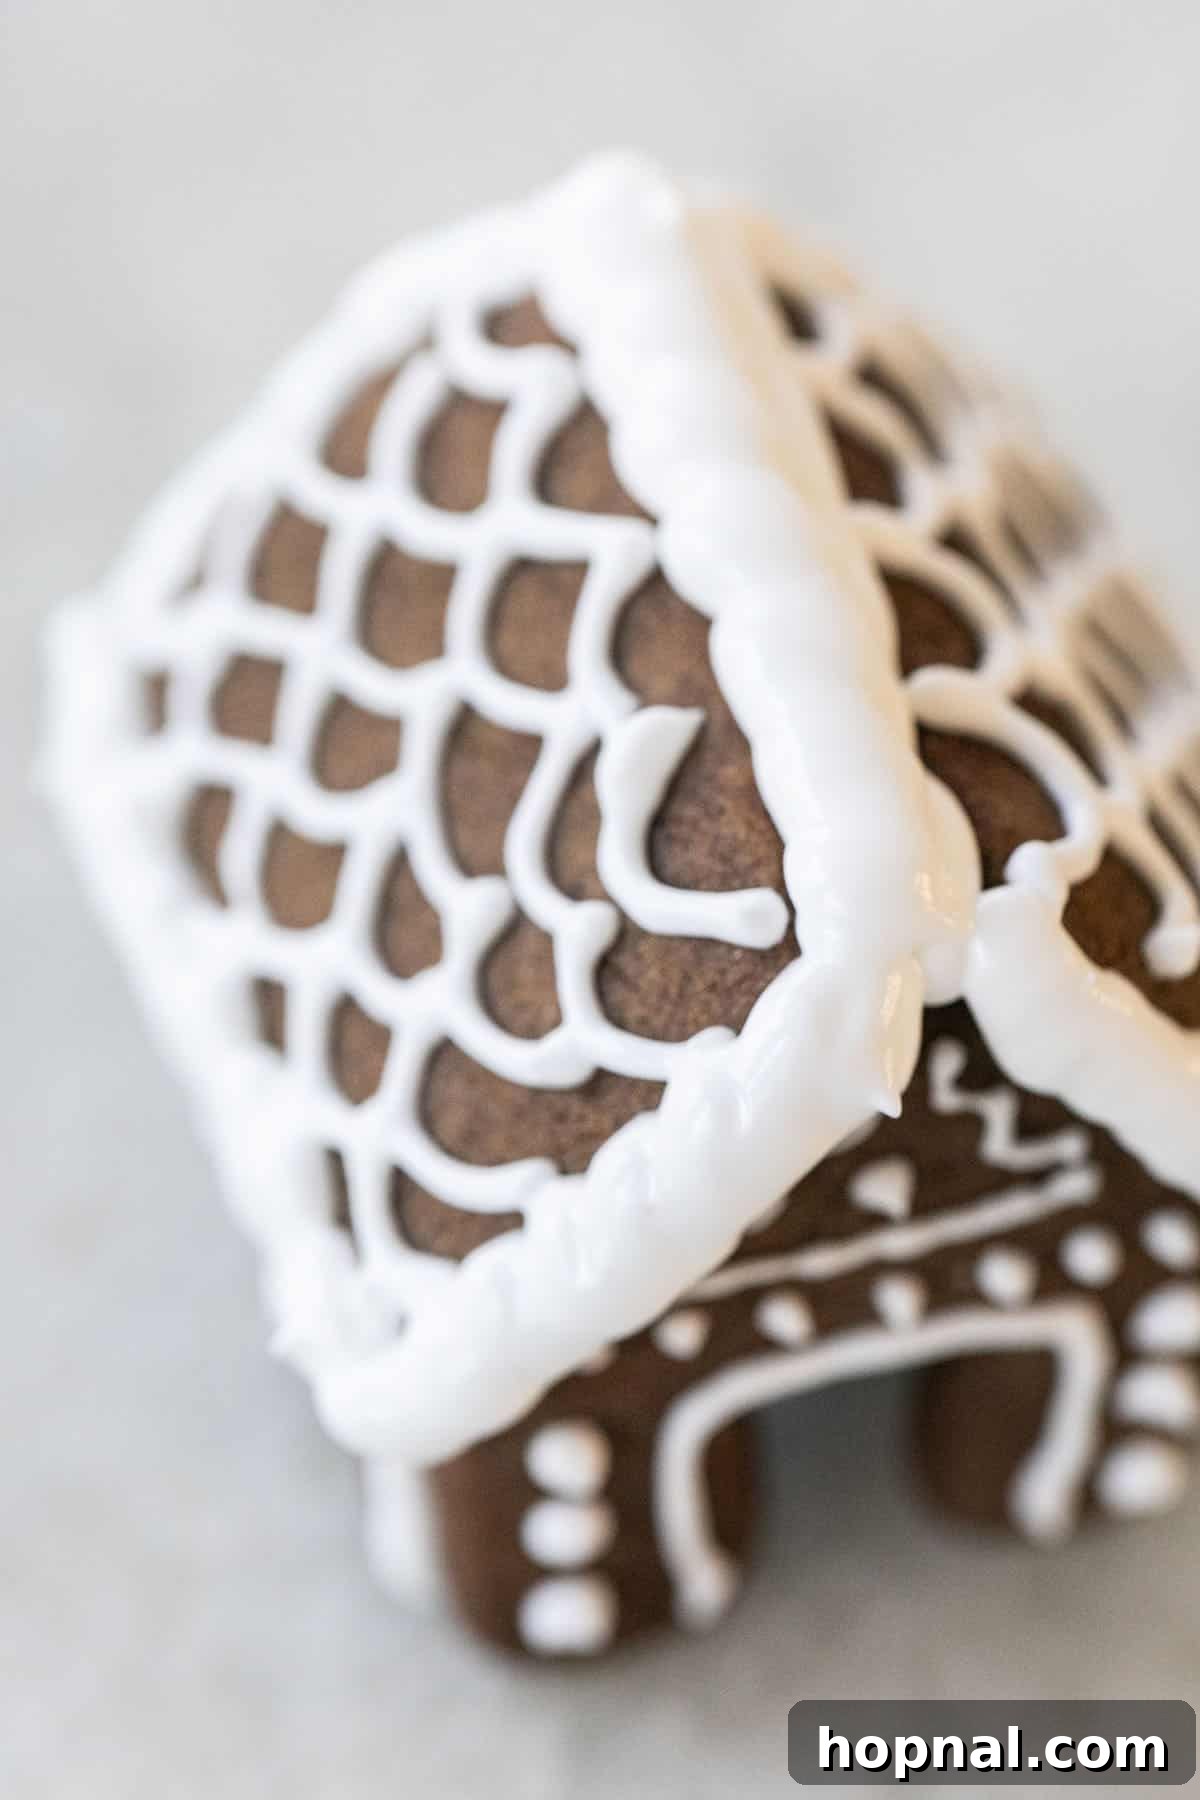
The Ultimate Gingerbread House Icing: Sturdy, Fluffy & Fast-Drying!
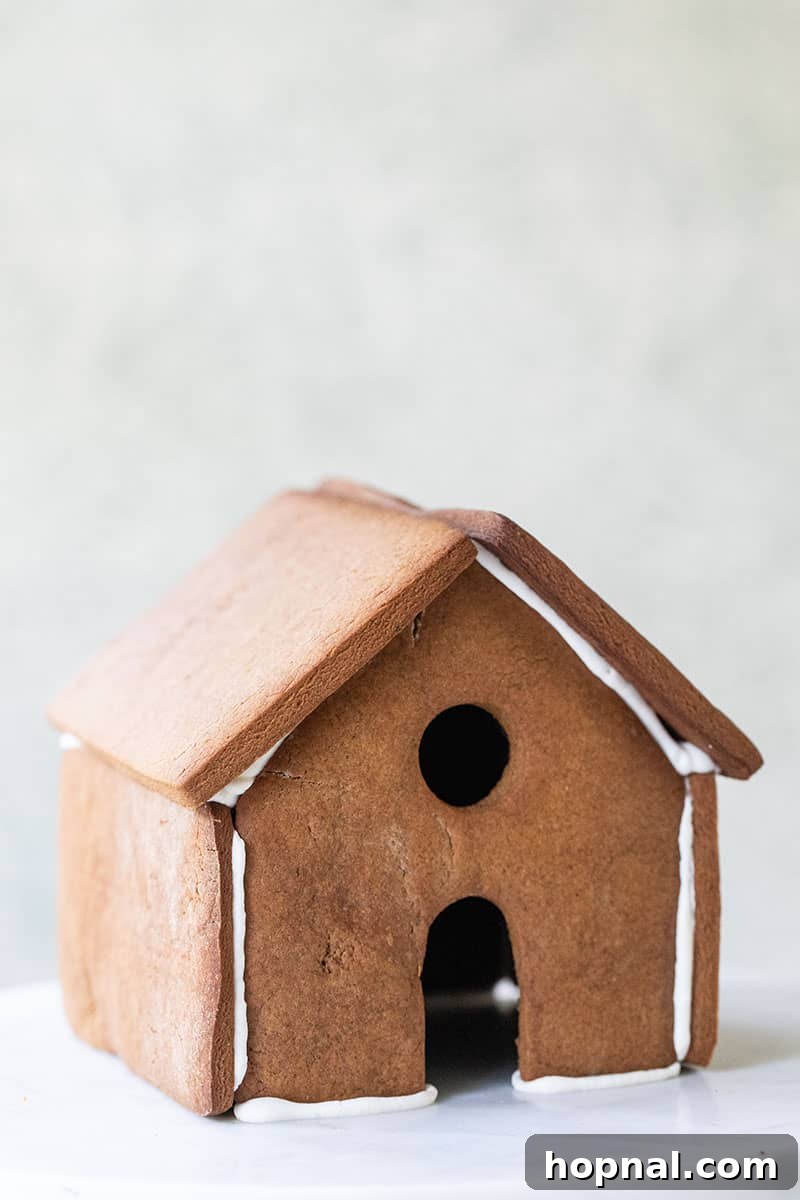
Crafting a beautiful gingerbread house is a beloved holiday tradition, and the secret to its success (and structural integrity!) lies in one crucial element: the icing. This isn’t just any icing; it’s my tried-and-true, fluffy gingerbread house icing recipe that I’ve perfected over years of festive building and decorating. It’s the go-to choice for countless enthusiasts, and once you try it, you’ll understand why everyone consistently asks for the recipe. Made with just three simple ingredients, this royal icing is incredibly easy to pipe, dries remarkably fast, and most importantly, actually holds your entire gingerbread house together. Say goodbye to collapsing roofs and wobbly walls!
This phenomenal icing isn’t limited to just gingerbread houses. Its versatility makes it perfect for adding intricate decorations to a variety of festive treats. Use it to bring your gingerbread Christmas trees to life, assemble charming mini gingerbread houses, or create stunning designs on classic gingerbread cookies. Its sticky yet pipeable consistency makes it ideal for both construction and delicate detailing, ensuring all your holiday bakes are both delicious and visually spectacular.
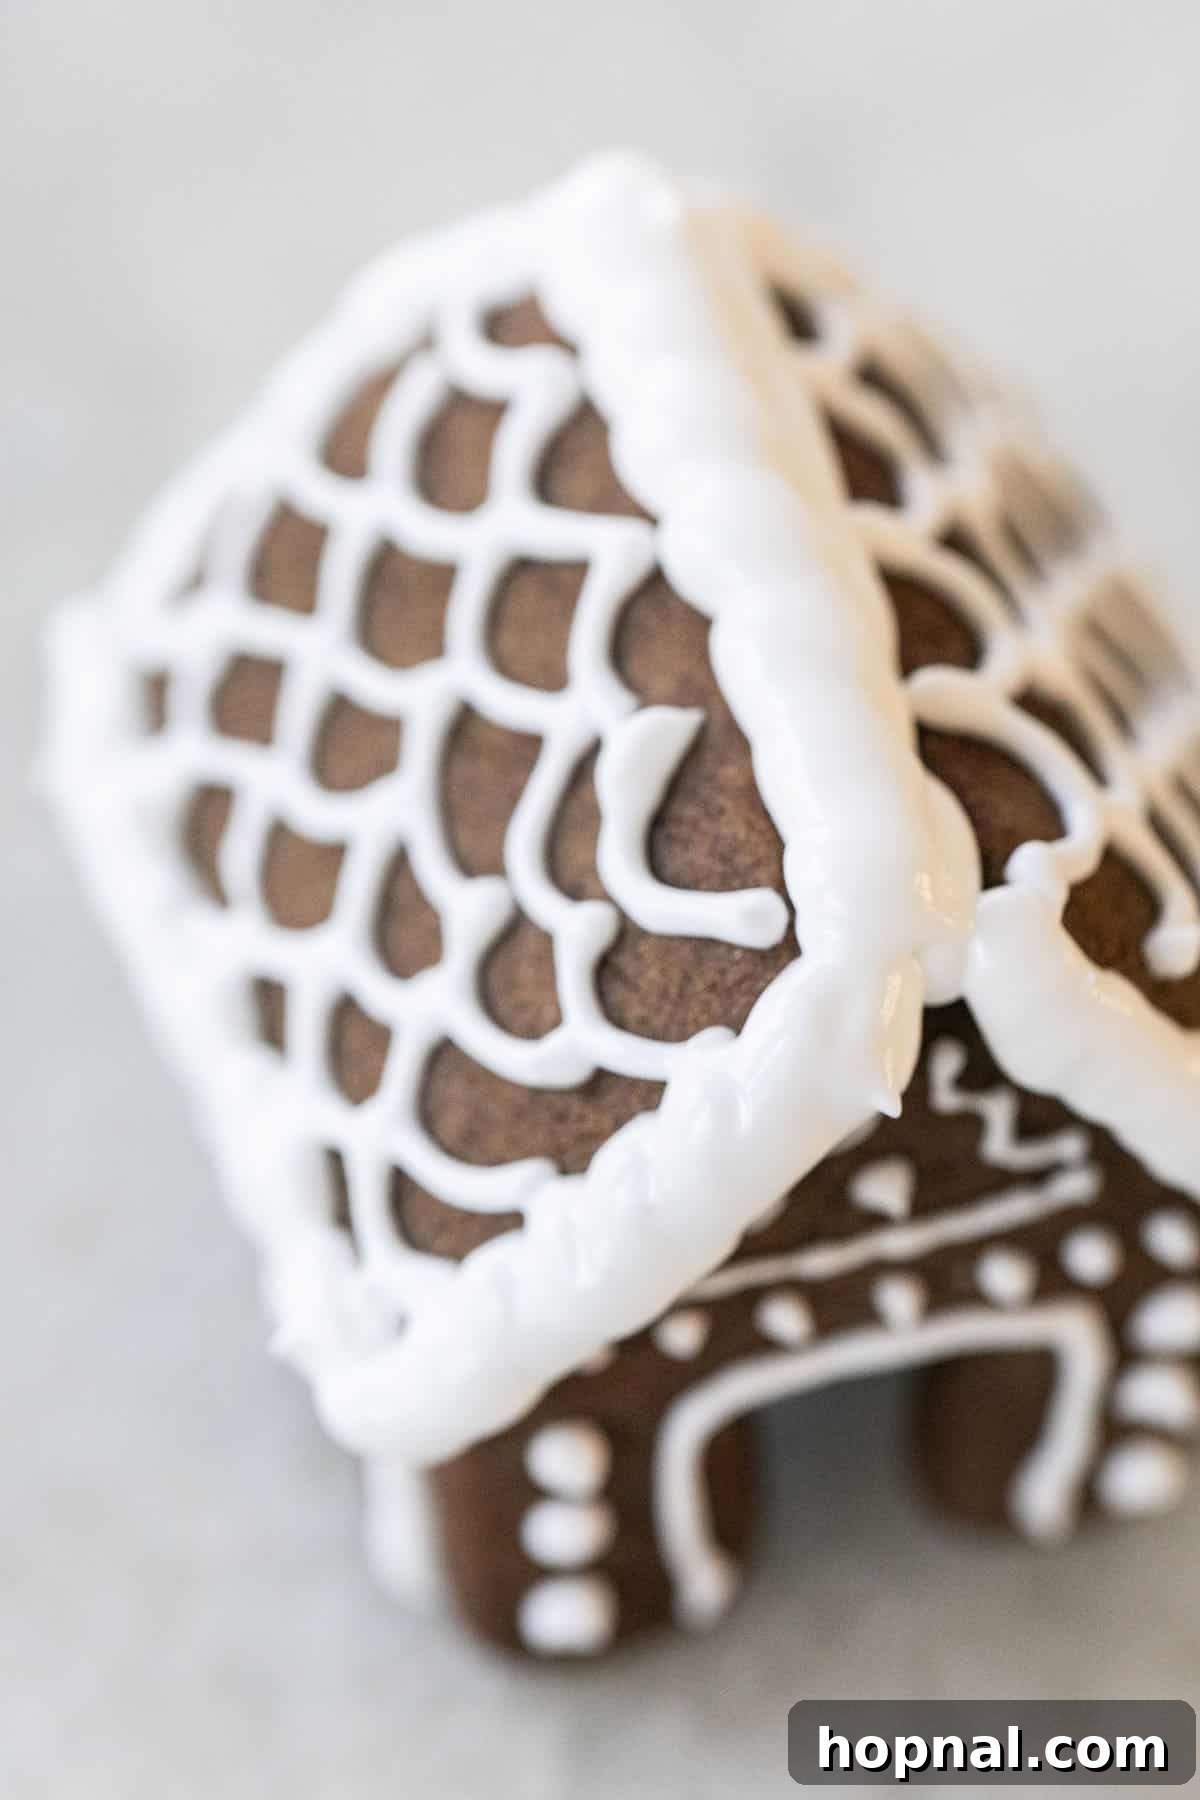
Why This is The Best Gingerbread House Icing You’ll Ever Make
When it comes to building and decorating gingerbread houses, the quality of your icing can make or break the entire experience. This recipe stands out from all others, offering a perfect blend of strength, texture, and ease of use. Here’s a closer look at what makes this the ultimate gingerbread house icing:
- Unbeatable Structural Integrity – It Actually Works Like Glue!
Forget the frustrations of flimsy icing that leads to your festive creations crumbling before they’re even finished. I have personally used this specific royal icing for years, and it consistently proves to be incredibly reliable. It seriously holds everything together—from the weighty gingerbread walls and roofs to every piece of candy decoration, big or small. The powerful bond it forms ensures your gingerbread masterpiece remains standing tall and proud, eliminating any worries about collapsing houses halfway through the decorating process. This sturdy foundation is key to a stress-free and enjoyable gingerbread building experience.
- Fluffy, Yet Exceptionally Firm and Durable
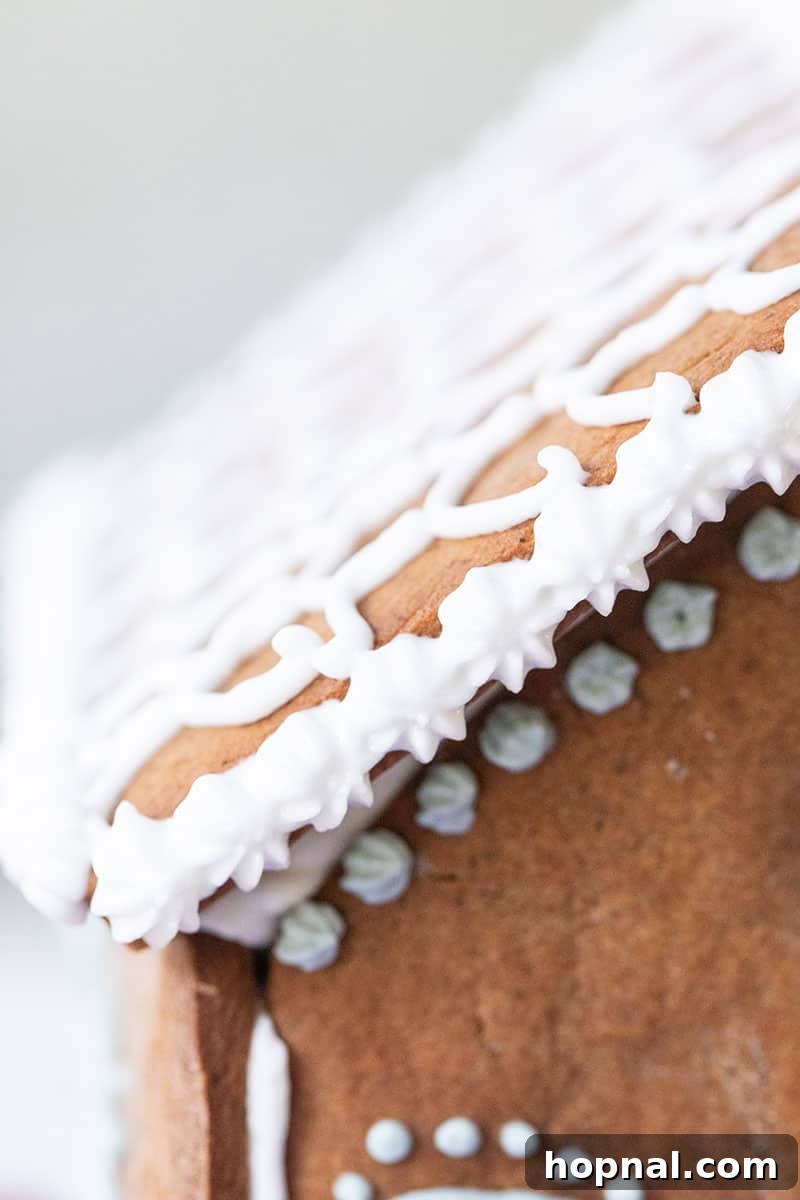
One of the unique qualities of this icing is its dual nature: it’s strong enough to support the entire structure of your gingerbread house, yet delightfully soft and fluffy when you’re piping it. This makes it a dream to work with, allowing for effortless application whether you’re securing a heavy roof or adding delicate details. The fluffy texture is perfect for creating whimsical snowy swirls, intricate patterns, and adorable decorative accents, giving your house that quintessential holiday charm without compromising on strength.
- Remarkably Fast Drying Time (A True Lifesaver!)
There’s nothing more frustrating than waiting endlessly for icing to dry, especially when eager little hands are involved! This icing sets quickly, which is truly a game-changer. You won’t have to “babysit” your gingerbread house for hours, holding pieces in place while the icing slowly hardens. This rapid drying capability significantly speeds up the decorating process, making the entire activity much more fun, efficient, and infinitely less stressful. You’ll be able to move from construction to intricate detailing in no time.
- Far Superior to Store-Bought Alternatives
Honestly, if you’re still relying on the pre-made icing found in gingerbread house kits, it’s time for an upgrade. Store-bought icing is often stiff, difficult to pipe smoothly, and simply not enjoyable to work with, often leading to uneven application and fragile structures. This homemade version is dramatically better—it’s dreamy, smooth, and flows beautifully through a piping bag, allowing for precise control and a truly professional finish. The difference in quality and workability is night and day.
- Infinitely Customizable for Personal Flair
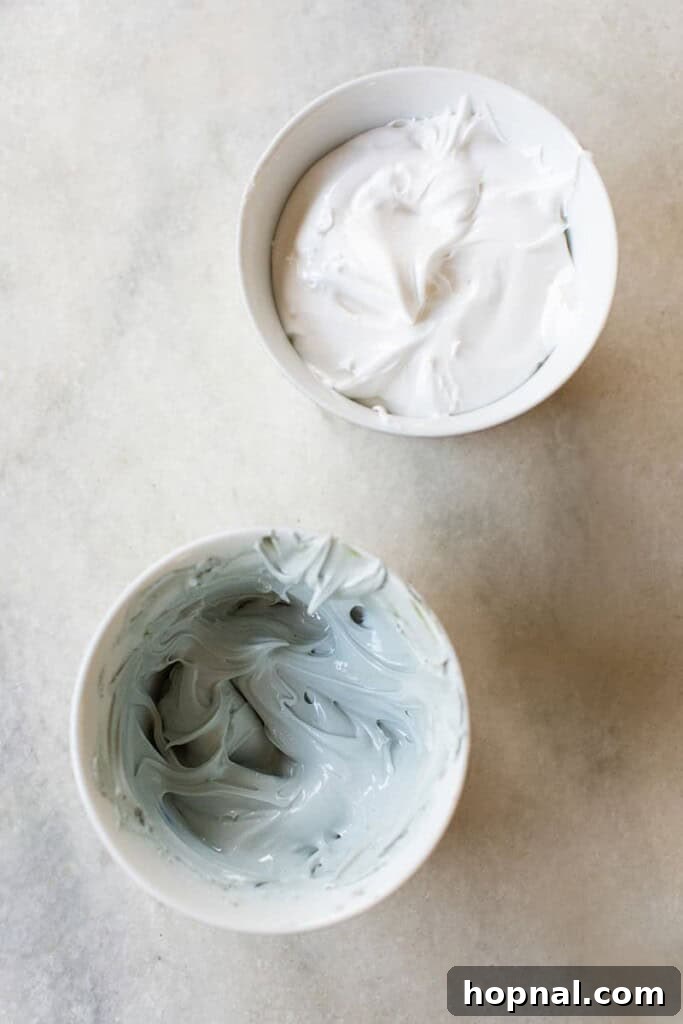
Beyond its structural prowess, this icing is wonderfully versatile for personalization. Easily add a few drops of gel food coloring to create a vibrant palette for your decorations, transforming your house into a whimsical wonderland. For a festive sensory experience, incorporate a drop or two of peppermint, almond, or vanilla extract. This simple addition can elevate the flavor profile of your gingerbread creation, making it a unique and delightful way to personalize your holiday project. The possibilities for creativity are endless!
Essential Ingredients for Perfect Gingerbread House Icing
Creating this magical, sturdy, and delicious gingerbread house icing requires just three key ingredients, each playing a vital role in achieving the perfect consistency and strength. Here’s what you’ll need:
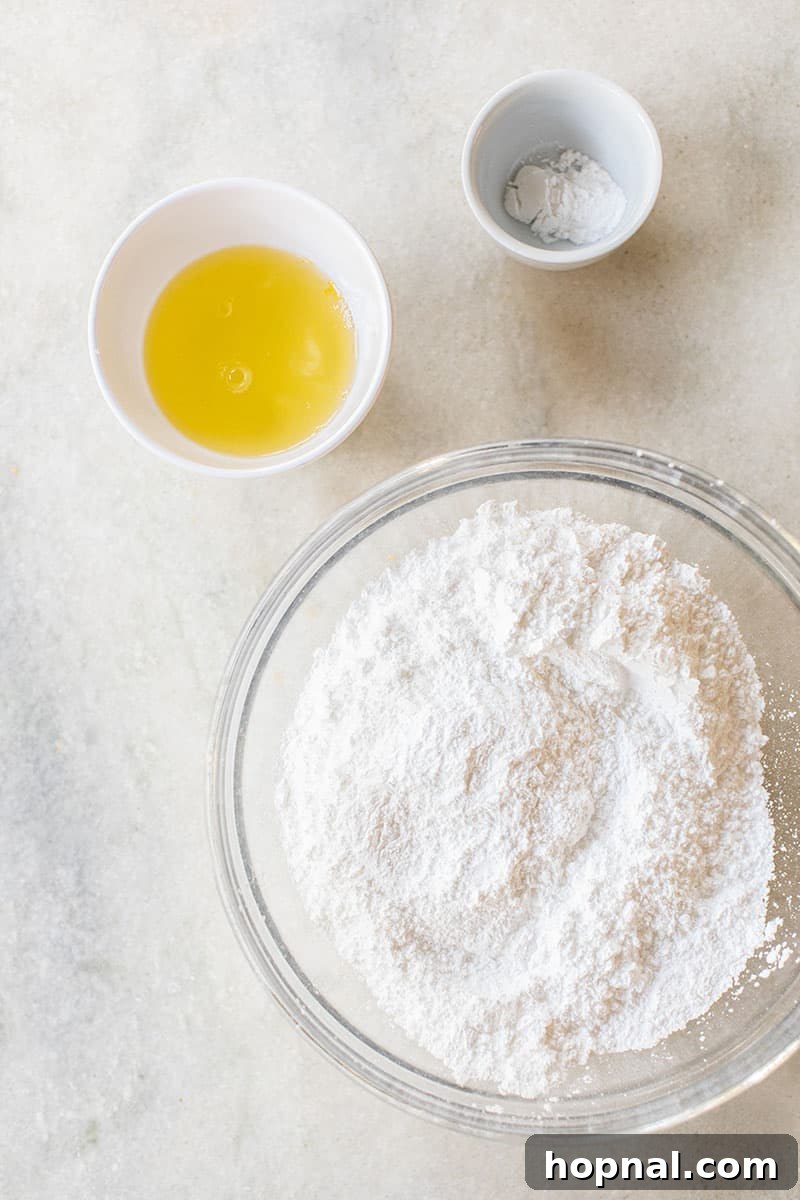
- Confectioners’ Sugar: Also widely known as powdered sugar or icing sugar, this finely milled sugar is absolutely essential. Its superfine texture allows it to dissolve effortlessly into the egg whites, resulting in an exceptionally smooth, lump-free icing that is perfect for precise piping and sturdy construction. Using granulated sugar would lead to a gritty texture and an unstable structure, so ensure you use only confectioners’ sugar.
- Egg Whites: These are the backbone of our royal icing, providing the essential structure and that signature glossy, fluffy texture. As they are whipped, the proteins in the egg whites create a stable foam that gives the icing its incredible holding power. For safety, especially if serving to children or those with compromised immune systems, I highly recommend using pasteurized egg whites (available in cartons) or opting for meringue powder, which offers similar results without the raw egg concern. Safety first!
- Cream of Tartar: This often-overlooked but truly magical ingredient is crucial for stabilizing the egg whites. It helps them whip up faster, achieve stiffer peaks, and prevents them from deflating or becoming watery over time. Don’t skip it – a small amount of cream of tartar makes a significant difference in the stability and overall success of your icing, ensuring it dries hard and holds its shape beautifully.
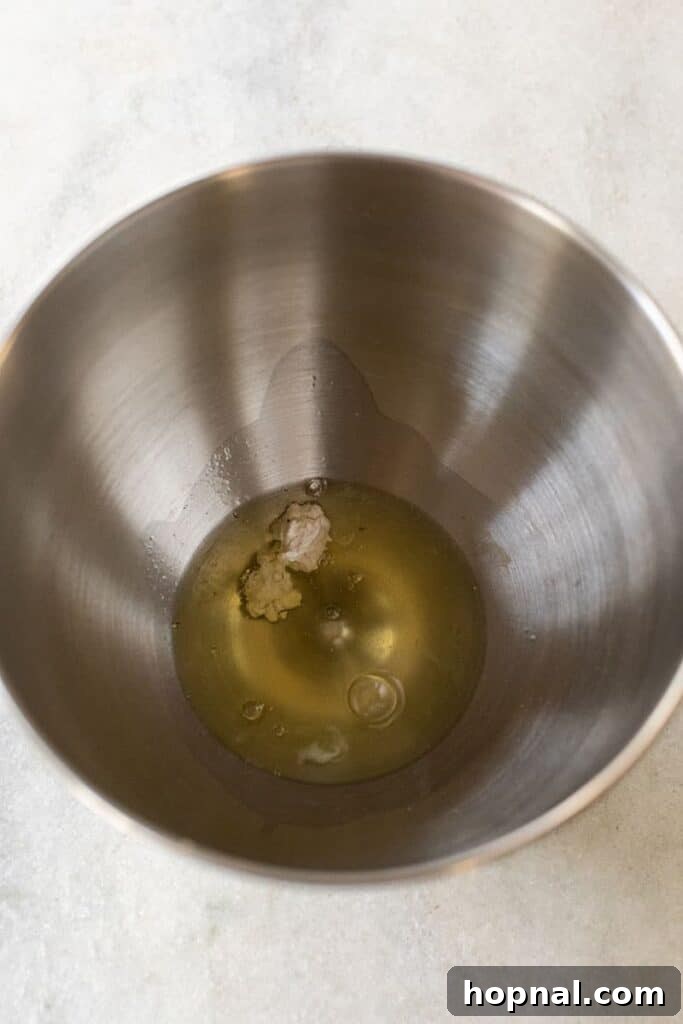
How to Make the Best Gingerbread House Icing: A Simple Guide
Making this incredible gingerbread house icing is surprisingly straightforward, requiring minimal effort for maximum impact. Follow these easy steps to whip up a batch of perfect royal icing that’s ready to bring your gingerbread dreams to life:
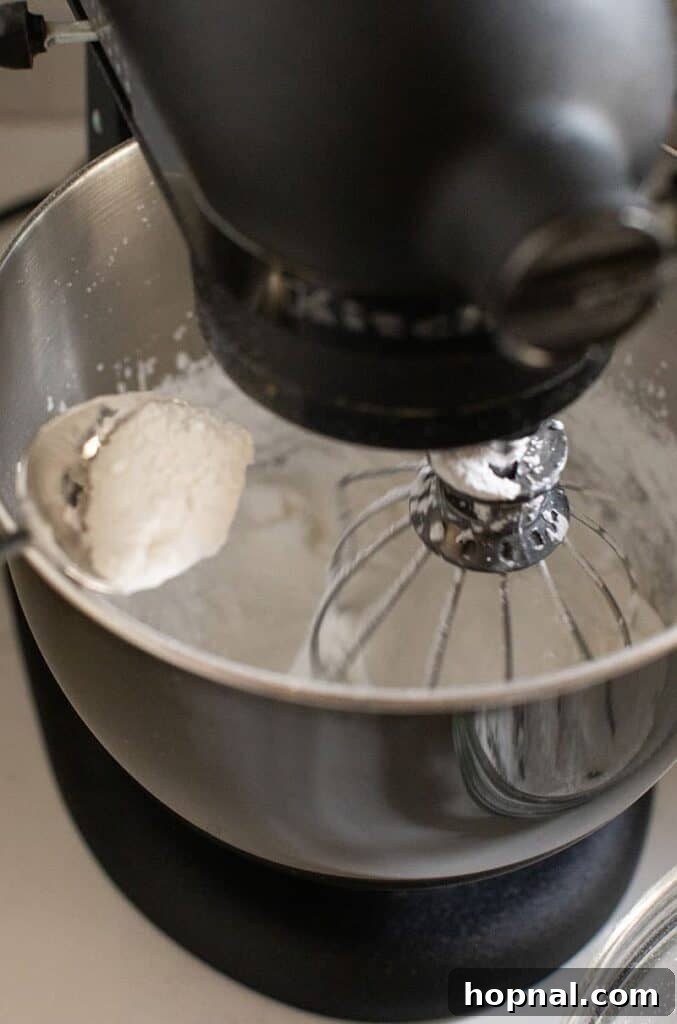
- Beat the Egg Whites to Stiff Peaks: Begin by placing your egg whites and cream of tartar in the clean bowl of a stand mixer. If you don’t have a stand mixer, a hand mixer will also work, but prepare for a bit more arm work! Fit your mixer with the whisk attachment. Beat the mixture on high speed until stiff, glossy peaks form. This means when you lift the whisk, the peaks should hold their shape without drooping. This aeration is crucial for the icing’s fluffy texture and structural integrity.
- Gradually Add the Powdered Sugar: Once your egg whites are perfectly whipped, reduce the mixer speed to low. This is important to prevent a cloud of powdered sugar from flying all over your kitchen! Gradually add the confectioners’ sugar, one spoonful at a time, allowing each addition to be fully incorporated before adding the next. This slow and steady process helps maintain the volume of the egg whites and ensures a smooth, lump-free consistency.
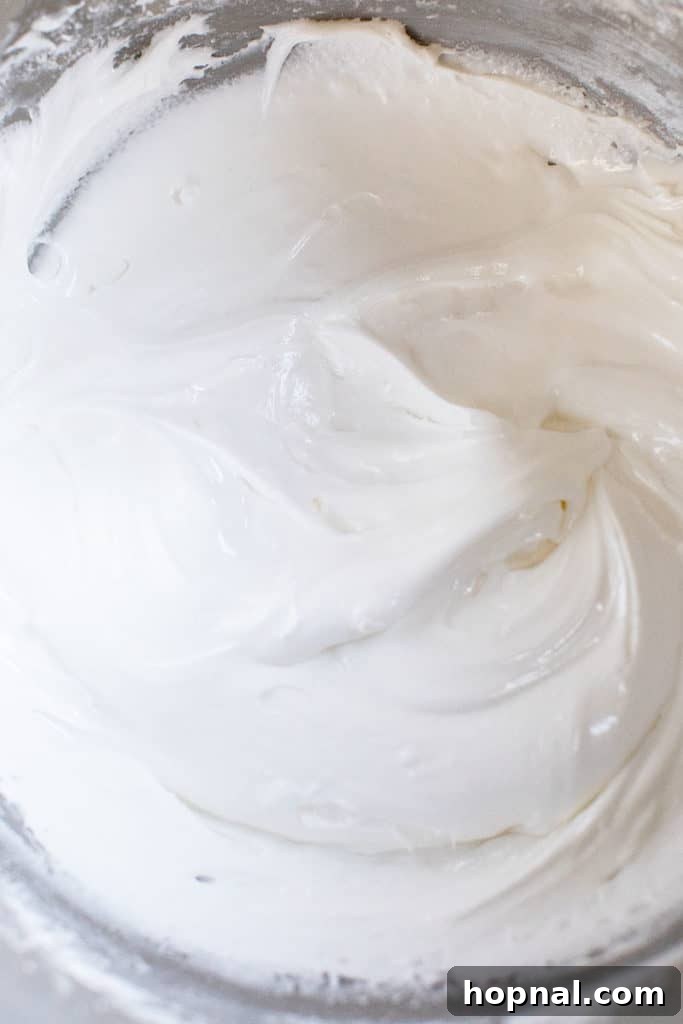
- Finish Whipping to Fluffy Perfection: After all the powdered sugar has been added, increase the mixer speed back to high. Continue beating for another few minutes until the icing becomes delightfully fluffy, thick, and holds its shape exceptionally well. You’ll notice it transform into a spreadable yet firm consistency, perfect for piping intricate designs and acting as a robust adhesive for your gingerbread house. The finished icing should be sticky enough to firmly glue pieces together but also smooth enough to pipe with ease.
Expert Tips & Creative Variations for Your Gingerbread Icing
Mastering this gingerbread house icing is simple, but a few clever tips and creative variations can elevate your decorating game even further. Here’s how to make the most of your festive creation:
- Flavor It Up for a Festive Twist: While delicious on its own, adding a splash of extract can infuse your icing with wonderful holiday cheer. Vanilla extract is a classic choice, but for something truly special, try almond, lemon, or even a few drops of peppermint extract. Peppermint is my personal favorite because, let’s be honest, it just screams Christmas! Be sure to use clear extracts if you want to maintain vibrant, unclouded colors in your icing.
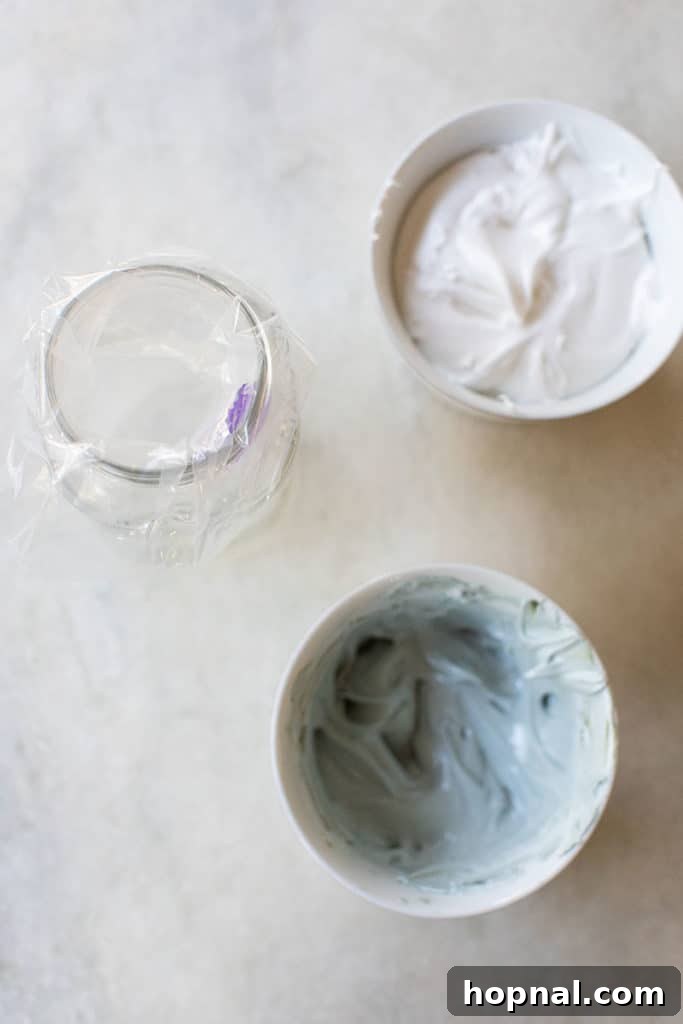
- Color Like a Pro with Gel Food Coloring: To achieve those vibrant reds, deep greens, and cheerful blues without compromising the icing’s perfect consistency, always opt for gel food coloring. Unlike liquid dyes, which can thin out your icing and make it runny, gel colors are highly concentrated and won’t significantly alter the texture. Start with a tiny amount and gradually add more until you reach your desired hue for eye-catching decorations.
- The Clever Graham Cracker Hack: If you’re short on time, intimidated by baking gingerbread from scratch, or simply looking for a fun, easy activity for kids, skip the homemade gingerbread and use sturdy graham crackers as your house base. They provide an excellent canvas for decorating and are perfect for last-minute parties or for impatient little builders eager to start decorating! It’s a fantastic shortcut that still yields adorable results.
- Perfect the Consistency Every Time: The ideal icing consistency is key for both assembly and decoration. If your icing turns out too runny, don’t panic! Simply add a little more powdered sugar, a tablespoon at a time, beating after each addition until it thickens to your liking. Conversely, if it’s too thick and difficult to pipe, add water sparingly, half a teaspoon at a time, until it reaches a smooth, pipeable texture. Remember, it should be thick and sticky like glue, but still flow easily through your piping bag.
- Get Creative with Decorating Tools: Beyond piping bags and basic tips, consider using various other tools to enhance your gingerbread creations. Small offset spatulas are great for spreading icing evenly for ‘snow’ on roofs. Toothpicks can be used for intricate details or fixing small mistakes. A variety of piping tips (round, star, leaf) can create different textures and designs, transforming your gingerbread house into a true work of art.
- Consider the Drying Environment: The time it takes for your icing to fully harden can be affected by the temperature and humidity in your home. In very humid conditions, it might take a bit longer. Ensuring your gingerbread house is in a dry, cool room will help the icing set faster and more effectively, creating a strong, durable finish.
- Party-Ready Presentation Tip: Turn your finished gingerbread houses into adorable party favors or thoughtful gifts! Once the icing is completely dry and hard, wrap each house in clear cellophane bags and tie them with festive ribbons. This not only protects your edible art but also adds a beautiful, professional touch that makes a big impression on recipients.
Storing Your Homemade Gingerbread Icing for Future Projects
Proper storage is essential to keep your homemade gingerbread house icing fresh and ready for your next decorating adventure. Here’s how to store it effectively, whether for a few hours or a few months:
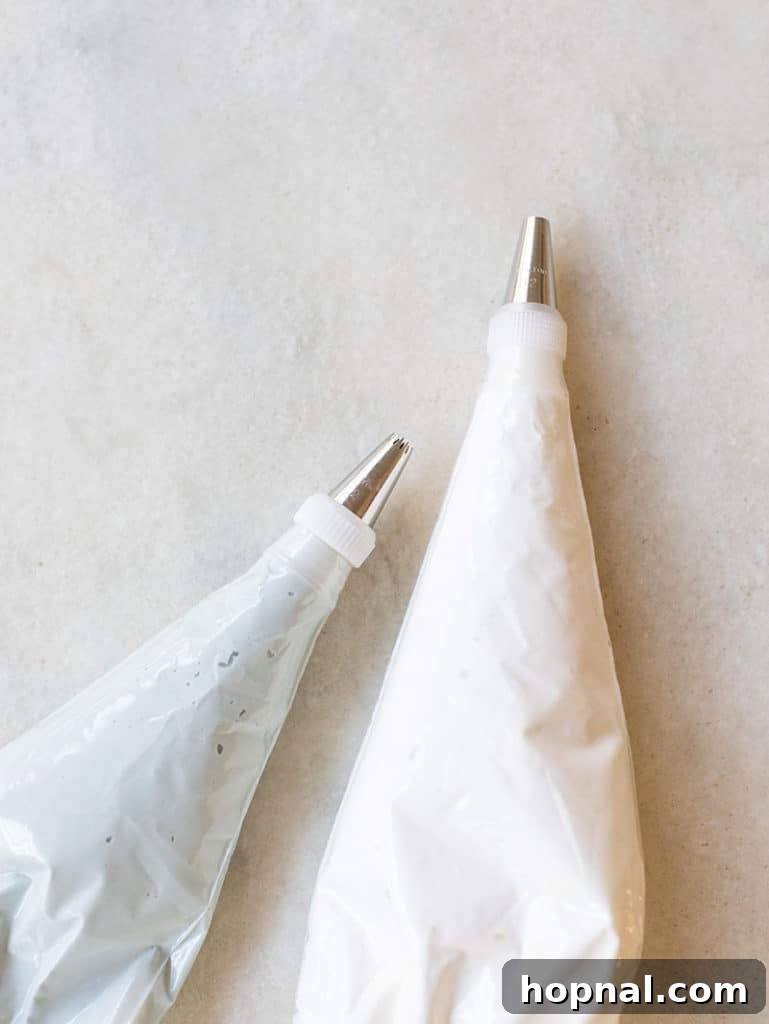
- Refrigerate for Short-Term Use: If you plan to use the icing within 24 hours, store it in an airtight container or, even better, directly in sealed piping bags. To prevent the icing from forming a crust, place a piece of plastic wrap directly on the surface of the icing before sealing the container. When you’re ready to use it, allow the icing to come back to room temperature for easier piping. A quick re-whip with a spoon or mixer can restore its fluffy consistency if it has stiffened slightly.
- Freeze for Long-Term Storage: For extended storage, this gingerbread icing freezes beautifully for up to 3 months. Transfer the icing into freezer-safe airtight containers or heavy-duty freezer bags. When you’re ready to use it, thaw the icing overnight in the refrigerator. Once thawed, bring it to room temperature and give it a thorough whip with your electric mixer. This will restore its original fluffy texture and make it perfectly pipeable again, ready for building and decorating.
The No-Mess, Easy Way to Fill a Piping Bag
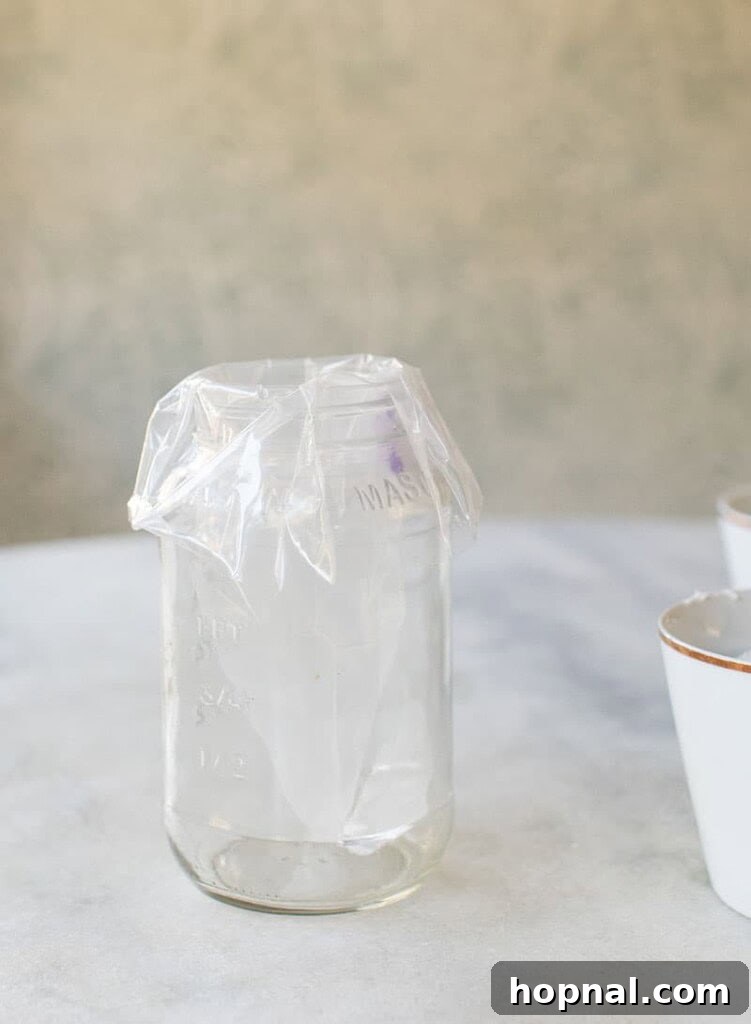
One of the most common hassles when decorating with icing is the mess created when filling piping bags. A friend shared this brilliant trick with me years ago, and it has completely revolutionized my decorating process. It’s truly the easiest and cleanest way to fill an icing bag without getting sticky frosting everywhere. This method is especially helpful when working with children or when dealing with multiple colors of icing.
- Grab a Tall Glass with a Wide Mouth: A pint glass, a large mason jar, or even a small vase works perfectly. The wider the mouth, the easier it will be to manage.
- Place the Piping Bag Inside and Fold the Edges Over the Rim: Gently push the piping bag down into the glass, leaving a substantial portion of the bag hanging over the edge. Fold these edges neatly over the rim of the glass. This creates a stable, wide opening, acting like a funnel and preventing any icing from getting on the outside of the bag.
- Spoon the Icing into the Bag: Using a spatula or a large spoon, neatly scoop the prepared gingerbread house icing into the bag, pushing it down gently as you go. The glass provides excellent support, keeping the bag upright and stable throughout the filling process.
- Fill About 3/4 Full: Avoid overfilling the bag, as this makes it much harder to handle and pipe with control. Aim to fill it about three-quarters of the way.
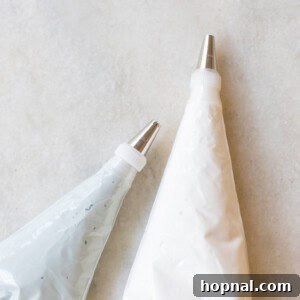
- Remove, Twist, and Secure: Carefully lift the bag out of the glass. Gather the top edges, twist them tightly to seal the icing, and secure with a rubber band. This prevents icing from squeezing out the top while you’re piping and gives you a firm grip.
This simple technique ensures a clean workspace and an easier, more enjoyable decorating experience!
Gingerbread House Icing FAQs
Absolutely! This particular gingerbread house icing recipe is made with powdered sugar, egg whites (preferably pasteurized for safety), and cream of tartar. When using pasteurized egg whites, which are readily available in most grocery stores, the icing is perfectly safe to consume and wonderfully tasty too. If you’re concerned about raw eggs, you can also substitute the egg whites with meringue powder, following the package directions for equivalent amounts. This alternative provides the same structural integrity and delicious flavor without any raw egg concerns.
One of the best features of this royal icing is its relatively quick drying time. It typically takes about 30 minutes to set to a firm touch, but allow up to 1-2 hours for it to completely harden, especially if you’ve applied it thickly for structural elements. The exact hardening time can depend on various factors, including the temperature and humidity levels in your home. In a dry, cooler environment, it will set faster. Once it’s fully dry, your gingerbread house will be sturdy, durable, and ready for further intricate decorations or display.
The secret to a stable gingerbread house lies in using a reliable “glue,” and this gingerbread house icing is specifically designed for that purpose! To assemble, simply pipe a generous line of icing onto the edges of your gingerbread pieces where they will join. Press the pieces firmly together and hold them in place for a few seconds to allow the icing to begin setting. You might need an extra set of hands or some temporary supports (like cans or small boxes) to help hold walls upright until the icing is sufficiently dry. Its strong, reliable, and fast-drying properties make it the perfect adhesive for constructing even the most ambitious gingerbread creations.
Beyond your delicious gingerbread pieces (whether homemade or store-bought) and a batch of this amazing gingerbread house icing, here’s what I always have on hand for a successful decorating session:
- Piping Bags and Tips: Essential for precise application and creating various designs (round tips for lines, star tips for borders, leaf tips for greenery).
- An Array of Colorful Candy: Think gumdrops, jelly beans, M&Ms, candy canes, sprinkles, mini marshmallows, chocolate squares, and licorice. The more variety and color, the better!
- A Sturdy Base: A strong foundation is crucial. Options include a cake stand, a marble board, a cute serving platter, or even a sturdy piece of cardboard covered in foil or parchment paper.
- Small Bowls for Colored Icing: For easy access to different colors and to prevent mixing.
- Toothpicks or Small Spatulas: Useful for fine detailing or spreading icing.
Yes, absolutely! Meringue powder is an excellent alternative to raw egg whites, especially if you have concerns about consuming raw eggs or if you prefer a more shelf-stable ingredient. To substitute, follow the instructions on your meringue powder package to reconstitute it with water to achieve the equivalent of four egg whites (usually around 2 tablespoons of meringue powder mixed with 4 tablespoons of warm water). Then proceed with the recipe as directed. It provides similar stability and texture, making it a reliable option for your gingerbread house icing.
Gritty icing typically means your confectioners’ sugar didn’t fully dissolve. This can happen if the sugar is added too quickly or if it wasn’t beaten long enough. To fix this, you can try beating the icing on low speed for an extended period (5-10 minutes) to encourage the sugar crystals to dissolve. If it’s still gritty, adding a tiny amount of lemon juice (about 1/4 teaspoon) can sometimes help break down the sugar crystals, but be careful not to add too much or it will thin the icing. Ensuring you use fresh, finely sifted confectioners’ sugar from the start also helps prevent grittiness.
More Festive Gingerbread Delights
Holidays
Classic Spritz Cookies Recipe
Holidays
Fluffy Gingerbread Cake Recipe
Holidays
Homemade Gingerbread Syrup
Holidays
The Best Gingerbread Cookie Recipe
I genuinely hope this comprehensive guide inspires you to create your most spectacular gingerbread house yet! If you make this fantastic gingerbread house icing, please let me know your thoughts by leaving a comment and review below. Your feedback helps others discover and enjoy this wonderful recipe!
And don’t forget to FOLLOW ME on FACEBOOK, INSTAGRAM, and PINTEREST to see more delicious recipes, delightful cocktails, decadent desserts, and inspiring party ideas!
Gingerbread House Icing Recipe
Print Recipe
Equipment
- Electric Mixer with Whisk Attachment (Stand mixer or Hand mixer)
Ingredients
- 4 large egg whites (preferably pasteurized, or use meringue powder)
- 1 tsp cream of tartar
- 4 1/2 cups powdered sugar (also known as confectioners’ or icing sugar), start with 4 cups and assess consistency, then add the remaining 1/2 cup if needed.
- Gel food coloring (optional), for making different colors.
- Clear flavored extracts (optional), such as vanilla, almond, or peppermint, for added flavor.
Instructions
-
In the clean bowl of an electric mixer fitted with the whisk attachment, combine the egg whites and cream of tartar. Beat on high speed until stiff, glossy peaks form. The mixture should hold its shape when the whisk is lifted.
-
Once the egg whites are whipped to firm peaks, reduce the mixer speed to low. Gradually spoon in the powdered sugar, one spoonful at a time, allowing each addition to fully incorporate before adding more. This prevents lumps and maintains the airy texture.
-
Continue adding the powdered sugar until it’s all incorporated. Then, increase the mixer speed back to high and whip for another few minutes.
-
Beat until the icing becomes delightfully fluffy, thick, and sticky. It should be thick enough to hold its shape for piping and act as strong “glue” for gingerbread pieces, yet smooth and easy to squeeze from a piping bag.
-
If desired, divide the frosting into separate bowls. Add gel food coloring to each bowl, mixing until you achieve your desired vibrant colors. For flavoring, stir in a few drops of clear flavored extracts.
Notes
If the mixture becomes too thick and hard to pipe, add water sparingly, about a tablespoon at a time, until it loosens up. The ideal consistency is thick and sticky, yet smooth and pipeable.
Always use gel food coloring for vibrant colors, as liquid food dyes can alter the icing’s consistency.
For added flavor, incorporate clear extracts like vanilla, almond, or peppermint.
This recipe typically yields enough icing to fill about 4 small piping bags, sufficient for a standard gingerbread house. You can easily double the recipe if you’re making larger houses or multiple creations.
Nutrition
Nutrition information is automatically calculated, so should only be used as an approximation.