
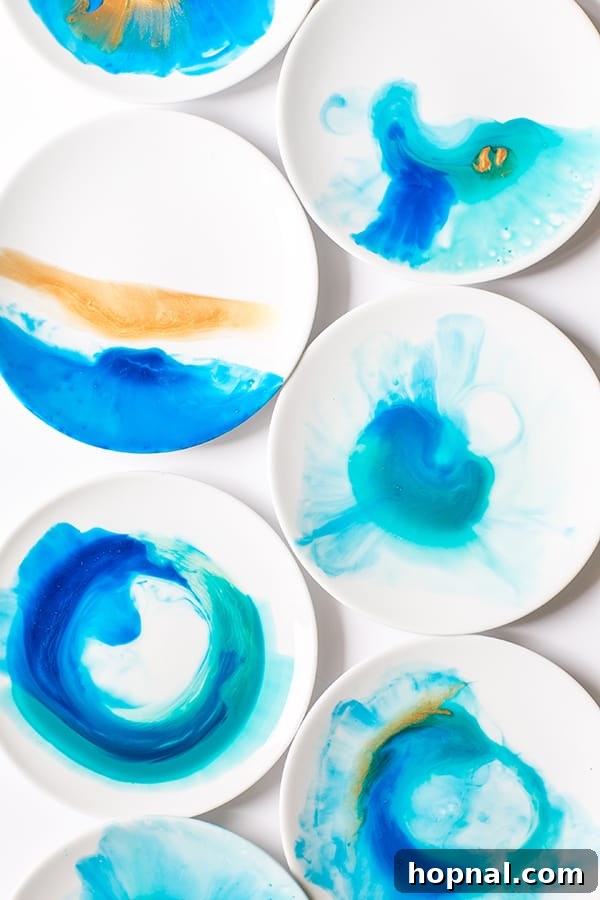
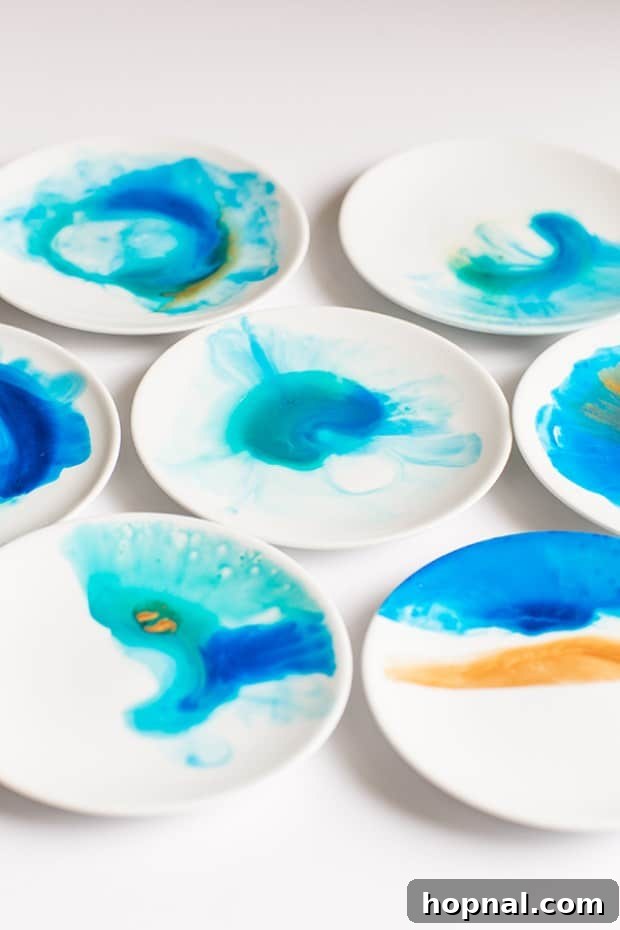
Are you looking to infuse a unique touch into your home decor and elevate your dining experience? Plain white plates are a timeless staple in any kitchen, serving as a blank canvas for culinary creations. But what if you could transform these everyday items into breathtaking works of art? This comprehensive guide will show you how to create stunning DIY watercolor plates that will add an exquisite pop of color and personality to your dishware collection. This charming artistic technique isn’t limited to plates; you can extend this creative flair to bowls, cups, platters, and other ceramic items, making every meal a visual delight.
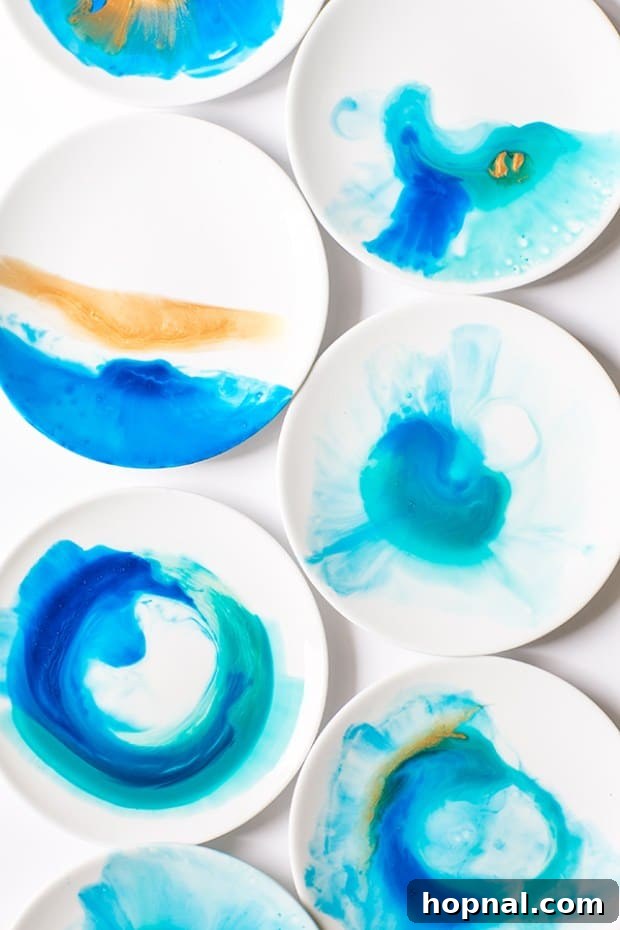
The beauty of this project lies in its simplicity and the freedom it offers for personal expression. You can choose any color palette to perfectly match your existing decor, seasonal themes, or upcoming special events. Imagine hosting a dinner party with custom-designed plates that reflect your unique style! We’ll be working with specialized porcelain paint and a paint thinner, applied to oven-safe porcelain plates, creating a durable and beautiful foundation for your artistic vision. Get ready to unleash your inner artist because this craft is not only incredibly fun but also deeply rewarding.
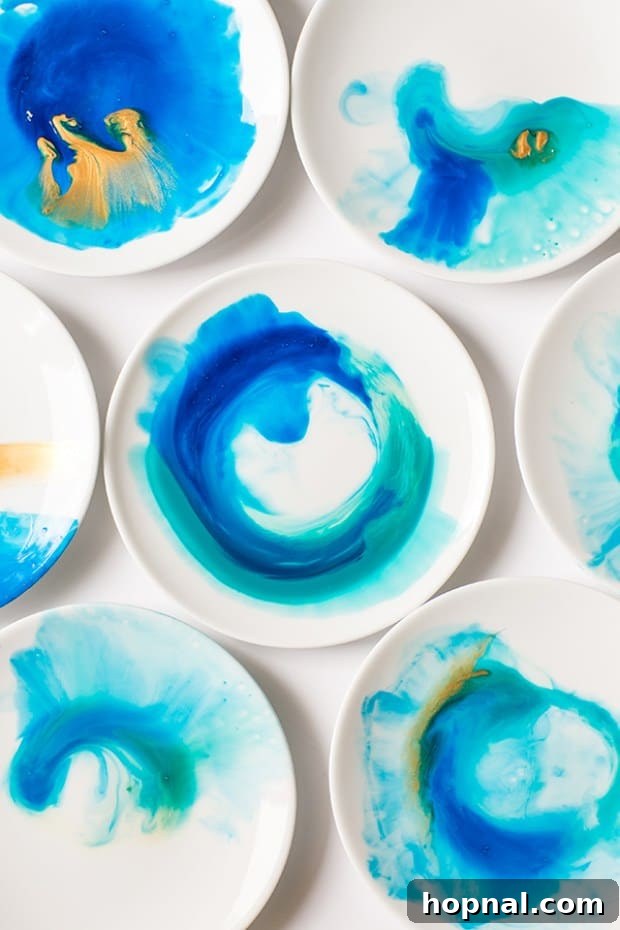
To achieve that coveted watercolor effect, we’ll employ various tools such as brushes, droppers, and even simple sticks, allowing for diverse abstract art techniques. The magic truly happens as the paint spreads and blends, mimicking the delicate washes of traditional watercolors. Once your artistic creations are complete and properly baked, they become fully cured, making them not only safe for everyday use but also conveniently washable in your dishwasher. This means your personalized masterpieces are not just decorative but highly functional, ready to bring joy to countless meals.
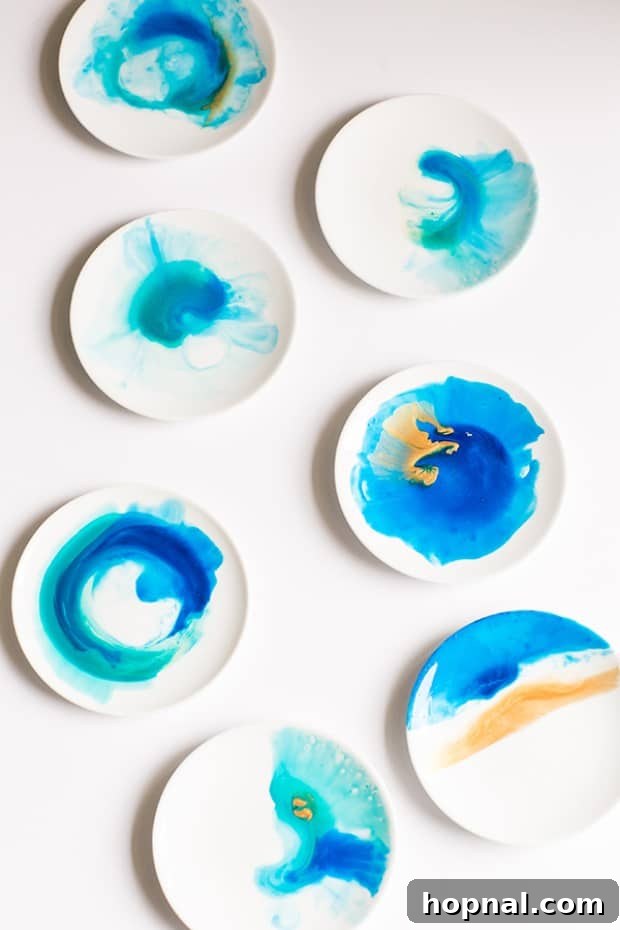
Why Create Your Own Watercolor Plates?
There’s something incredibly satisfying about crafting functional art for your home. DIY watercolor plates offer a plethora of benefits:
- Personalization: Express your individual style and creativity, designing dinnerware that truly reflects you.
- Uniqueness: Own a collection of plates that are truly one-of-a-kind, impossible to find in any store.
- Cost-Effective Decor: Achieve a high-end, designer look without the hefty price tag of specialized artisan ceramics.
- Perfect for Special Occasions: Create themed plates for holidays, birthdays, weddings, or any celebration to make your event even more memorable.
- Thoughtful Gifts: Hand-painted plates make incredibly personal and cherished gifts for friends and family.
- Therapeutic Craft: The process of painting can be a wonderfully relaxing and meditative activity, a great way to de-stress and unleash creativity.
Essential DIY Watercolor Plate Supplies
Gathering the right materials is the first step to a successful and enjoyable crafting experience. Pay close attention to the types of paints and plates, especially concerning food safety and durability.
- Water-Based Porcelain Paint: These paints are specifically formulated for ceramic surfaces and typically require baking to cure.
- Porcelain Oven-Safe Plates: Choose plain white porcelain or ceramic plates. Ensure they are explicitly labeled as “oven-safe.” The smoother the surface, the better the paint will adhere and spread.
- Paint Thinner: A dedicated thinner designed for your chosen porcelain paint is crucial for achieving the translucent, flowing consistency characteristic of watercolors.
- Recommendation Note: While specific brands like Pebeo paints (in turquoise, blue, gold) and their thinner are excellent for this technique, it is paramount to do your own research to ensure the specific paints you select are designated as “food safe” once cured. Not all ceramic paints are safe for direct contact with food, even after baking. Always check manufacturer instructions.
- Paint Brushes: A variety of small to medium brushes will allow for different stroke styles and detail work.
- Small Glass Jars or Mixing Palettes: Essential for mixing your paints with thinner and creating your desired color consistency.
- Droppers/Pipettes: Ideal for precise application and creating distinct drops and swirls of color.
- Wooden Sticks or Spoons: For mixing paint and thinner.
- Rubbing Alcohol or Dish Soap: For thoroughly cleaning your plates before painting.
- Paper Towels or Rags: For cleanup and blotting.
- Protective Surface Cover: To protect your workspace from paint spills.
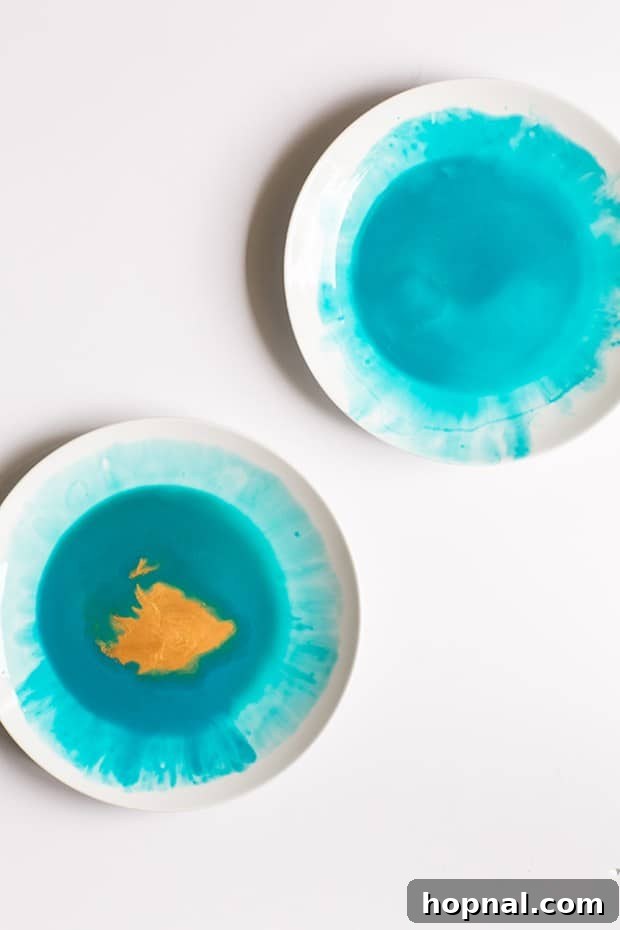
Step-by-Step DIY Watercolor Plate Directions
Follow these steps carefully to achieve beautiful, lasting results for your custom dinnerware.
1. Prepare Your Workspace and Plates
- Choose a well-ventilated area for painting. Cover your workspace with newspaper, a plastic sheet, or an old tablecloth to protect surfaces.
- Thoroughly clean your porcelain plates. Wash them with soap and water, then wipe them down with rubbing alcohol. This removes any grease, dust, or fingerprints that could prevent the paint from adhering properly. Allow them to dry completely.
2. Mix Your Watercolor Paints
- Add a small amount of your chosen porcelain paint color into each small glass jar. Start with about a teaspoon or two.
- Gradually add the paint thinner to each jar. Stir with a wooden stick or spoon. The goal is to achieve a translucent, watercolor-like consistency – not too thick, not too watery. It should flow easily but still hold its color. Experiment with ratios; typically, you’ll use more thinner than paint.
- Mix thoroughly until the paint and thinner are fully combined and smooth.
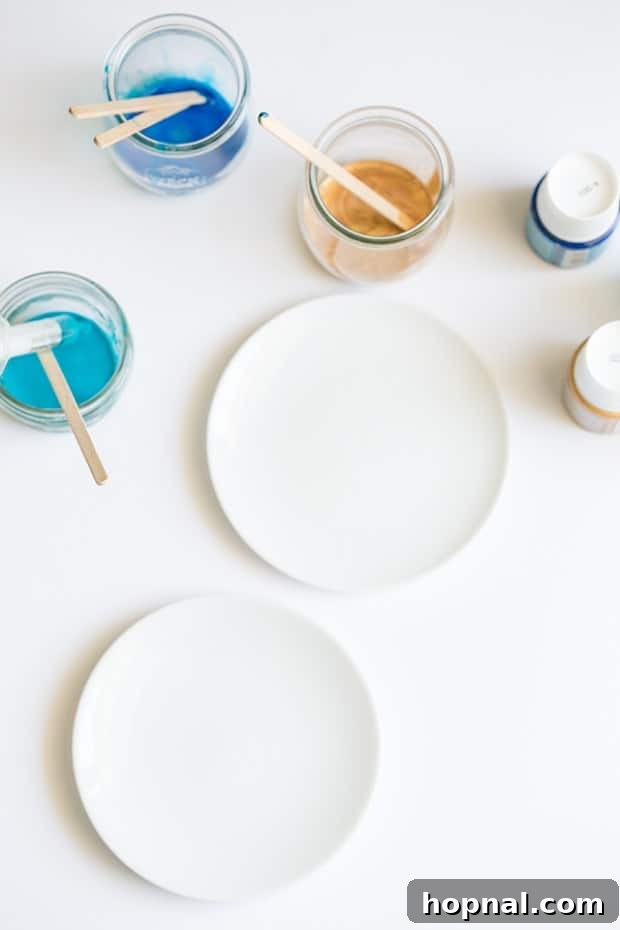
3. Apply the Watercolor Design
- Using a dropper, a paint brush, or even the mixing stick, begin to apply the thinned paint onto a clean plate.
- Techniques to try:
- Dropping: Use a dropper to release small or large drops of paint onto the plate. Watch as they spread and blend.
- Swirling: Gently tilt the plate to allow the paint to run and create organic swirls and patterns.
- Brushing: Use soft brush strokes to create washes or define areas.
- Dabbing: Lightly dab with a brush or sponge for textured effects.
- Layering: Apply one color, let it partially dry (or apply wet-on-wet for blending), then add another color.
- Don’t be afraid to experiment! The beauty of watercolor is its fluid and unpredictable nature. There’s no “wrong” way to create abstract art. Let your creativity guide you.
- For multi-color designs, apply colors near each other and allow them to blend naturally or carefully introduce them with a dropper for distinct areas.
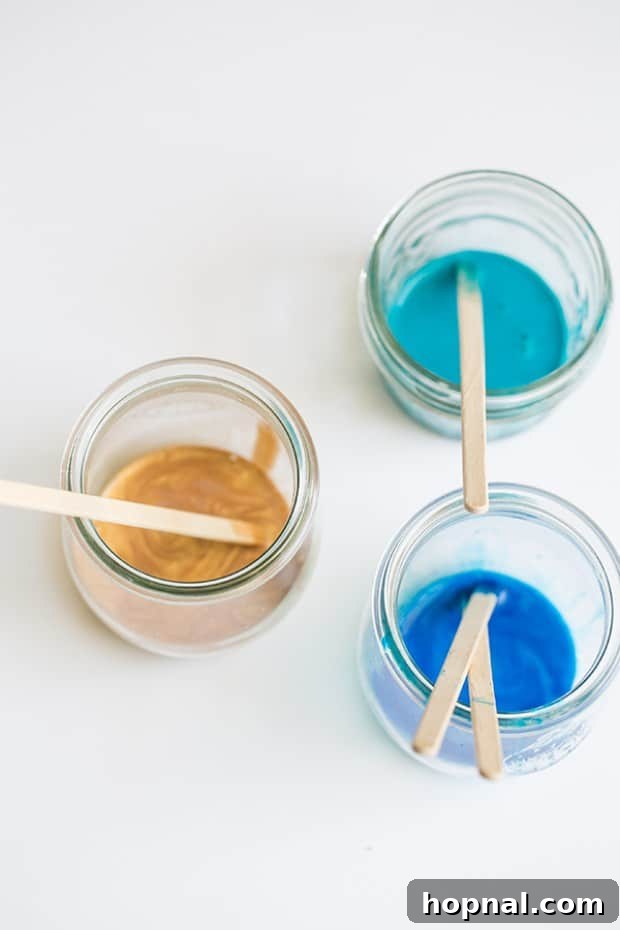
4. Drying and Curing
- Once you’re happy with your design, carefully place the plates in a safe spot where they won’t be disturbed. Let the plates air dry for a minimum of 24 hours. This initial drying period is crucial for the paint to set before baking.
- After the paint is completely dry (24 hours later), preheat your oven to 300 degrees Fahrenheit (approximately 150 degrees Celsius).
- Place your painted plates directly onto the oven rack (or on a baking sheet lined with parchment paper if preferred, though direct contact with the rack is fine) and bake for 35 minutes.
- Once the baking time is complete, turn off the oven and allow the plates to cool down gradually inside the oven. This prevents thermal shock, which could potentially crack the ceramic or the paint.
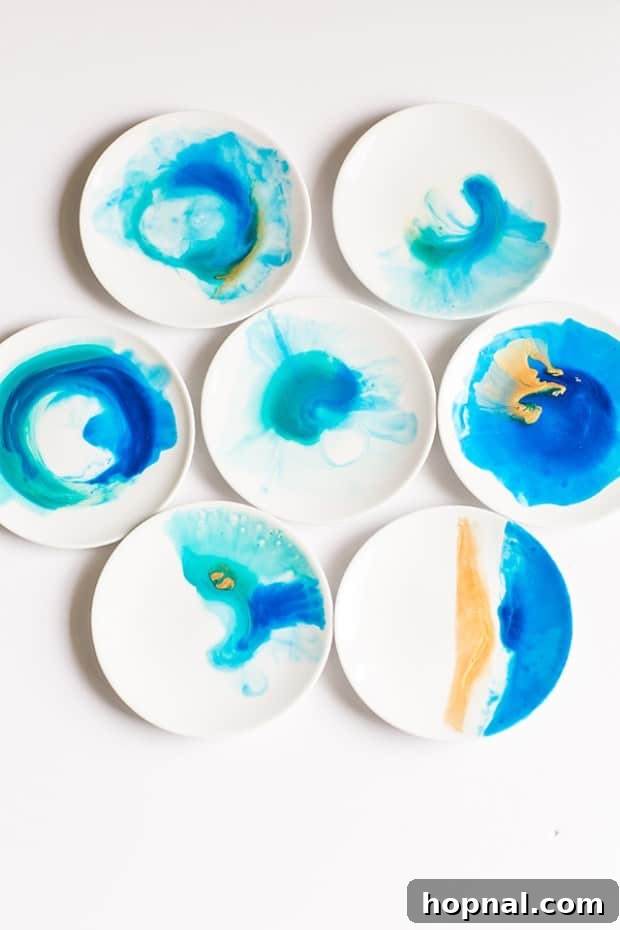
5. Enjoy Your Cured Masterpieces
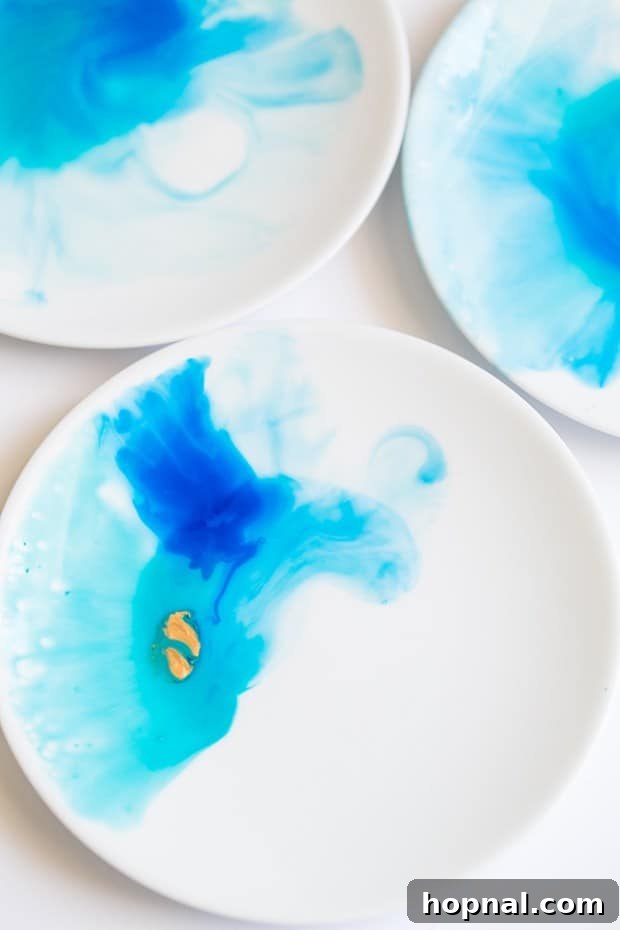
- After cooling, your DIY watercolor plates will be fully cured and ready to use! The baking process chemically bonds the paint to the ceramic, making it durable.
- Your custom plates will now be microwave and dishwasher safe! For longevity, placing them on the top rack of the dishwasher is often recommended for handmade items.
Watercolor Plate Variations & Advanced Tips
The beauty of DIY crafts is the endless potential for customization. Here are some ideas to further explore your creativity:
The “Back-of-Plate” Method for Absolute Food Safety
If you’re concerned about the paint being safe for direct contact with food, even after it’s cured, there’s an excellent alternative method. Instead of using opaque white plates, purchase clear glass or porcelain plates. You can then create your watercolor pattern on the back/bottom of the plate. Once dried and cured, turn the plate over to reveal your beautiful design viewed through the clear surface. This way, you’ll be eating off the clean, unpainted side of the plate, ensuring absolutely no contact with the paint. Here is a good tutorial for that method.
Beyond Dinner Plates
Don’t limit yourself to just plates! This versatile technique can be applied to a wide array of ceramic and glass items:
- Mugs and Teacups: Personalize your morning coffee or tea experience.
- Bowls and Serving Platters: Create matching sets for a cohesive dining collection.
- Vases and Planters: Add artistic flair to your floral arrangements or indoor plants.
- Coasters: Craft unique coasters to protect your furniture.
- Tiles: Paint decorative tiles for backsplash accents or wall art.
Color Theory and Design Inspiration
- Monochromatic: Use different shades of a single color for an elegant, subtle effect.
- Complementary Colors: Experiment with colors opposite each other on the color wheel (e.g., blue and orange, purple and yellow) for vibrant contrast.
- Analogous Colors: Use colors next to each other on the color wheel (e.g., blue, green, and yellow) for a harmonious and flowing design.
- Metallic Accents: Incorporate gold, silver, or copper paints (ensure they are also food-safe if used on the eating surface) for a touch of glamour.
- Seasonal Themes: Create designs inspired by spring pastels, vibrant summer hues, warm autumn tones, or cool winter blues.
Care and Maintenance of Your DIY Plates
Once cured, your watercolor plates are quite durable, but a little extra care can ensure they last for years to come:
- Dishwasher Safety: While baked, food-safe porcelain paints are typically dishwasher safe, handwashing is always the gentlest option for handmade items. If using a dishwasher, place them on the top rack and avoid abrasive detergents.
- Microwave Safety: Most porcelain paints are microwave safe once cured. However, if you used any metallic paints, avoid microwaving as metal can spark.
- Avoid Harsh Abrasives: Do not use scouring pads or harsh abrasive cleaners directly on the painted surface, as this could scratch or wear down the design over time.
More DIY Craft Projects You’ll Love!
If you enjoyed bringing your artistic vision to life with these watercolor plates, you’re in for a treat with these other exciting DIY craft projects:
- DIY Fabric Marbling: Explore another fluid art technique to create stunning patterns on textiles.
- Essential Oil Candles: Craft your own aromatic candles to enhance the ambiance of your home.
- Mini Marble Cake Stands: Add a touch of elegance to your dessert display with these charming stands.
Creating your own DIY watercolor plates is a wonderful way to add a personal and artistic touch to your home. It’s an accessible craft that yields beautiful, functional results, making everyday dining a little more special. We absolutely love seeing your creative endeavors, so if you embark on this project, please share your stunning results! Don’t forget to tag us @sugarandcharm on social media. Happy crafting!