
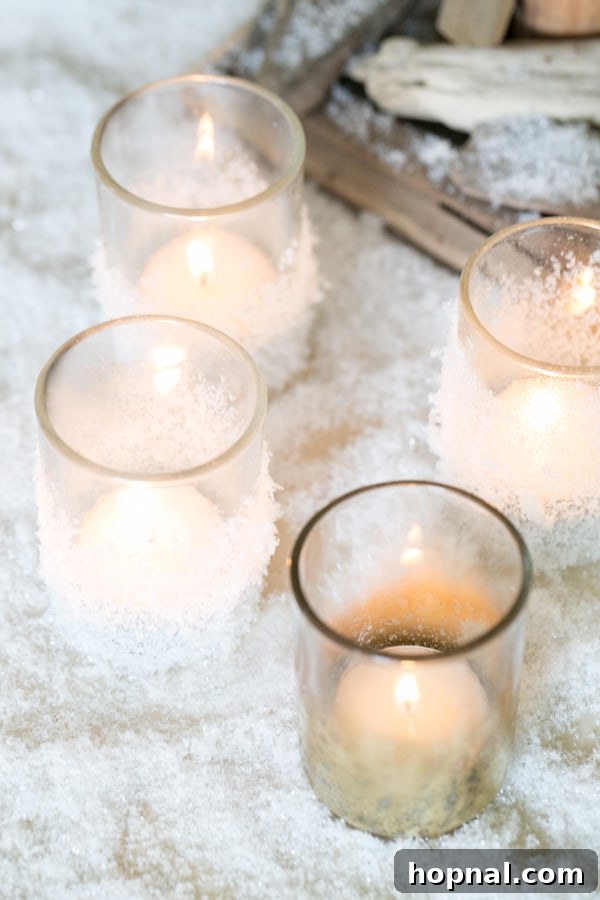
Transform your home into a festive wonderland with these enchanting DIY votive candle holders, perfect for the holiday season! Crafting your own candle holders is a delightful way to infuse a personal touch into your decor and create a warm, inviting ambiance that guests will adore. This guide offers two simple yet stunning craft projects: whimsical snow votives that evoke a winter wonderland and sophisticated gold mercury votives that exude timeless elegance. Get ready to illuminate your celebrations with these handmade treasures!
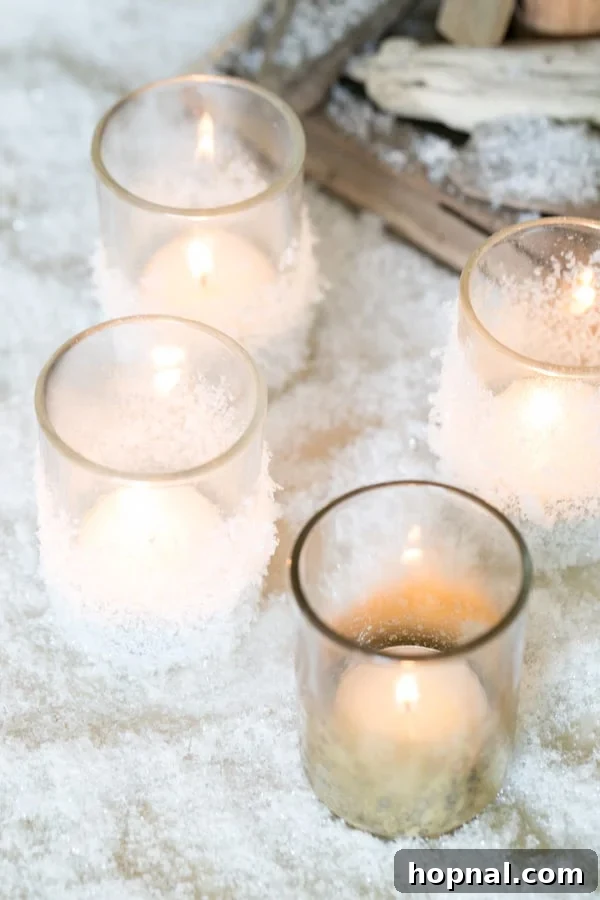
As the holidays draw near, the excitement of crafting unique decorations for our festive gatherings begins. For those of us who dream of a white Christmas – perhaps even in sunnier climates where snow is a rare sight – incorporating snowy elements into our decor is a wonderful way to bring that dream to life. Our extremely easy-to-make snowy votives are designed to grace your tables with a charming wintery touch. But the creativity doesn’t stop there! We’ve also created some dazzling gold mercury-inspired votives, which, surprisingly, are even simpler to craft than their snowy counterparts. Dive into our step-by-step instructions below and let the holiday crafting joy begin!
Why DIY Holiday Votive Candle Holders?
There’s something uniquely special about handmade holiday decorations. DIY votive candle holders offer an unparalleled opportunity to express your creativity, personalize your festive theme, and even save money on decor. Beyond their aesthetic appeal, crafting these holders can be a therapeutic and enjoyable activity, perfect for family bonding or a relaxing solo project. They make excellent thoughtful gifts, allowing you to share a piece of your holiday spirit with loved ones. Moreover, the soft, flickering light of candles held in these custom votives creates an atmosphere of warmth, peace, and celebration that store-bought items simply can’t replicate.
How To Make Holiday Glass Votives: Step-by-Step Guide
Materials You’ll Need:
For Both Projects:
- Clear Glass Votives: Choose sturdy, high-quality glass votives. These are readily available at craft stores, home goods stores, or even dollar stores.
- Protective Covering: Newspaper, drop cloth, or old sheets to protect your work surface.
- Gloves: To keep your hands clean during spraying.
- Well-Ventilated Area: Essential for safe spray paint and adhesive application.
For DIY Snow Votives:
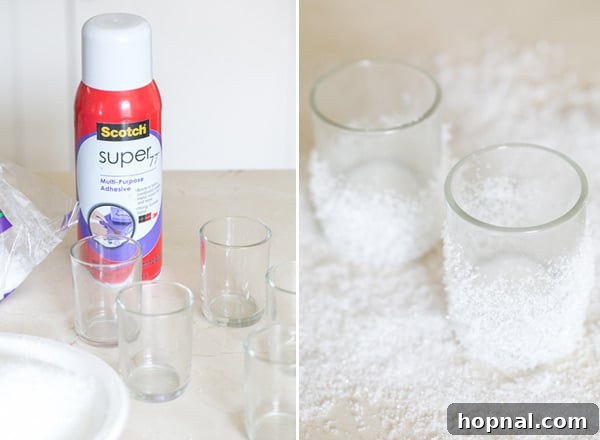
- Fine, Fake Snow: Craft snow or artificial snow flakes, often found in bags at craft stores during the holiday season.
- Spray Adhesive: A strong, clear-drying spray glue that will securely hold the fake snow.
For DIY Gold Mercury Votives:
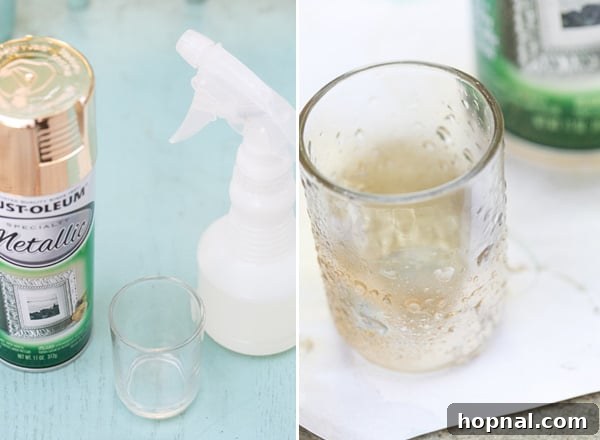
- Metallic Gold Spray Paint: Ensure it’s suitable for glass and provides a rich, metallic finish.
- Spray Bottle with Water: A fine mist spray bottle is ideal for achieving the mercury glass effect.
Crafting Your DIY Snow Votives: A Winter Wonderland Effect
These snowy votives are incredibly easy and bring a touch of frosty charm to any setting. Here’s how to make them:
- Step 1: Prepare Your Votives. Ensure your glass votives are clean and dry. Set up your protected workspace in a well-ventilated area.
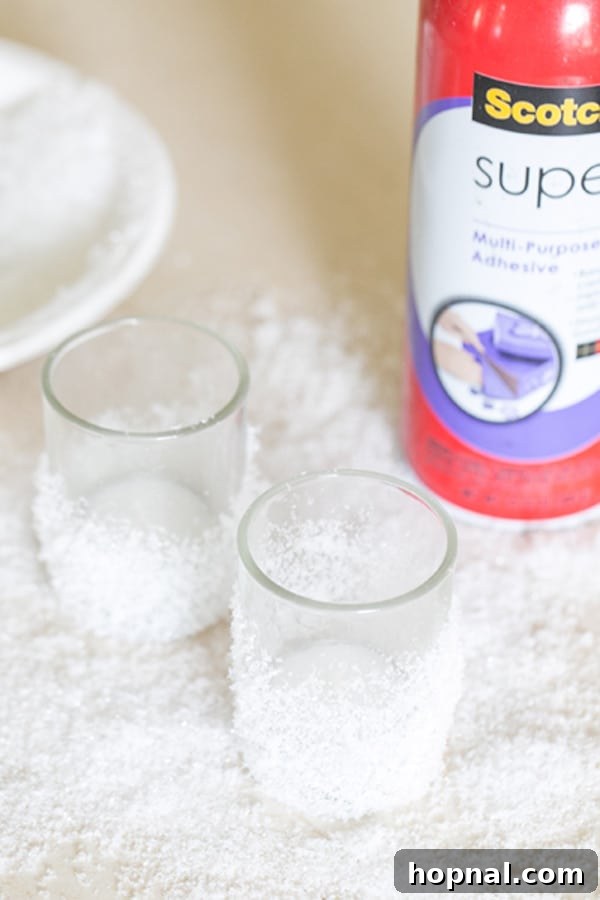
- Step 2: Apply Adhesive. Hold the votive firmly and spray the outside of the glass halfway up with spray adhesive. Apply a generous, even coat to ensure the snow adheres well.
- Step 3: Dip in Snow. Immediately after spraying, gently dip the adhesive-coated part of the votive into a bowl filled with fake snow. Roll and press the votive to ensure full coverage.
- Step 4: Seal the Snow. Once dipped, lightly spray the outside of the votive again with the adhesive. This second coat acts as a sealant, ensuring all the delicate snow particles are firmly secured and won’t flake off easily.
- Step 5: Dry Completely. Place the votives in a safe spot to dry completely. This is crucial for durability and preventing any sticky residue. Depending on your adhesive, this could take a few hours.
Creating DIY Gold Mercury Votives: Elegant & Effortless
For a sophisticated, antique-inspired look, these gold mercury votives are surprisingly simple to achieve and make a stunning impact:
- Step 1: Prep and Paint. Clean your glass votives thoroughly and prepare your well-ventilated spray area. Apply an even coat of metallic gold spray paint to the votive. You can cover the entire votive or just a portion, depending on your desired look.
- Step 2: Create the Mercury Effect. While the gold spray paint is still wet, immediately and lightly mist the painted area with water from your spray bottle. The water will react with the wet paint, causing it to bead and separate, creating that distinct mottled, aged mercury glass appearance. Don’t overdo it with the water; a light mist is all you need.
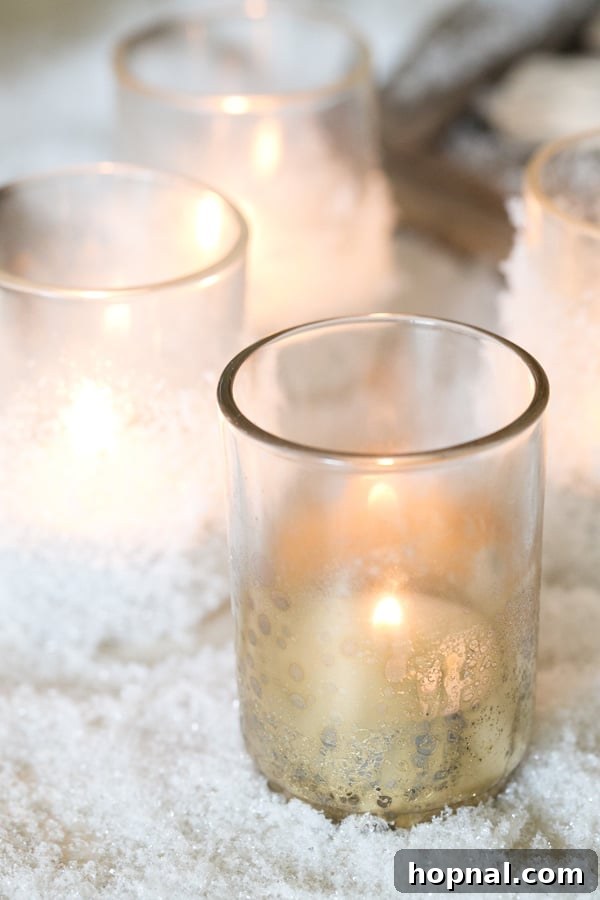
- Step 3: Allow to Dry. Let the votives dry completely. As they dry, the water will evaporate, leaving behind the beautiful, distressed gold mercury effect. Ensure they are fully cured before handling extensively or placing candles inside.
Understanding Votive Candle Holders
Votive candles are specifically designed to liquefy entirely when burned, making them unsuitable for freestanding use. This is where a votive candle holder becomes indispensable. A properly designed votive holder, typically made from high-quality, heavy-duty glass, serves a critical purpose: it contains the melting wax, allowing the candle to pool completely. This pooling maximizes the candle’s burn time and ensures an even, efficient burn, delivering the full aromatic and visual experience intended by the candle maker. Without a holder, a votive candle would quickly melt and spread, potentially creating a mess or a fire hazard. Our DIY projects specifically utilize these sturdy clear glass votives, making them ideal canvases for festive transformations.
Votives vs. Tealight Candles: Clarifying the Distinction
Both votive candles and tealight candles are popular, cost-effective choices for home décor, offering a gentle glow and often lovely scents. However, they have distinct characteristics. The primary difference lies in their design and how they are meant to be burned. Tealights are small, self-contained candles typically poured into a metal or plastic cup. They are designed to burn entirely within this cup and usually require a specific tealight holder if you wish to elevate them or group them for decorative effect. Votive candles, on the other hand, are designed to melt fully into a liquid pool of wax, necessitating a separate, snug-fitting votive candle holder to maintain their shape and optimize their burn. While they serve similar decorative purposes, understanding this distinction ensures you use each type of candle safely and efficiently. Interestingly, these versatile holiday votive holders you’ll create can also comfortably accommodate tealight candles, offering flexibility in your lighting choices.
How Long Do Votive Candles Last? Burn Times Explained
The burn time of a candle can vary significantly based on its size, type of wax, and the presence of a proper holder. For votive candles, a general rule of thumb is that they burn approximately 7 to 9 hours for each ounce of wax they contain. This efficient burn rate is largely attributed to their design, which relies on the holder to create a wax pool that consistently feeds the wick. Tealight candles, being much smaller, have a shorter burn duration, typically ranging from 3 to 6 hours depending on their specific size and wax composition. For your DIY holiday votives, selecting high-quality votive candles will ensure you enjoy many hours of beautiful, flickering light throughout your festive gatherings.

Expert Tips for Crafting Perfect Holiday Votives
Achieving stunning results with your DIY holiday votive candle holders is easy with a few expert insights:
- Always Use Glass Votives: For safety and optimal results, always use actual glass votive holders designed for candles, not just any random glass containers. These are made to withstand the heat of a burning candle.
- Thorough Workspace Preparation: Before you start spraying, meticulously cover all surrounding surfaces with newspaper or a drop cloth. Spray paint and adhesive can travel further than you think and are difficult to remove from unprotected areas.
- Prioritize Ventilation: Always work in a well-ventilated area, preferably outdoors or in a garage with open doors and windows. This minimizes exposure to fumes from spray paint and adhesive.
- Patience is Key for Drying: Ensure your votive candle holders are completely dry and cured before use. This prevents stickiness, ensures durability, and helps to avoid any potential fire hazards from uncured materials near a flame.
- Consider Multiple Coats (Snow Votives): For an extra dense and realistic snow effect on your snow votives, consider applying multiple thin layers of adhesive and snow, allowing each layer to dry slightly before adding the next.
- Experiment with Water (Mercury Votives): For the gold mercury votives, experiment with the amount of water mist. A very fine mist creates subtle speckles, while a slightly heavier mist can produce larger, more pronounced distressed areas. Practice on a spare piece of glass first if you’re unsure.
- Safety First: When using candles, never leave them unattended. Keep them away from flammable materials, drafts, and out of reach of children and pets. Always place votives on a stable, heat-resistant surface.
We hope you enjoy crafting these beautiful holiday votive candle holders! If you make them, please feel free to rate them and let us know how they turned out in the comments below. Your feedback and creations inspire us!
You can also FOLLOW US on FACEBOOK, INSTAGRAM, and PINTEREST to discover more delightful recipes, refreshing cocktails, decadent desserts, and inspiring party ideas!
Holiday Glass Votives
These DIY glass votives are perfect for the holidays! They’re a great way to create a lovely ambiance. Creative holiday candle holders that are so easy to craft! Below are two simple and beautiful craft projects for snow votives and gold mercury votives – have fun!
Course: DIY Crafts
Cuisine: American
Prep Time: 5 minutes
Cook Time: 10 minutes
Dry Time: 30 minutes
Total Time: 45 minutes
Servings: 2 votives
Author: Eden
Ingredients
- Fine, fake snow
- Spray glue adhesive
- Clear glass votives
- Gold metallic spray paint
- Spray bottle filled with water
Instructions
DIY Snow Votives
- Spray the votives halfway up with spray adhesive, then dip immediately into a bowl of fake snow. Gently roll and press to ensure good coverage.
- Spray the outside again lightly with adhesive to seal the snow to the votive. Let them dry completely before using.
Directions for the DIY Gold Mercury Votives
- Spray the votives with metallic gold spray paint, ensuring an even coat.
- While the paint is still wet, lightly mist the painted area with water from a spray bottle to create the mercury effect.
- Let them dry completely.
Notes
The number of votives you choose to make is entirely up to you and your holiday decorating needs!
Tried this Recipe? Tag us Today!
Mention @sugarandcharm or tag us #sugarandcharm!