
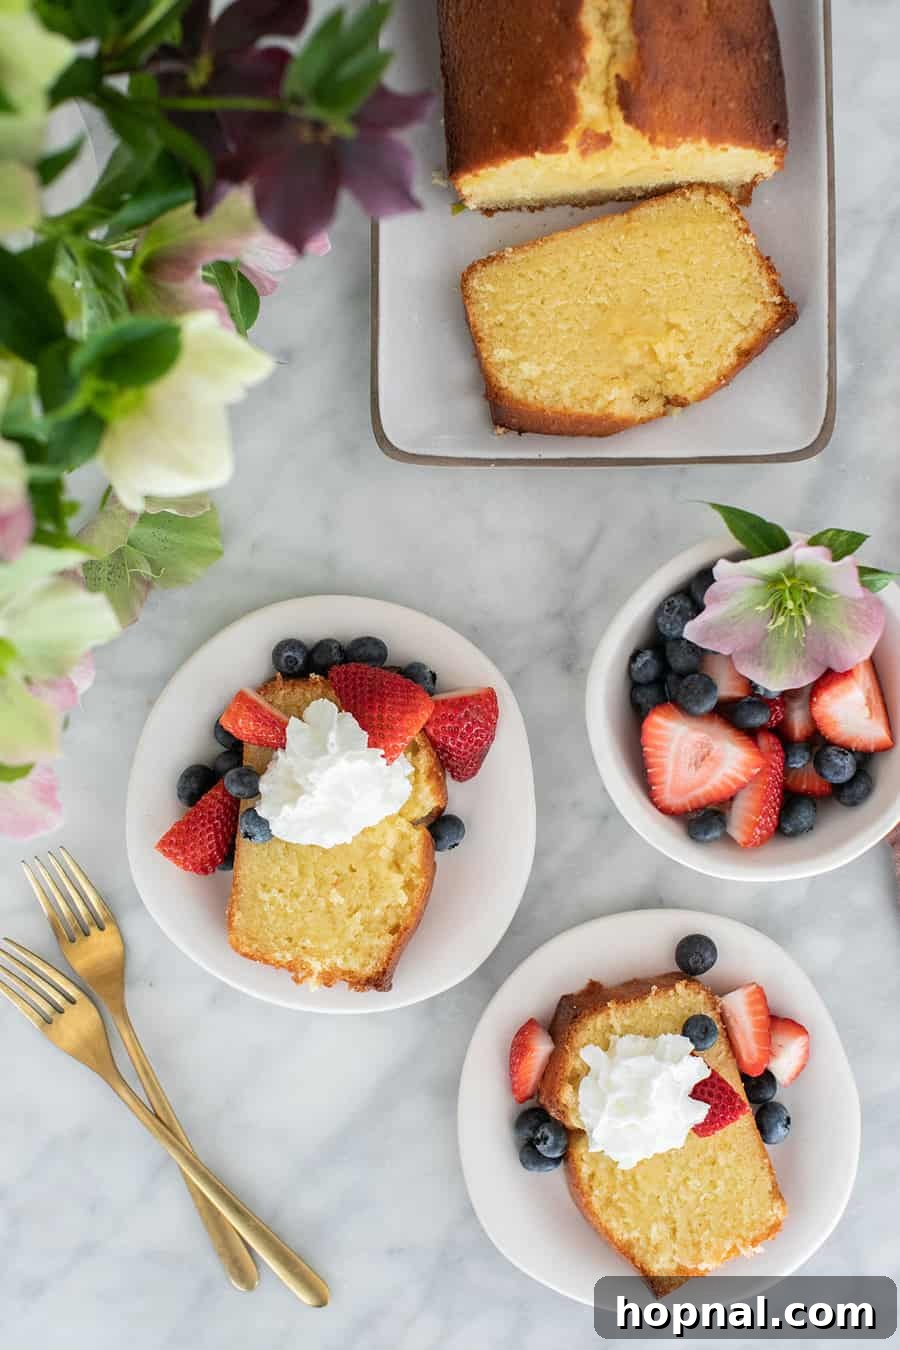
The Ultimate Old-Fashioned Pound Cake Recipe: Buttery, Moist, and Irresistible
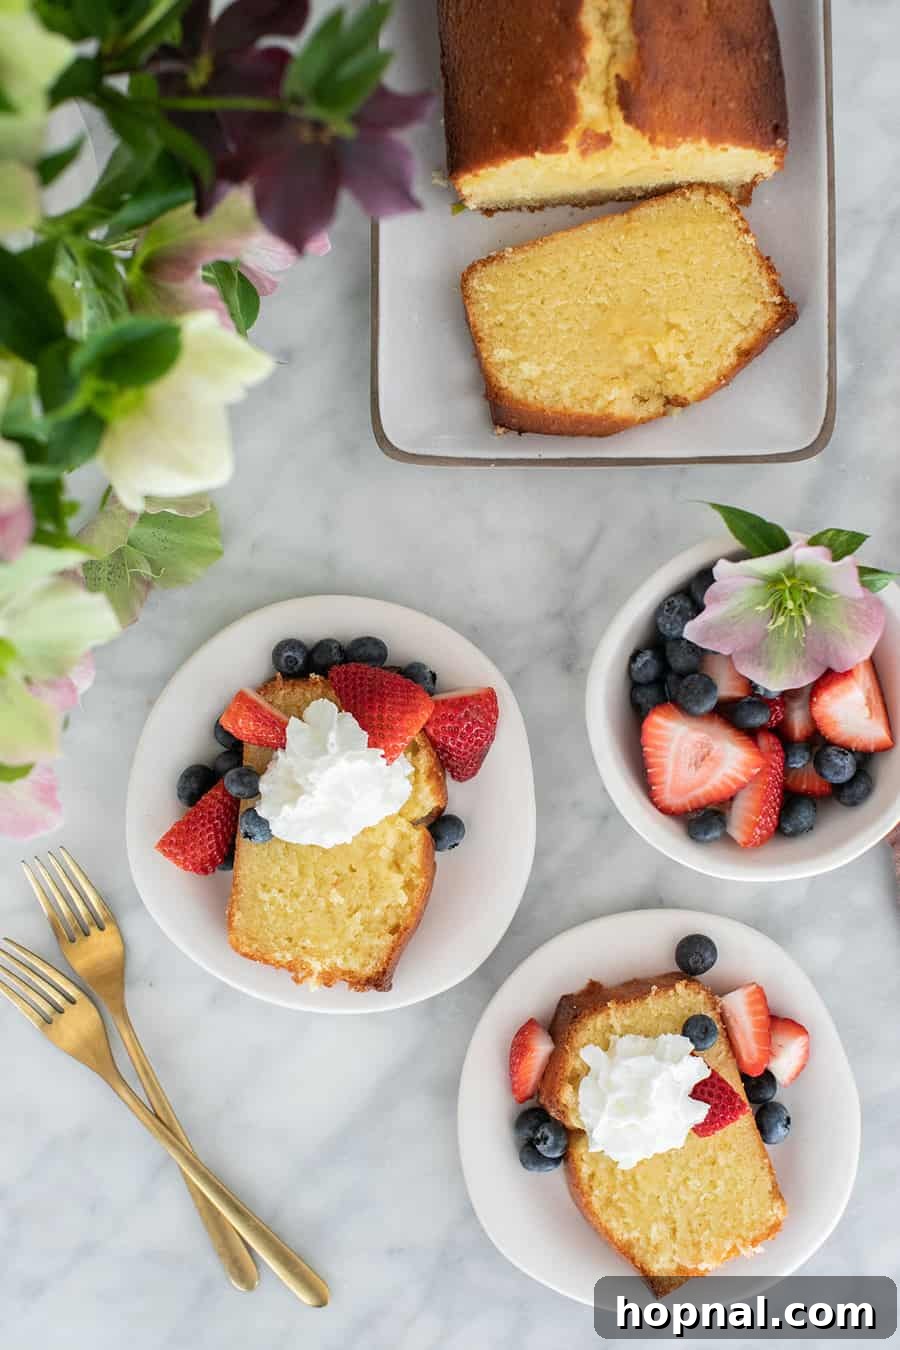
Welcome to the ultimate guide for baking the best old-fashioned pound cake you’ll ever taste! This recipe is a celebration of classic baking, delivering a dessert that is profoundly flavorful, rich with buttery notes, incredibly moist, and wonderfully easy to prepare. Whether you’re an experienced baker or just starting out, this recipe promises a perfect golden crust and a tender, melt-in-your-mouth crumb every time. Imagine a slice served warm with a dollop of freshly whipped cream and a burst of seasonal berries – it’s pure dessert perfection!
If you’re a connoisseur of super moist loaf cakes, don’t stop here! You’ll also adore my tried-and-true banana bread recipe, which consistently receives rave reviews for its exceptional moistness, and my comforting moist pumpkin bread, both guaranteed crowd-pleasers.
⭐️⭐️⭐️⭐️⭐️
“This pound cake is simply divine with its perfect texture and rich flavor. It’s my absolute favorite treat to enjoy with a morning cup of coffee!” – Fay S.
Crafting the Perfect Old-Fashioned Pound Cake: A Modern Twist on a Classic
There’s something truly magical about an old-fashioned pound cake. Its simplicity belies a depth of flavor and a comforting texture that makes it a timeless favorite. My recipe for this old-fashioned pound cake takes the beloved classic and elevates it, ensuring an even richer, more buttery flavor and that coveted perfect golden crust. I’ve subtly modernized the technique to make it softer, more flavorful, and utterly irresistible – without sacrificing its traditional charm.
What makes this pound cake so extraordinarily moist? It’s all thanks to a carefully balanced combination of key ingredients: luscious butter, creamy sour cream, farm-fresh eggs, and wholesome milk. This quartet is my secret weapon for achieving unparalleled texture and flavor in all my loaf cakes. This tried-and-true approach never fails, and you’ll find similar success in my popular coconut loaf cake and my famously moist banana bread recipes.
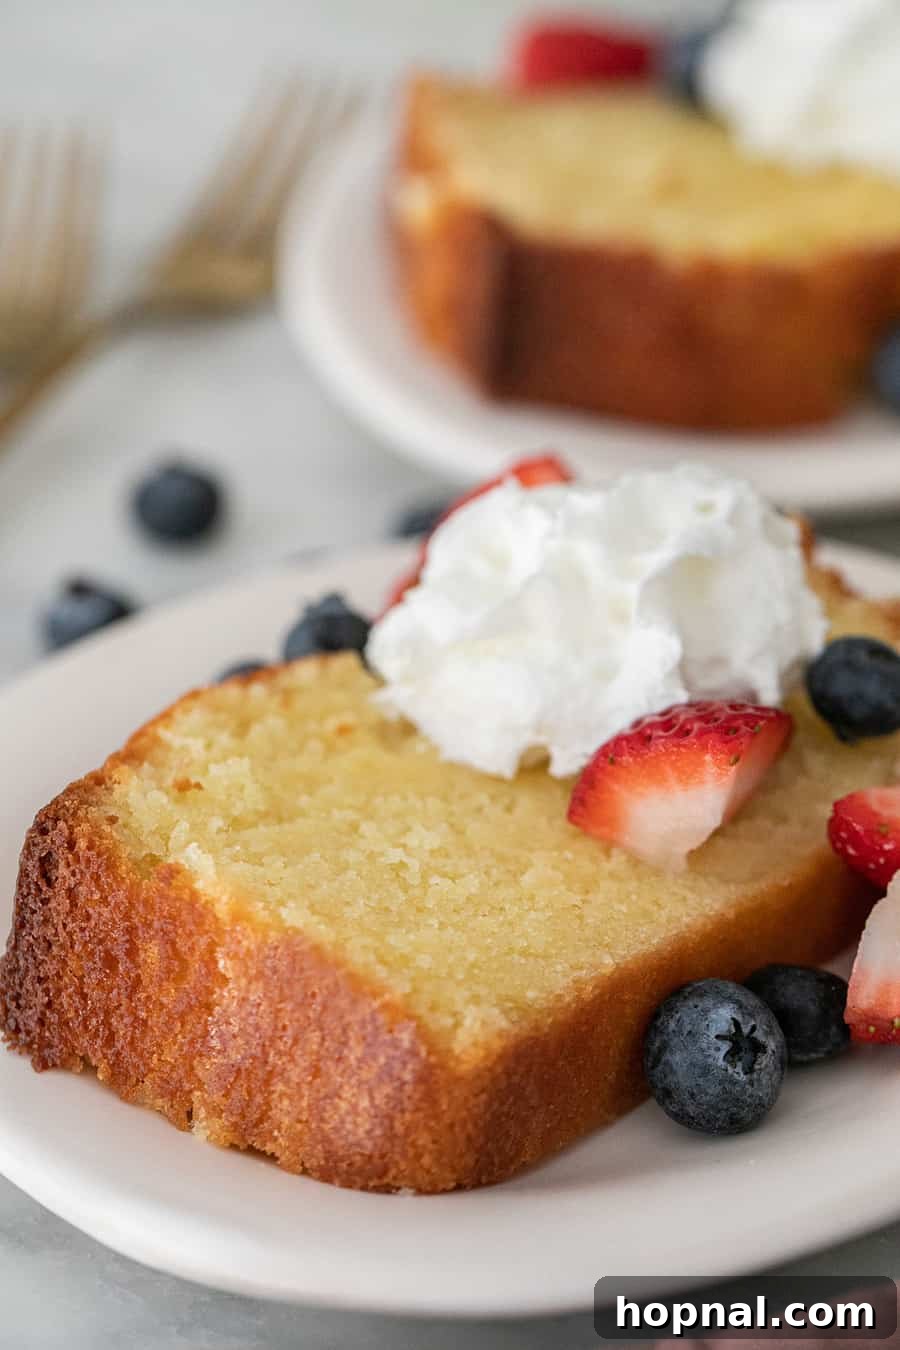
This versatile dessert isn’t just a treat; it’s an experience. It stands beautifully on its own, but truly shines when paired with fresh seasonal berries and a generous dollop of homemade whipped cream. Beyond everyday indulgence, it makes a stunning centerpiece for a dessert charcuterie board, nestled alongside delightful shortbread cookie bars or a cozy tray of butterless chocolate chip cookies for a truly memorable spread.
Essential Ingredients for Your Perfect Old-Fashioned Pound Cake
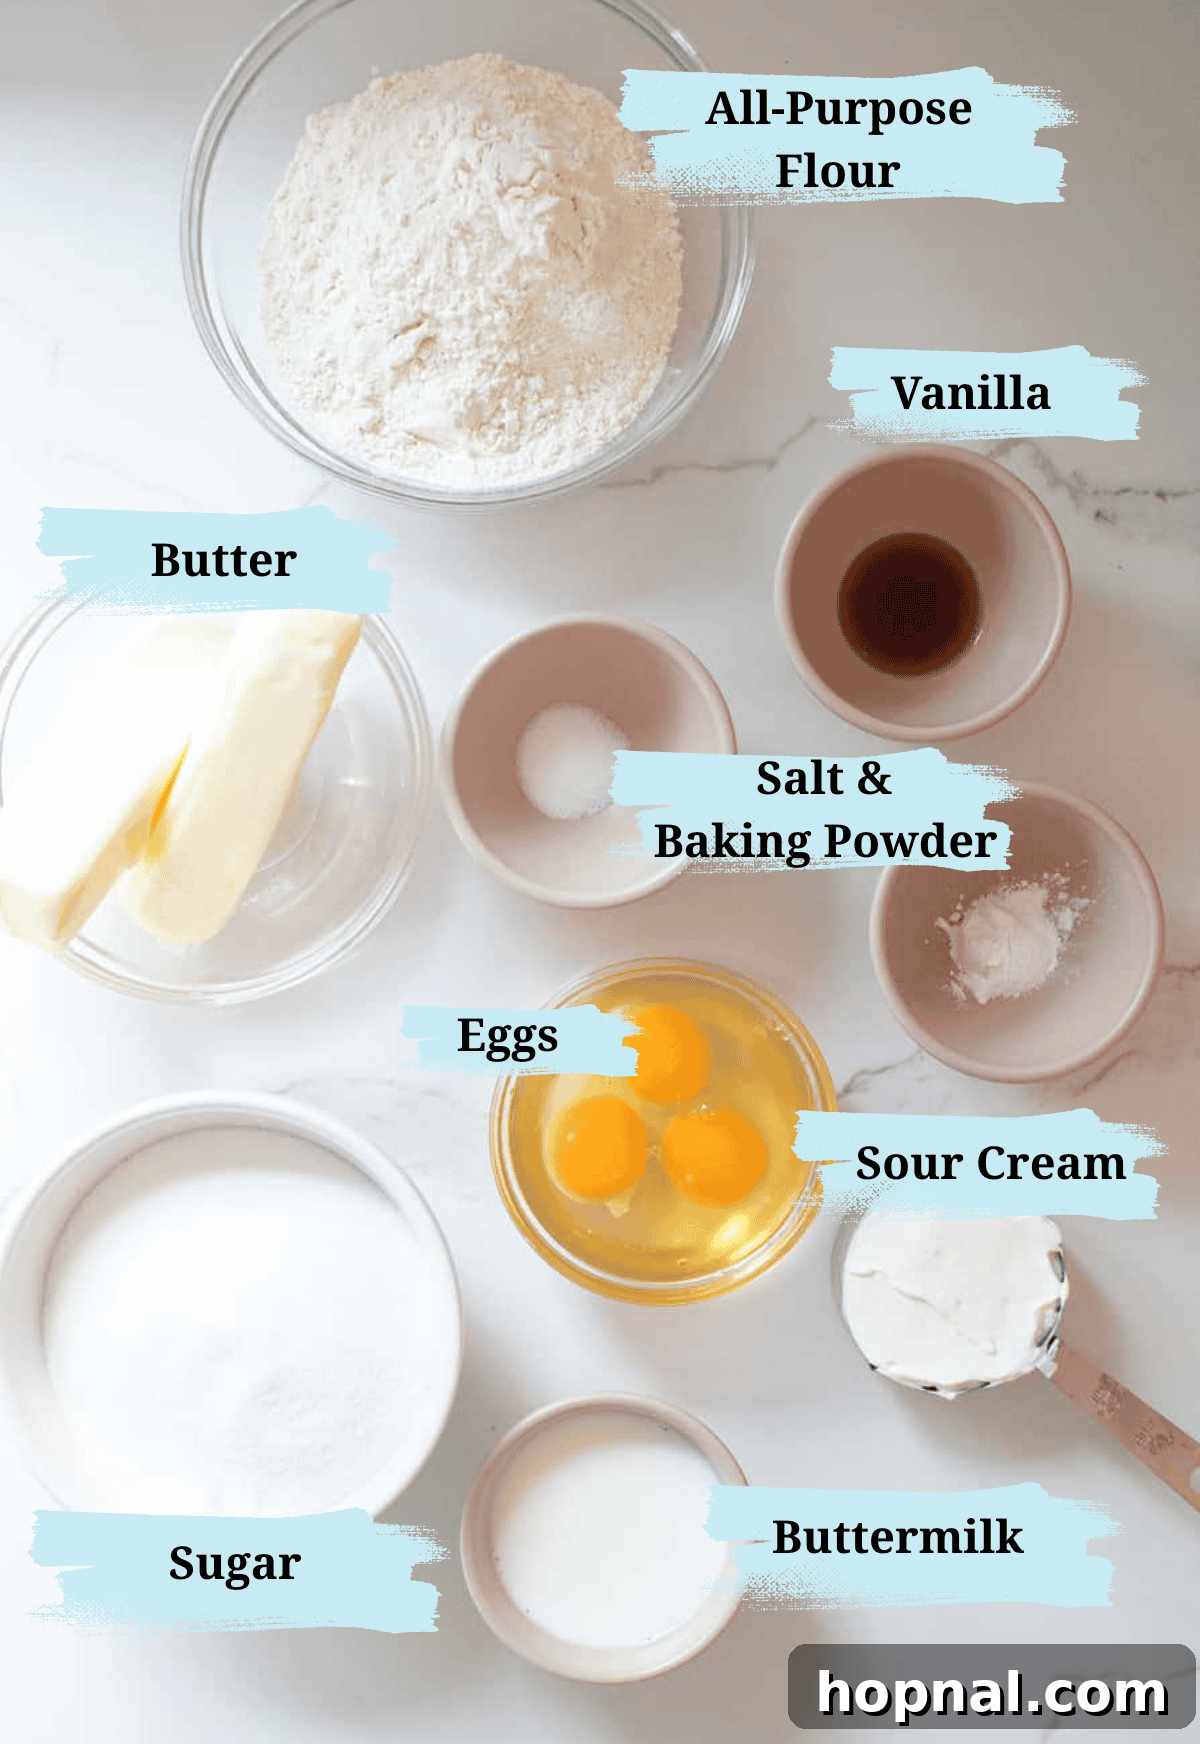
Each ingredient plays a crucial role in the symphony of flavor and texture that defines an authentic pound cake. Using high-quality ingredients and preparing them correctly is key to achieving that perfect result.
Butter – This is, unequivocally, a butter pound cake, and its richness is non-negotiable! I always opt for unsalted, organic butter to ensure the purest, most superior flavor. The most critical aspect is its temperature: it must be very soft, but never melted. This allows it to cream beautifully with the sugar, incorporating air and creating a light, fluffy base. We generously use two sticks (one cup) – no skimping here, as butter is the heart of this recipe!
Eggs – Large, organic eggs at room temperature are essential. They contribute significant richness to the cake, adding moisture and helping to emulsify the batter, binding all the ingredients together seamlessly. Room temperature eggs also integrate more smoothly into the creamed butter and sugar, preventing the batter from curdling and ensuring a uniform, tender crumb.
Granulated Sugar – Classic white granulated sugar is all you need. It provides the ideal level of sweetness and, crucially, contributes to that delightful caramelized edge and golden-brown crust we all adore. Beyond sweetness, sugar also helps tenderize the cake and retains moisture.
All-Purpose Flour – Forget fancy cake flour; good old all-purpose flour works perfectly here. The key is to measure it correctly: scoop the flour into your measuring cup and then level it off with a straight edge to avoid packing it too densely. This method gives the cake excellent structure while maintaining a soft, tender texture. For the best quality and consistent results, I highly recommend using King Arthur Flour.
Sour Cream – Ah, my not-so-secret secret for an unbelievably moist and tender crumb! Sour cream adds a delicate tang and a tremendous amount of moisture without making the cake greasy. Its acidity also reacts with the baking powder, enhancing the cake’s lift and tenderness. If sour cream isn’t available, full-fat Greek yogurt makes an excellent substitute, performing beautifully and yielding similar fantastic results!
Milk – I prefer to use whole milk or 2% milk for a little extra moisture and to enrich the overall flavor profile. It helps create a silky-smooth batter and contributes to the cake’s luxurious texture.
Vanilla Extract – A splash of pure vanilla extract is indispensable for any classic cake. It enhances all the other flavors, adding warmth and depth to the buttery sweetness. Always use a good quality vanilla for the best aromatic impact.
Baking Powder & Salt – While traditional pound cakes relied solely on eggs for leavening, a touch of baking powder gives this modern version a slightly lighter, softer lift without compromising density. Salt, often overlooked, balances the sweetness and brings out the full spectrum of flavors, making the cake taste even richer.
Step-by-Step Guide: How to Bake the Best Old-Fashioned Pound Cake
Baking this old-fashioned pound cake is a delightful process, and following these steps carefully will ensure a flawless, delicious result. The key is to pay attention to details, especially the mixing stages, which build the cake’s tender structure.
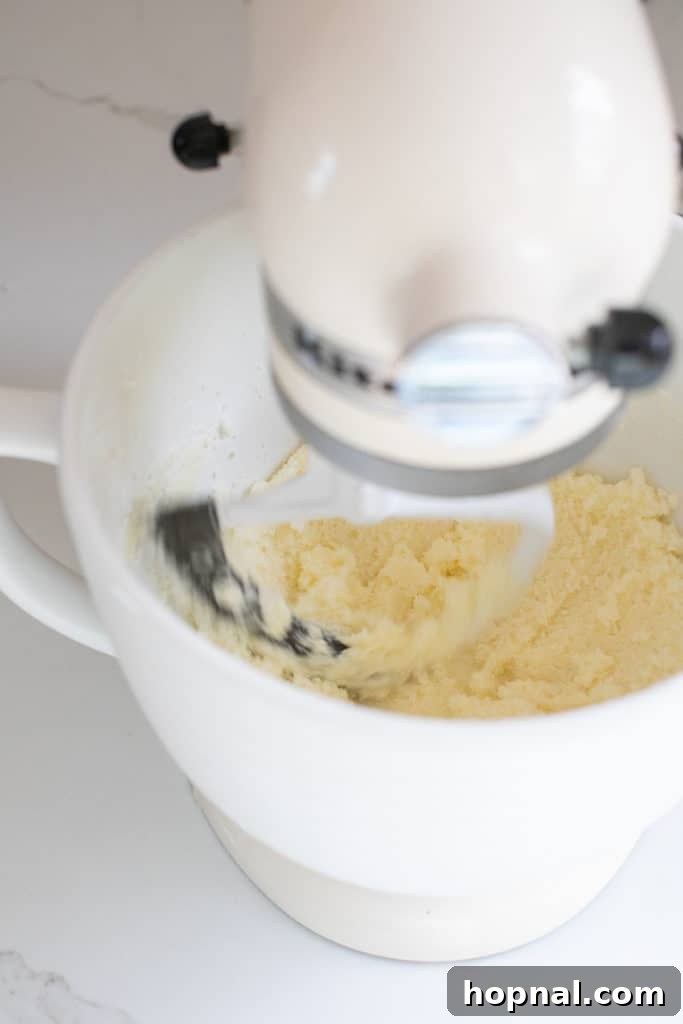
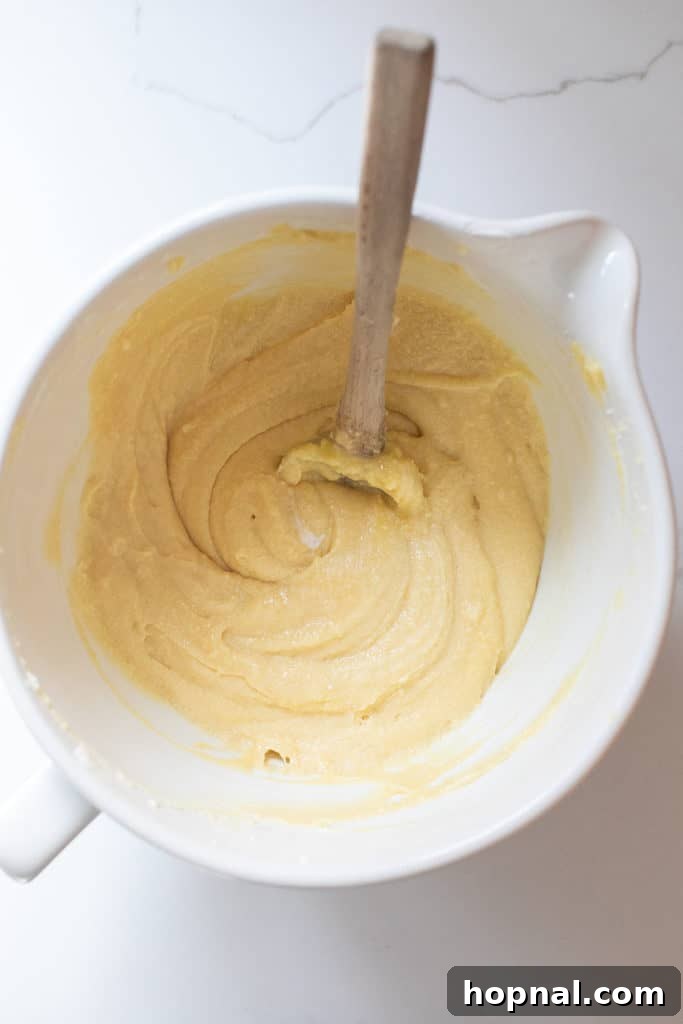
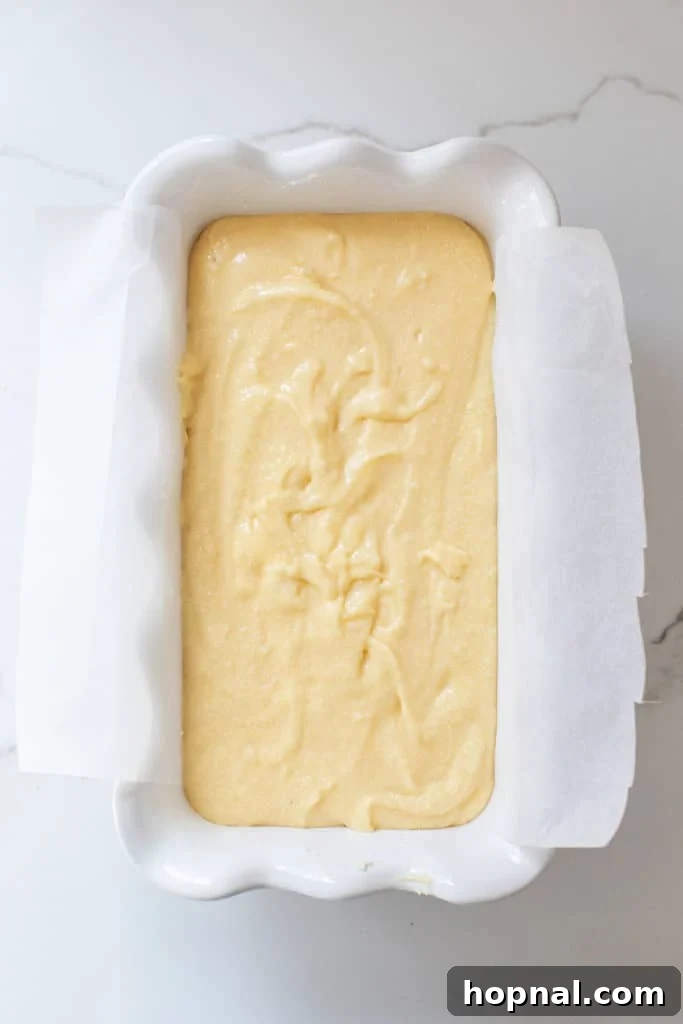
- Prepare Your Oven and Pan: Begin by preheating your oven to 350°F (175°C). Next, generously butter a standard loaf pan (9×5 inches). To ensure effortless removal, line the pan with a strip of parchment paper, allowing it to overhang on the long sides. This creates convenient “handles” to lift the cake out once baked. I particularly love using my Emile Henry ruffled pan for its even baking and beautiful presentation!
- Cream the Butter: In a large mixing bowl, using a stand mixer fitted with the paddle attachment (or a hand mixer), beat the softened butter on high speed for approximately 3 minutes. The goal here is to whip enough air into the butter until it becomes visibly light, pale, and fluffy. This aeration is crucial for a tender crumb.
- Gradually Add Sugar: With the mixer still running on high, slowly add the granulated sugar to the creamed butter, a spoonful at a time. Do not rush this step! This slow addition allows the sugar granules to dissolve into the butter and creates a stable, airy emulsion, which significantly impacts the cake’s final texture and moistness. Continue mixing for another 2-3 minutes until the mixture is very light and creamy.
- Incorporate Eggs Individually: Add the room temperature eggs one at a time, beating well after each addition. Mix for about 1 minute after each egg, scraping down the sides of the bowl thoroughly between additions to ensure everything is fully incorporated. The total mixing time for the eggs should be about 3 minutes. This gradual process helps to maintain the emulsification and prevents the batter from separating.
- Fold in Sour Cream: Once the eggs are fully incorporated, mix in the sour cream until just combined. Be sure to scrape down the sides of the bowl once more to ensure an even mixture. The sour cream is vital for moisture and tenderness, so ensure it’s evenly distributed.
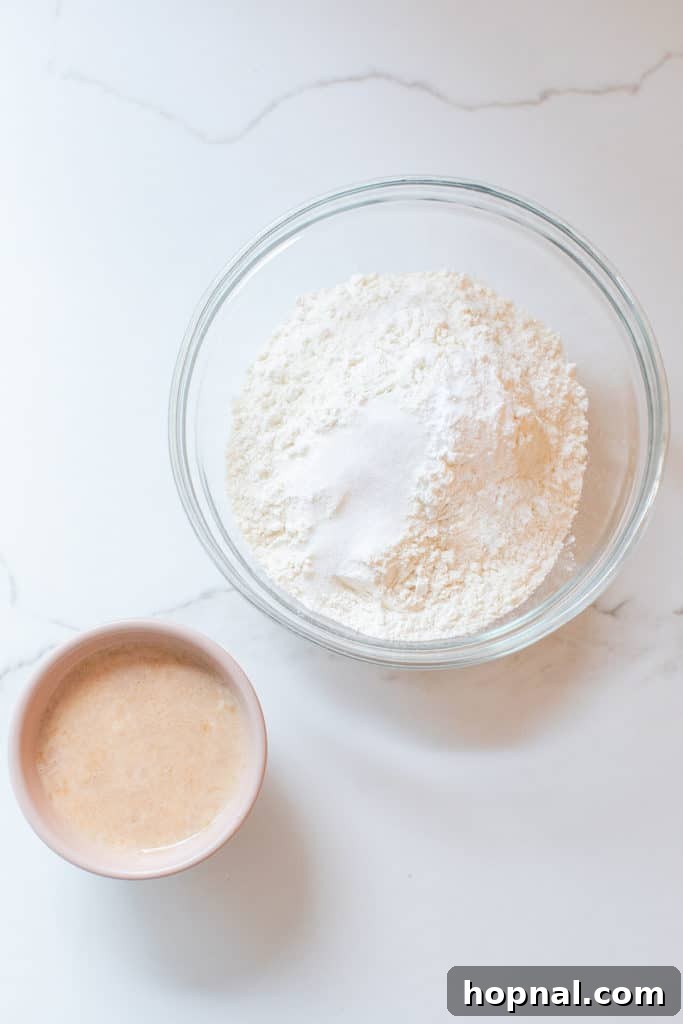
- Prepare Dry and Wet Ingredients: In a separate medium bowl, whisk together the all-purpose flour, salt, and baking powder until well combined. This ensures the leavening agent and salt are evenly dispersed throughout the dry ingredients. In a small bowl, stir the vanilla extract into the milk.
- Alternate Wet and Dry Additions: With your mixer on low speed, begin adding the dry ingredients to the wet batter, alternating with the milk mixture. Start and end with the dry ingredients (e.g., add 1/3 dry, then 1/2 milk, then 1/3 dry, then remaining milk, then final 1/3 dry). Mix until just combined after each addition. Be careful not to overmix, as this can develop the gluten in the flour too much, leading to a tough cake.
- Final Mix and Pour: Give the batter a final gentle mix on low speed for just a few seconds, then use a spatula to scrape down the sides and bottom of the bowl one last time, ensuring everything is perfectly combined. Pour the smooth, creamy batter into your prepared loaf pan. Only fill the pan about ¾ full to allow for proper rising. If you have any leftover batter, you can discard it or bake it in a small ramekin.
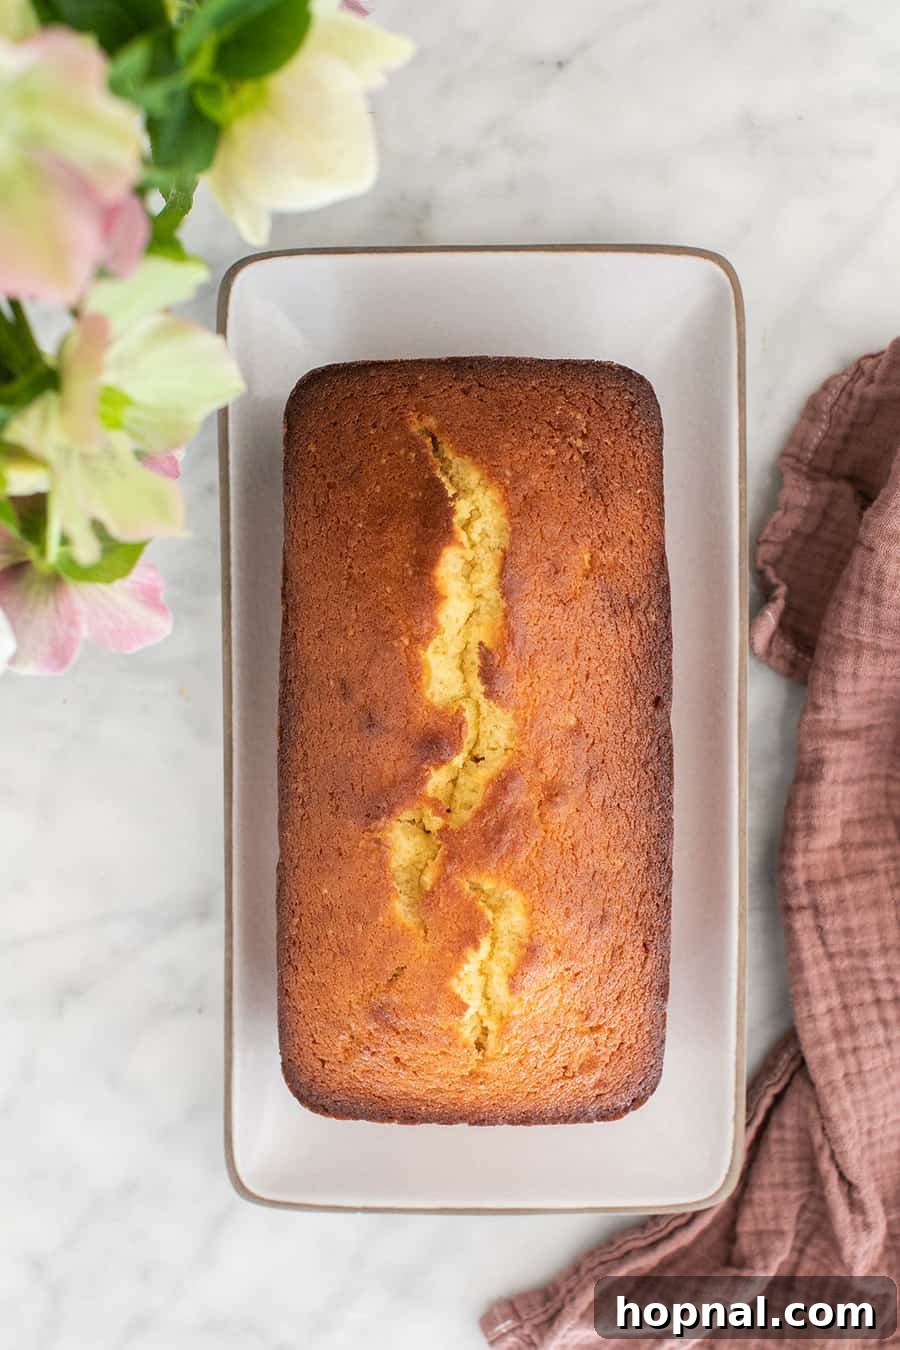
- Bake to Golden Perfection: Place the loaf pan in the preheated oven and bake for approximately 70 minutes. Baking times can vary depending on your oven and the material of your pan, so start checking for doneness around the 50-minute mark. The cake is ready when the center is set, springs back lightly when touched, and the top is beautifully golden brown. A toothpick inserted into the thickest part of the center should come out clean or with only a few moist crumbs attached.
Pro Tips for Achieving Your Best Pound Cake Yet
Mastering the pound cake is all about a few key techniques. These pro tips will help you bake a consistently perfect, tender, and moist loaf every single time:
Whip the Butter and Sugar Thoroughly: This is arguably the most crucial step for a light, tender crumb. Beat the softened butter on high speed until it’s light and fluffy. Then, slowly, almost painstakingly, add the granulated sugar while continuing to beat. This process incorporates air and creates tiny pockets that contribute to the cake’s delicate structure. Don’t rush this stage; it can make all the difference!
Choose the Right Pan: A heavy-duty ceramic or cast-iron loaf pan, like the Emile Henry, bakes more evenly than thin metal pans. The ceramic material conducts heat gently and consistently, which helps create that desirable thick, golden crust and prevents the edges from over-browning before the center is cooked through.
Monitor Baking Time Closely: While 70 minutes is a general guideline, baking time can vary significantly based on your oven’s calibration, humidity levels, and the specific pan you’re using. Begin checking your pound cake at around 50-55 minutes. Insert a clean wooden skewer or toothpick into the center; it should come out clean or with just a few moist crumbs attached, indicating it’s perfectly done.
Cool Properly for Easy Release: Resist the urge to immediately remove the cake from the pan. Allow it to rest in the loaf pan for 15–20 minutes on a wire rack. This allows the cake to firm up slightly and cool enough to prevent tearing. Then, use the parchment paper overhang to gently lift the cake out cleanly onto the rack to cool completely. Cooling on a rack ensures air circulation, preventing a soggy bottom.
Consider a Simple Glaze: For an extra touch of elegance and flavor, whip up a quick glaze. Combine 1 cup of powdered sugar with 1 tablespoon of warm water and 1 teaspoon of your favorite extract (lemon, almond, lavender, or classic vanilla all work wonderfully). Whisk until smooth and drizzle generously over the cooled cake for a beautiful finish.
Elevate Your Serving Style: While delicious on its own, a slice of pound cake can be dressed up for any occasion. Serve it with a cloud of fresh whipped cream and a medley of seasonal berries, a scoop of creamy vanilla bean ice cream, or a luxurious drizzle of homemade caramel sauce or rich homemade chocolate ganache.
Infuse Citrus for a Zesty Twist: For a bright, refreshing variation, make it lemony! Add 2 tablespoons of finely grated lemon zest to the sugar and butter mixture, and substitute 2 tablespoons of fresh lemon juice for an equal amount of milk. This will give your pound cake a vibrant, tangy flavor that’s perfect for spring and summer.
Don’t Overmix: After adding the flour, mix only until the ingredients are just combined. Overmixing develops the gluten in the flour, which can lead to a dense, tough cake rather than the desired tender crumb.
Room Temperature Ingredients: Always ensure your butter, eggs, and sour cream are at room temperature. This allows them to emulsify properly, creating a smooth, homogenous batter that holds more air and bakes more evenly. Cold ingredients can cause the batter to curdle and result in a denser cake.
Frequently Asked Questions About Pound Cake
The name “pound cake” dates back to the 18th century, referring to the traditional recipe that called for a pound each of butter, sugar, eggs, and flour. This simple, yet rich, proportion created a truly substantial and flavorful cake. While most modern versions, like this one, use smaller, adjusted measurements for various pan sizes and slightly lighter textures, the classic name has endured, honoring its humble, foundational origins.
While both are rich, buttery cakes, pound cake is traditionally denser and more substantial due to its classic 1:1:1:1 ratio of flour, butter, sugar, and eggs. Butter cakes, on the other hand, often incorporate a higher ratio of leavening agents (like baking powder and baking soda) and sometimes more liquid, resulting in a lighter, fluffier crumb. Pound cake prioritizes a rich, tight crumb, whereas butter cake aims for a softer, airier texture. Both are delicious, but pound cake offers a more robust and satisfying experience.
I consistently achieve the best results with good quality all-purpose flour. Its protein content provides enough structure for the dense cake without making it tough. For an even finer, more tender crumb, you can sift the flour before mixing. If you’re particular about brands, I’m a strong advocate for King Arthur Flour for its consistent quality.
To keep your pound cake fresh and moist, wrap it tightly in plastic wrap once it has completely cooled, or place it in an airtight container. Stored at room temperature, your cake will maintain its deliciousness for up to one week. Avoid refrigeration, as it can dry out the cake prematurely.
Absolutely! Pound cake freezes beautifully, making it perfect for meal prepping desserts or saving for a special occasion. Ensure the cake is completely cooled and, importantly, do not glaze it before freezing. Wrap it securely in plastic wrap, then an additional layer of aluminum foil, and freeze for up to 2 months. Thaw at room temperature for several hours or overnight before slicing and serving.
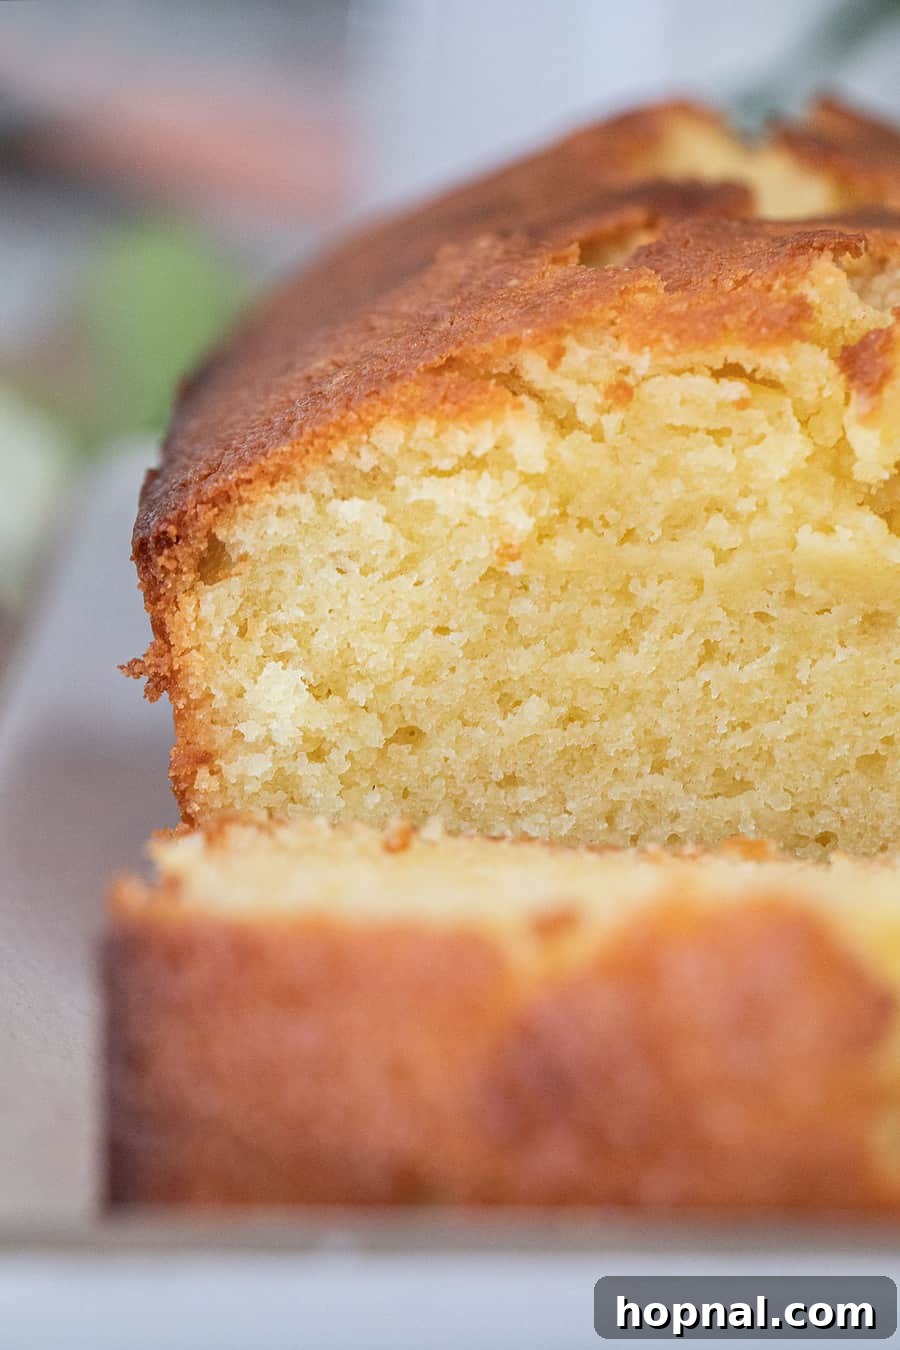
Several indicators point to a perfectly baked pound cake. First, observe the center of the cake; it should have risen nicely to form a domed top and boast a beautiful golden-brown color. The edges should also be pulling slightly away from the pan. The most reliable method is the toothpick test: insert a wooden toothpick or cake tester into the thickest part of the cake’s center. If it comes out clean, or with just a few moist crumbs attached, your cake is done. If it has wet batter, continue baking for a few more minutes and retest.
A dense pound cake is usually a result of either under-creaming the butter and sugar or overmixing the batter after the dry ingredients have been added. The initial creaming step is vital for incorporating air, which gives the cake its tender texture. Rushing this can lead to a flat cake. Conversely, once the flour is added, overmixing can develop too much gluten, making the cake tough and dense. Always take your time with the creaming step and mix just until combined for the fluffiest, most tender result.
Sifting the flour helps to aerate it and remove any lumps, contributing to a finer, more tender crumb in your pound cake. If you have the time and a sifter, it’s a worthwhile extra step! However, if you’re in a hurry, simply ensure you measure your flour correctly by spooning it into the measuring cup and leveling it off, rather than packing it down.
Yes, absolutely! Full-fat Greek yogurt is an excellent substitute for sour cream. It provides similar moisture, richness, and a slight tang, ensuring your cake still achieves that wonderfully moist and tender texture without compromise.
Yes! This recipe adapts beautifully to a bundt pan. You’ll want to ensure your bundt pan is thoroughly greased and floured to prevent sticking. The baking time may need to be adjusted; it could potentially be slightly longer or shorter depending on the specific size and design of your bundt pan. Always use the toothpick test to confirm doneness.
Cracking on top of a pound cake is actually a desirable characteristic, often indicating a well-made cake! It happens when the exterior of the cake sets faster than the interior, causing the center to push up and crack as it continues to rise. It’s a sign of good leavening and doesn’t affect the quality or taste of the cake. In fact, many bakers aim for this classic look!
More Delicious Loaf Cake Recipes You’ll Love
Breads
Moist Pumpkin Bread Recipe
Main Courses
Super Moist Banana Bread Recipe
Recipes
The Best Coconut Loaf Cake
Breads
Easy Monkey Bread Recipe
There’s just something profoundly special and comforting about a homemade pound cake. Its timeless appeal makes it perfect for almost any occasion – whether you’re serving it for a leisurely brunch, bringing it as a thoughtful gift to a potluck, or simply enjoying a quiet slice with your morning coffee. This classic dessert truly never goes out of style and will always be met with smiles.
If you take the time to bake this delightful old-fashioned pound cake recipe, I would absolutely love to hear your thoughts! Please feel free to leave a comment and a star rating below. Your feedback truly makes my day and helps other bakers discover this wonderful recipe!
Old-Fashioned Pound Cake
Print Recipe
Ingredients
- 1 1/2 cups all-purpose flour
- 1 tsp salt
- 1 tsp baking powder
- 1 cup butter, unsalted, room temperature
- 1 1/2 cups granulated sugar
- 3 eggs
- 1/2 cup sour cream
- 1/4 cup milk
- 1 tsp vanilla extract
Instructions
-
Preheat the oven to 350°F (175°C).
-
Generously butter a loaf pan (9×5 inches) and line the bottom and long sides with parchment paper, leaving an overhang to easily lift the cake out later. This preparation step ensures your cake releases perfectly. We particularly recommend the Emile Henry Ruffled Loaf Pan for its even baking qualities.
-
In a medium mixing bowl, combine and whisk together the dry ingredients: all-purpose flour, salt, and baking powder. Set this mixture aside for later.
-
In a large mixing bowl, using a stand mixer fitted with the paddle attachment, beat the room temperature butter on high speed for about 3 minutes until it becomes light, pale, and thoroughly whipped. This incorporates essential air for a tender cake.
-
With the mixer still running on high, slowly and gradually add the granulated sugar to the whipped butter. This step should take approximately 1 minute; patience here makes a significant difference in the cake’s texture. Beat until the mixture is very light and fluffy.
-
Add the room temperature eggs, one at a time, beating well after each addition. Beat for a total of 3 minutes once all eggs are added. Remember to scrape down the sides and bottom of the bowl frequently to ensure even mixing and prevent any ingredients from sticking.
-
Next, incorporate the sour cream. Mix until just combined, ensuring you scrape down the sides of the bowl as needed to fully integrate it into the batter.
-
In a small bowl, stir the vanilla extract into the milk.
-
Reduce the mixer speed to low. Begin to alternate adding the dry flour mixture and the vanilla milk mixture to the wet batter. Start and end with the dry ingredients (e.g., 1/3 dry, then 1/2 milk, then 1/3 dry, then remaining milk, then final 1/3 dry). Mix only until just combined after each addition. Be careful not to overmix at this stage.
-
After alternating additions, stop the mixer. Use a rubber spatula to scrape down the sides and bottom of the bowl thoroughly, ensuring all ingredients are fully incorporated and no dry pockets remain. Give it one last very brief beat for a few seconds if necessary, just to bring everything together.
-
Carefully pour the finished pound cake batter into your prepared loaf pan. Do not fill the pan to the very top; fill it only about ¾ of the way full to allow adequate room for the cake to rise. If you have any excess batter, it’s better to discard it than to overfill the pan.
-
Bake the pound cake in the preheated oven for approximately 70 minutes. Baking times can vary considerably based on the true temperature of your oven, local humidity, and the specific material of your loaf pan. The cake is typically done when the center has risen to form a beautiful dome and the top is a rich, golden brown. You can confirm doneness by inserting a toothpick into the thickest part of the cake; it should come out clean or with only a few moist crumbs attached.
Notes
One easy and reliable way to know if your cake is finished baking is to observe its appearance. The center of the cake will have a beautiful dome to it, and the entire top will be a deep, inviting golden brown color. This visual cue is often a strong indicator of doneness.
While we estimate the cooking time to be between 60-70 minutes, every oven is unique and performs differently. It’s always best practice to begin checking your loaf for doneness after 50 minutes. Always use the toothpick method—insert a clean wooden toothpick or cake tester into the thickest part of the cake’s center. The cake is perfectly baked when the toothpick comes out clean or with just a few moist crumbs clinging to it.
Nutrition
Nutrition information is automatically calculated, so should only be used as an approximation.