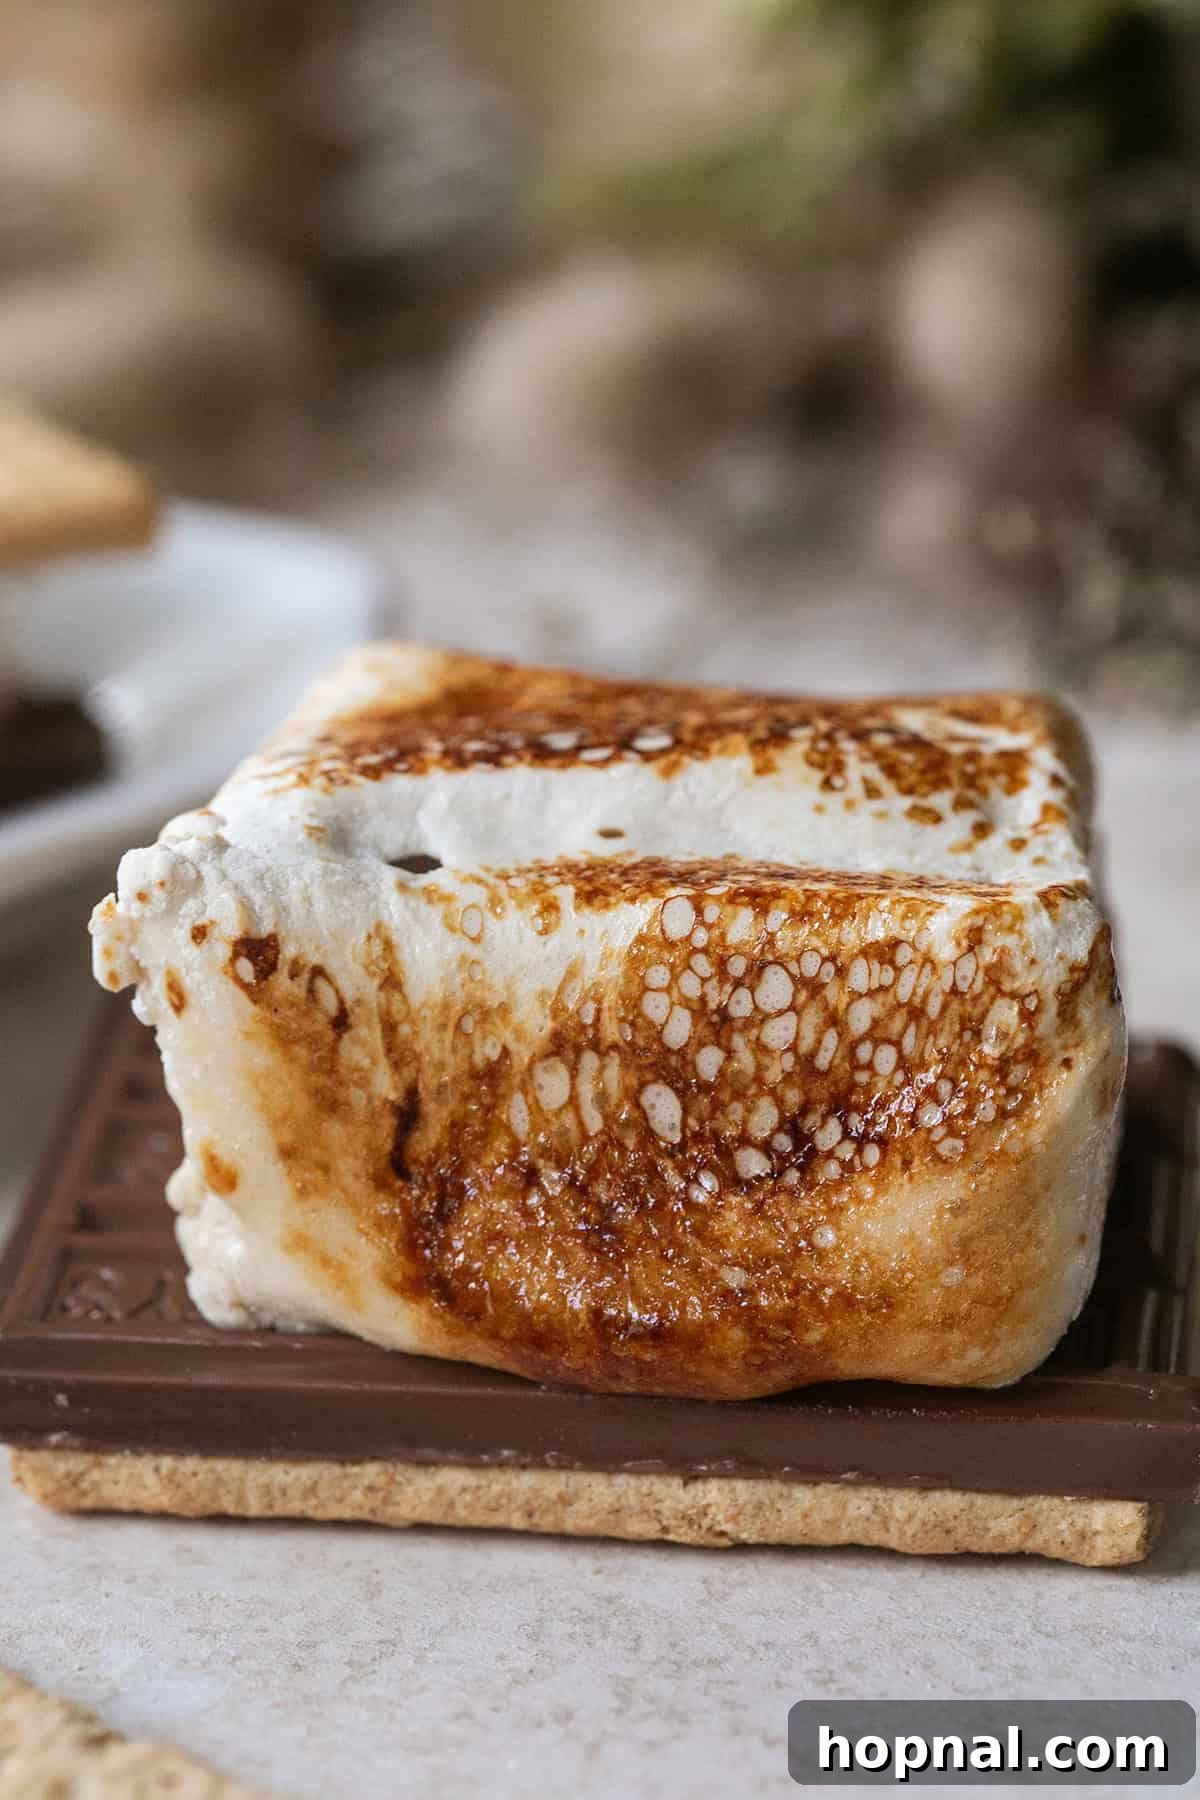
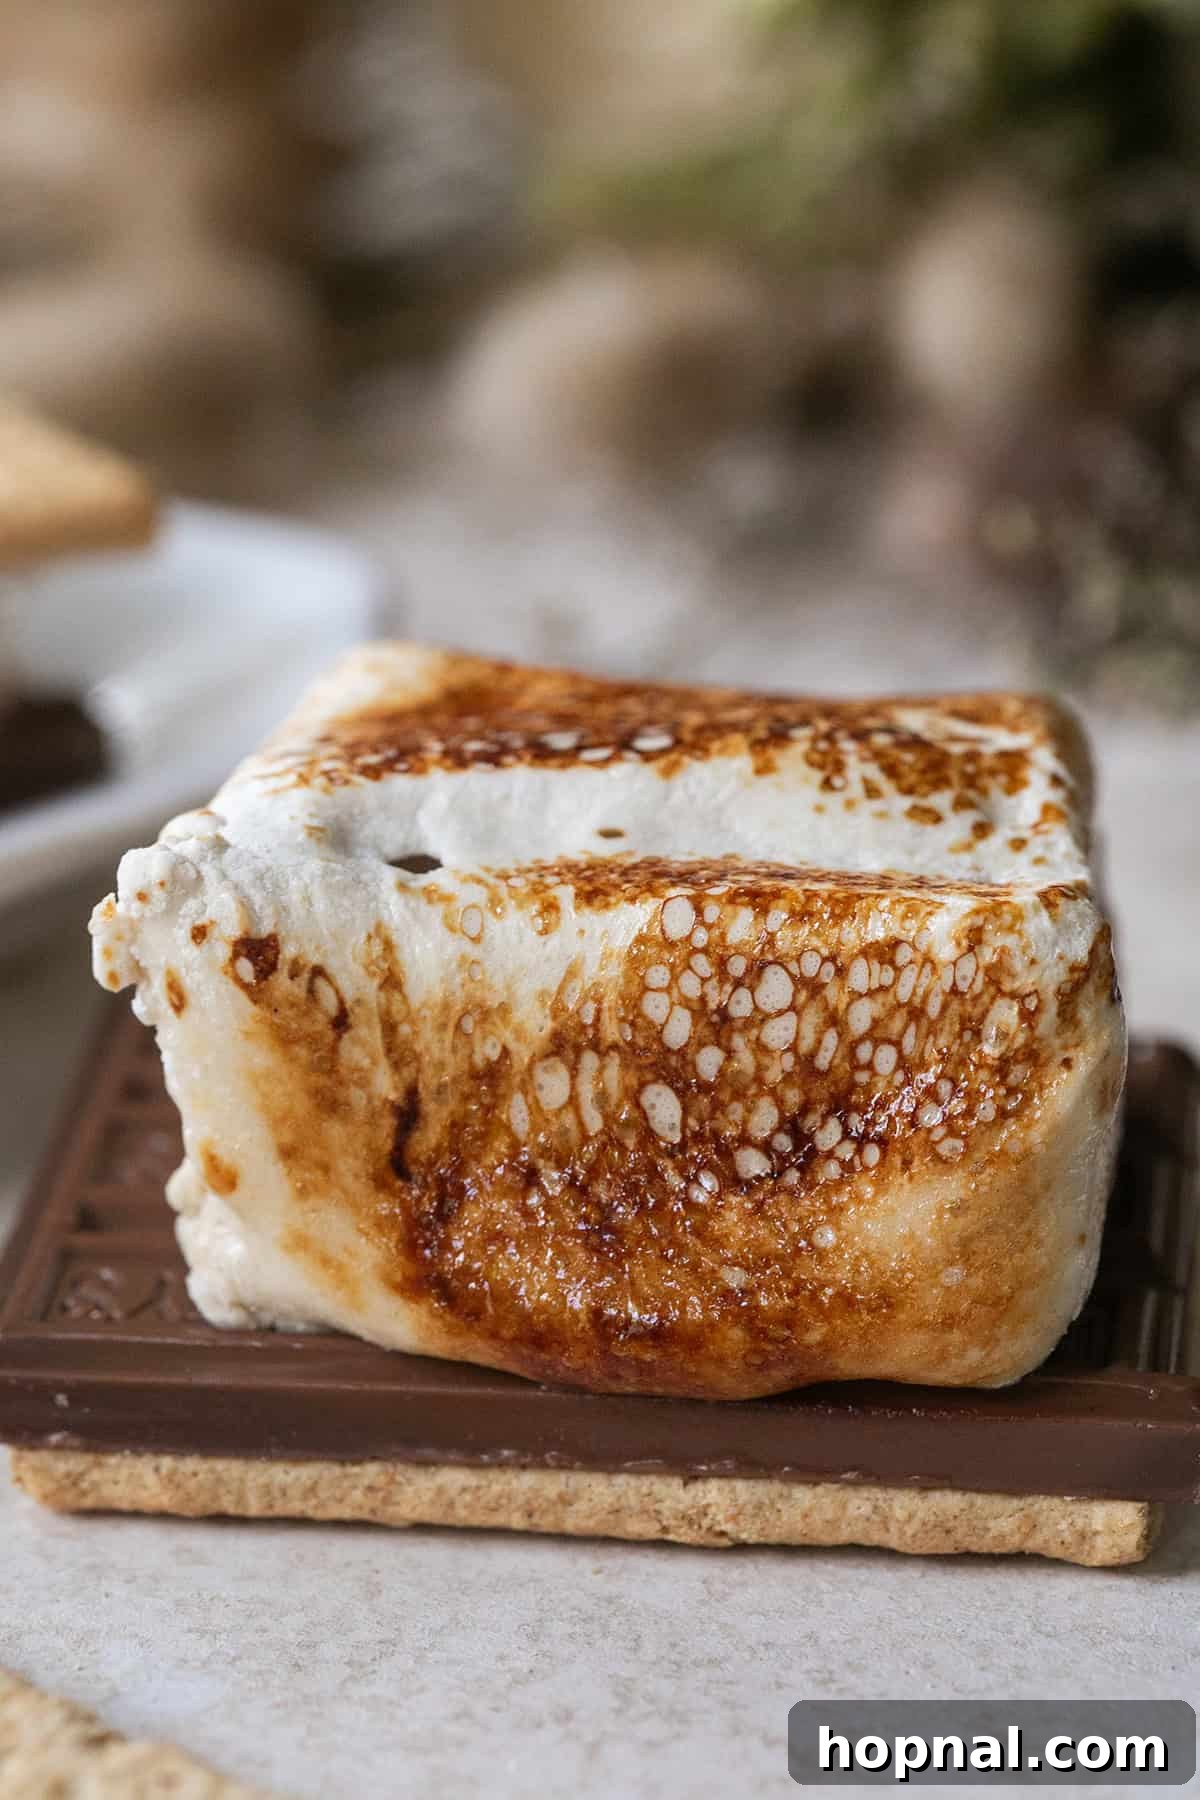
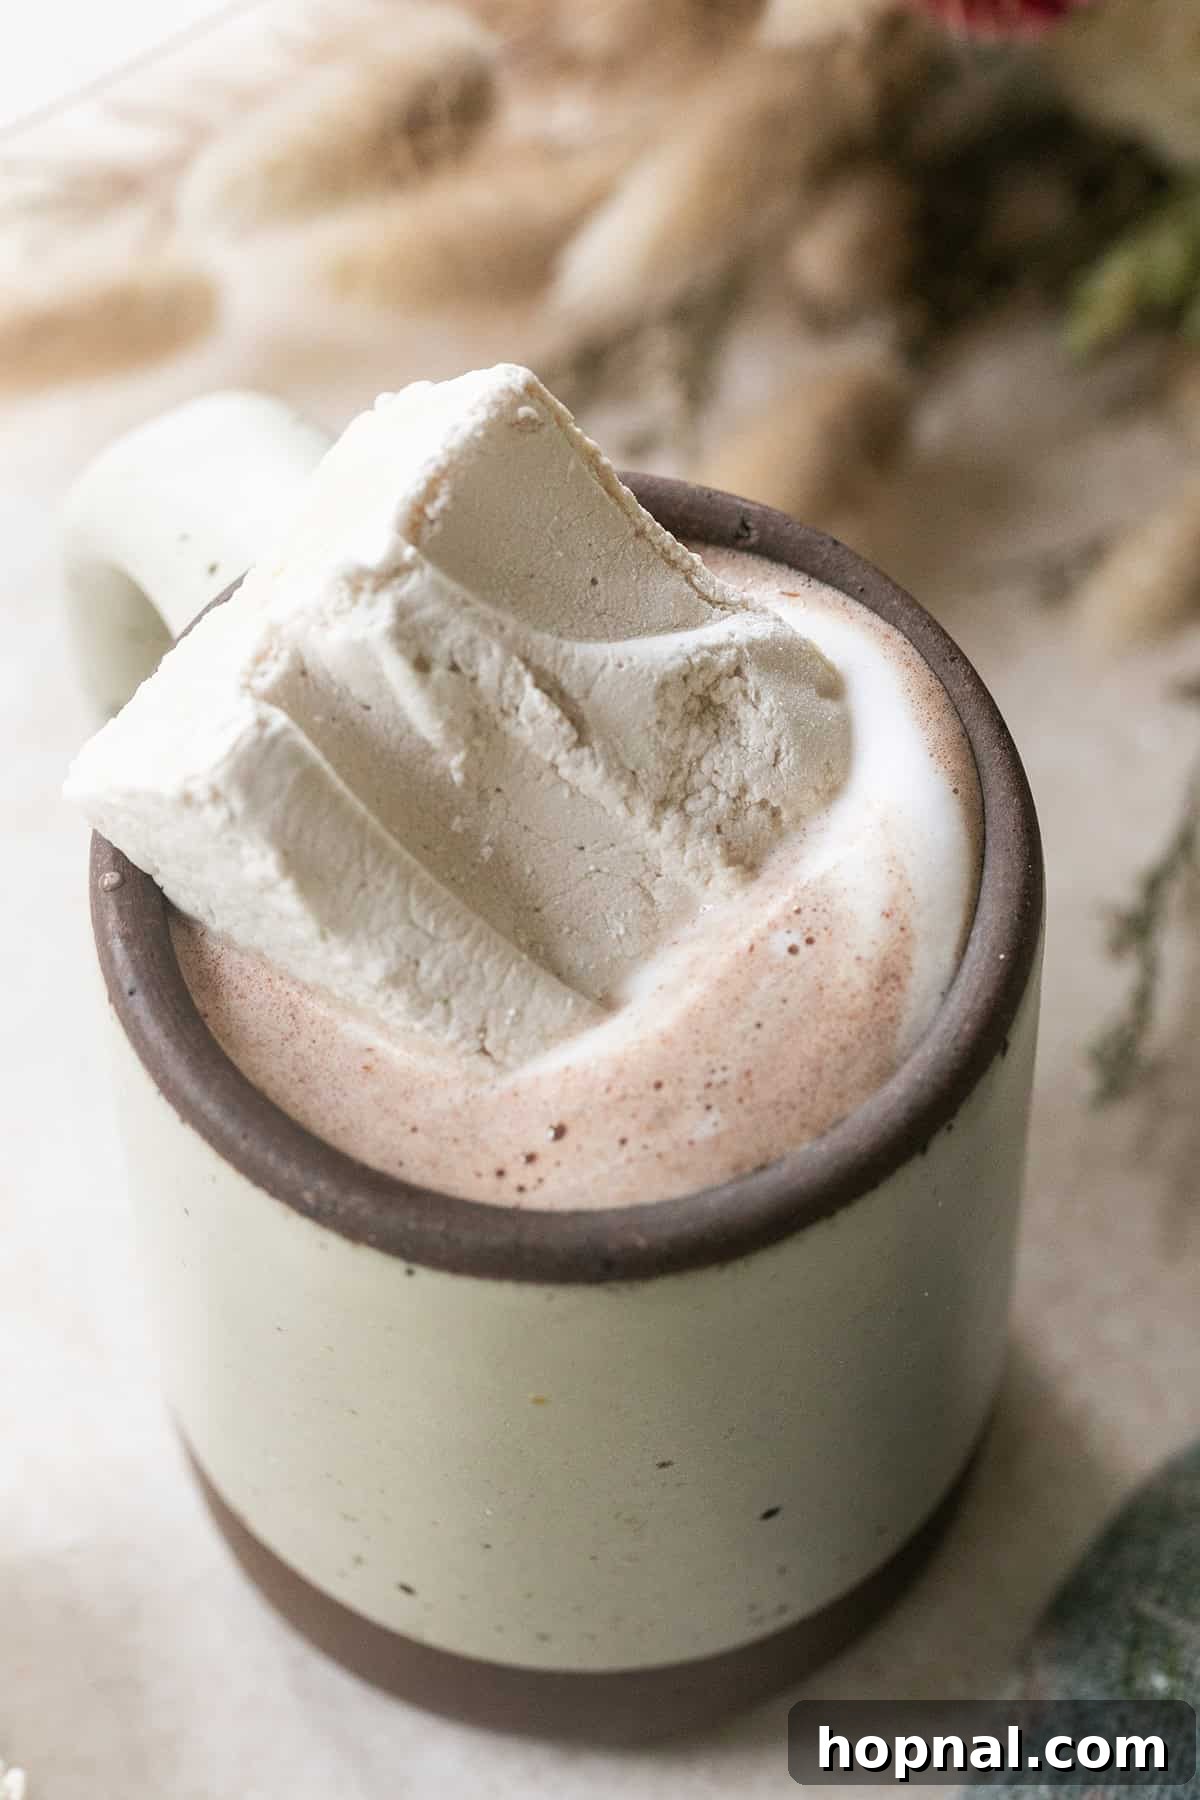
Indulge in these delightful maple syrup marshmallows, fluffy clouds of sweetness crafted with pure maple syrup instead of traditional refined sugar. Much like our healthier marshmallow recipe, these are designed to toast beautifully, creating the perfect golden crust for your s’mores or melting into cozy mugs of hot chocolate. Prepare for a truly special treat!
Embrace a Healthier Marshmallow Experience
Who says marshmallows can’t be part of a mindful diet? Our maple syrup marshmallow recipe offers a delightful alternative to store-bought varieties, allowing you to enjoy that sweet, pillowy texture with a more wholesome ingredient profile. Here’s why you’ll love making these at home:
- Naturally Sweetened: By using pure maple syrup, we bypass refined sugars entirely. Maple syrup not only provides a rich, complex sweetness but also offers trace minerals, making it a more nutritious choice than high-fructose corn syrup or granulated white sugar. This recipe delivers all the comfort without the unnecessary additives.
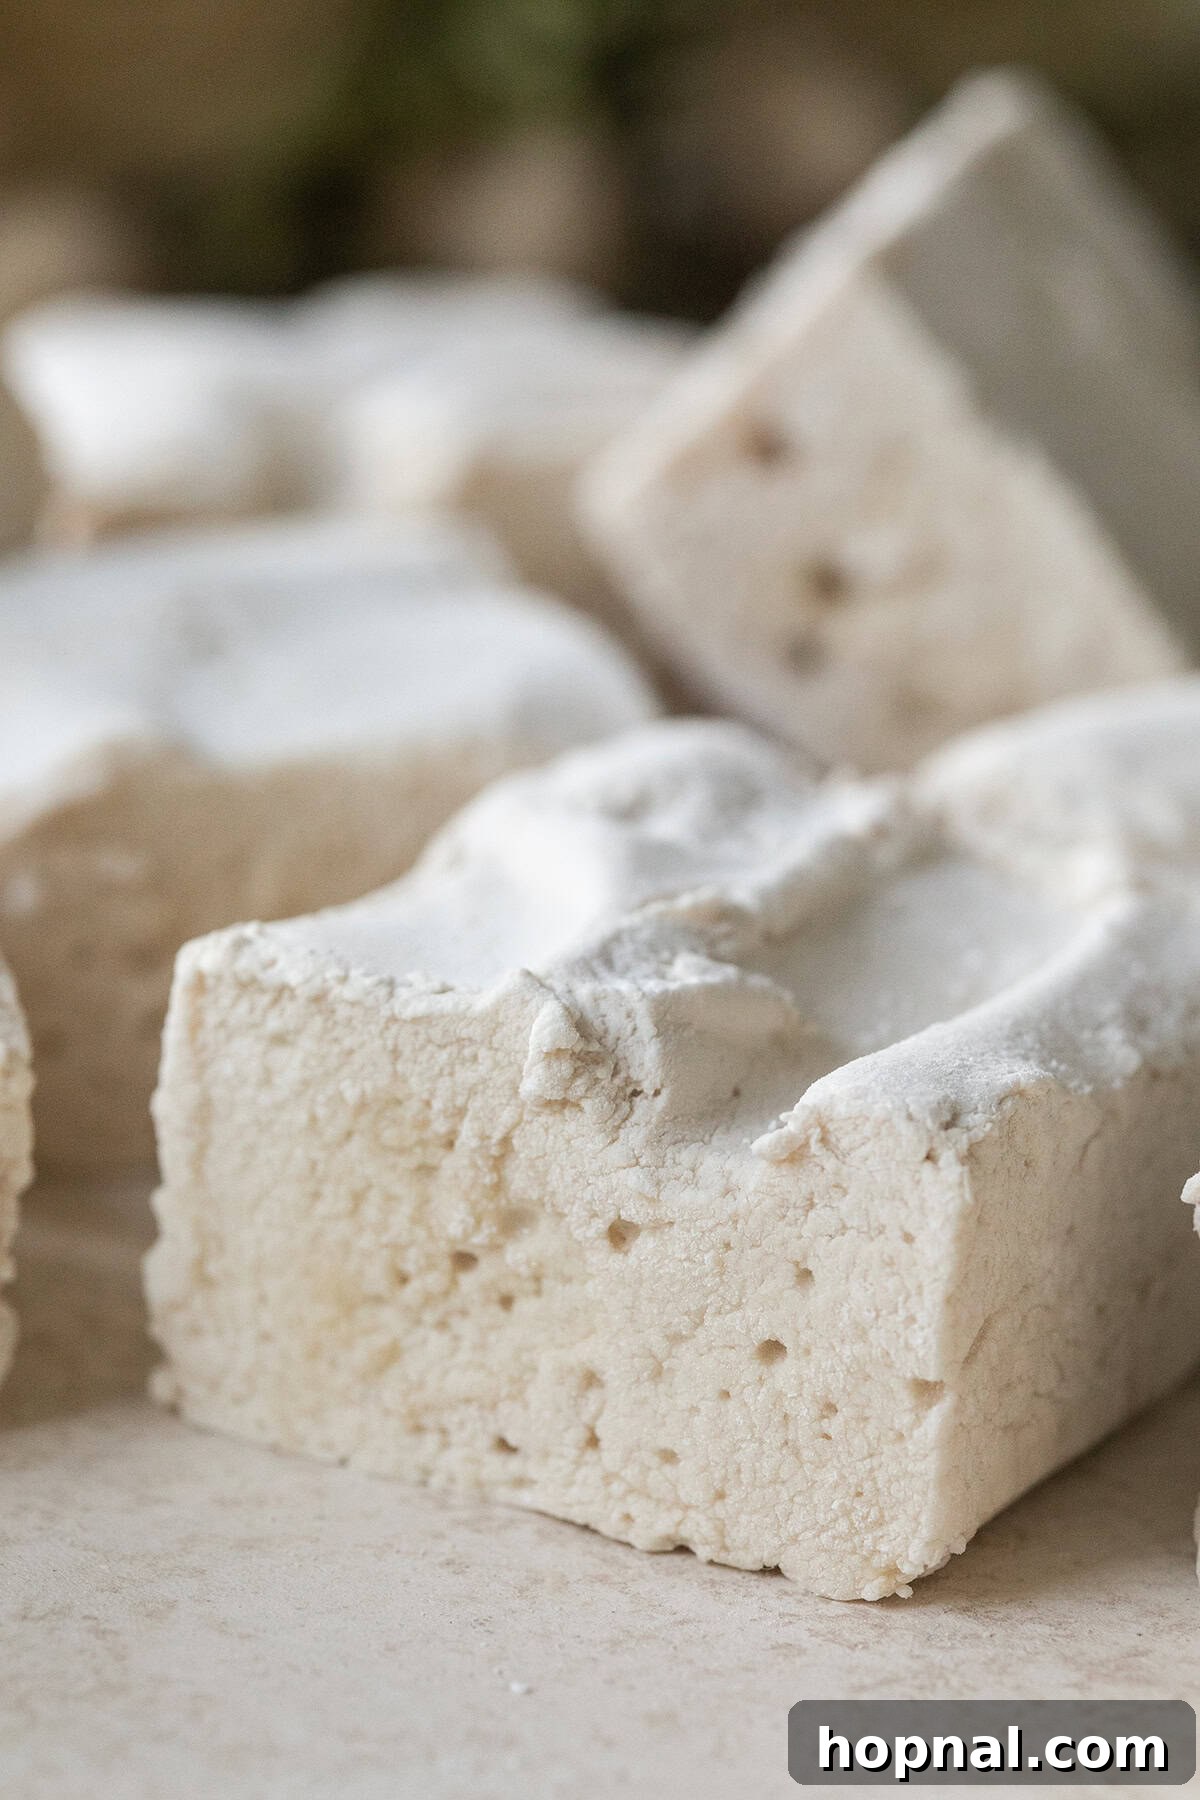
- Unbeatable Texture: Just like our classic homemade marshmallows, these maple-infused delights boast a light, airy, and bouncy texture. They hold their shape perfectly, whether you’re toasting them over a campfire for s’mores or letting them slowly melt into a warm cup of hot chocolate. Their resilience and melt-in-your-mouth quality are truly unmatched.
- Effortlessly Made: This recipe is surprisingly simple to whip up, perfectly portioned for a 6×6-inch pan. With the right tools – a reliable candy thermometer and a powerful electric mixer (stand mixer recommended!) – you’ll create gourmet marshmallows in your own kitchen with ease.
If you’re a fan of maple’s distinctive taste, be sure to also check out our incredible recipe for maple syrup frosting, which is equally delicious and versatile!
Essential Maple Syrup Marshmallow Ingredients
Crafting the perfect marshmallow requires just a handful of quality ingredients. Each plays a crucial role in achieving that signature fluffy texture and rich flavor. Let’s dive into what you’ll need:
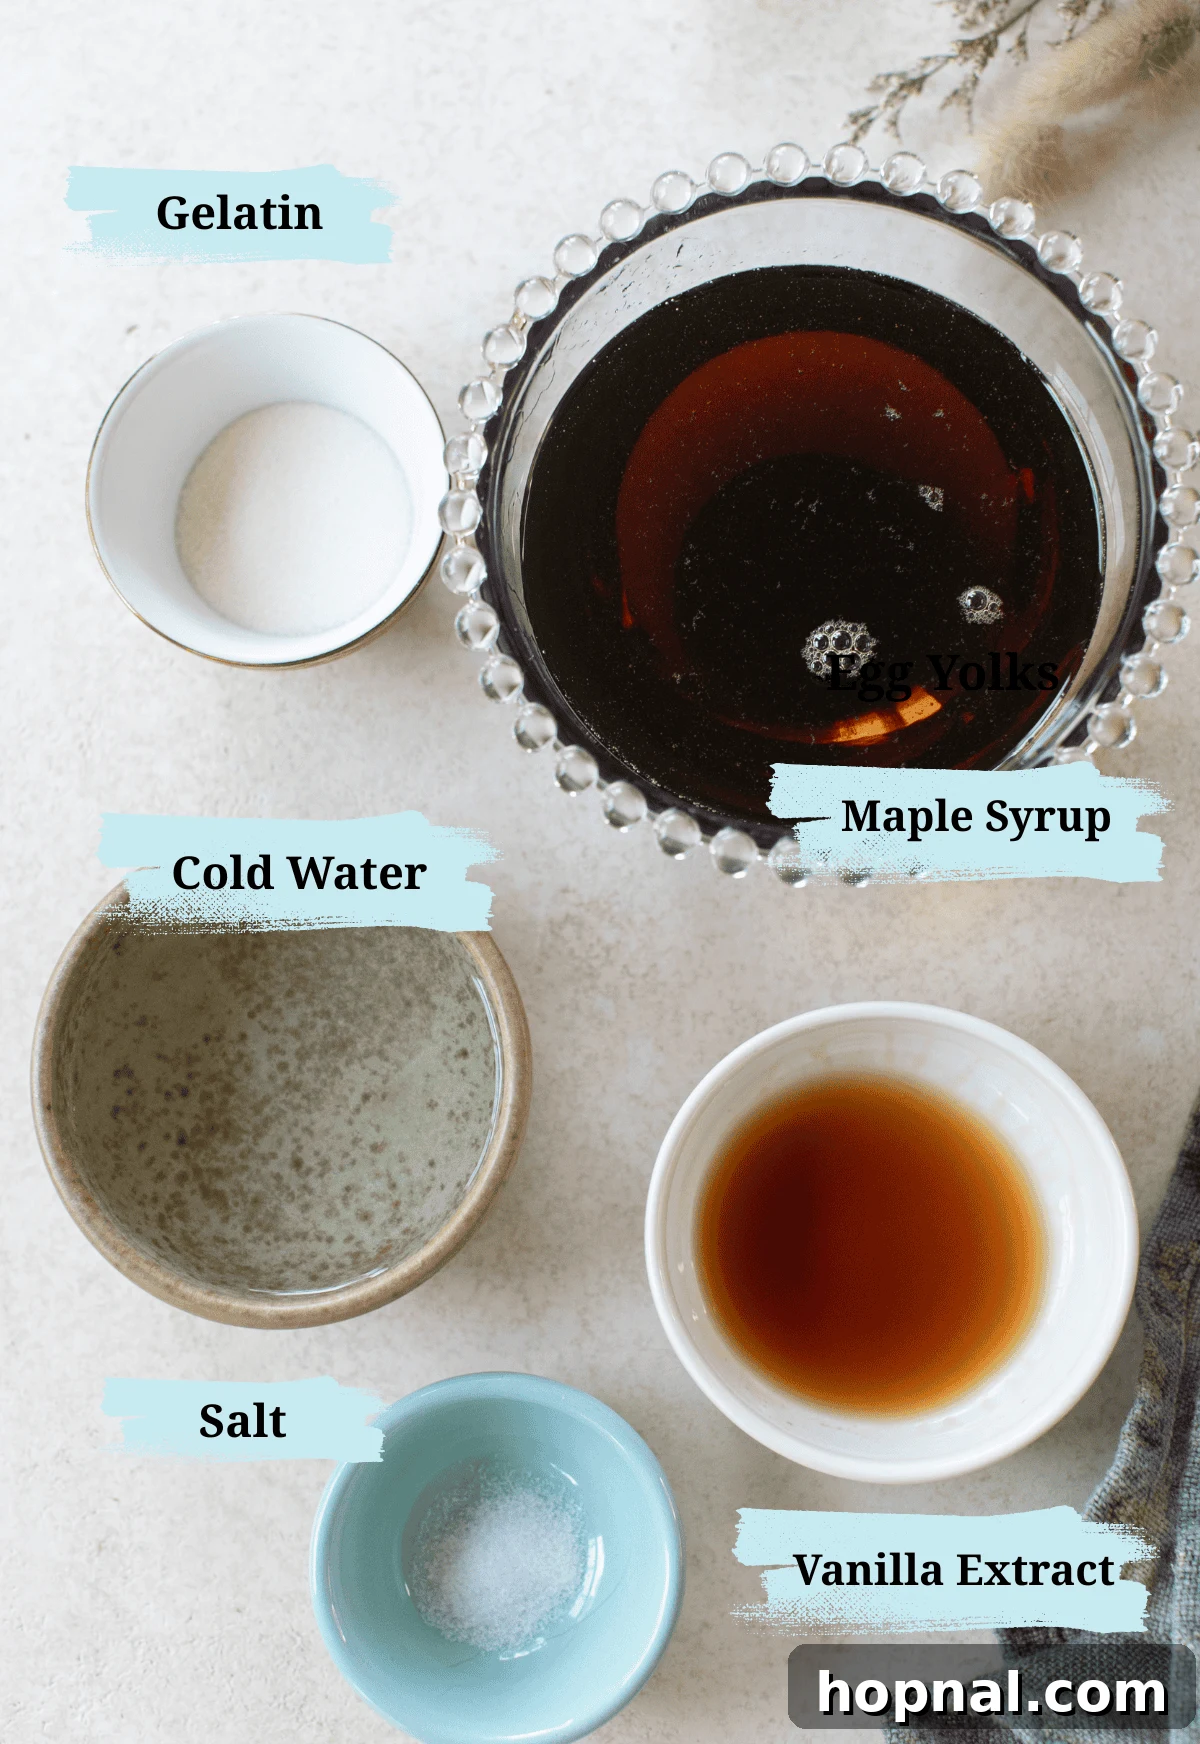
- Gelatin: This is the secret to a marshmallow’s incredible structure. Gelatin acts as the primary binder, giving your marshmallows their signature soft, chewy, and bouncy consistency. We use it in many of our recipes, including our rose-flavored marshmallows, for its superb setting power.
- Cold Water: Essential for “blooming” the gelatin. Sprinkling gelatin over cold water allows it to thoroughly hydrate and swell, ensuring it dissolves smoothly and sets properly later in the process. This step is crucial for avoiding a gritty texture.
- Pure Maple Syrup: The star of this recipe! Opt for a high-quality, pure maple syrup (Grade A Amber or Dark Robust are excellent choices for their rich flavor). This natural sweetener not only provides deep, caramelized sweetness but also infuses the marshmallows with an authentic, cozy maple essence that’s simply irresistible. Avoid imitation maple syrups, as they lack the flavor depth and natural qualities required.
- Vanilla Extract: A touch of vanilla extract adds warmth and depth, rounding out the maple flavor beautifully. It’s a classic pairing that elevates the overall taste profile. Use pure vanilla extract for the best results.
- Pinch of Salt: Don’t skip the salt! A small amount of salt enhances the sweetness of the maple syrup and balances the flavors, preventing the marshmallows from tasting overly sugary. It subtly amplifies the maple notes.
- Optional: Confectioners’ (Powdered) Sugar for Dusting: This is used to prevent the marshmallows from sticking to each other and to the pan after setting. It also provides that classic, delicate coating. If you prefer a less sweet marshmallow or are strictly avoiding all added sugars, you can omit it, but be prepared for a stickier result. A light dusting of cornstarch can also be used as an alternative.
Mastering Homemade Maple Marshmallows: Step-by-Step Guide
Creating homemade maple marshmallows is a rewarding process that transforms simple ingredients into an extraordinary treat. Follow these detailed steps to achieve perfect, pillowy results every time.
- Prepare Your Pan: Begin by lightly oiling a 6×6-inch square pan. A neutral oil like vegetable or canola works well. Once oiled, dust the entire interior generously with confectioners’ sugar. This dual-layer approach ensures your marshmallows will release cleanly and easily once set. Alternatively, you can line the pan with parchment paper, leaving an overhang on the sides for easy lifting.
- Bloom the Gelatin: In the bowl of your electric mixer (a stand mixer with a whisk attachment is highly recommended for efficiency, though a hand mixer can also be used), add the cold water. Sprinkle the gelatin evenly over the water’s surface. Stir gently with a fork to ensure all gelatin granules are moistened, then let it rest undisturbed for about 10 minutes. This “blooming” process allows the gelatin to fully hydrate, preventing lumps and ensuring a smooth, even set.
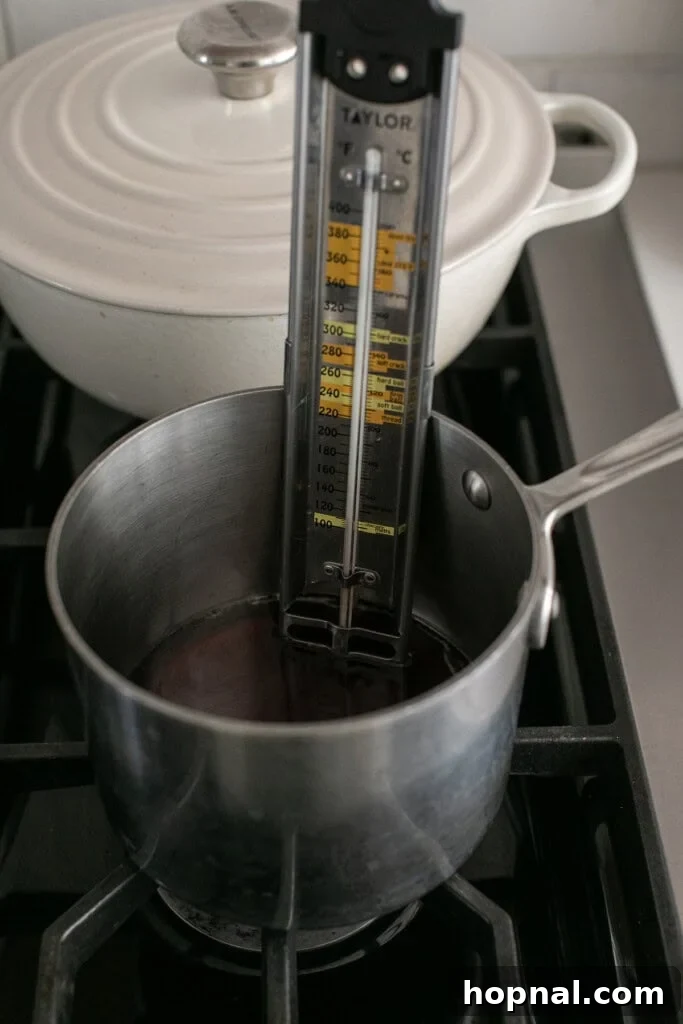
- Heat the Maple Syrup: While the gelatin blooms, pour the pure maple syrup into a medium saucepan. Place the saucepan over medium heat and bring the syrup to a rolling boil. Continue to heat the syrup, monitoring the temperature with a candy thermometer, until it reaches the soft-ball stage, which is approximately 240°F (115°C). This precise temperature is absolutely critical for the marshmallows to achieve their proper structure and set. Without reaching this stage, your marshmallows may remain too soft or never fully firm up.
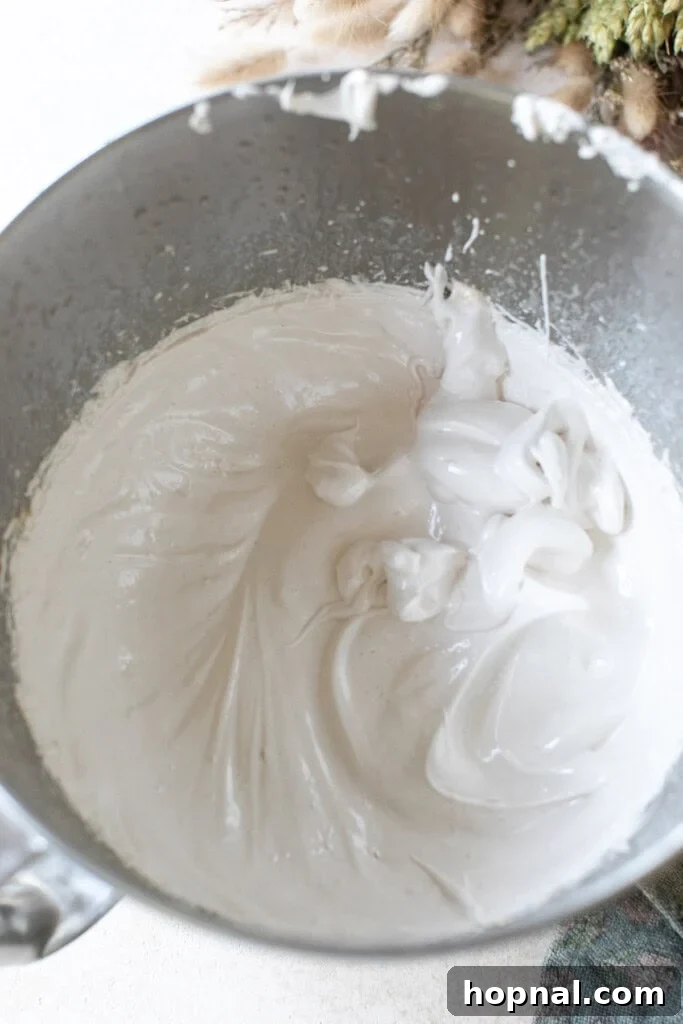
- Whip the Mixture: Once your maple syrup reaches the target temperature, immediately turn your mixer on low speed to gently break up the bloomed gelatin. With the mixer still running on low, carefully and steadily pour the hot maple syrup in a thin stream down the side of the bowl, avoiding the whisk itself. Once all the syrup is added, immediately increase the mixer speed to high. Whip continuously for about 10 minutes. During this intensive whipping, the mixture will transform from a liquid to a thick, glossy, and voluminous fluff that holds distinct peaks. Around the 8-minute mark, add the pinch of salt, and then the vanilla extract near the very end of the whipping time to preserve its delicate flavor.
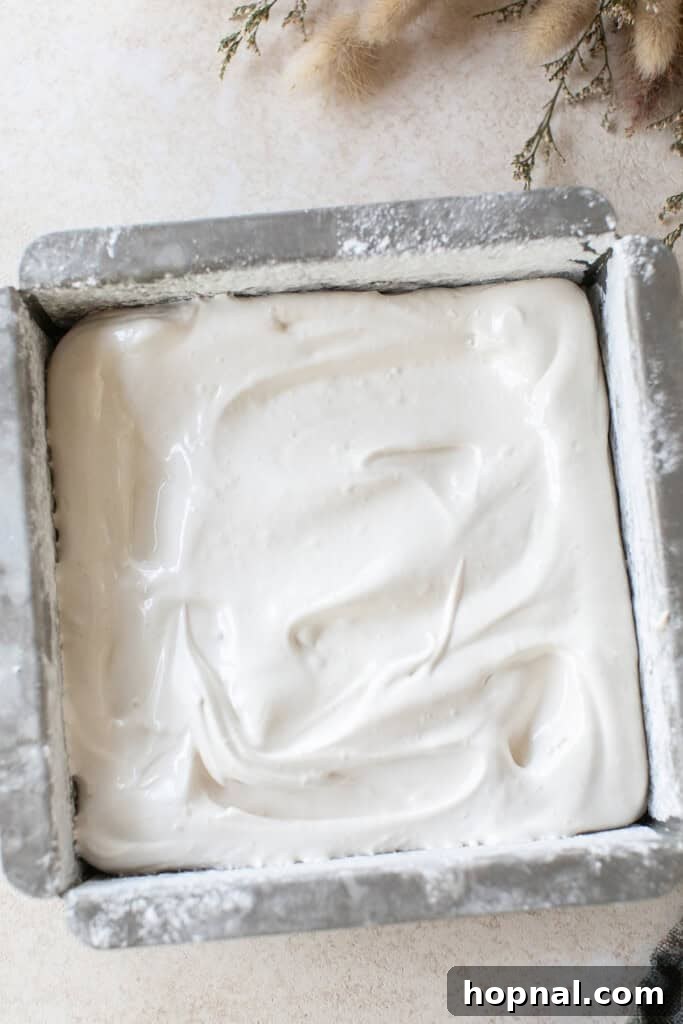
- Set the Marshmallows: Working quickly, scrape the marshmallow mixture into your prepared pan. Use an oiled offset spatula or the back of a spoon to gently smooth the top evenly. Do not cover the pan. Leave it at room temperature for a minimum of 8 hours, or ideally, overnight, to allow the marshmallows to fully set and firm up. Resist the urge to poke or move them too early.
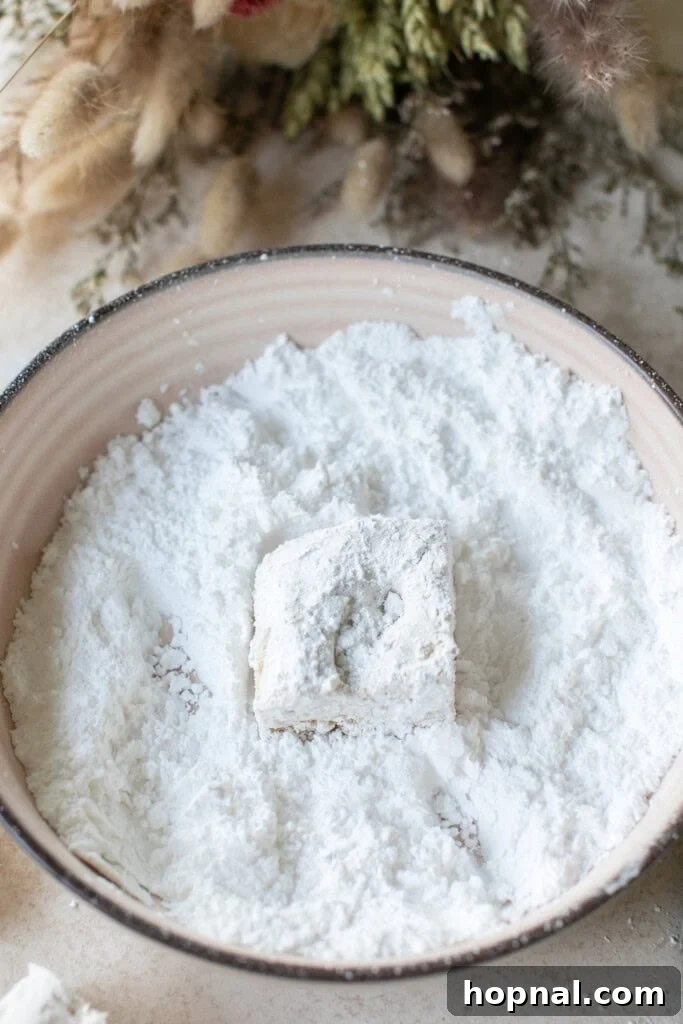
- Cut and Coat: Once the marshmallow slab is completely firm to the touch, run a greased knife around the edges of the pan. Using the parchment paper overhang (if used) or the knife, gently lift the entire marshmallow slab out of the pan onto a cutting board. Grease your knife again (or use a pizza cutter for extra clean lines) and slice the slab into desired squares or rectangles. For that classic finish and to prevent sticking, toss each individual marshmallow piece in a bowl of confectioners’ sugar.
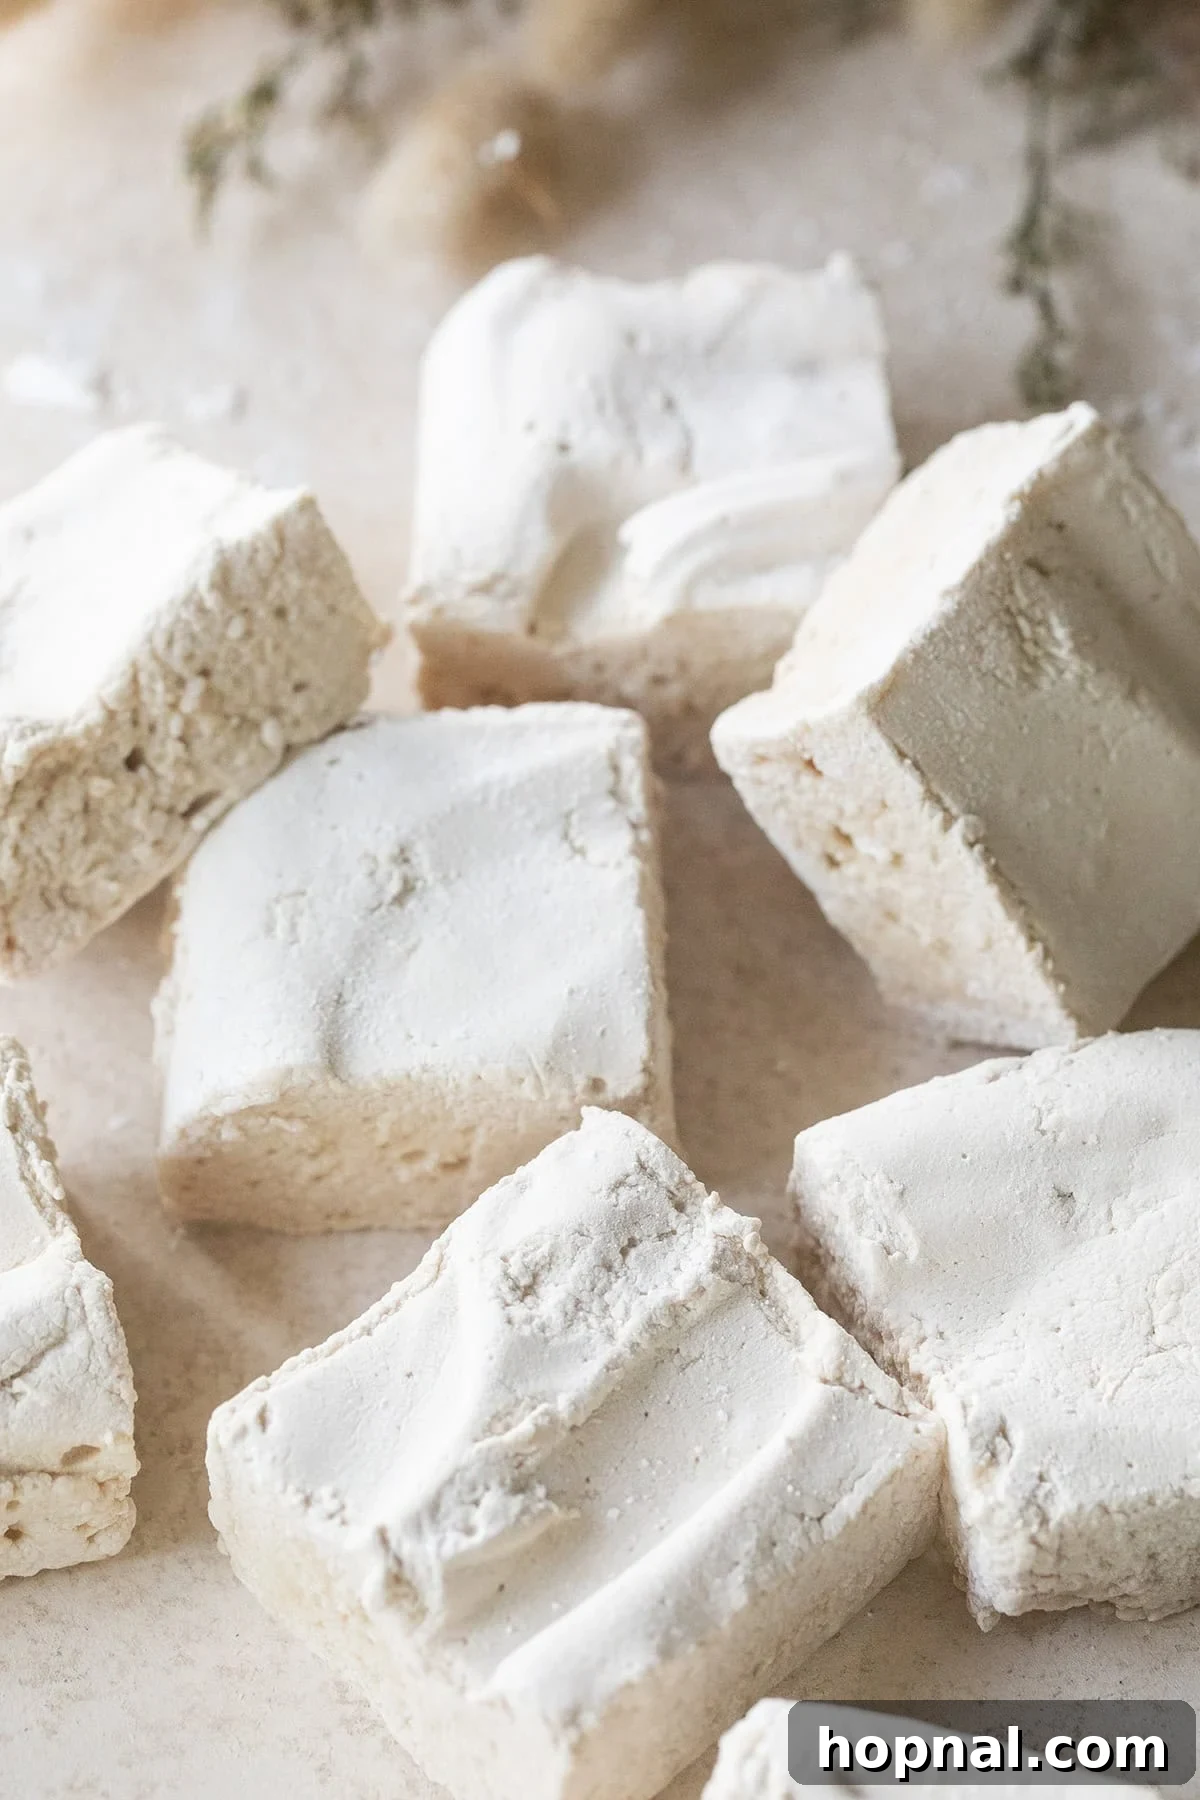
Your homemade maple syrup marshmallows are now ready to be enjoyed! They are perfect for toasting, adding to your favorite beverages, or simply snacking.
Expert Tips for Perfect Maple Marshmallows
Making marshmallows at home is a fun and rewarding experience, but a few expert tips can ensure your success and make the process even smoother:
- Read the Recipe Thoroughly: Before you even start, take a moment to read the entire recipe from beginning to end. This familiarizes you with each step, timing, and ensures all your equipment and ingredients are ready and measured. The process moves quickly once the syrup is boiling, so preparation is key!
- Invest in a Candy Thermometer: While experienced candy makers might eyeball the soft-ball stage, a candy thermometer is an invaluable tool for precision. You’re aiming for that crucial 240°F (115°C) to 245°F (118°C) range for proper setting. This temperature ensures the sugar concentration is just right for marshmallows that are firm yet bouncy. It’s the difference between a sticky mess and perfectly set puffs.
- The Art of Toasting: These maple marshmallows toast like a dream! For that quintessential s’mores experience, a small culinary torch works wonders, giving you even browning and a perfectly gooey interior. Once toasted to perfection, sandwich them with rich chocolate and crispy graham crackers for an irresistible treat. You can also toast them over a campfire or under a broiler (watch carefully!).
- Grease Your Knife Liberally: Marshmallows are inherently sticky! To achieve clean, neat cuts when slicing your set marshmallow slab, always coat your knife with a thin layer of neutral oil. Re-oil the knife as needed between cuts to prevent sticking and tearing. A pizza cutter can also be an excellent tool for straight, clean lines.
- Embrace the Unique Texture: These maple marshmallows have a slightly softer, more tender texture compared to classic marshmallows made with corn syrup. This is part of their charm! They are incredibly delicate and melt beautifully while still holding up great for all your favorite uses. Don’t be surprised if they feel a little different – it’s a delicious difference!
- Humidity Matters: High humidity can affect how marshmallows set. If you live in a very humid environment, you might find your marshmallows take a little longer to set or remain slightly tackier. Try making them on a dry day if possible.
- Scaling the Recipe: This recipe can easily be doubled if you need a larger batch, but we strongly advise against attempting to triple it unless you possess a commercial-grade, extra-large stand mixer. Home cooks typically don’t have the capacity required for such a large volume of whipping.
- Creative Serving Ideas: Beyond s’mores and hot chocolate, try dicing these marshmallows and folding them into homemade ice cream, using them as cupcake toppers, or even floating them in a maple-infused latte.
- Gifting Homemade Marshmallows: These make wonderful homemade gifts! Package them in airtight bags or decorative boxes, perhaps tied with a festive ribbon. They’re a thoughtful and unique present for any sweet tooth.
Maple Marshmallow Frequently Asked Questions
While a powerful electric stand mixer with a whisk attachment is highly preferred for its consistent speed and hands-free operation (especially during the long whipping time), a hand mixer will work. Just be prepared for an arm workout! Ensure you whip the mixture continuously on high speed for at least 10 minutes, or until it becomes very thick, glossy, and holds stiff peaks. Adequate whipping is key for the airy texture.
Dusting the marshmallows in confectioners’ sugar is optional, but highly recommended. It serves two main purposes: it prevents the individual marshmallows from sticking together in storage, and it gives them that traditional, lovely soft finish. If you want to strictly avoid any added sugar, you can omit the dusting, but be aware your marshmallows will be stickier and might require parchment paper between layers when stored.
Once fully set and dusted, store your homemade maple marshmallows in an airtight container at room temperature. They will retain their best texture for up to 5 days. After this period, you might notice a slight change in texture – they can become a little less fluffy and a bit tackier due to moisture absorption. For longer storage, you can freeze them in an airtight freezer-safe container for up to 3 months. Thaw at room temperature before serving.
The most common reason for marshmallows not setting is that the maple syrup didn’t reach the correct temperature (soft-ball stage, 240-245°F / 115-118°C). Using an accurate candy thermometer is crucial. Other factors could be insufficient whipping time, which prevents enough air from being incorporated, or very high humidity affecting the setting process. Make sure to whip for the full 10 minutes until the mixture is very thick and forms stiff peaks.
This recipe is specifically designed to highlight the unique flavor and natural sweetness of pure maple syrup. While you *could* use light corn syrup, it would fundamentally change the recipe into a classic marshmallow recipe, altering the flavor profile significantly and negating the “naturally sweetened” aspect. For the true maple experience, stick with pure maple syrup.
Explore More Homemade Marshmallow Delights
Holidays
Homemade Holiday Marshmallows
Recipes
Rose Flavored Homemade Marshmallows
Frosting
Homemade Marshmallow Fluff
Desserts
How to Make Homemade Marshmallows
We hope you enjoy making these wonderful maple syrup marshmallows as much as we do! Your feedback means the world to us. Please let us know how they turn out by leaving a review below!
Maple Syrup Marshmallows
Eden
5 minutes
10 minutes
8 hours 15 minutes
9 marshmallows
Rate Recipe
Print Recipe
Equipment
-
1 6×6-inch pan (or similar size for desired thickness)
-
1 Reliable Candy Thermometer (essential for accuracy)
-
1 Medium Saucepan (heavy-bottomed is best for even heating)
-
Electric Mixer (stand mixer with whisk attachment recommended)
Ingredients
- 1/3 cup cold water
- 1 tbsp unflavored gelatin, approximately 1 standard packet
- 1 cup pure maple syrup, Grade A Amber or Dark Robust for best flavor
- 1 tsp pure vanilla extract
- 1/2 tsp fine sea salt
- 1/8 cup confectioner’s sugar , plus extra for dusting (optional, or use cornstarch)
Instructions
-
Prepare your pan: Lightly oil a 6×6-inch pan (or similar small square pan) with a neutral oil. Then, generously dust the oiled pan with confectioners’ sugar, ensuring all sides are coated. This step is essential for clean release. For a less sweet coating, you can line the pan with parchment paper, leaving an overhang to easily lift the slab out later.
-
Bloom the gelatin: In the clean bowl of your electric mixer (a stand mixer with a whisk attachment is ideal), pour in the cold water. Evenly sprinkle the gelatin powder over the surface of the water. Gently stir with a fork to ensure all gelatin is moistened. Let this mixture sit undisturbed for about 10 minutes; this allows the gelatin to “bloom” or hydrate fully, which is crucial for a smooth marshmallow texture.
-
Heat the maple syrup: While the gelatin is blooming, pour the pure maple syrup into a medium, heavy-bottomed saucepan. Place the saucepan over medium heat. Insert your candy thermometer and bring the maple syrup to a rolling boil. Continue to heat, stirring occasionally, until the syrup reaches the soft-ball stage, which is precisely 240°F (115°C) to 245°F (118°C). This temperature is absolutely critical for the marshmallows to set properly. Do not rush this step.
-
Whip the mixture: With the maple syrup at temperature, turn your mixer on low speed to gently break up the bloomed gelatin. Then, very carefully and slowly, pour the hot maple syrup in a steady, thin stream down the side of the mixer bowl while the mixer is running. Avoid pouring directly onto the whisk. Once all the hot syrup has been added, immediately increase the mixer speed to high. Whip continuously for approximately 10 minutes. During this time, the mixture will cool, thicken significantly, become incredibly glossy, and gain immense volume, forming stiff, stable peaks. Around the 8-minute mark, sprinkle in the salt. Near the very end of the whipping time, add the vanilla extract.
-
Set the marshmallows: Working quickly (as the mixture will begin to set), scrape the fluffy marshmallow mixture into your prepared pan. Use an oiled spatula or the back of an oiled spoon to spread it evenly and smooth the top. Leave the pan uncovered at room temperature for at least 8 hours, or ideally overnight, to allow the marshmallows to fully set and firm up completely.
-
Cut and coat: Once the marshmallow slab is firm and no longer sticky to the touch, run a greased, sharp knife around the edges of the pan. Gently invert the pan or use the parchment overhang to lift the entire marshmallow slab onto a clean cutting board. Grease your knife again (or a pizza cutter) and slice the slab into desired squares or rectangles. For the classic finish and to prevent sticking, toss each individual marshmallow piece in a bowl of confectioners’ sugar until lightly coated.
-
Enjoy and store: Your homemade maple marshmallows are now ready to be enjoyed! Use them for toasting over a fire, melting into hot chocolate, or simply as a delicious, naturally sweetened snack. Store them in an airtight container at room temperature for up to two weeks, or freeze for longer-term storage.
Notes
The correct temperature for your maple syrup is absolutely paramount for successful marshmallow setting. Aim for 240-245°F (115-118°C) using a reliable candy thermometer. If the syrup doesn’t reach this precise soft-ball stage, your marshmallows may remain too soft or overly sticky. Don’t eyeball it – accuracy is key!
For an even simpler clean-up, apply a thin coat of neutral oil to your mixer’s whisk attachment and bowl before starting the recipe. This will make it much easier to remove the sticky marshmallow residue once you’re done whipping.
Nutrition
Carbohydrates: 26g,
Protein: 1g,
Fat: 0.001g,
Sodium: 136mg,
Potassium: 81mg,
Sugar: 23g,
Calcium: 41mg,
Iron: 0.1mg
Nutrition information is automatically calculated and should only be used as an approximation. Actual values may vary based on ingredients and preparation methods.
Loved this recipe? Share your thoughts!